Essential Tools for Harvesting Microgreens
Starting a microgreens garden can be an exhilarating and fulfilling journey. Having the right tools is essential for achieving success.
From seed trays and growing mediums to adequate lighting and ventilation, every component plays a crucial role in nurturing your greens.
This guide will help you pinpoint the essential tools required and offer valuable tips on how to optimize their use.
Whether you re an experienced gardener or just stepping into the world of plants, you ll discover insights designed to elevate your microgreens growing experience.
Contents
- Key Takeaways:
- 1. Seed Trays and Containers
- 2. Growing Medium
- 3. Seeds
- 4. Light Source
- 5. Watering Tools
- 6. Spray Bottle or Misting System
- 7. Fertilizer
- 8. Fan or Ventilation System
- 9. Thermometer and Humidity Meter
- 10. Harvesting Tools
- 11. Preparing for Harvest
- 12. Best Harvesting Techniques
- 13. Rinsing and Drying Microgreens
- 14. Storage and Shelf Life of Microgreens
- 15. Flavor Profiles of Different Microgreens
- 16. Common Pests and Diseases of Microgreens
- 17. Tips for Successful Microgreen Gardening
- 18. Creating a Microgreen Garden in Small Spaces
- 19. The Nutritional Benefits of Microgreens
- Frequently Asked Questions
- What are some essential tools for harvesting microgreens?
- Why is it important to use sharp scissors for harvesting microgreens?
- Do I need to use a cutting board when harvesting microgreens?
- What is the best way to store harvested microgreens?
- Can I reuse my harvesting tools for different types of microgreens?
- How should I clean my harvesting tools after use?
Key Takeaways:
- Seed trays and containers are essential for starting a microgreens garden, allowing for proper drainage and space for growth.
- The right growing medium, such as soil or hydroponic mats, is crucial for providing nutrients and support for microgreens.
- Proper lighting, whether natural or artificial, is key for promoting healthy growth and development of microgreens.
1. Seed Trays and Containers
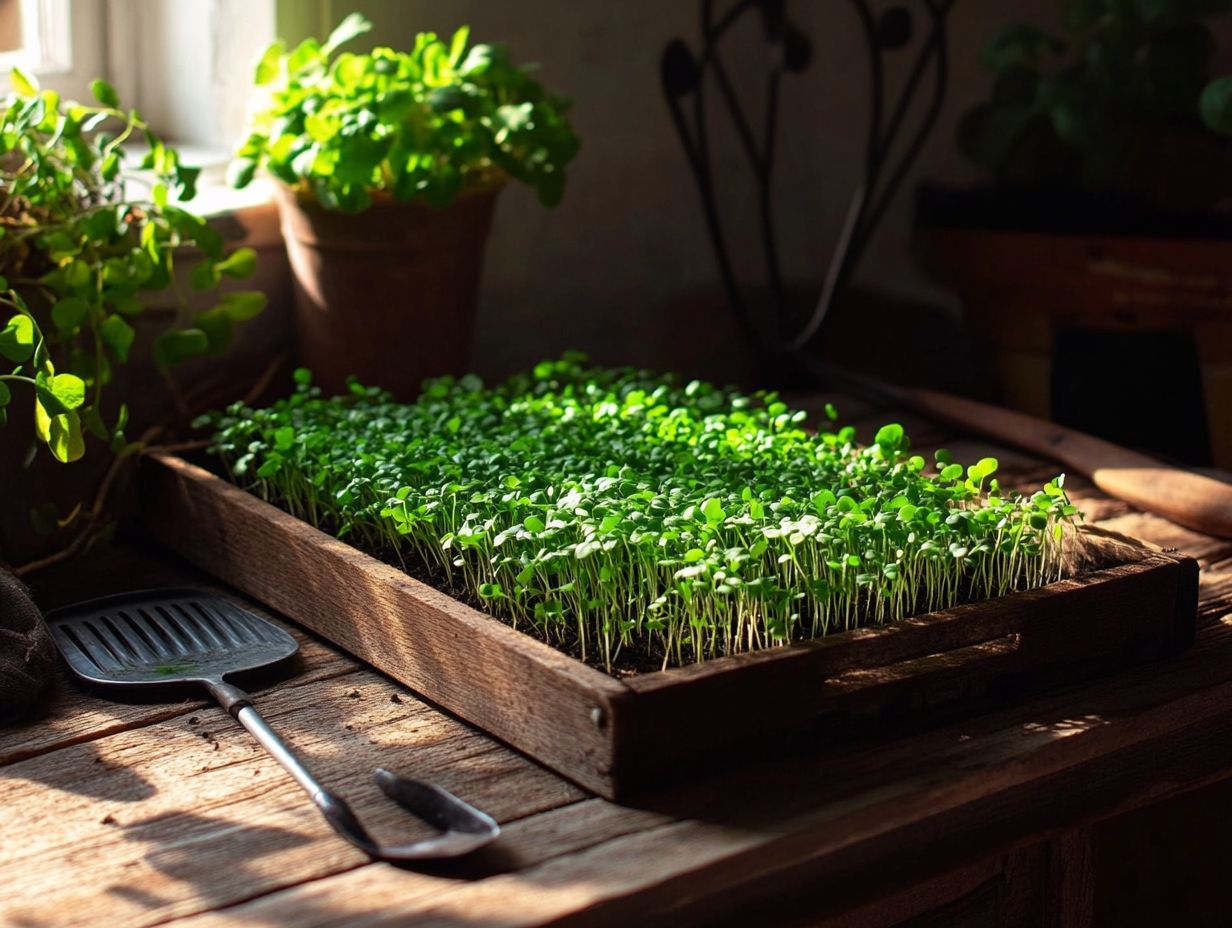
Choosing the right seed trays and containers is crucial for growing microgreens. These containers support various growth stages, creating an ideal environment for seeds to thrive.
Selecting the right type of containers can significantly influence the nutritional value and overall health of your microgreens. Proper drainage and dimensions are essential for fostering healthy roots and robust plants.
Consider opting for containers made from materials like biodegradable plastic, stainless steel, or wood. Each offers unique advantages. Biodegradable materials reduce environmental impact while maintaining a lightweight structure perfect for indoor gardening.
Standard sizes, typically ranging from 4 to 10 inches in depth, can accommodate various microgreen varieties, ensuring ample space for their roots to flourish.
Organizing your containers thoughtfully can optimize growing conditions. Arranging them to capture maximum sunlight promotes even growth. Utilizing vertical spaces and grouping trays enhances air circulation, reducing the risk of mold.
2. Growing Medium
Choosing the right growing medium is exciting and essential for your plants! It profoundly influences plant health, flavor profiles, and the overall success of your harvest.
You have various options, including soil-based mediums and soilless mixes, each tailored to specific microgreen varieties.
A high-quality growing medium nurtures root development and guarantees the freshness of your delicate plants. Understanding each medium’s characteristics is key to achieving best growth.
For example, soil-based mixes excel at retaining moisture, creating a nutrient-rich environment perfect for robust varieties like basil and cilantro. However, they may come with the risk of mold growth.
On the other hand, soilless mediums such as coconut coir or hydroponic mats provide excellent drainage and aeration, making them ideal for delicate microgreens like radish or arugula that thrive in quicker-drying conditions.
When selecting a medium, weigh factors like water retention, aeration, and nutrient availability. Striking the right balance ensures your microgreens not only flourish but also yield vibrant flavors that elevate your culinary creations.
Don t wait! Start gathering your supplies today to enjoy a bountiful microgreens harvest.
3. Seeds
Choosing high-quality seeds is vital for growing microgreens. They affect the nutrient density, flavor, and health of your plants.
Different varieties like sunflower, basil, radish, pea, and mustard bring unique flavors and textures to your meals and salads. This variety makes your dishes more exciting!
When selecting seeds, consider germination rates, origin, and specific growing conditions. This ensures a bountiful harvest. Variety-specific seeds enhance the visual charm of your microgreens garden and enrich flavor profiles for garnishing and cooking.
By sourcing seeds from reputable suppliers, you can trust that your choices will yield healthier and more vigorous plants. High-quality seeds usually come with reliable information about their origin and breeding, giving you better disease resistance and stronger growth.
Each type of microgreen offers a distinctive flavor. For instance, radish microgreens deliver a delightful peppery kick, while basil adds a sweet, aromatic touch. Nutritional benefits can vary significantly between varieties. For example, broccoli microgreens boast higher concentrations of vitamins and minerals, making them a nutritional powerhouse!
4. Light Source
Providing an adequate light source is essential for the successful growth of your microgreens. It influences their development from germination to harvest.
Proper sunlight exposure ensures vibrant colors, healthy growth, and optimal nutrient density. Whether you choose natural sunlight or artificial lighting, understanding your microgreens’ specific light requirements is crucial.
The right lighting boosts the process plants use to turn light into food. It also prevents stretching, resulting in healthier, more flavorful microgreens.
When growing indoors, you can choose from several light sources. Natural sunlight is often best, but artificial options like LED grow lights and fluorescent lights can also work well. Each type offers advantages, like the energy efficiency of LEDs.
Consider not just the duration of light exposure typically 12 to 16 hours daily but also the intensity and positioning of the lights. Placing lights closer to the plants can significantly enhance growth and reduce the risk of leggy plants.
5. Watering Tools
Using the right watering tools is essential for maintaining optimal moisture levels in your microgreens garden. This keeps your plants fresh and healthy!
Overwatering or underwatering can cause issues like root rot or stunted growth. Choose tools that allow for precise water application, like watering cans with fine spouts, moisture meters, or spray bottles. Efficient watering will enhance the nutrient density and flavor profile of your microgreens.
Timing and frequency are key in watering techniques. Adjust these based on the growth stage of your microgreens and environmental conditions. Younger seedlings thrive with more frequent watering to maintain humidity, while mature plants benefit from less frequent, deeper watering.
Regularly check soil moisture levels to guide your watering schedule. A light touch can help you assess if the soil is dry or retaining excess water. Early morning watering sessions are ideal as they prevent overheating and evaporation, allowing your plants to absorb moisture throughout the day.
6. Spray Bottle or Misting System
A spray bottle or misting system helps maintain ideal humidity in your microgreens garden. This enhances the freshness of your crops.
These techniques ensure your delicate seedlings get the necessary hydration. This reduces the risk of overwatering, which can cause diseases.
Watering in the morning or late afternoon helps retain moisture. Timing is crucial for your microgreens.
Monitor environmental factors like temperature and airflow. These can boost your spraying effectiveness.
Watch your water quality. Use filtered or distilled water to reduce contaminants that can lead to fungal growth.
7. Fertilizer
Using fertilizer boosts nutrient density and plant health. Your crops will be flavorful and nutrient-rich.
Understand the when and how of fertilizer application. Over-fertilization can lead to undesirable outcomes, like compromised flavor.
Time your fertilizer applications according to growth stages. This maximizes benefits and promotes robust, tender plants.
During the initial germination phase, a gentle touch is key. Use a diluted nutrient solution tailored for your young plants.
As they advance to the seedling stage, your microgreens will thrive on a balanced fertilizer providing essential nutrients like nitrogen, phosphorus, and potassium.
Keep a close eye on the concentration to avoid nutrient burn. Monitor the colors of the leaves to assess health.
Just before harvest, a final light feed can enhance flavor and nutrient density. This helps your microgreens reach their full potential.
Striking the right balance in nutrient levels while avoiding common pitfalls will distinguish a mediocre crop from one that’s exceptionally vibrant and nutritious.
Monitoring the signs of readiness, like leaf height, is essential.
8. Fan or Ventilation System
A fan or ventilation system is key for air circulation in your microgreens garden. It prevents mold and improves growth.
Proper airflow regulates humidity levels and reduces the risk of diseases, enhancing the quality and freshness of your microgreens.
This is crucial in indoor growing environments, where stagnant air can negatively impact growth and flavor.
To establish effective airflow, place a small fan near your microgreens. Ensure it doesn t blow directly onto the plants; let it circulate the air gently.
This method distributes fresh air evenly and encourages your plants to strengthen their roots and stems.
It s important to monitor humidity levels with a hygrometer, aiming for a range of 40-60%.
If humidity rises too high, your ventilation system can help dry out excess moisture. This prevents mold and mildew.
Maintaining proper humidity is key to preserving freshness and quality of your crops.
Striking a balance between airflow and humidity will set the stage for flourishing, healthy microgreens for your meals and salads.
9. Thermometer and Humidity Meter
Using a thermometer and humidity meter is crucial for monitoring the small climate of your microgreens garden. This ensures that temperature and humidity levels stay within the ideal ranges for healthy growth. By doing so, you maximize nutrient density.
With these tools, you can track environmental conditions throughout various growth stages. This helps prevent issues like overheating or excessive moisture that could hinder your plants’ development. Maintaining the right temperature and humidity will enhance nutrient density and flavor, leading to a bountiful harvest of fresh, tender microgreens for your meals.
Understanding that microgreens thrive in temperatures generally between 65 F and 75 F is essential. Extremes outside this range can slow their growth or even cause plant stress. Similarly, keeping humidity levels around 40% to 60% fosters an environment where they can flourish. Too much humidity might invite mold, while too little can lead to wilting and affect the quality and freshness of your microgreens.
Regularly checking these metrics helps your plants grow better and guides you in making adjustments. Whether it’s using a fan for better air circulation or a humidifier to add moisture, this proactive approach enhances your success as a gardener. You can cultivate a supportive community around gardening.
10. Harvesting Tools
Selecting the right harvesting tools is essential for achieving a clean and efficient harvest of your microgreens. This ensures their freshness and quality for your meals and garnishing.
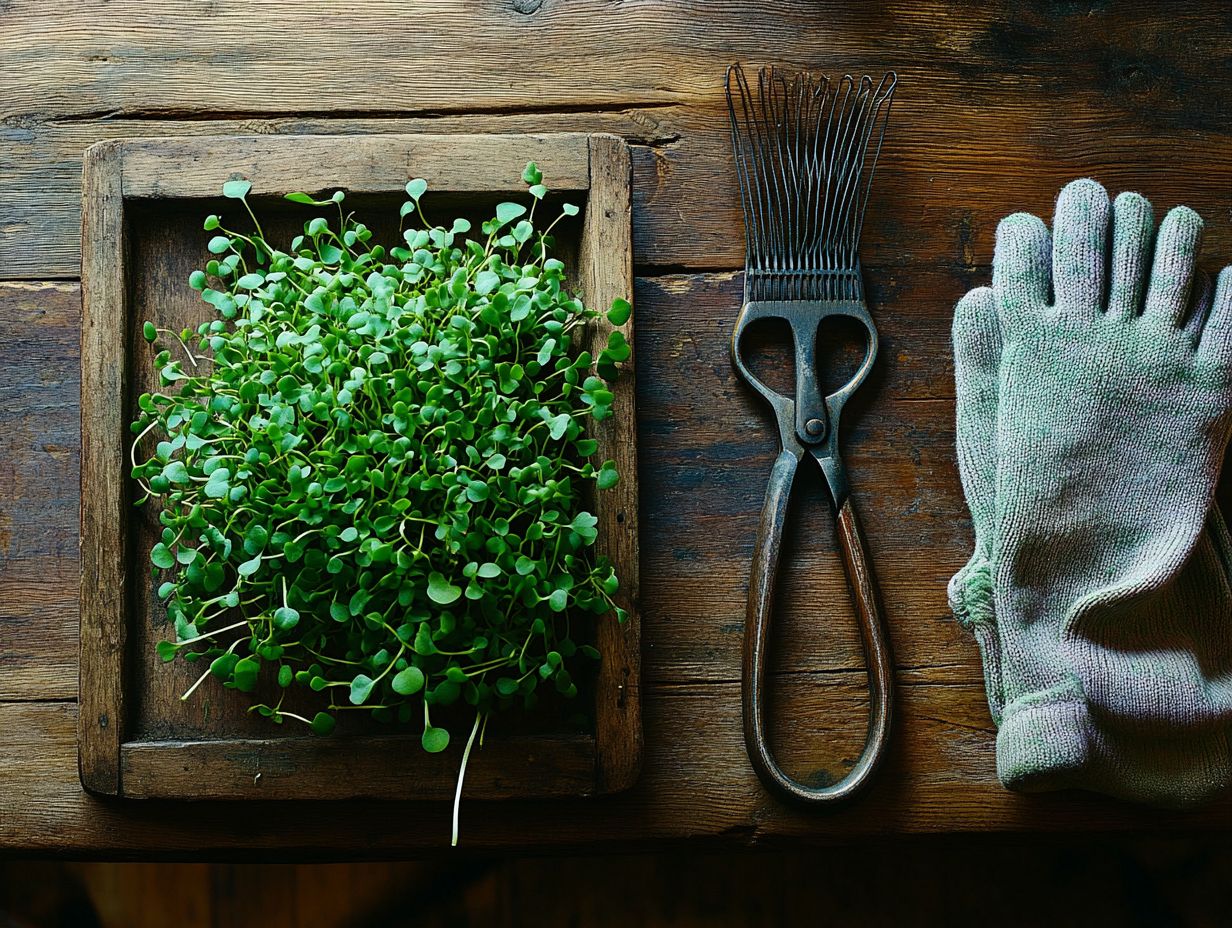
You have a variety of tools at your disposal, including standard kitchen scissors, precision knives, and even specialized harvesters designed specifically for microgreens. Each tool has its own advantages. For instance, scissors offer the benefit of quick and clean cuts, while a sharp knife provides the precision needed for larger harvests and helps maintain the integrity of the roots. If you’re interested in growing microgreens, check out this step-by-step guide to sowing microgreens for more tips.
It’s crucial to use proper cutting techniques. Cutting just above the soil line helps maintain the health of the remaining plants. Handle the freshly cut microgreens with care to prevent bruising. Using the right methods can significantly impact the quality of your harvest, including knowing how to harvest popular microgreen varieties.
After harvesting, storing them in breathable containers in a cool environment like the refrigerator will help preserve their vibrant flavors and nutritional value for longer, making them last longer.
11. Preparing for Harvest
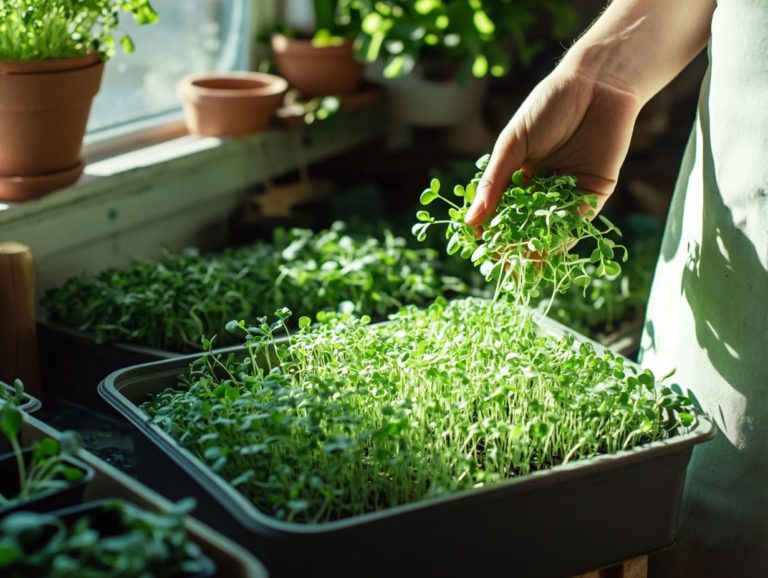
Successful preparation for harvesting microgreens hinges on recognizing the signs that indicate they re ready for cutting. Focus on the development of cotyledons, which are the first leaves that appear after germination, and true leaves. By honing in on these visual cues, you ensure that your microgreens are harvested at their peak flavor and nutrient density.
Timing is everything. If you harvest too early, you risk sacrificing flavor, while waiting too long could lead to tougher textures. By closely monitoring the height and overall health of your microgreens, you can pinpoint the ideal moment to savor the freshest and most vibrant flavors.
To assess their readiness, pay attention to the crops height, which typically ranges from two to four inches, depending on the variety. The cotyledons should be fully expanded and boast a vibrant color, indicating they’ve harnessed enough energy for a robust flavor. True leaves will start to emerge shortly thereafter, signaling a new stage in growth.
A gentle nibble can help you gauge the flavor intensity; the peak taste often coincides with the appearance of true leaves. By keeping a vigilant eye during this vital growth phase, you ensure that each handful you harvest embodies the best characteristics, making your microgreens a highlight in your salads and meals.
With the right tools and knowledge, you’re on your way to enjoying delicious and nutritious microgreens right from your garden!
12. Best Harvesting Techniques
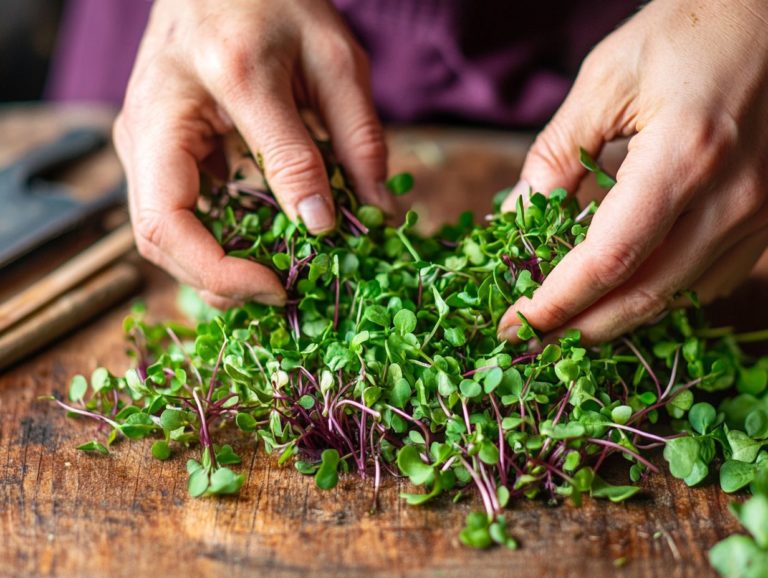
Employing the finest harvesting techniques is essential for maintaining the quality of your microgreens and ensuring a successful harvest that preserves their flavor and nutrient density. Use sharp scissors or a special Quick-Cut Greens Harvester, a tool designed to cut greens quickly and cleanly, to ensure clean cuts. This prevents damage to the remaining plants and encourages healthy regrowth.
Cut microgreens just above the soil line. This minimizes disturbance to the roots.
By mastering effective cutting techniques, you can ensure the longevity of your crops while maximizing the enjoyment of their vibrant flavors in your meals.
Using the right tools is important, but timing is crucial in harvesting microgreens. Collecting them early in the morning, when moisture levels are higher, can enhance their crispness and freshness, elevating the overall quality of your harvest.
After the trim, handling your microgreens with care is vital; gently rinsing them will remove any debris; but be cautious not to bruise those delicate leaves.
Store freshly harvested greens in a breathable container lined with a damp paper towel. This helps maintain moisture and prolongs shelf life.
By following these practices, get ready to delight in fresh, flavorful microgreens that beautifully elevate any dish.
13. Rinsing and Drying Microgreens
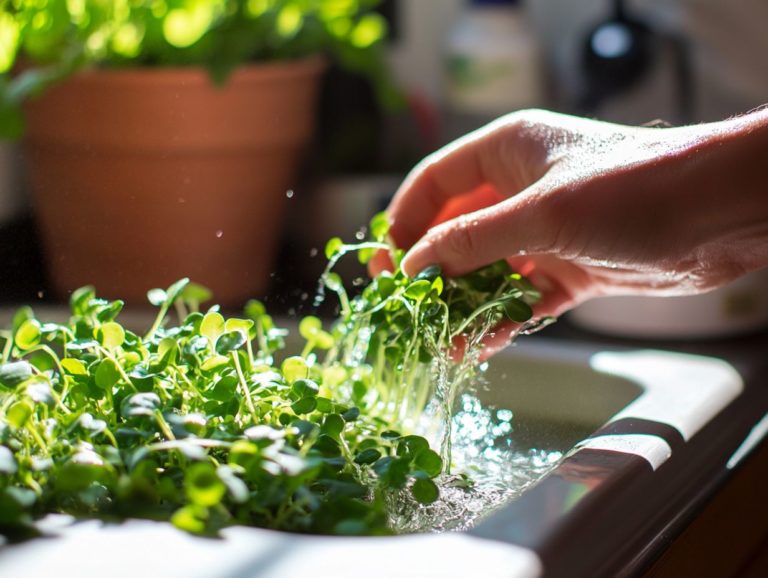
Rinsing and drying microgreens after harvest is an essential step to ensure their freshness and quality. This process not only removes any debris but also enhances their visual appeal for your meals and garnishing.
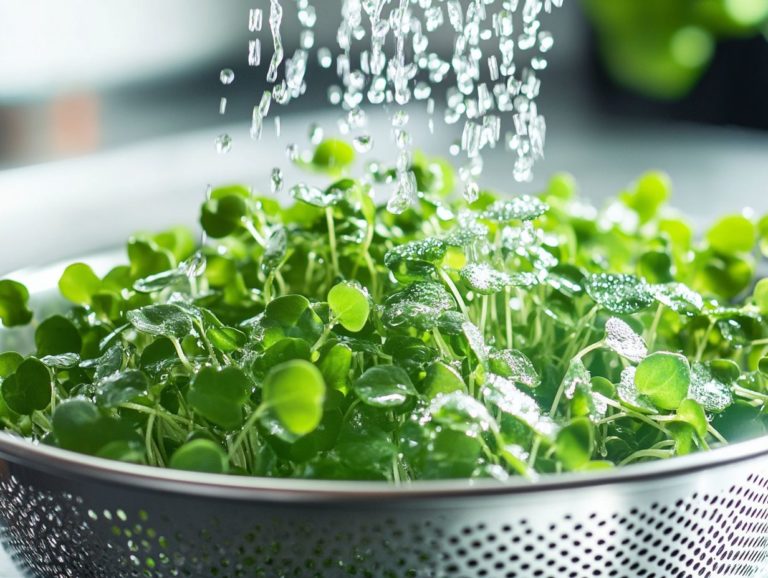
By dedicating a moment to thoroughly rinse them, you eliminate potential contaminants while preserving the vibrant colors and flavors that make microgreens so desirable. It s best to use a gentle stream of cold water and, if you have one handy, a fine-mesh strainer to catch any tiny particles.
After rinsing, the drying process becomes equally important; a salad spinner works wonders, effectively removing excess water without bruising those delicate leaves. This ensures they remain crisp and ready for your meals.
Once rinsed, lay them out on a clean kitchen towel for careful air drying. This ensures they remain crisp and ready to elevate any culinary creation. By adopting these practices, you help sustain the appeal and nutritional value of microgreens, making them an invaluable addition to any meal.
14. Storage and Shelf Life of Microgreens
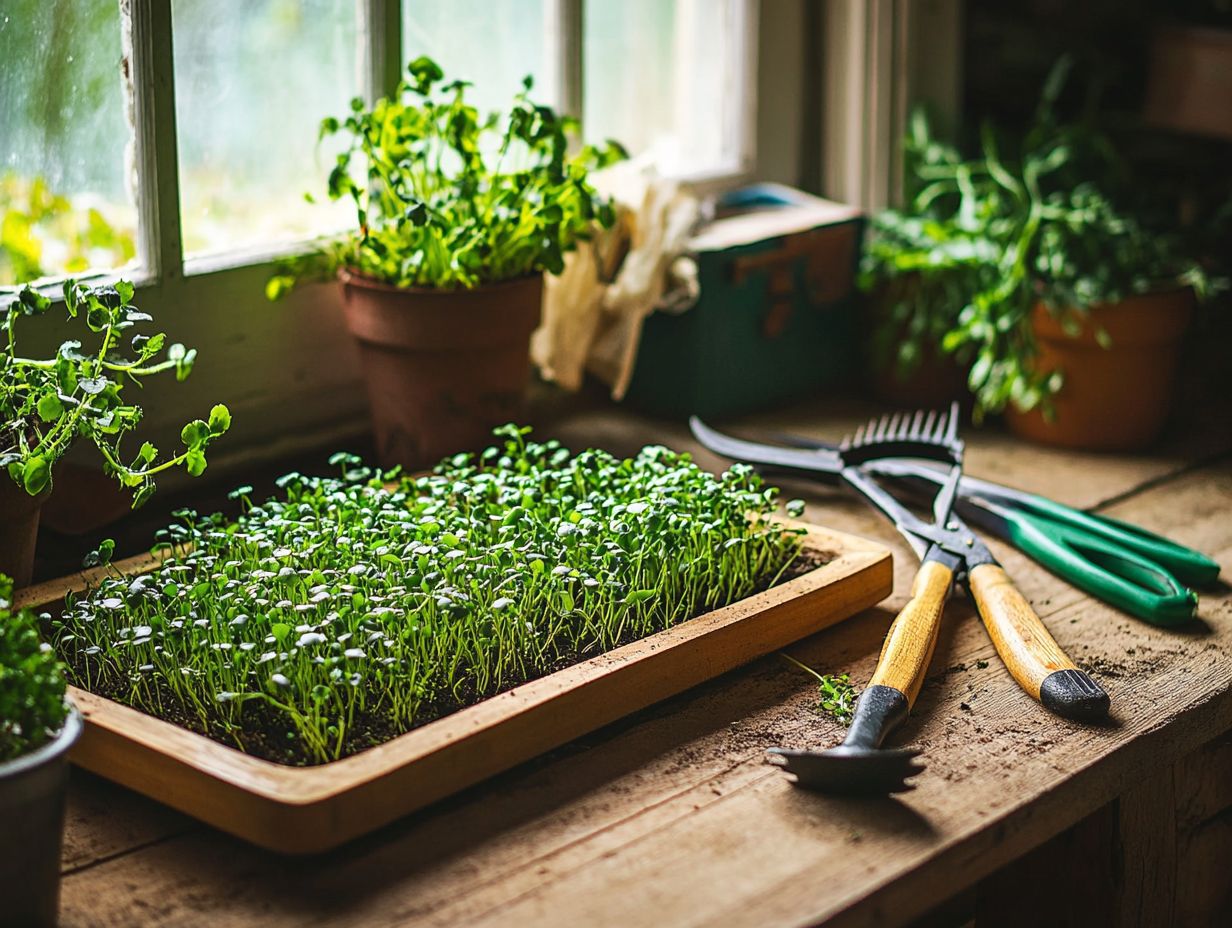
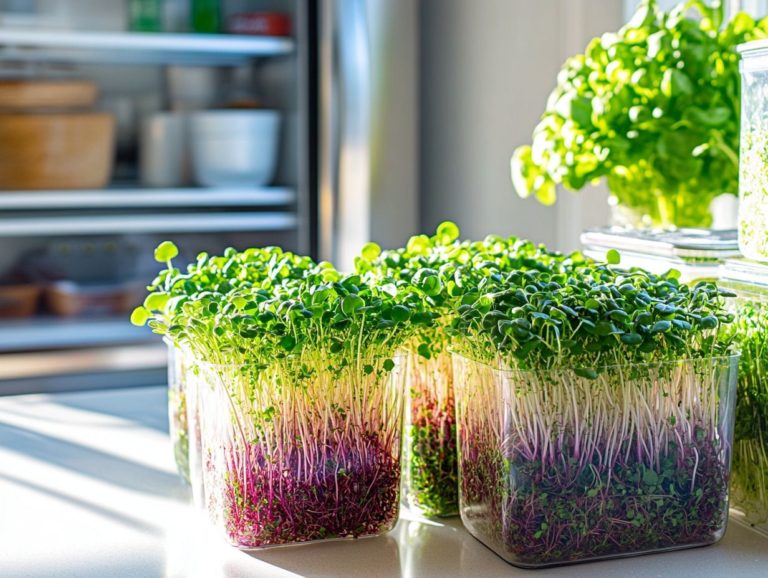
Proper storage is essential for maximizing the shelf life of your microgreens, ensuring they remain fresh and flavorful long after harvest. Keeping them in a cool, dark place like your refrigerator extends their longevity and prevents wilting.
Utilizing airtight containers or damp paper towels helps retain moisture and crispness, allowing you to enjoy their nutrient density and vibrant flavors in your meals.
To ensure optimal freshness, closely monitor the temperature and humidity levels where your microgreens are stored. Ideally, keep the temperature between 32 F and 41 F (0 C to 5 C) to slow down the aging process.
It’s wise to store your microgreens away from fruits and vegetables that emit ethylene gas, as this can lead to premature spoilage. Using a breathable container lined with a slightly damp paper towel creates a micro-climate that balances moisture without promoting mold growth, preserving their delightful crunch and flavor for longer.
Apply these storage tips now to fully savor the benefits of freshly harvested greens.
15. Flavor Profiles of Different Microgreens
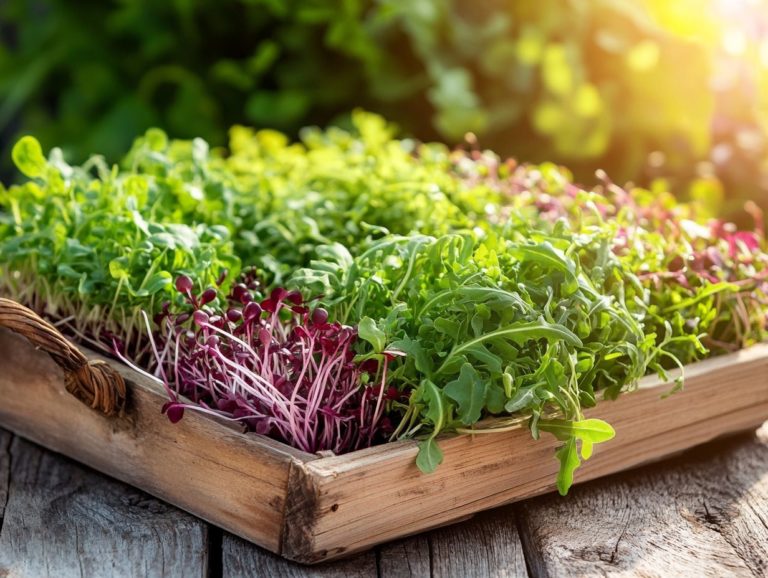
Exploring the flavor profiles of microgreens can elevate your culinary creations. Each variety, from the peppery punch of radish to the sweet notes of basil, brings its own distinct flavor.
Understanding specific microgreens helps you craft meals that not only delight the palate but also showcase their nutritional benefits. Don’t hesitate to experiment with different combinations; you might discover delightful new flavors.
The vibrant zest of arugula microgreens adds a lively kick to simple sandwiches. Delicate pea shoots introduce a refreshing sweetness to stir-fries.
When crafting salads, blending beet and sunflower microgreens creates a feast for the eyes with a spectrum of flavors. Use these mini greens as vital components of your dishes for fresh and authentic tastes.
Try tossing a handful of microgreens into omelets or smoothies. This enhances nutrition without overpowering other ingredients, transforming ordinary meals into gourmet experiences.
16. Common Pests and Diseases of Microgreens
Recognizing pests and diseases that affect microgreens is crucial for maintaining a healthy garden. Many growers face challenges like aphids, mold, and damping-off, which can harm your crops.
Building a supportive community of fellow gardeners gives you valuable insights to tackle these issues. By monitoring your microgreens regularly, you can protect them from pests and diseases.
Creating an optimal growing environment is essential. Control humidity and ensure proper air circulation to reduce the risk of diseases.
Engage with local gardening groups or online forums to share experiences and learn from others. This fosters collaboration and deepens understanding of effective gardening practices.
17. Tips for Successful Microgreen Gardening
Microgreen gardening combines knowledge and practical tips. This can enhance your growing experience. Choosing the right seeds and growing mediums is key. Lighting and watering techniques also greatly affect plant health.
Join a community of fellow growers! This support sparks inspiration and passion for cultivating nutrient-dense microgreens (young edible plants harvested just after the first leaves develop) that enhance your meals and foster healthy eating habits.
Whether you re just starting out or have a seasoned green thumb, recognizing common challenges like pests, mold, or inconsistent growth is essential. Sharing experiences allows you to learn from each other’s triumphs and setbacks.
Discussing your progress and experimenting with different varieties can reveal new methods and fresh ideas. It’s this camaraderie and sharing of insights that makes microgreen gardening a joyful community experience.
18. Creating a Microgreen Garden in Small Spaces
Start your microgreen garden in small spaces today! It s rewarding and easy, bringing fresh greens right to your home.
Use containers, shelves, or windowsills to make the most of your space. This way, you ll enjoy nutrient-dense microgreens while enhancing your lifestyle.
With a bit of creativity in growing within compact areas, you can cultivate a lush and productive microgreen garden, providing fresh ingredients for cooking.
Incorporating tiered shelving units or wall-mounted planters lets you utilize your space effectively, freeing up precious floor area. Urban dwellers with limited space will find this method especially helpful!
Choosing lightweight containers and using potting mixes designed for optimal drainage will enhance growth and simplify maintenance. By pairing microgreens with herbs or small vegetables, you can create a diverse, multifunctional garden design that encourages both cooking ideas and sustainability in urban environments. Consider using sprouting trays for microgreens to maximize your gardening efforts.
19. The Nutritional Benefits of Microgreens
Microgreens are truly remarkable for their impressive nutritional advantages, often boasting higher levels of vitamins, minerals, and antioxidants compared to their mature counterparts, making them an excellent choice for health-conscious eaters.
These delicate plants not only infuse your dishes with vibrant colors and flavors but also play a significant role in enhancing your health and wellness. By understanding the specific nutrients that different microgreen varieties offer, you can make informed choices to elevate your diet.
Incorporating these healthy greens into your meals provides a delicious and effective path to boosting your overall health. Take beet microgreens, for example; they are overflowing with vitamins A, C, and K, essential for immune function and skin health. Broccoli microgreens, on the other hand, serve as a powerhouse of sulforaphane, a compound known for its cancer-fighting properties.
To reap these health benefits, consider sprinkling radish microgreens atop your salads or blending pea shoots into your smoothies, taking advantage of their unique flavor profiles. Don’t wait start enjoying the powerful benefits of microgreens today!
By thoughtfully including microgreens in your culinary creations, you not only elevate the flavor of your meals but also embark on a journey toward improved nutritional wellness with every delightful bite.
Frequently Asked Questions
What are some essential tools for harvesting microgreens?
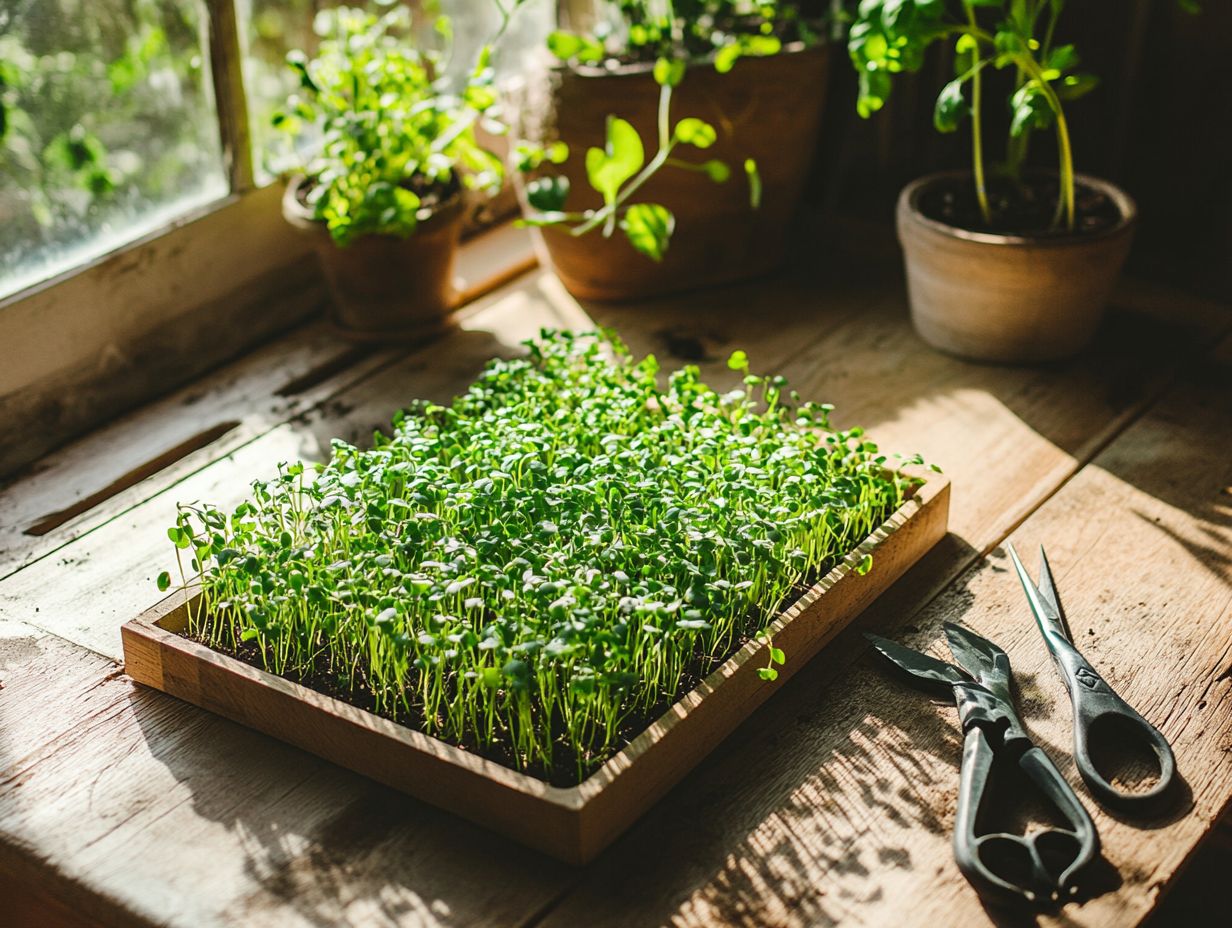
Some essential tools for harvesting microgreens include sharp scissors, a clean cutting board, and a clean tray or container to place the harvested greens. Utilizing a Quick-Cut Greens Harvester can enhance your harvesting efficiency and streamline the process.
Why is it important to use sharp scissors for harvesting microgreens?
Sharp scissors are important for harvesting microgreens because they ensure a clean and precise cut, minimizing damage to the remaining plant and reducing the risk of disease or contamination. Proper cutting techniques help your plants live longer.
Do I need to use a cutting board when harvesting microgreens?
While a cutting board is not absolutely necessary, it is recommended to provide a stable and clean surface for cutting the microgreens and to prevent damage to your countertop or work area. Rinsing and drying your tools after use is also essential for maintaining quality.
What is the best way to store harvested microgreens?
To store harvested microgreens, rinse and dry them thoroughly. Place them in a clean container lined with paper towels and store them in the refrigerator. Use within a few days for the best freshness.
Can I reuse my harvesting tools for different types of microgreens?
Using separate tools for each type of microgreen is important. This prevents mixing flavors and maintains quality.
How should I clean my harvesting tools after use?
After each use, wash your scissors and cutting board with hot soapy water and rinse well. Sanitize with a bleach solution or rubbing alcohol to ensure cleanliness and tool longevity.

