Harvesting Microgreens: Tips for Beginners
Microgreens are those delightful, tiny plants brimming with nutrients. They have become all the rage, thanks to their vibrant flavors and impressive health benefits. Often used to garnish soups, they elevate dishes beautifully.
Whether you re an experienced gardener or just dipping your toes into cultivation, learning to harvest these delicate greens can truly enhance your meals. It also boosts your nutritional intake, especially when you discover how to grow microgreens efficiently.
This guide will equip you with everything you need to know about harvesting microgreens. You ll learn about optimal timing, essential tools, best practices, and common pitfalls to avoid.
Explore innovative ways to incorporate these flavorful greens into your dishes. Discover how to add them to salads and transform your culinary endeavors with fresh, homegrown microgreens!
Contents
Essential Tips to Get You Started!
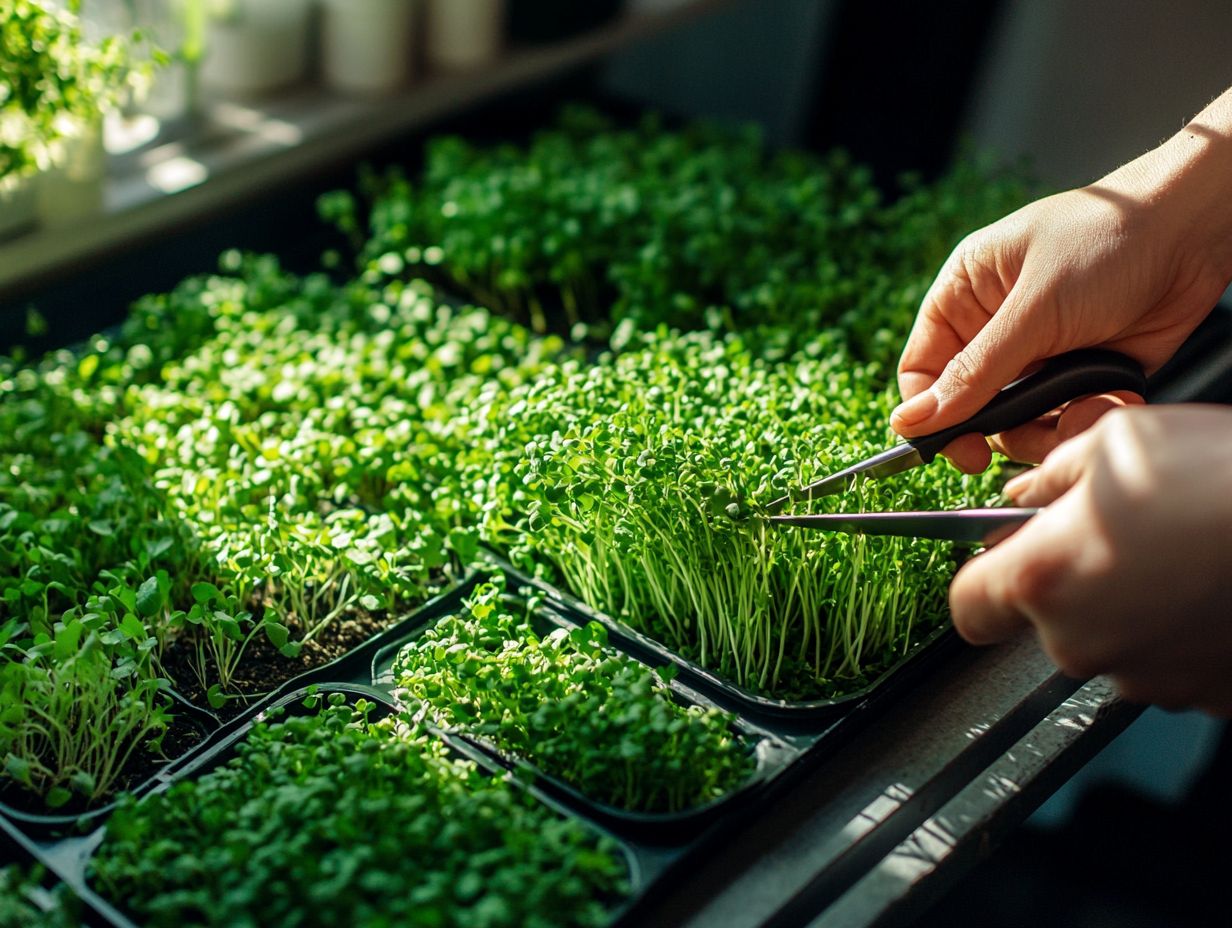
- Harvesting microgreens is a simple and rewarding process that beginners can easily manage.
- Timing is crucial when harvesting microgreens. Consider factors like plant growth and weather conditions for optimal results.
- Use the right tools to maximize yield and quality. Follow best practices, such as sanitizing equipment and handling microgreens delicately.
What are Microgreens?
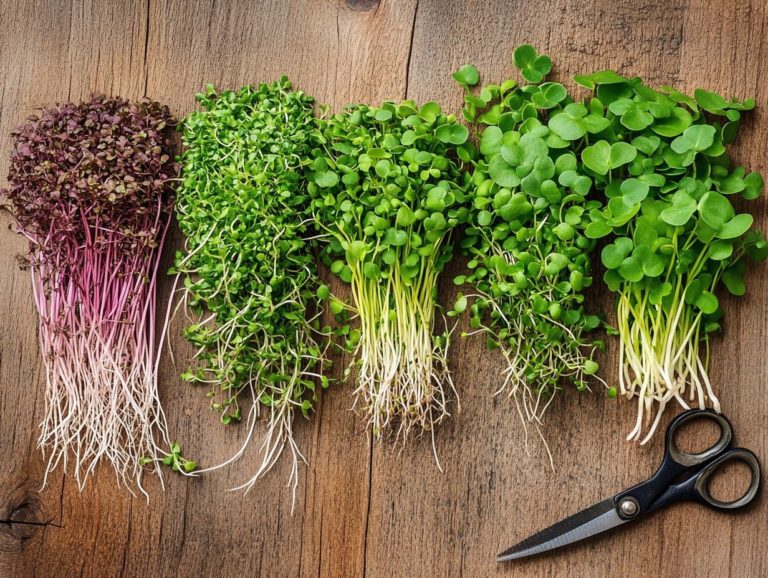
Microgreens are delightful young plants you can harvest right after the first true leaves appear, known as cotyledons. You ll find popular varieties like Kale, Radish, Beets, and Lettuce, each offering rich flavors and vibrant colors that elevate your salads and other dishes.
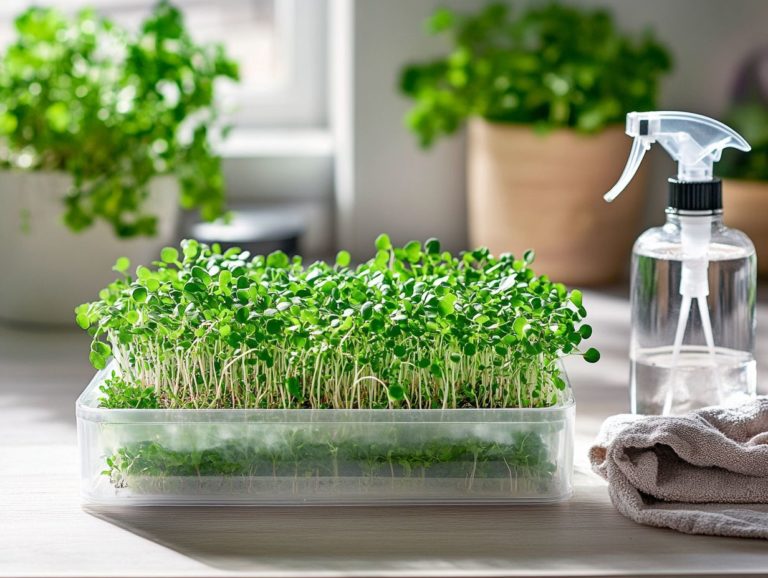
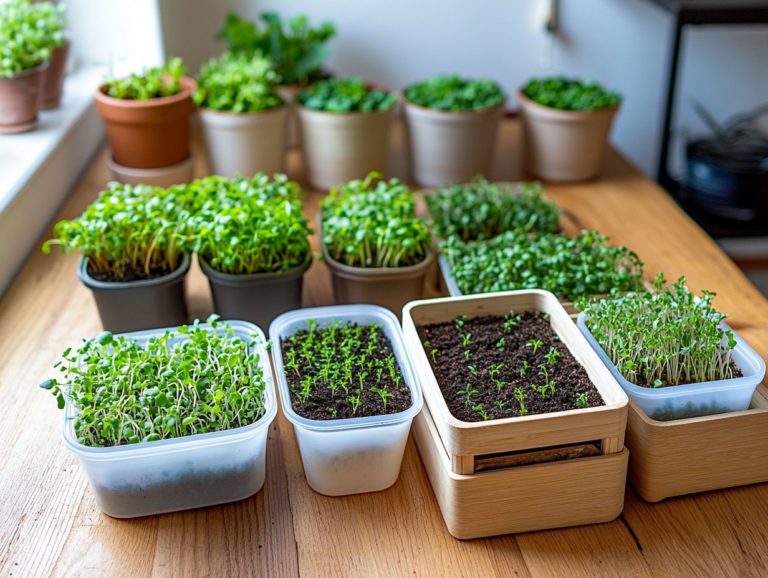
These tiny wonders are typically grown in small containers or trays, making them a fantastic option for indoor gardening enthusiasts and home gardeners. They thrive in tight spaces like a sunny windowsill or a cozy basement, where you can choose container types that maximize growth.
Their impressive nutrient density which refers to the amount of essential nutrients in a specific weight of food has caught the attention of community support groups and educational institutions. This includes the University of Maryland Extension and Purdue University Extension, eager to share their benefits, particularly in workshops on growing tips and techniques.
Definition and Benefits
Microgreens are young greens harvested at an early stage of growth. They re not just charming little plants; they re packed with flavor and nutrients, making them a superb addition to any meal.
These vibrant tiny greens boast extraordinary nutrient density, offering vitamins, minerals, and antioxidants that far surpass those of many mature vegetables. By incorporating them into your dishes, you not only enhance the health profile but also introduce unique flavors. Picture yourself tossing a handful of these greens into a fresh vegetable garden salad or stirring them into a rich broth for an invigorating burst of freshness!
Engaging with local gardening communities can inspire you to experiment with growing your own microgreens. This fosters a deeper connection to healthful eating and sustainable practices.
How to Harvest Microgreens
Harvesting microgreens requires keen attention to detail and specific techniques to achieve optimal flavor and quality. The process begins as soon as the first true leaves the cotyledons emerge, signaling that your microgreens are ready for cutting.
By mastering this timing, you can elevate the taste and freshness of your harvest.
Start growing your microgreens today for fresh, vibrant flavors in your meals!
Step-by-Step Guide
To harvest microgreens effectively, begin by selecting a clean cutting tool and preparing a suitable storage container for your fresh greens. Proper storage life can be maintained by sanitizing your cutting tool. This prevents contamination and ensures a healthier harvest.
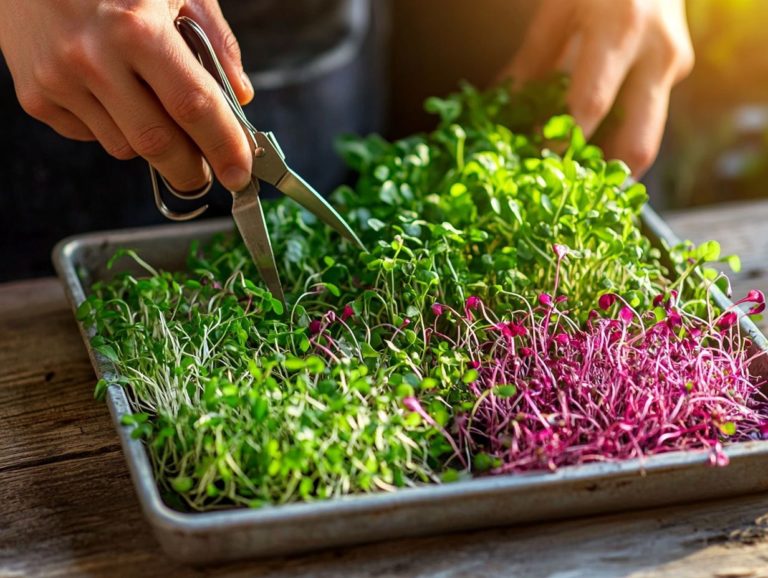
Wait until your microgreens are about 1-3 inches tall. Look for their first true leaves to ensure the best flavor and nutrition. When you’re ready to cut, use a sharp knife or scissors to gently snip the greens just above the soil level, minimizing any damage to the root system. If you’re interested in maximizing your growing area, check out this guide on how to grow microgreens in a small space.
Once harvested, place your microgreens into an appropriate container, like a breathable bag or a ventilated box, to help maintain their freshness. For optimal growth, consider using watering techniques for thriving microgreens. Store them in a cool, dark place or refrigerate for the best results. Cleanliness is key for a healthy harvest. It ensures your greens stay fresh and safe to eat.
Choosing the Right Time to Harvest
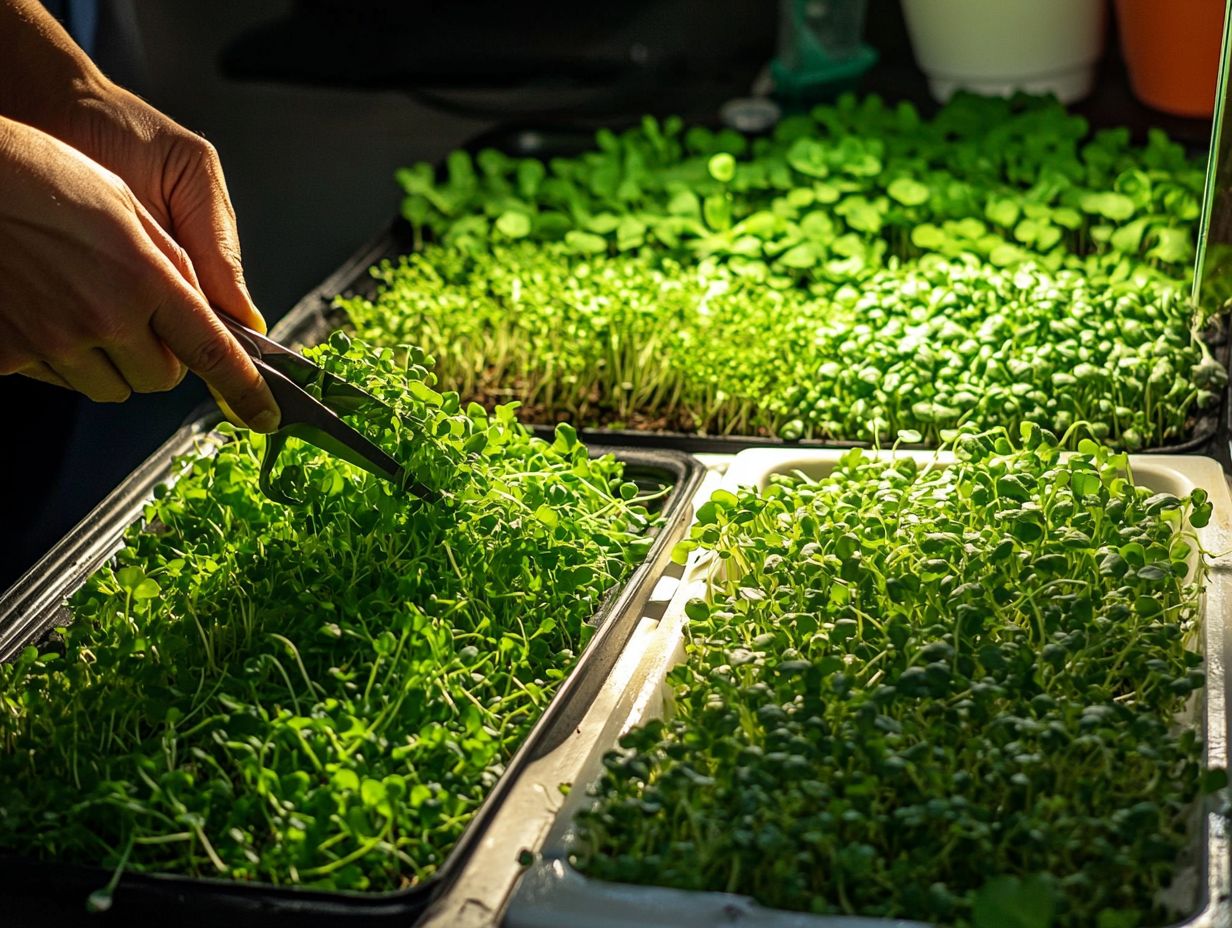
Harvest your microgreens at the perfect time for the best flavor! Look for the first true leaves, also known as cotyledons, to know when they are ready.
Factors to Consider
When deciding the optimal time to harvest microgreens, consider several factors such as growing conditions, light exposure, and visual cues. These elements ensure the best flavor and quality.
Environmental elements play a pivotal role; temperature and humidity significantly affect growth rates and maturity. A warm and humid environment often speeds up development, prompting an earlier harvest.
Light is another critical factor. Microgreens flourish under bright, indirect sunlight for about 12 to 16 hours each day. Watch for signs of maturity, like vibrant colors and the emergence of the first true leaves; these indicate they are ripe for harvesting.
By paying attention to these elements, you can achieve the ideal flavor profile, ensuring your microgreens look stunning and taste exceptional.
Tools and Supplies Needed
To successfully cultivate and reap the benefits of microgreens, you’ll need a select few essential tools and supplies. A sharp cutting tool is paramount for efficient harvesting, while sturdy storage containers will ensure your greens maintain their freshness and vitality.
Essential Items for Harvesting
Essential items for harvesting microgreens include a sharp cutting tool, quality storage containers, and other supplies that ensure your process is both successful and efficient.
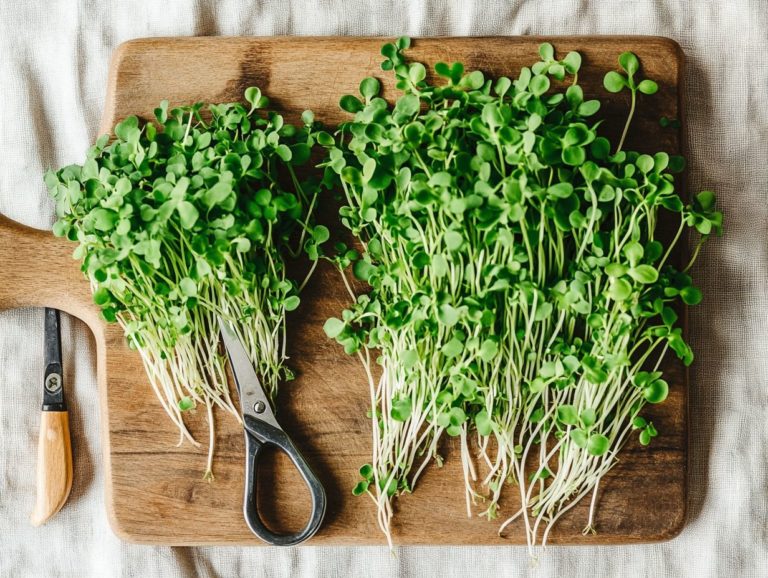
Using a sharp knife or scissors is crucial; these tools allow for clean cuts that minimize damage to the delicate plants, promoting better regrowth if needed. Quality storage containers, ideally made from breathable materials, are vital for maintaining freshness and preventing wilting once you’ve cut the greens. A clean surface for cutting and trimming is essential to avoid contamination. A scale helps you measure your yields accurately, while labels keep track of the different varieties.
Investing in these quality supplies, such as different seed types and a scale for measuring yields, enhances your overall results and transforms harvesting into a more enjoyable and productive experience.
Best Practices for Harvesting Microgreens
By implementing best practices for harvesting microgreens, you can greatly enhance both yield and quality, ensuring that your greens retain their exceptional flavor and nutritional benefits.
Tips for Maximizing Yield and Quality
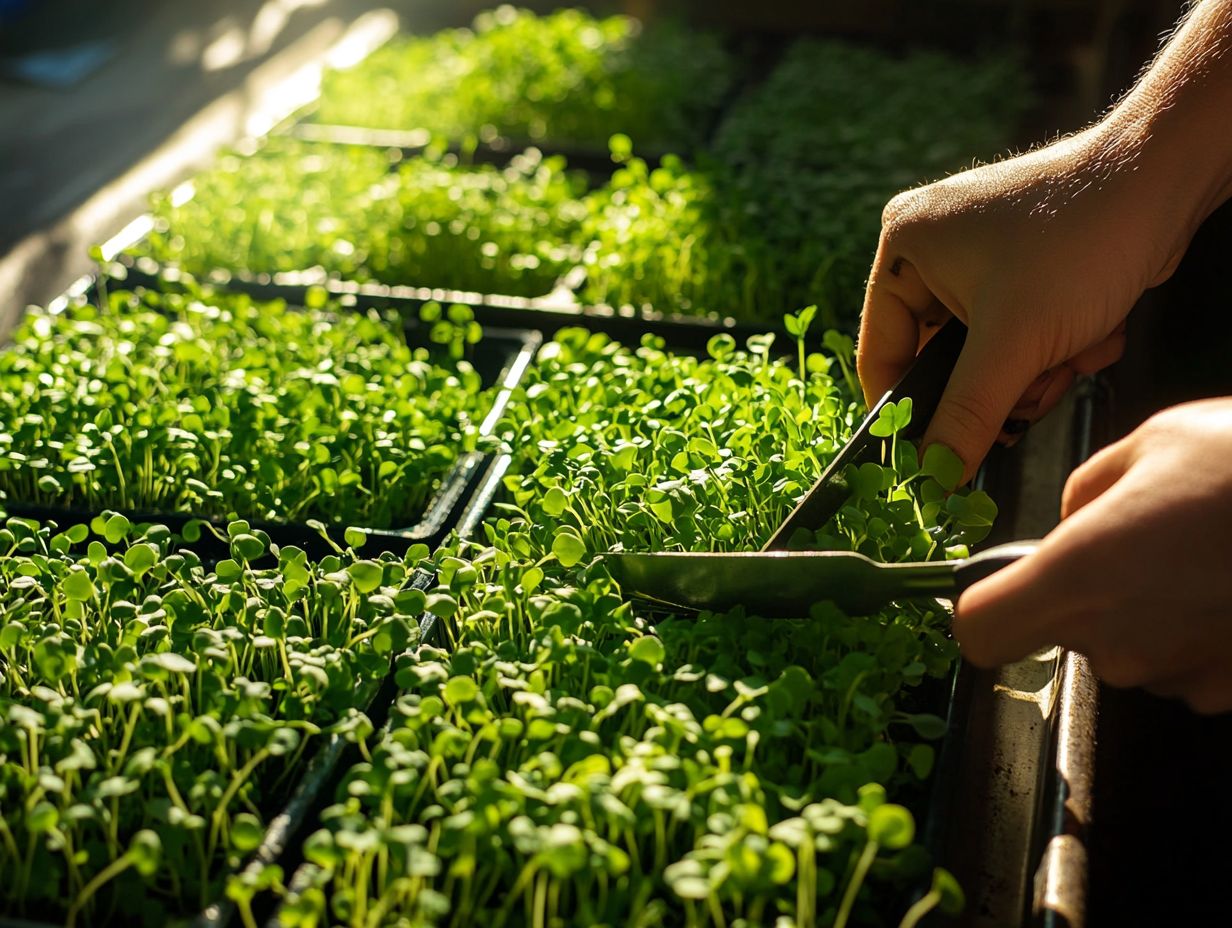
To truly maximize yield and quality in your microgreens, it’s essential to adopt specific harvesting techniques that enhance plant health and flavor retention.
- Start by cutting your microgreens just above the soil level; this preserves the delicate leaves while encouraging natural regrowth and maintaining the health of the plant roots.
- Employ sharp, sanitized tools for harvesting to avoid damaging the plants or introducing disease. This step is critical for keeping the remaining greens healthy.
- Timing also plays a vital role. Harvesting during the cooler parts of the day will boost flavor and freshness!
Focus on proper post-harvest handling. By maintaining the right humidity and temperature control, you can elevate the quality of your microgreens. This ensures they remain vibrant and flavorful as they make their way to your consumers.
Common Mistakes to Avoid
Avoiding common mistakes during the harvesting process is crucial for preventing damage and spoilage. This ensures your microgreens retain their freshness and vibrant flavor.
How to Prevent Damage and Spoilage
Preventing damage and spoilage of microgreens requires careful handling and strict adherence to best harvesting guidelines. This will ensure a longer storage life and superior quality.
Use a paper towel to absorb excess moisture. It’s essential to use sharp, clean tools when cutting, as this minimizes stress on those delicate plants.
After harvesting, the immediate post-harvest procedure is vital. Gently rinsing your microgreens in cool water helps remove any soil remnants while preserving their freshness.
Once rinsed, thoroughly dry them using a salad spinner or soft towels to eliminate excess moisture, which can lead to spoilage. After drying, store your microgreens in breathable containers, such as plastic clamshells lined with paper towels. This allows for proper airflow while soaking up any lingering moisture. To avoid pitfalls in your microgreen journey, check out the top 5 mistakes in growing microgreens.
By adopting these practices, you prolong their crispness and enhance their flavor. This contributes to the overall flavor enhancement of your dishes, making them an irresistible addition to any meal!
Using Harvested Microgreens
Harnessing the power of harvested microgreens can elevate the flavor profile of a wide array of dishes. They transform everything from salads to soups. Young plants like Broccoli and Cabbage add significant nutrition to culinary masterpieces!
For any culinary enthusiast, these tiny greens are an essential ingredient that adds both taste and sophistication to your creations.
Creative Ways to Incorporate Microgreens into Meals
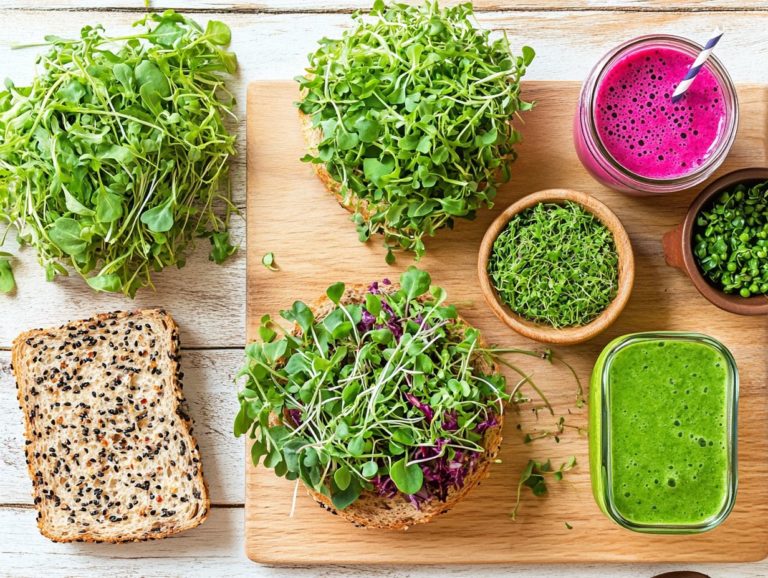
You ll discover countless creative ways to incorporate microgreens into your meals. Use them as a vibrant garnish or a nutritious addition to salads and stir-fries.
These petite greens are not only beautiful, but they also pack a punch of flavor! They re ideal for enhancing dishes like omelets, tacos, and sandwiches.
Imagine how a sprinkle of peppery arugula microgreens can elevate a simple avocado toast. Or how a handful of fresh basil microgreens adds delightful depth to a classic Caprese salad.
You can even blend them into smoothies for an added health boost or use them as a colorful bed for grilled proteins. This introduces both color and texture!
With flavors ranging from nutty to spicy, microgreens present endless opportunities for you to explore in your culinary adventures. Try adding microgreens to your next meal and taste the difference!
Frequently Asked Questions
How do I know when my microgreens are ready to harvest?
Microgreens are typically ready to harvest when they have reached a height of 1-2 inches and have developed their first true leaves.
Can I harvest my microgreens more than once?
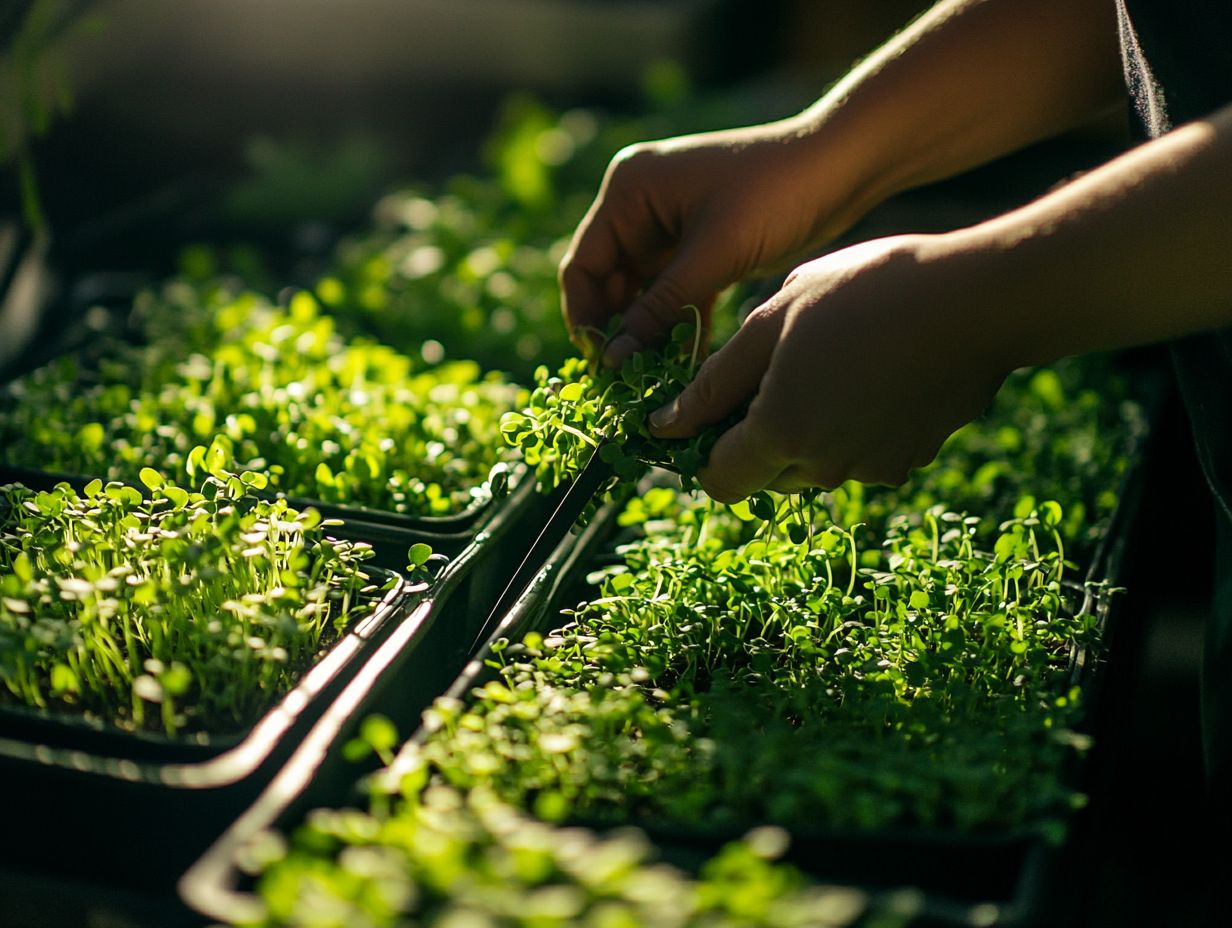
Yes, you can typically harvest microgreens 2-3 times, depending on the variety. Simply cut the greens just above the soil line, leaving the roots intact, and they will regrow.
Do I need any special tools to harvest microgreens?
You only need clean scissors or a sharp knife to harvest microgreens. Have a cutting board and a bowl ready to collect your greens.
Can I store harvested microgreens?
Microgreens taste best when fresh. If you need to store them, keep them in an airtight container or a plastic bag in the refrigerator for up to a week.
What is The Best Time of Day to Harvest Microgreens?
Harvest microgreens in the morning, before the sun rises. This way, the plants are cool and full of flavor.
How do I clean my harvested microgreens?
To clean them, place your microgreens in a bowl of cold water and gently swish them. Remove, then pat them dry with a paper towel before enjoying.

