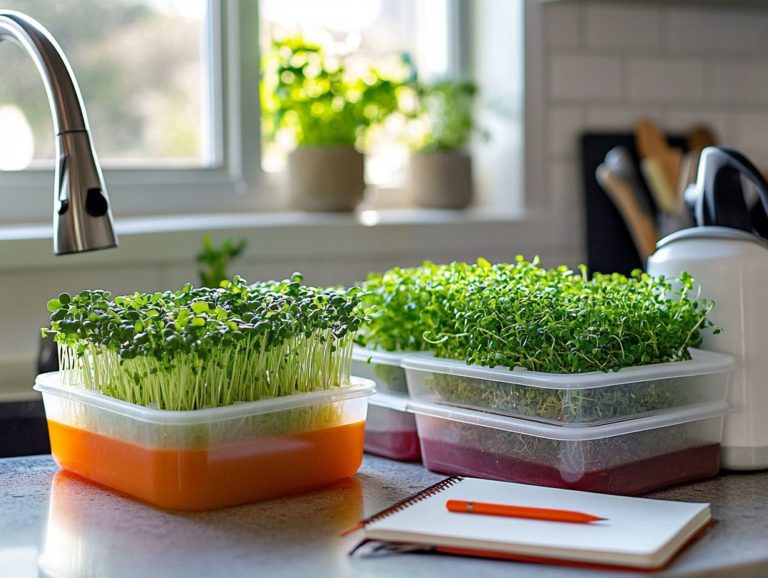
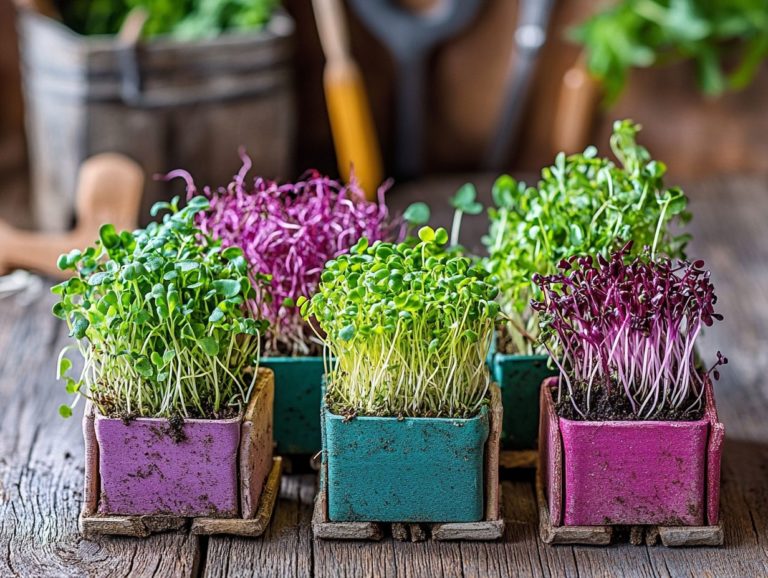
5 Essential Tips for Harvesting and Storing Microgreens
Microgreens have taken the culinary world by storm. They are cherished for their vibrant flavors and remarkable nutritional benefits. Get ready! This guide will give you the essential tips you need for harvesting and storing these tiny powerhouses, ensuring you enjoy them at their freshest.
You ll discover the ideal time to harvest, along with creative methods to utilize and preserve your greens. This will become your go-to resource. Whether you’re a seasoned gardener or just starting out, this article offers valuable insights to elevate your microgreen experience. Let s dive in and make the most of your microgreens today!
Contents
- Key Takeaways:
- 1. Choosing the Right Time to Harvest
- 2. Properly Cleaning and Preparing the Microgreens
- 3. Using the Right Tools for Harvesting
- 4. Storing Microgreens for Maximum Freshness
- 5. Creative Ways to Use and Preserve Microgreens
- What Are Microgreens and Why Are They Popular?
- Frequently Asked Questions
Key Takeaways:
- Harvest microgreens at the right time for optimal flavor and nutrition.
- Clean and prepare microgreens carefully to remove any dirt or debris.
- Use sharp, clean tools to avoid damaging the delicate microgreens.
1. Choosing the Right Time to Harvest
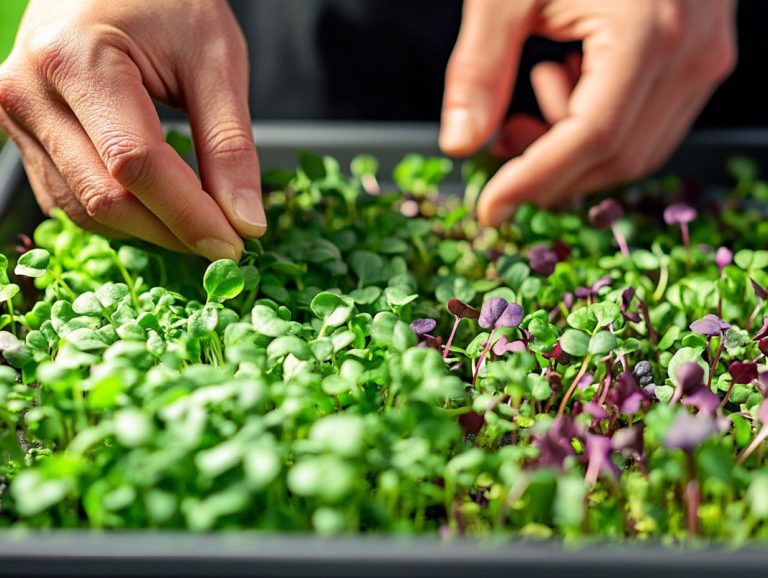
Choosing the right moment to harvest microgreens is essential for unlocking their full flavor and nutritional potential. It also helps extend their shelf life, allowing you to savor their vibrant taste and health benefits. Consider key factors like the growth stage of the first leaves that appear (cotyledons) or true leaves, the specific type of microgreens such as radishes, broccoli, kale, amaranth, arugula, and mustard and the balance of moisture inside and outside.
Understanding the growth stages of your microgreens will help you pinpoint the optimal harvesting window. Cotyledons, the first leaves that sprout, often deliver a delicate and youthful flavor, while true leaves provide a bolder taste. Each variety has its sweet spot for harvest. For example, you’ll find that radishes are most flavorful when picked young, while kale deepens its flavor profile with a little extra time on the plant. To ensure successful growth, consider these 5 tips for successful microgreen germination.
Keep a close eye on moisture levels. Too much internal moisture can lead to rapid spoilage, whereas a well-balanced external moisture content enhances both taste and nutritional value. For more detailed techniques, refer to our step-by-step guide to sowing microgreens. Careful timing in your harvest becomes a cornerstone of successful cultivation, elevating your microgreens experience to new heights.
2. Properly Cleaning and Preparing the Microgreens
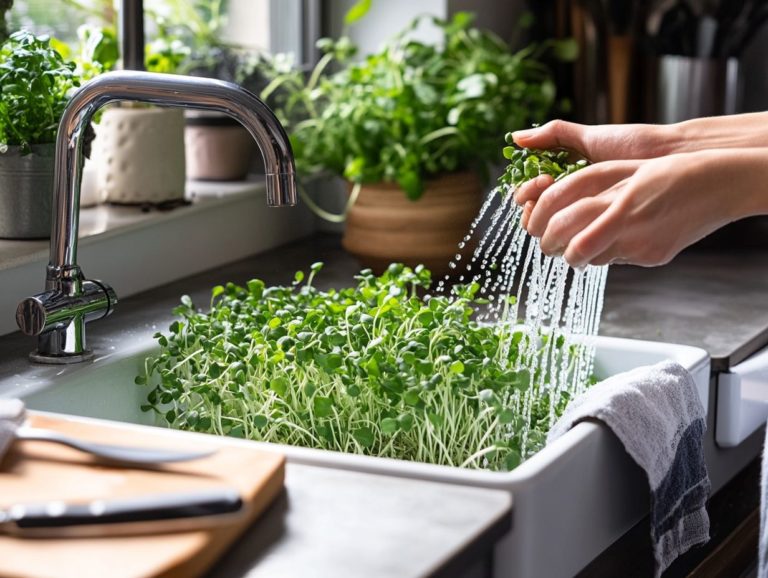
Properly cleaning and preparing microgreens is essential for retaining their freshness. This ensures they remain free from contaminants and ready for culinary marvels while maximizing their nutritional profile. Washing microgreens correctly is crucial to maintaining their vibrant qualities.
Follow these steps to clean your microgreens effectively: Rinse them gently under cool water to remove any dirt. If you’re interested in maximizing your harvest, check out our guide on how to extend the growing season for microgreens. Microgreens are particularly sensitive to ethylene, a gas that can cause vegetables to spoil faster, so store them away from ethylene-producing produce.
Allowing for proper airflow during storage is crucial to prevent moisture buildup, which can lead to mold growth. Maintaining a delicate balance of moisture during the washing process is key. Overly wet greens can deteriorate quickly, while completely drying them out may strip away their vibrant qualities. Make sure to consider airflow to reduce condensation.
3. Using the Right Tools for Harvesting
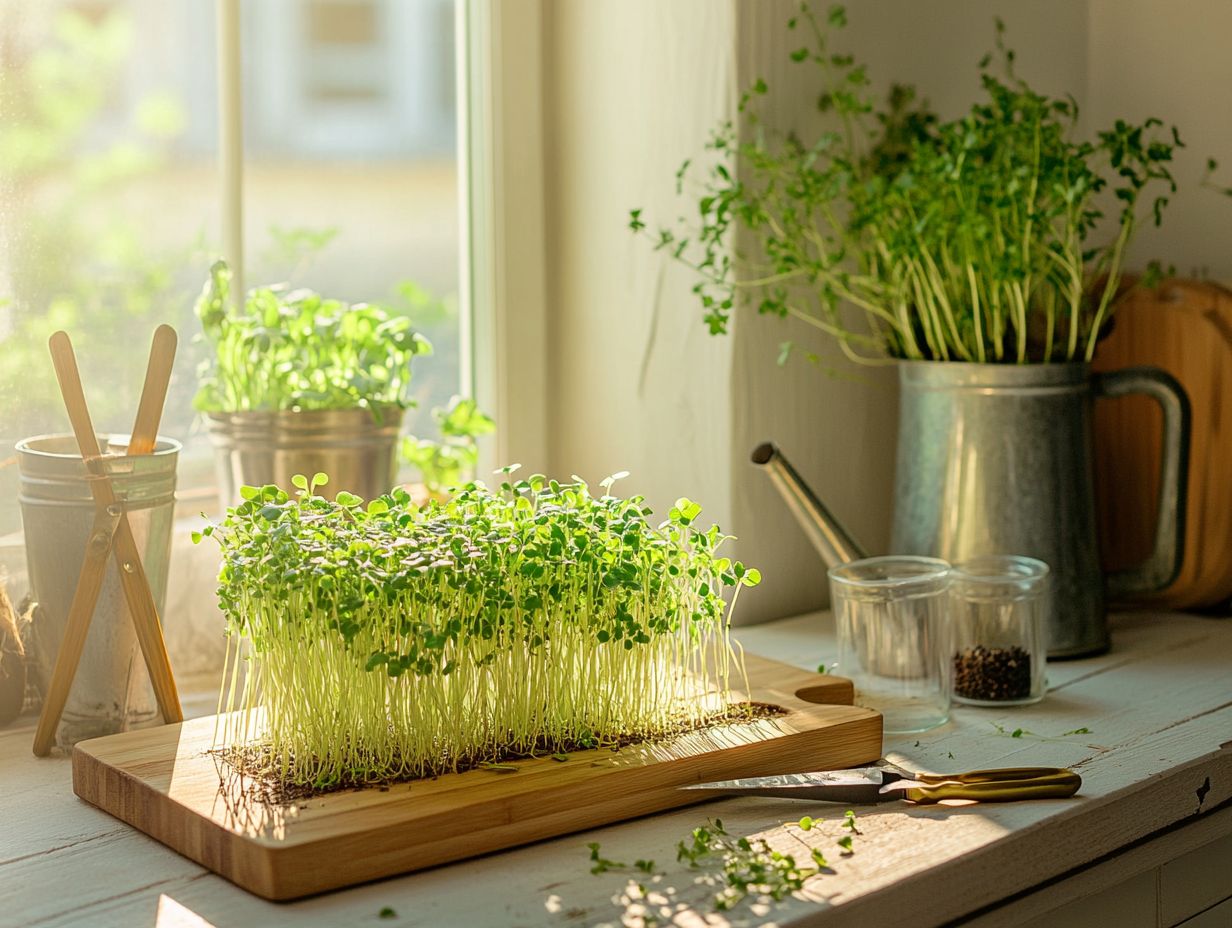
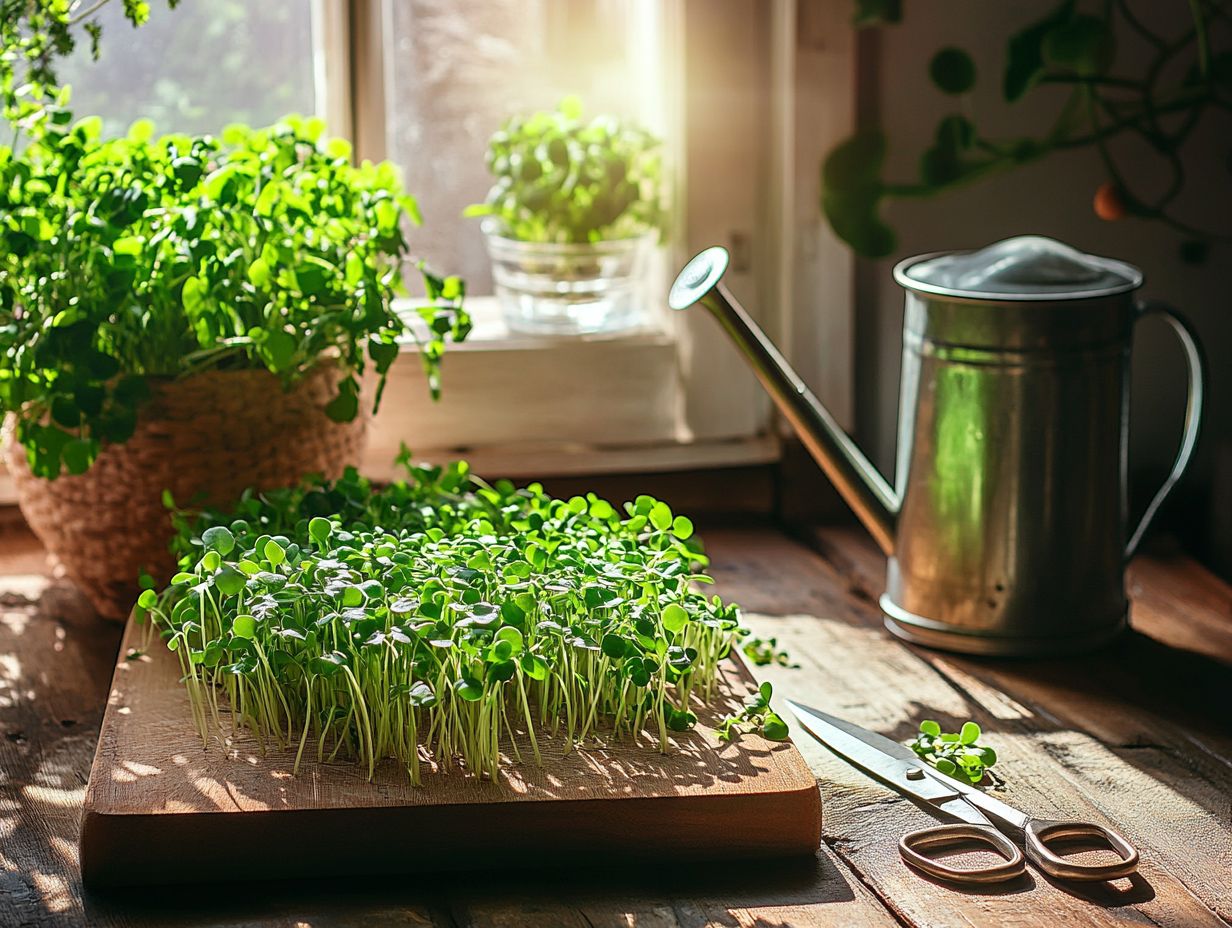
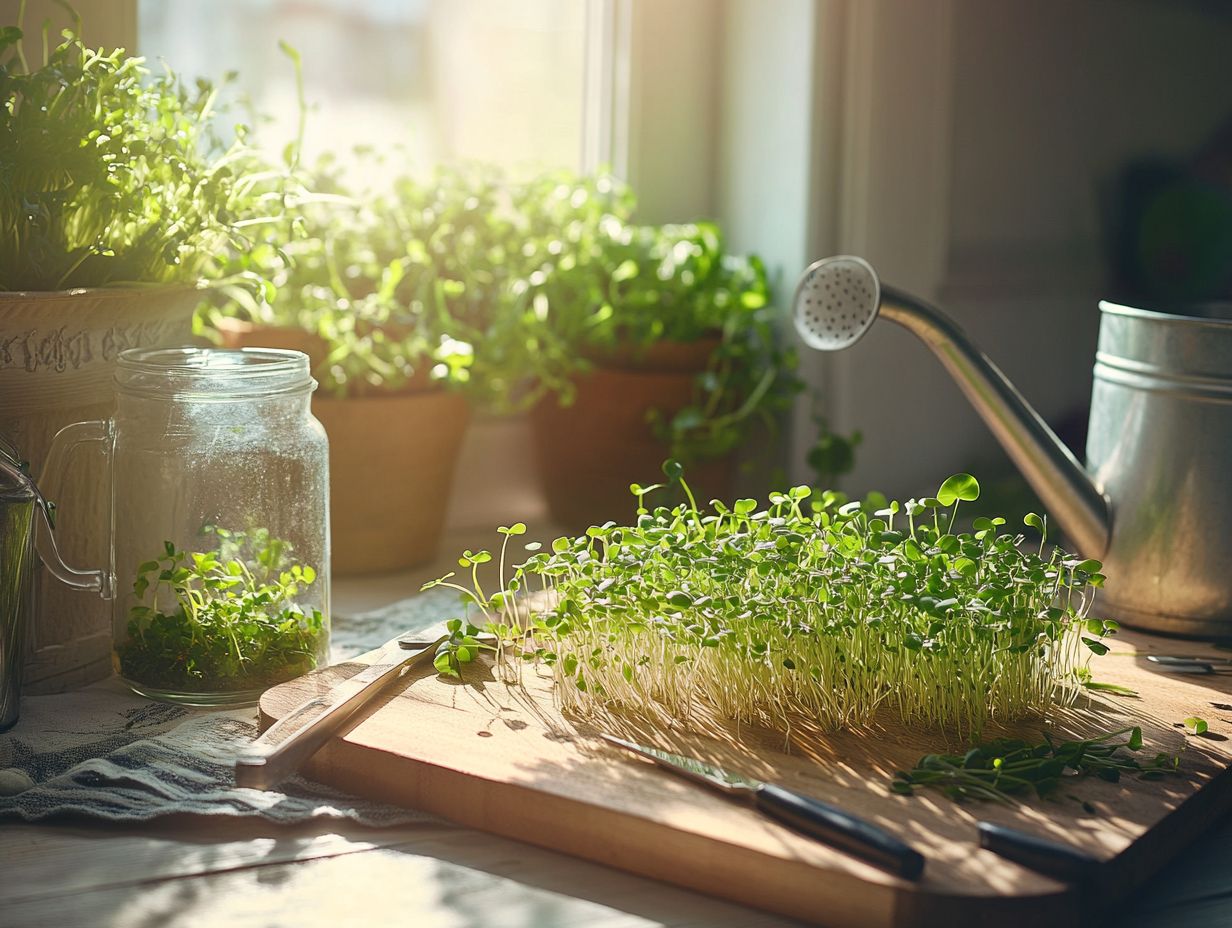
Using the right tools for harvesting microgreens, like a sharp knife and gentle handling techniques, can elevate the quality and longevity of your microgreens after harvest. Cutting microgreens with care ensures that their nutrient content remains intact.
A sharp knife makes all the difference, ensuring clean cuts that minimize damage to both the stems and delicate leaves key for keeping them fresh. When you harvest microgreens with care, their nutrient content remains intact, resulting in a superior flavor and texture that will impress anyone who tastes them. To achieve this, consider the 5 key factors for successful microgreen growing.
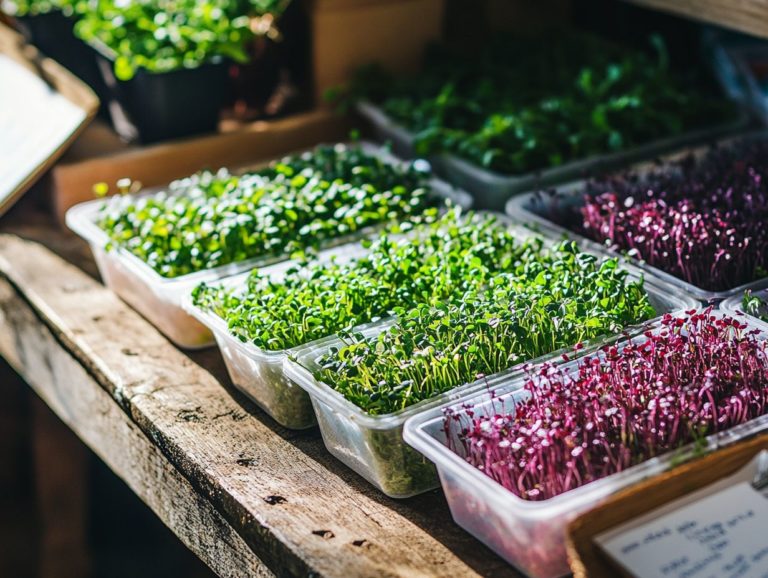
Once you’ve made those precise cuts, place your freshly harvested microgreens into breathable containers, such as perforated plastic clamshells or shallow cardboard boxes. This allows for proper airflow, preventing moisture buildup that could lead to spoilage.
By prioritizing these techniques, you can effectively preserve the vibrant characteristics of your harvest, making them even more enticing for culinary creations while ensuring you maintain the right storage temperature.
In conclusion, properly harvesting and storing microgreens enhances their flavor and nutritional value. To avoid pitfalls in your gardening journey, be sure to learn about the top 5 mistakes in growing microgreens. By following these tips, you can enjoy their benefits to the fullest and take your culinary creations to new heights.
4. Storing Microgreens for Maximum Freshness
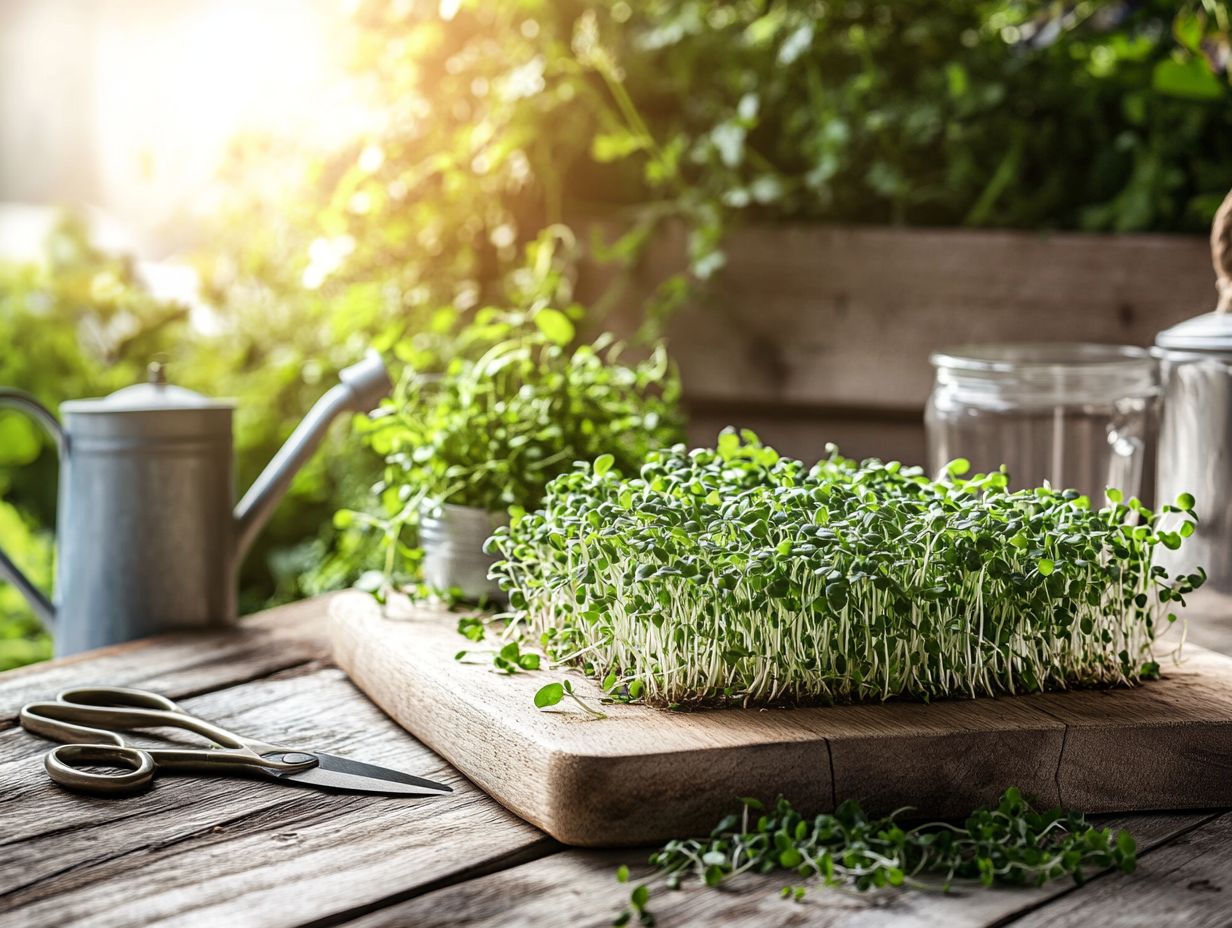
Storing microgreens effectively is essential for maximizing their shelf life and ensuring they maintain their vibrant colors, crisp textures, and rich flavors. This allows you to savor them long after harvest.
To achieve this, carefully consider various storage methods that prioritize freshness and quality. The optimal storage temperature typically hovers between 32 and 40 degrees Fahrenheit, keeping them crisp without the risk of freezing.
Utilizing airtight containers can significantly minimize exposure to air, which might introduce moisture and spoilage. Placing a paper towel inside these containers helps absorb any excess moisture, further combating spoilage.
Adequate airflow is another crucial element. Using perforated containers prevents condensation buildup, ensuring that your microgreens stay dry and vibrant for extended periods.
5. Creative Ways to Use and Preserve Microgreens
Microgreens provide countless creative avenues to elevate your culinary experiences, from fresh salads to exquisite gourmet dishes. They serve as a remarkable source of nutrients that can enhance any meal.
These petite, flavorful greens transform everyday recipes into something extraordinary. They effortlessly infuse zest into sandwiches and add vibrant color to appetizers. Both chefs and home cooks love incorporating microgreens into smoothies for a vitamin boost or using them as stunning garnishes for soups.
Some even venture into creating unique pestos or emulsions (a mixture of two liquids that usually don’t mix, like oil and water) that showcase the distinct flavors of specific microgreens. Preserving these greens is just as important for maximizing their impact.
Techniques like freezing or dehydrating help retain their nutrient density, ensuring you’ll be ready with delicious options for any meal whether mixed into risottos or sprinkled atop pizzas.
What Are Microgreens and Why Are They Popular?
Microgreens are taking kitchens by storm, and it s no wonder why. With their impressive health benefits, vibrant flavors, and straightforward growth requirements, they re the perfect choice for urban dwellers, particularly in food deserts where fresh produce is hard to come by.
These petite greens are harvested just after the first true leaves emerge, delivering a concentrated dose of nutrition. They often boast higher levels of vitamins, minerals, and antioxidants than their fully matured counterparts.
The cultivation process is remarkably simple, needing minimal space and resources. This makes it an accessible endeavor for both home gardeners and culinary enthusiasts.
As health consciousness continues to rise, the unique flavors and textures of microgreens introduce an exciting twist to various dishes, from salads to elegant garnishes. This trend beautifully complements the broader movement toward sustainable eating, enabling urban farming to flourish.
So, whether you re tending to a balcony garden or participating in a community plot, try growing microgreens in your kitchen and taste the difference! You can relish the satisfaction of enjoying fresh, locally grown produce right at your fingertips.
What Are the Different Types of Microgreens?
Explore a fantastic variety of microgreens waiting for you, each boasting its own unique flavor profile, nutritional benefits, and culinary uses. Among the favorites are radishes, broccoli, kale, amaranth, arugula, and mustard.
These tiny greens not only deliver vibrant bursts of flavor but also come loaded with vitamins and minerals. Take arugula, for example; its peppery kick can elevate salads and sandwiches to new heights. The slightly sweet and earthy notes of beet microgreens complement hearty dishes beautifully.
Broccoli microgreens stand out for their impressive sulforaphane, a compound known for its potential health benefits, often celebrated for its cancer-fighting properties. This makes them a go-to for health-conscious individuals. Kale microgreens, on the other hand, are a nutritional powerhouse, brimming with antioxidants and perfect for smoothies, adding healthful boosts without overpowering the taste.
By exploring these diverse varieties, you can enhance your meals with both flavor and nutrition. Craft a delightful symphony of tastes on your plate while being mindful of their ethylene sensitivity during storage.
What Are the Nutritional Benefits of Microgreens?
Microgreens are a great source of vitamins, minerals, and phytonutrients. They are a remarkable addition to your diet that can substantially enhance your health and wellness.
These young plants, harvested just after the first leaves have emerged, offer a higher concentration of beneficial nutrients compared to their mature counterparts. For instance, research has shown that red cabbage microgreens boast impressive levels of vitamins C, E, and K essential for bolstering your immune system, promoting skin health, and ensuring proper blood clotting.
Sunflower microgreens are also a fantastic source of zinc and magnesium, both crucial for your metabolic processes and muscle function. By incorporating these small but powerful greens into your meals, you not only amplify flavor profiles but also significantly elevate the nutritional value, paving the way for improved health outcomes and longevity.
What Are the Common Mistakes to Avoid When Harvesting and Storing Microgreens?
Many enthusiasts encounter common mistakes when harvesting and storing microgreens. These missteps can lead to diminished flavor, nutrient loss, and a shortened shelf life if not managed properly. Poor handling not only compromises the taste and nutritional value of these vibrant greens but can also result in significant waste and disappointment for those who have dedicated time and effort to grow them.
For top quality, it’s crucial to adopt proper harvesting techniques. Use sharp, sanitized scissors to prevent bruising those delicate plants. Cleaning them thoroughly is equally important; any residue or soil can detract from their appeal and safety. Additionally, following essential tips for growing microgreens at home can enhance your success. Storing microgreens in a cool, dark place will help maintain their freshness, and being mindful of ethylene sensitivity can prevent premature spoilage.
By following these practical tips, you can keep your microgreens flavorful and nutrient-rich, maximizing the fruits of your labor.
How Can Microgreens Be Used in Cooking and Recipes?
Microgreens can be seamlessly integrated into a variety of dishes, infusing vibrant flavors and an impressive nutritional boost into everything from salads and sandwiches to soups and garnishes.
These tiny yet powerful plants, brimming with vitamins and bold tastes, enhance the visual appeal of your meals while elevating their health benefits. For example, a sprinkle of radish microgreens can bring a delightful peppery kick to your classic avocado toast, while basil microgreens add a fresh aroma and flavor to your pasta sauces.
With their unique textures and colors, microgreens can transform the mundane into the extraordinary. They are a beloved choice in both home kitchens and upscale restaurants. Chefs and home cooks alike are realizing how these petite greens can play a significant role in culinary creativity, enhancing everything from breakfast omelets to gourmet entrees.
Try adding microgreens to your next meal for a burst of flavor and nutrition!
How Can One Start Growing Their Own Microgreens at Home?
Starting a home microgreens garden is not just accessible; it s a rewarding venture that requires minimal supplies while offering rapid results for those keen on nutritious homegrown produce! Whether you re an experienced gardener or stepping into the green world for the first time, the ease of growing microgreens makes it an appealing choice.
With just a few basic materials shallow trays, potting soil, and seeds you can embark on this delightful journey. The methods are refreshingly straightforward, allowing you to delight in watching these tiny plants sprout within mere days.
Microgreens save you trips to the grocery store, and they provide a freshness and flavor that store-bought greens simply can t match.
By growing these colorful greens at home, you have the opportunity to elevate your culinary creations, making each meal healthier and bursting with life.
Frequently Asked Questions
What are microgreens?
Microgreens are young vegetable greens that are harvested after their first true leaves have developed. True leaves are the second set of leaves that appear after the initial sprouts. They are full of flavor and nutrition, making them a popular addition to salads, sandwiches, and other dishes.
Why is proper harvesting and storing important for microgreens?
Proper harvesting and storing ensures that your microgreens stay fresh and maintain their flavor and nutritional value. This also allows for a longer shelf life for your microgreens.
What are the 5 essential tips for harvesting and storing microgreens?
The 5 essential tips for harvesting and storing microgreens are: using clean tools, harvesting at the right time, handling gently, proper washing and drying, and storing in an airtight container.
How do I know when to harvest microgreens?
Microgreens should be harvested when their first true leaves have fully developed. This is usually within 7-14 days after sowing, depending on the type of microgreen.
Can I store microgreens in the refrigerator?
Yes, microgreens can be stored in the refrigerator for up to a week. However, it is best to use them as soon as possible for optimal freshness and flavor.
Is it possible to freeze microgreens?
Yes, microgreens can be frozen for longer storage. Simply wash and dry them thoroughly before placing them in an airtight container or freezer bag. They can be stored in the freezer for up to 3 months.

