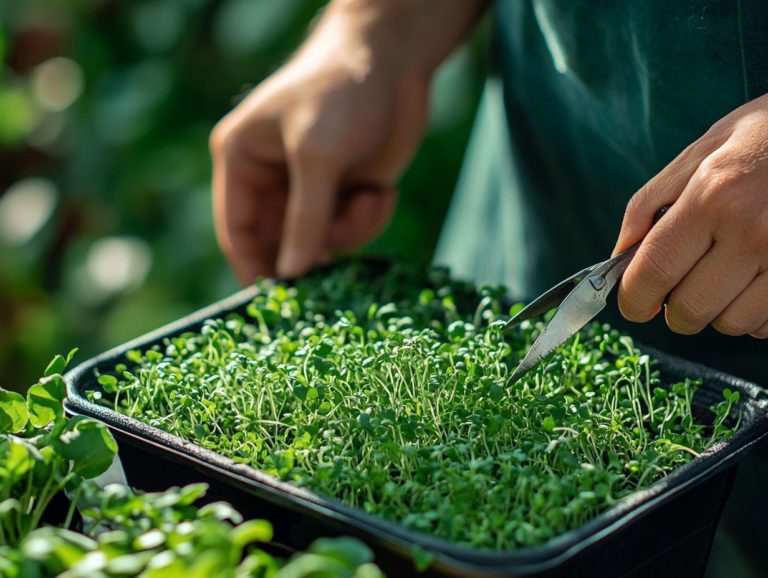
Harvesting Microgreens: Tools of the Trade
Harvesting microgreens, including popular varieties like Amaranth, Kale, and Basil, can be incredibly rewarding. However, it demands the right tools, techniques, and a touch of care to achieve optimal flavor and freshness.
Get ready to discover the best tools for harvesting! You ll find essential harvesting tools and tips for selecting the best equipment, along with proper maintenance to keep your tools in peak condition.
The steps for harvesting microgreens will be laid out, guiding you from determining the perfect moment for harvest to the best post-harvest practices that extend their shelf life, including ways to keep your microgreens fresh for longer.
Start elevating your microgreens game today!
Contents
- Key Takeaways:
- 1. Choosing the Right Tools for Harvesting Microgreens
- 2. Steps for Harvesting Microgreens
- What Are the Key Factors to Consider Before Harvesting Microgreens?
- What Are the Different Stages of Microgreens and When Should They Be Harvested?
- How Can One Tell If Microgreens Are Ready to Be Harvested?
- What Is the Proper Technique for Harvesting Microgreens?
- How Can One Ensure Maximum Yield When Harvesting Microgreens?
- 3. Post-Harvest Care for Microgreens
- Frequently Asked Questions
- What are the essential tools needed for harvesting microgreens?
- What type of scissors or shears are best for harvesting microgreens?
- Why is it important to use a clean and sanitized container for harvesting microgreens?
- What is the purpose of using a spray bottle filled with water during harvesting?
- Can I use any type of scissors or shears for harvesting microgreens?
- Is it necessary to wash harvested microgreens before eating?
Key Takeaways:
- Choosing the right tools is crucial for harvesting microgreens effectively.
- Proper technique and timing are key when harvesting to get the most out of your harvest, especially considering microgreens types and their specific growth characteristics.
- Post-harvest care, such as proper storage and cleaning, can extend shelf life and allow for creative use of harvested microgreens.
1. Choosing the Right Tools for Harvesting Microgreens
Choosing the right tools for harvesting microgreens is vital for optimizing your production and ensuring a high-quality yield, particularly if you’re growing microgreens or selling at farmers markets and through community-supported agriculture programs.
Each type of microgreen, be it arugula, basil, or radish, has its own growth characteristics, necessitating specific tools for effective harvesting. For example, sharp scissors or specialized harvest knives are essential for making clean cuts. Small baskets or trays facilitate easy transfer without damaging those delicate plants. Additionally, learning techniques for growing microgreens year-round can further enhance your harvesting success.
Experts like Elsa S nchez highlight the importance of investing in ergonomic tools. These can significantly reduce the physical strain associated with repetitive harvesting tasks, especially beneficial in commercial settings. Institutions such as Penn State offer valuable educational resources, demonstrating how the right equipment boosts productivity and fosters a sustainable and efficient microgreens operation.
Essential Tools You Need for Harvesting Microgreens
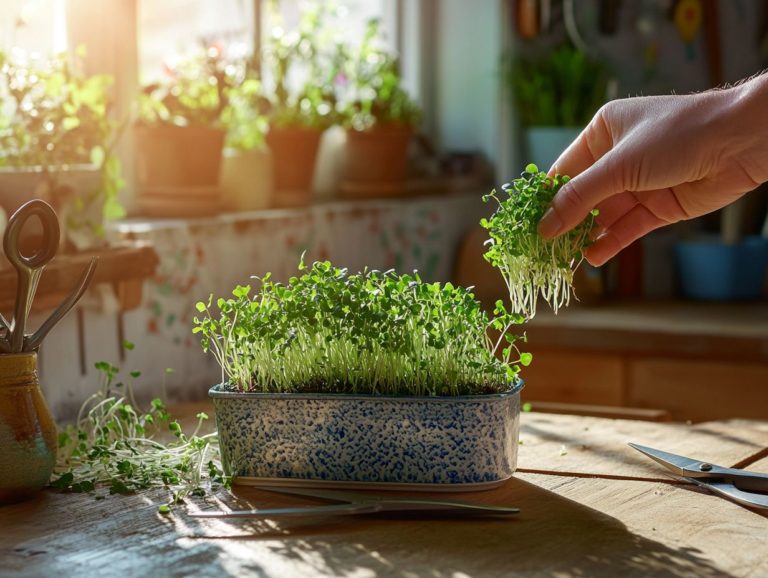
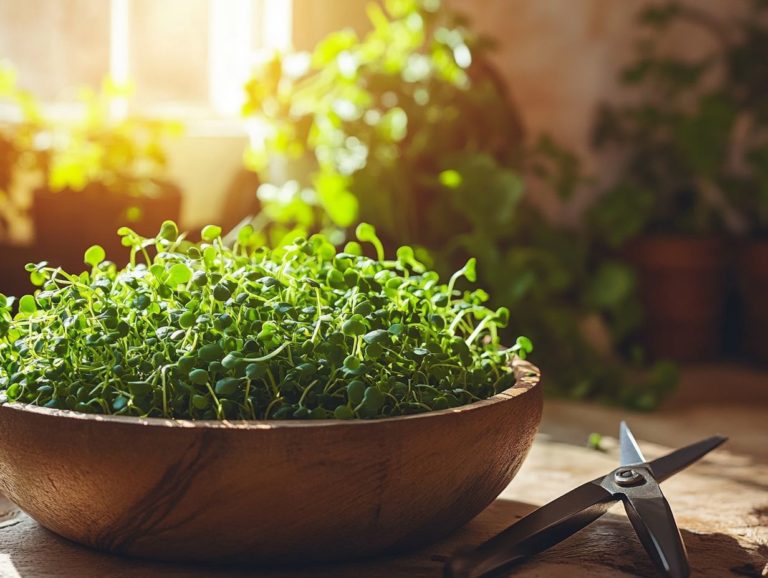
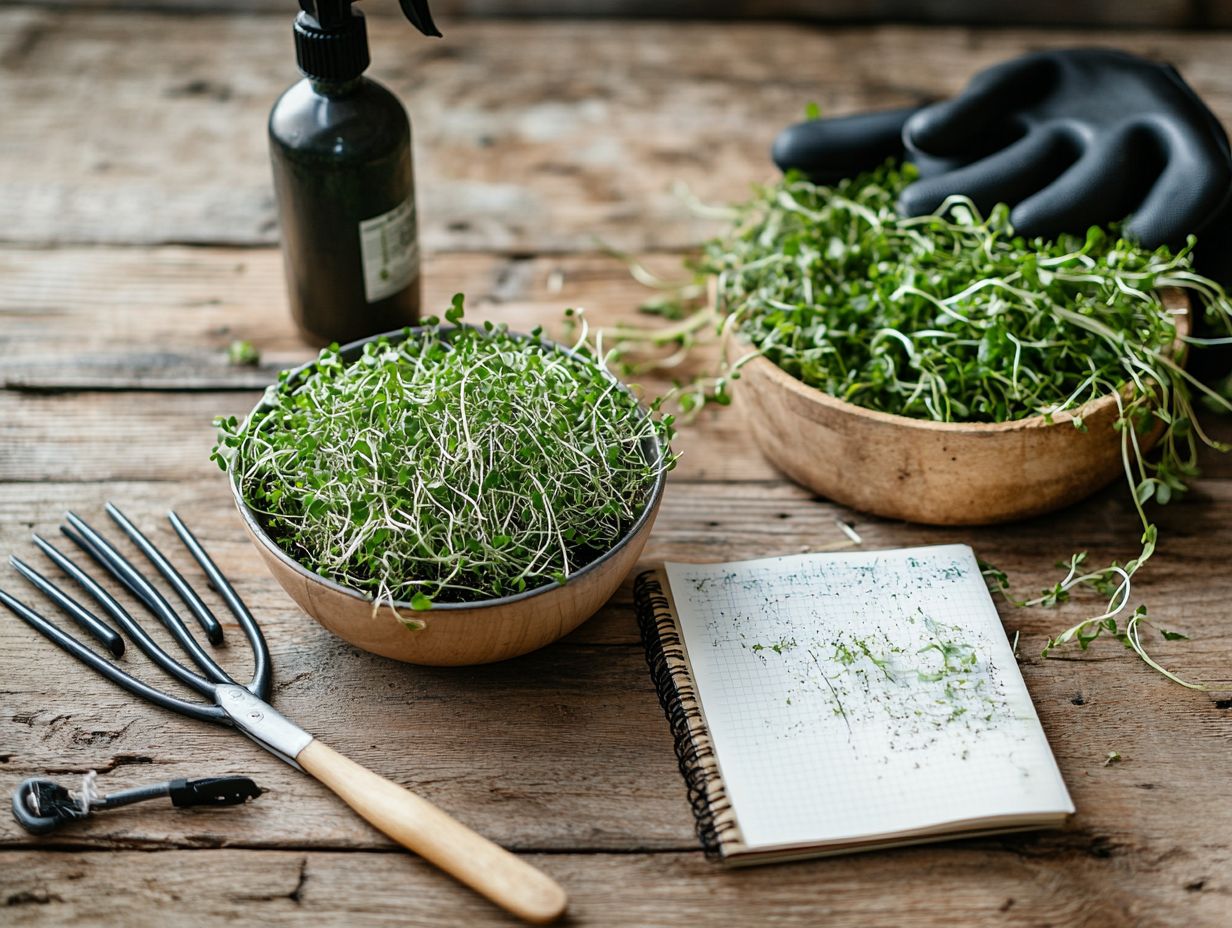
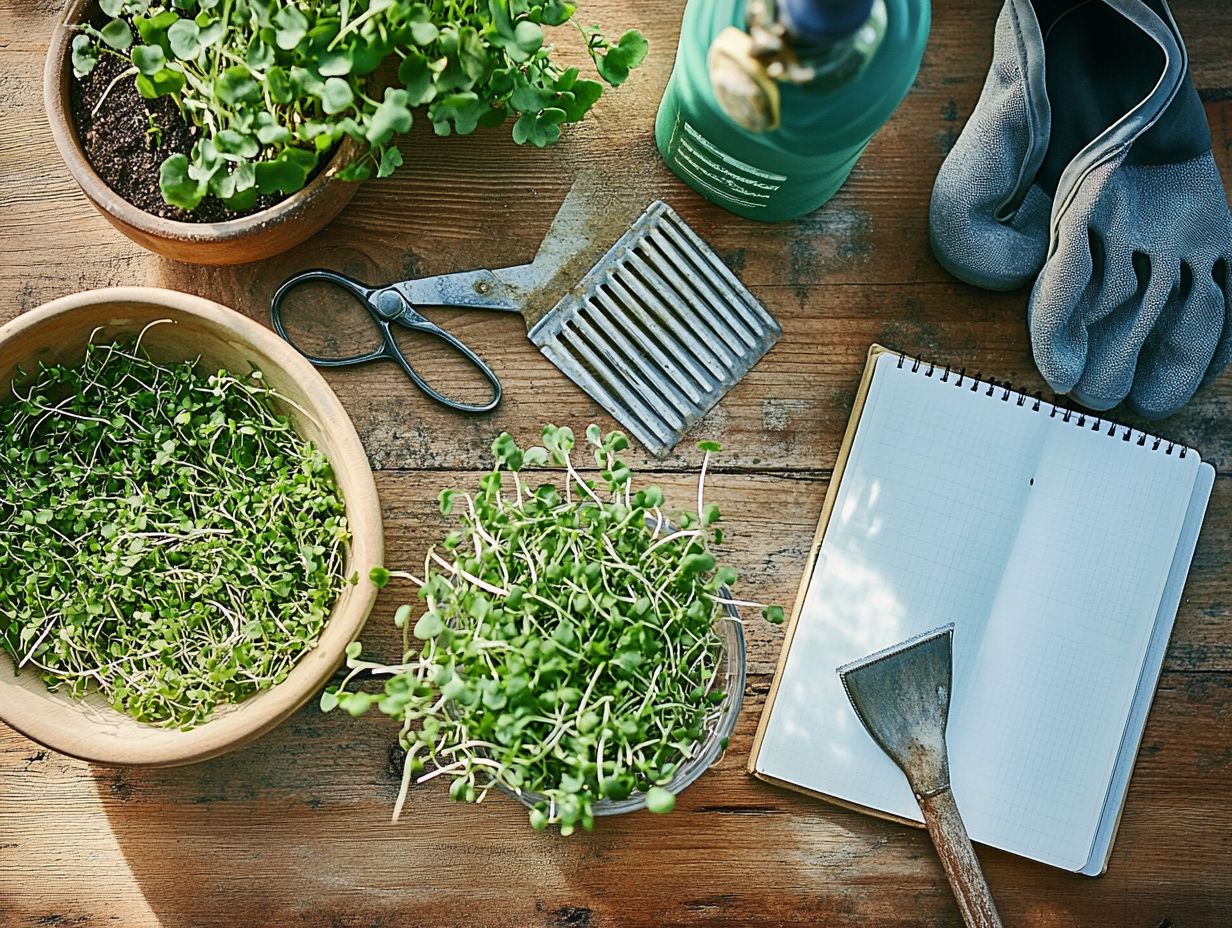
Essential tools for harvesting microgreens include sharp knives, scissors, and specialized harvesting trays tailored for various microgreens varieties. These tools ensure a clean and efficient cut, preserving the flavor and nutritional value of your greens.
Using sharp implements like serrated knives and fine-tipped scissors allows for precise cuts just above the soil line, minimizing damage to those delicate plants. Opting for harvesting trays made from breathable materials makes transportation and handling easier, helping maintain the integrity of your microgreens as they transition from garden to kitchen.
Investing in ergonomic tools reduces hand fatigue, making the harvesting process more enjoyable and efficient. Ultimately, the right equipment boosts your productivity and plays a vital role in preserving the freshness and quality of these nutrient-dense greens.
What Are the Different Types of Harvesting Tools Available?
You ll find a variety of harvesting tools for microgreens gardening, ranging from handheld scissors and knives to electric trimmers. Each is tailored to meet specific needs depending on the types of microgreens and the scale of your harvest.
Understanding these tools can significantly elevate your microgreens harvesting experience. For a more comprehensive approach, refer to our step-by-step guide to sowing microgreens. Handheld scissors provide precision and control, making them perfect for smaller operations where each cut is vital for preserving quality.
On the other hand, electric trimmers can turbocharge your harvesting process, ideal for larger farms or commercial production where efficiency reigns supreme. However, while electric options may save you time, they can be less forgiving with finer microgreens varieties, potentially leading to damage.
It s crucial to weigh these pros and cons against your particular needs to determine which tool best aligns with your production goals.
How Can One Determine the Best Tool for Their Microgreens?
Determining the ideal harvesting tool for your microgreens requires careful assessment of several key factors. These include the scale of your production, the specific types of microgreens you are cultivating, and your target market whether that s CSA subscriptions or farmers markets.
Consider how frequently you ll be harvesting. Tools suited for daily use often differ from those designed for larger, less frequent harvests. The size and layout of your growing space also play a significant role, influencing whether a handheld tool or a larger mechanized option would be more suitable.
Understanding the different ways microgreens grow is crucial, as some may need more delicate handling than others. Keeping an eye on market demands and trends will guide you toward tools that not only enhance your efficiency but also elevate the quality of your products, making your offerings even more enticing to customers.
What Are Some Tips for Properly Maintaining Harvesting Tools?
Proper maintenance of your harvesting tools is essential for maximizing their longevity and efficiency. This directly impacts the health and quality of your microgreens.
Regular cleaning is key to eliminating any residual soil and plant matter that could attract pests or diseases. Sharpen the blades before each use to boost cutting precision and minimize damage to those delicate microgreens.
Store your tools in a dry, cool space to prevent rust and deterioration. By adopting these practices, you can ensure optimal performance, resulting in harvests that are not just abundant but also of the highest quality.
This approach directly benefits you as you cultivate these vibrant, nutritious plants.
How Often Should Harvesting Tools Be Replaced?
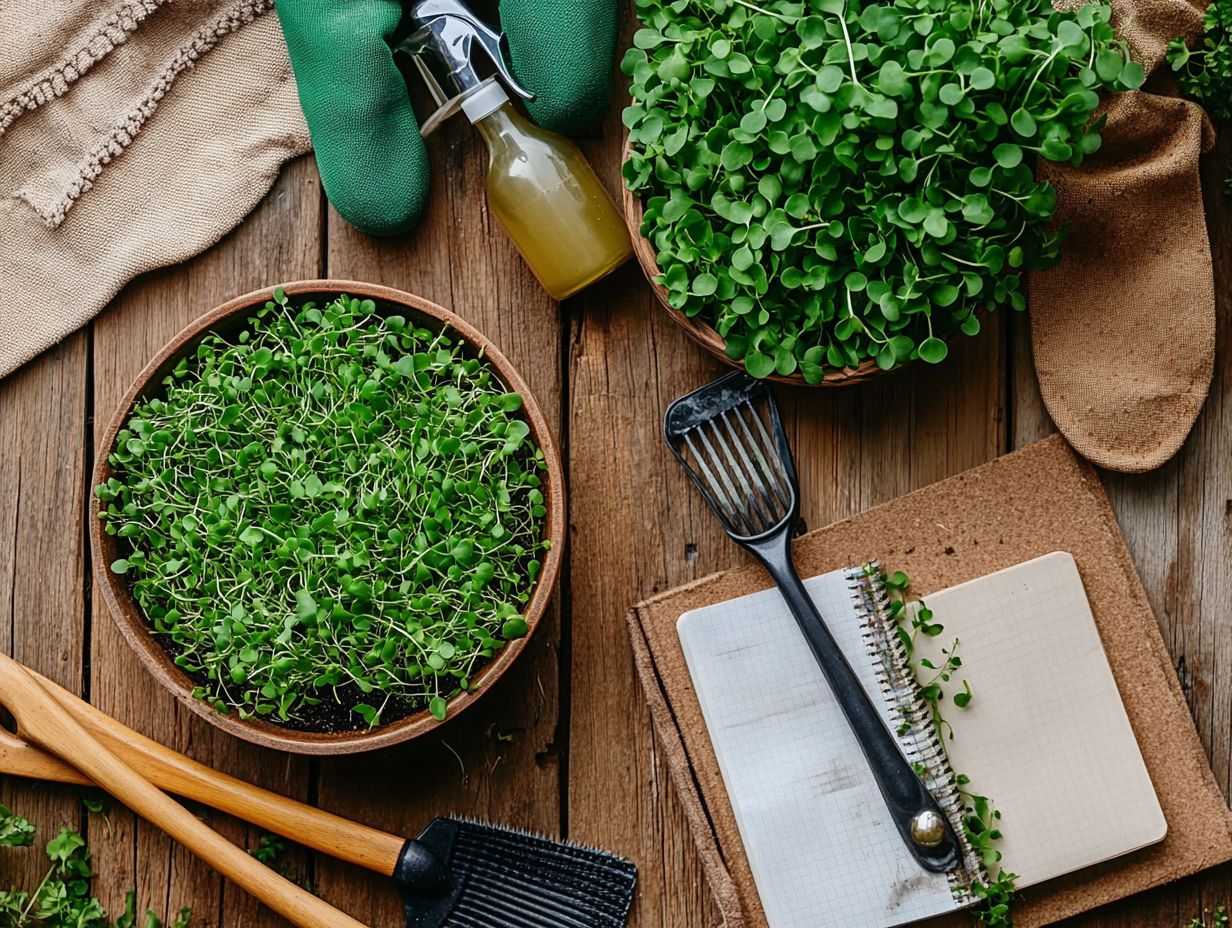
The frequency with which you replace your harvesting tools can vary based on how intensely you use them, the quality of their materials, and how well you maintain them for optimal microgreens growth.
Don t wait too long check your tools regularly to keep your production strong! Look for indicators like dull blades, rust, or other signs of wear. These can help you determine when your tools have outlived their usefulness.
Finding the right balance between cost and quality is vital when considering replacements. Investing in slightly pricier, more durable options can lead to significant long-term gains.
By making informed decisions about when to upgrade your equipment, you can sustain productivity while staying within your budget.
2. Steps for Harvesting Microgreens
Harvesting microgreens effectively requires you to understand the steps involved, as this influences both their growth and the quality of the final product especially regarding flavor and health benefits.
Start by determining the right soil temperature and assessing the ideal growth stage for each microgreen variety. Each of these steps is crucial in the overall harvesting process.
Besides ensuring optimal soil temperature, it s vital to monitor humidity and light levels to foster robust growth. Keep a close eye on the leaves coloration; vibrant hues often signal peak flavor and nutrient density.
Timing your harvest is key. Many microgreens are best picked at the early growth stage, when they achieve the perfect balance of taste and nutrition. Using clean, sharp tools promotes a neat cut and reduces stress on the plants, preserving their health benefits and flavor profile. To learn more about optimizing your harvest, check out this guide on how to maximize yields from microgreens.
What Are the Key Factors to Consider Before Harvesting Microgreens?
Before you dive into harvesting microgreens, it s essential to assess key factors like soil temperature, moisture levels, and the overall health of your greens. These factors guarantee optimal flavor and nutritional value.
Pay close attention to soil temperature. Aim for a comfortable range of 60-70 F to boost growth rates significantly. Monitoring moisture levels is vital to prevent wilting or mold. Establishing a consistent watering schedule will keep everything in balance.
Also, monitor your microgreens for any signs of pests or disease to ensure they maintain their quality. To set yourself up for a successful harvest, make routine inspections part of your process. Fine-tune your watering techniques and keep your growing environment clean.
Using a moisture meter can give you precise readings, ensuring your plants thrive and deliver the best results when harvest time rolls around.
What Are the Different Stages of Microgreens and When Should They Be Harvested?
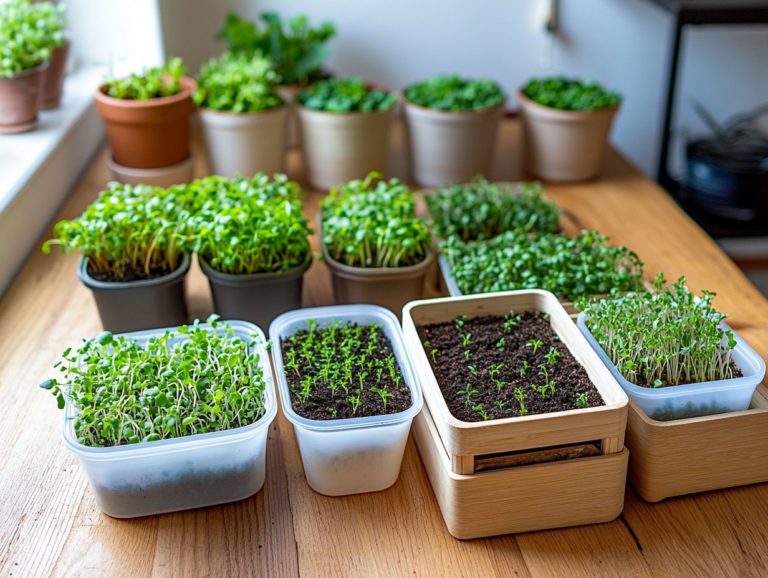
The different stages of microgreens growth germination, seedling, and mature play a pivotal role in determining the optimal harvesting times for various types. This allows you to maximize both flavor and texture.
Understanding these stages is essential for anyone keen to elevate their culinary creations with vibrant, fresh flavors. During the germination phase, seeds absorb moisture and swell, typically taking about three to seven days depending on the variety.
Once the seedlings begin to sprout, they transition into the seedling stage, which lasts until the first true leaves appear, usually after seven to fourteen days. This foliage is brimming with nutrients and is often the prime moment for harvesting.
The mature stage unfolds when microgreens fully develop their leaves, offering a more robust flavor profile. However, timing your harvest is crucial. Picking them just before they become leggy will yield the best results.
How Can One Tell If Microgreens Are Ready to Be Harvested?
You can easily spot when your microgreens are ready for a tasty harvest by observing specific leaf sizes, colors, and overall health indicators. These vary depending on the type of microgreen.
Look for the ideal leaf height, typically around 1-3 inches, based on the variety. Vibrant hues are also crucial; for instance, bright green indicates vitality for peas, while deep purple signals a healthy amaranth.
The texture of the leaves offers additional clues. Crisp and firm leaves often suggest that they are perfectly ripe for picking. Monitor the development of cotyledons, the first leaves that appear after germination.
When they are fully formed and robust, this is your clear signal to act fast and harvest! Your microgreens have hit their peak flavor and nutrient density.
What Is the Proper Technique for Harvesting Microgreens?
The proper technique for harvesting microgreens involves using clean, sharp tools and a cutting method that minimizes damage to the plants. This preserves their flavor and health benefits.
By employing precise tools like scissors or a sharp knife, you can ensure a clean cut just above the soil line. This approach not only prevents crushing those delicate stems but also promotes optimal regrowth.
Harvesting in the morning, when the plants are most hydrated, enhances the crispness and taste of your microgreens. These thoughtful practices contribute to a better yield and elevate the overall quality of your final product, delivering flavors that are sure to resonate with culinary enthusiasts.
How Can One Ensure Maximum Yield When Harvesting Microgreens?
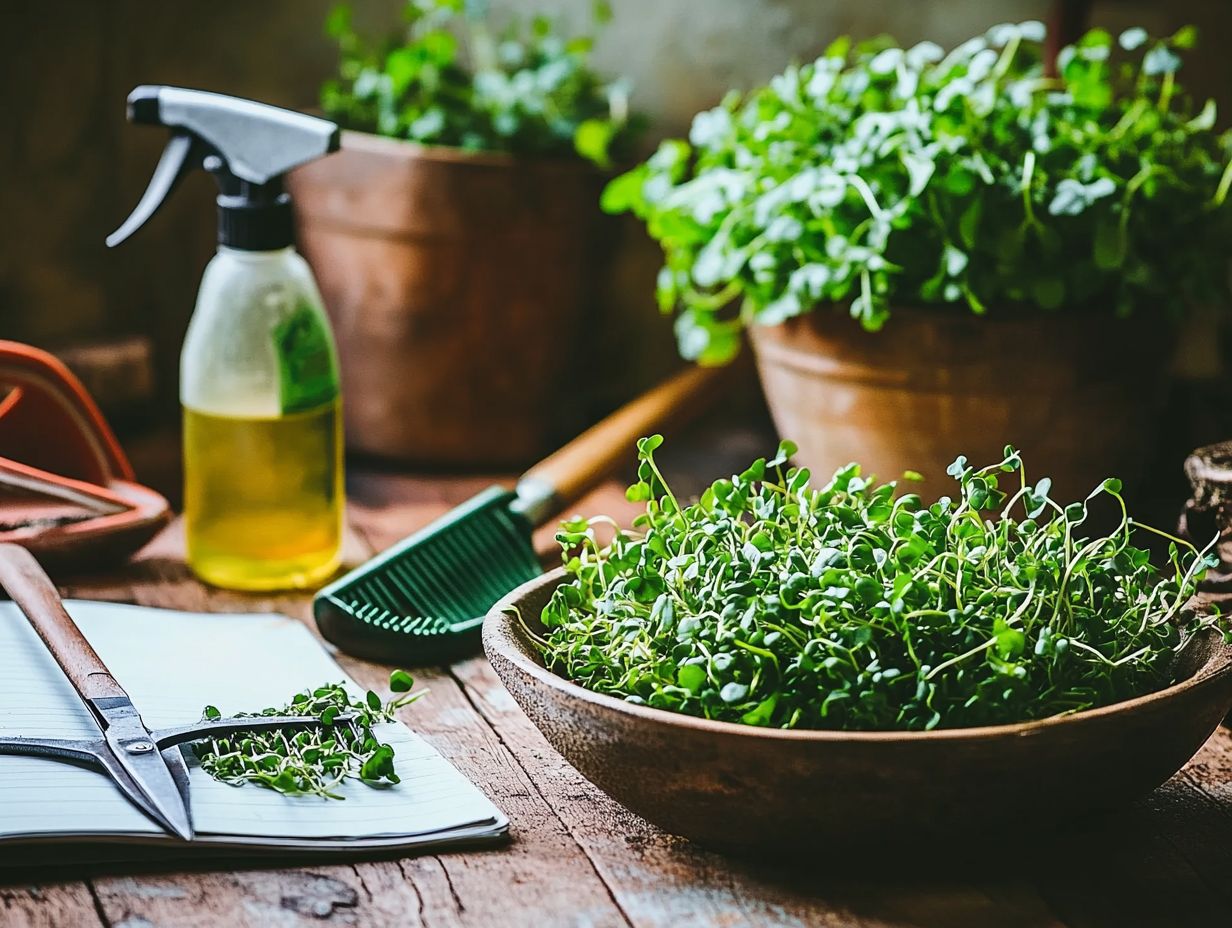
To achieve maximum yield when harvesting microgreens, optimize growth conditions and time your harvest. Employ the right techniques for the best results.
Monitor factors like light, temperature, and humidity. This creates an ideal atmosphere for rapid growth and better flavor.
Using gentle harvesting techniques minimizes damage to these delicate plants. This results in a more bountiful collection. By implementing these tailored strategies, you enhance your harvest sizes and contribute to the overall health of your microgreens, making them more resilient for future growth cycles.
3. Post-Harvest Care for Microgreens
Post-harvest care for your microgreens is essential for preserving their freshness, nutritional value, and flavor. This directly influences how you can use them in various recipes.
By employing proper storage methods, you extend the shelf life of your harvested microgreens. You also protect them from common pests, ensuring that all those nutrients and health benefits remain intact.
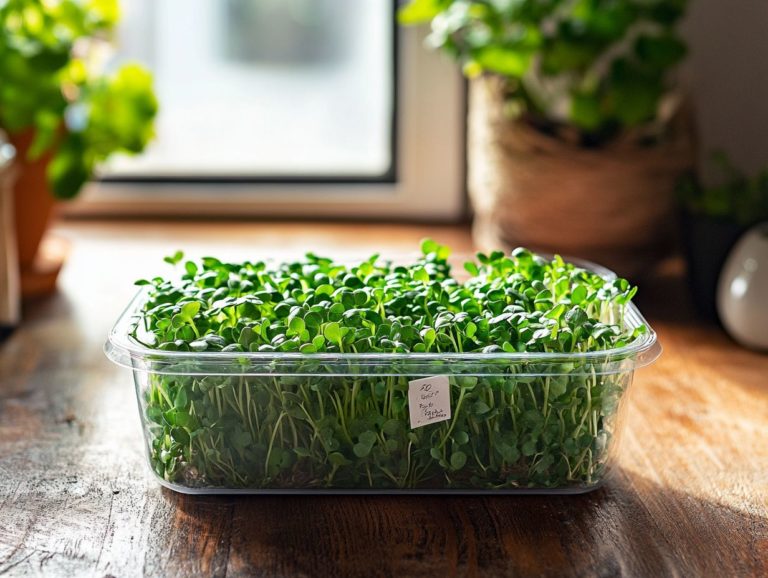
To maximize quality, store them in a cool, dark place ideally between 34 F and 38 F. Use breathable containers like perforated plastic bags or clamshells.
Keep your microgreens slightly moist. Consider using a paper towel in the container to prevent wilting without creating an overly wet environment that could invite mold.
Incorporate microgreens into salads, sandwiches, or as stunning garnishes on soups. This adds both visual appeal and a fantastic nutritional boost. Just avoid common mistakes like washing your microgreens before storage, as that can lead to spoilage. Wash them just before use to ensure they stay fresh and flavorful.
What Are the Best Practices for Storing Harvested Microgreens?
Want to know how to store your harvested microgreens effectively? Keep them in a cool, dark place and opt for breathable packaging to maintain their freshness and quality.
To extend the lifespan and nutritional benefits of these delicate greens, pay attention to the optimal temperature and humidity levels. Ideally, microgreens thrive in environments where the temperature hovers around 32 F to 41 F (0 C to 5 C).
Maintain a humidity level between 50% and 70% to help preserve their crispness and nutritional integrity.
Using perforated containers or cloth bags enhances airflow while preventing moisture buildup, which is a common culprit behind spoilage. By ensuring these ideal conditions, you can enjoy vibrant and flavorful microgreens long after their harvest, utilizing innovative methods for hydroponic microgreens.
How Can One Extend the Shelf Life of Microgreens?
Extending the shelf life of your microgreens involves employing specific storage techniques that work wonders. Use moisture-retaining materials and optimal refrigeration methods.
Consider using breathable storage containers that allow air circulation while effectively keeping excess moisture at bay. Creating a temperature-controlled environment can significantly help in maintaining the delicate balance of humidity and temperature essential for preserving freshness.
Harvest your microgreens at their ideal maturity stage to maximize both their flavor and nutritional value.
Incorporating regular quality checks during storage allows you to detect any signs of deterioration early. This enables you to take swift action and preserve the vibrant greens you ve worked hard to cultivate.
What Are the Common Mistakes to Avoid When Storing Microgreens?
Common mistakes in storing microgreens include using non-breathable containers and exposing them to direct sunlight. Both can hasten spoilage and diminish their nutrient content.
If you fail to keep them adequately moist while steering clear of excess moisture, you risk wilting or inviting mold. To ensure your microgreens retain their vibrant color and valuable health benefits, it s essential to store them in a cool environment. The refrigerator is the best option.
Choose ventilated clamshell containers or perforated bags (bags with holes for better airflow) to promote air circulation and prevent condensation. Consume them within a few days of harvesting to fully savor their nutritional value.
By adopting these straightforward practices, you can significantly prolong the freshness and enhance the overall quality of your microgreens.
How Can One Properly Clean and Prepare Microgreens for Consumption?
To properly clean and prepare microgreens for consumption, gently rinse them under cold water. Use appropriate techniques to remove any dirt or contaminants while preserving their delicate texture.
Handle these tiny greens with care; their fragile leaves can bruise or become damaged quite easily. After rinsing, lay them out on a clean paper towel or soft cloth to ensure they dry thoroughly and eliminate any excess moisture. This step not only enhances their flavor but also prevents the dilution of their nutritional value.
Once dried, inspect each microgreen for any lingering blemishes or root ends that might detract from their visual appeal.
By following these steps, you can fully savor the vibrant taste and health benefits these nutrient-packed greens offer.
What Are Some Creative Ways to Use Harvested Microgreens?
Creative ways to incorporate harvested microgreens into your meals abound. Imagine enhancing your salads, sandwiches, and smoothies with these little gems, injecting flavor and nutrition into your everyday dining experience!
These vibrant greens can also transform a simple bowl of soup into a culinary masterpiece, providing a striking garnish that adds both color and fresh taste.
Picture them in rice bowls or grain salads, where they create a delightful contrast in texture and flavor. Blending them into dips or pestos offers a unique twist that can truly surprise your palate.
Consider elevating your breakfast by adding them to omelets or frittatas for a nutritious boost. With their impressive array of vitamins and antioxidants, the culinary possibilities are endless. Don t miss out on the chance to explore various applications and discover new ways to relish the diverse flavors and health benefits these tiny powerhouses offer!
Frequently Asked Questions
What are the essential tools needed for harvesting microgreens?
The basic tools needed for harvesting microgreens include scissors or sharp kitchen shears, a clean and sanitized container, and a spray bottle filled with water.
What type of scissors or shears are best for harvesting microgreens?
It is recommended to use small, sharp scissors or kitchen shears with a clean and precise cutting edge for harvesting microgreens. Avoid using dull or dirty tools, as they can damage the delicate plants.
Why is it important to use a clean and sanitized container for harvesting microgreens?
Using a clean and sanitized container ensures that the harvested microgreens remain free from harmful bacteria or germs, which can cause foodborne illnesses. It also helps maintain the freshness and quality of the microgreens.
What is the purpose of using a spray bottle filled with water during harvesting?
A spray bottle filled with water is used to moisten the microgreens before harvesting, making it easier to cut them without damaging the delicate leaves. It also helps remove any debris or dirt on the surface of the microgreens.
Can I use any type of scissors or shears for harvesting microgreens?
While any sharp and clean scissors can be used for harvesting microgreens, it is best to use small and precise scissors or kitchen shears. This allows for more control and precision when cutting the delicate microgreens.
Is it necessary to wash harvested microgreens before eating?
Absolutely! Washing your microgreens is a must for delicious and safe eating.
It removes any leftover dirt and debris.
Always ensure your greens are clean before you enjoy them.
