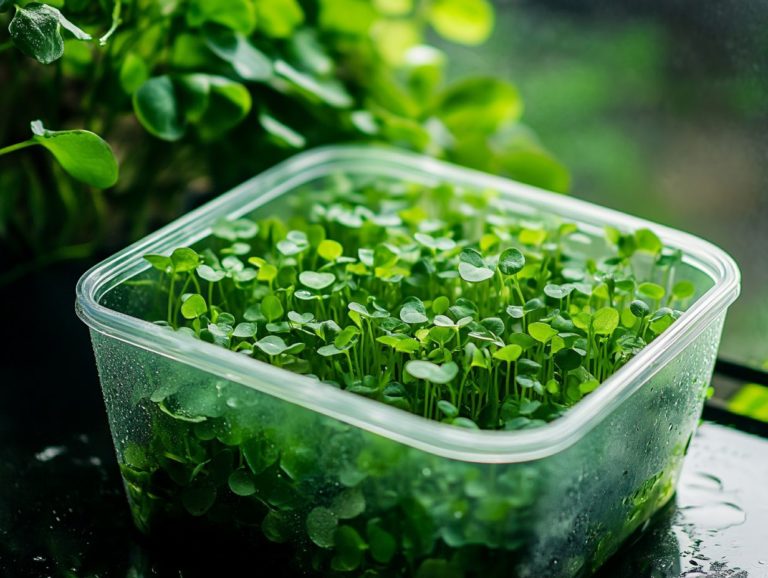
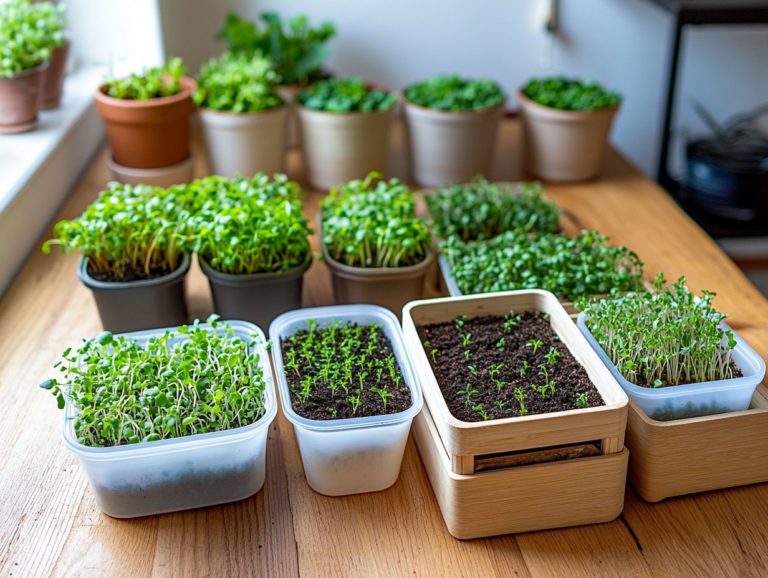
5 Microgreen Varieties and Their Storage Needs
Microgreens are more than just a fashionable garnish for your salads and sandwiches. They are brimming with flavor and nutrients that elevate any dish.
This article covers five popular microgreen varieties: broccoli, radish, sunflower, pea, and wheatgrass. Each has unique benefits and culinary uses.
Learn how to store microgreens to keep them fresh and flavorful.
Whether you’re a seasoned gardener or just beginning your journey, you ll uncover ways to maximize your microgreen experience from garden to table. This includes tips on how to grow different varieties such as arugula and mustard.
Contents
- Key Takeaways:
- 1. Broccoli Microgreens
- 2. Radish Microgreens
- 3. Sunflower Microgreens
- 4. Pea Microgreens
- 5. Wheatgrass Microgreens
- How to Store Microgreens Properly
- What Are the Best Storage Containers for Microgreens?
- What Is the Ideal Temperature for Storing Microgreens?
- How Long Can Microgreens Be Stored?
- What Are the Signs of Spoiled Microgreens?
- Can Microgreens Be Frozen for Storage?
- How to Use Stored Microgreens in Recipes?
- What Are the Benefits of Growing and Storing Your Own Microgreens?
- Frequently Asked Questions
- What are 5 popular microgreen varieties and their storage needs?
- How should broccoli microgreens be stored?
- What is the best way to store pea shoot microgreens?
- Can I freeze microgreens to extend their storage life?
- What is the ideal temperature for storing sunflower microgreens?
- How should arugula microgreens be stored?
Key Takeaways:
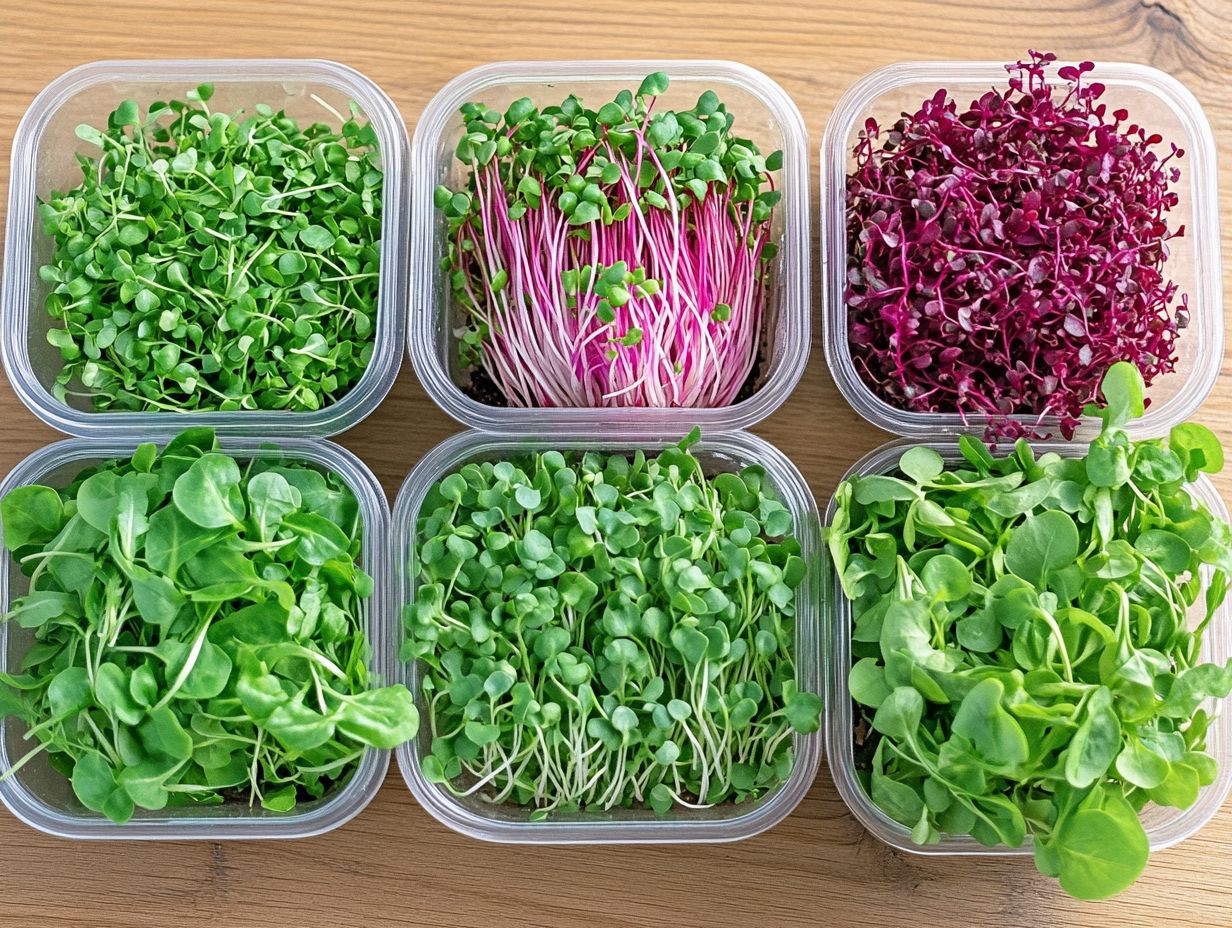
- Broccoli microgreens have a mild, nutty flavor. Store them in a sealed container in the fridge for up to 5 days. These versatile greens are easy to grow and can be used in a variety of dishes.
- Radish microgreens have a peppery taste. Store them in a damp towel in the fridge for up to 7 days.
- Sunflower microgreens have a crunchy texture. Store them in an airtight container in the fridge for up to 10 days.
1. Broccoli Microgreens
Broccoli microgreens are a delightful culinary treat. They are also brimming with essential nutrients, making them an exceptional addition to your diet.
These tiny greens offer a treasure trove of Vitamin A and Vitamin K, significantly boosting your overall nutrition. Their unique flavor elevates a variety of dishes, making them an incredibly versatile choice for salads, sandwiches, and even smoothies.
Plus, broccoli microgreens are remarkably easy to grow, making them a perfect option for gardening novices or seasoned pros eager to enrich their meals with these nutritious greens.
Beyond their impressive nutritional profile, these microgreens are packed with antioxidants and contain sulforaphane, a compound that may help prevent cancer. Cultivating broccoli microgreens requires minimal space and can be done indoors or outdoors.
To ensure they thrive, sow them in nutrient-rich, well-draining soil, maintaining temperatures around 60-70 F. Regular misting and ensuring adequate light will promote vibrant growth.
Once you’re ready to harvest, these microgreens can effortlessly enhance dishes like omelets, grain bowls, or serve as a vibrant garnish for meat and fish, showcasing their culinary versatility.
2. Radish Microgreens
Radish microgreens are a delightful choice for your culinary adventures. They are renowned for their peppery flavor and vibrant appearance.
These little greens aren’t just pretty; they’re bursting with vitamins and antioxidants, making them a stellar addition to your meals that enhances both taste and health.
Growing them is a cinch, whether indoors or outdoors. This allows you to enjoy fresh, nutritious greens all year long. Imagine adding vibrant radish microgreens to your meals! They not only taste great but also elevate your dishes visually.
To truly maximize the benefits of radish microgreens, it’s crucial to provide them with nutrient-rich soil and sufficient light ideally six hours of indirect sunlight each day. A little regular watering will keep the soil slightly moist, promoting robust growth.
Harvesting is straightforward; simply wait until the leaves reach about 2-3 inches tall, usually within 7 to 14 days after sowing. Incorporating these microgreens into your meals can be effortless. Consider tossing them into a stir-fry for an exciting kick or layering them atop tacos for a visually stunning crunch.
Their unique taste and striking color not only offer nutritional perks but also add a touch of aesthetic elegance to any dish.
3. Sunflower Microgreens
Sunflower microgreens are a delightful addition to your garden, celebrated for their nutty flavor and impressive nutritional boost. These tender greens burst with essential vitamins and minerals that will supercharge your meals!
Their crisp texture introduces a unique element to salads, sandwiches, and smoothies. Cultivating sunflower microgreens is easy and suits both beginners and experienced growers, particularly given the wide range of varieties available.
They flourish best in well-drained soil and require bright light to truly shine. Regular watering is crucial, as these microgreens thrive in consistently moist conditions.
Once harvested, they can elevate an array of dishes think grain bowls, wraps, or even as a garnish for soups. By incorporating these nutritious greens into your meals, you enhance the taste while significantly boosting the nutritional value. They add a vibrant, fresh element that can transform any plate into a culinary masterpiece.
4. Pea Microgreens
Pea microgreens deliver a delightful, crisp sweetness and are celebrated for their remarkable nutritional benefits. These tender greens are brimming with vitamins like Vitamin C and folate, which contribute significantly to your overall wellness and vitality.
Their fresh taste harmonizes beautifully with a variety of dishes think salads, wraps, and more turning your meals into vibrant culinary experiences. Plus, they are incredibly easy to grow, requiring minimal space and care.
With their impressive nutritional profile, which includes vitamins A and K, these microgreens are rich in antioxidants, which can help protect your body from damage.
To cultivate pea microgreens successfully, find a sunny spot that receives at least four to six hours of light, along with well-draining soil and consistent moisture. They thrive in a warm environment and can be ready for harvest just a couple of weeks after planting.
For some culinary inspiration, consider using them as:
- A vibrant topping on your sandwiches.
- An energizing boost in your smoothies.
- A crunchy addition in stir-fries for a flavorful crunch that elevates any dish.
5. Wheatgrass Microgreens
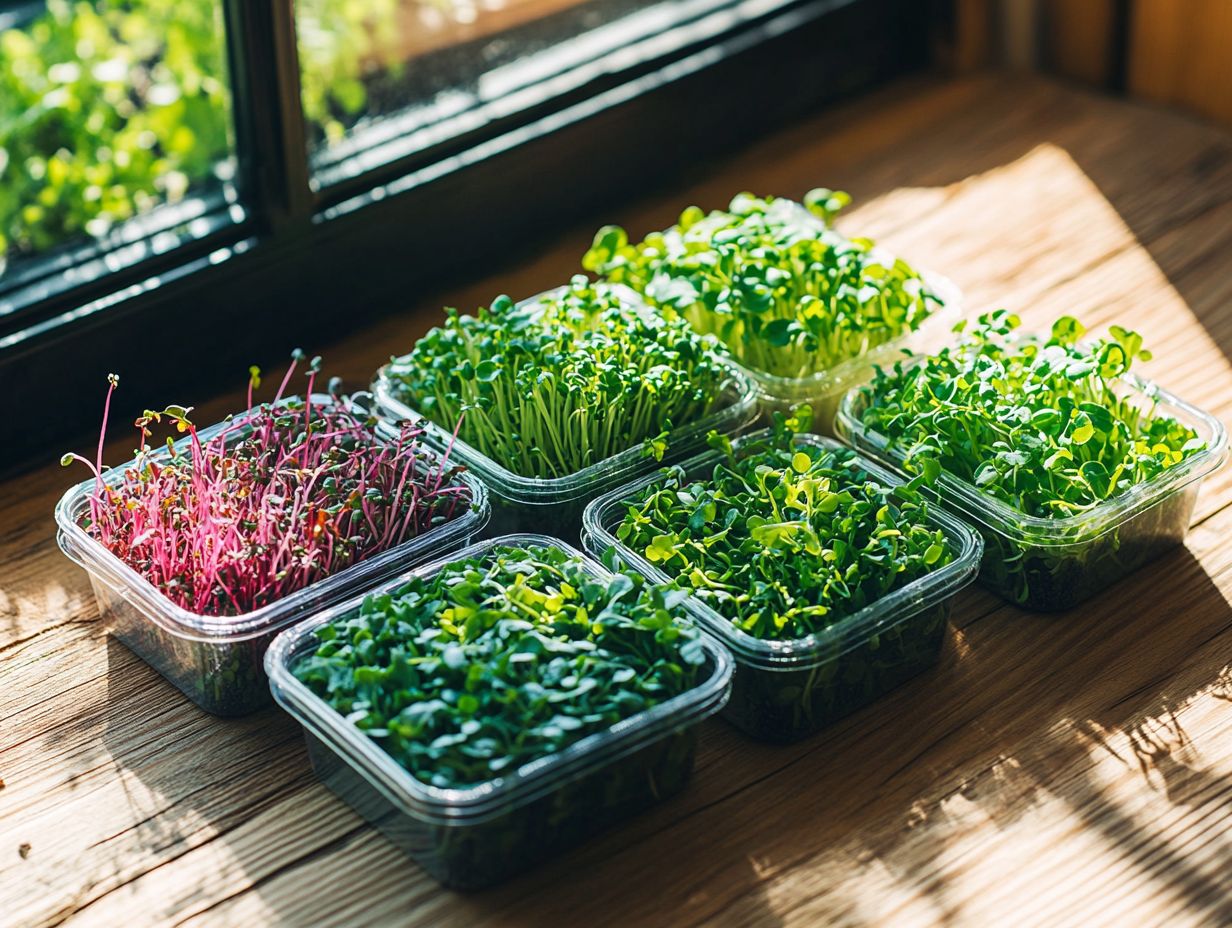
Wheatgrass microgreens are a treasure trove of nutrients, celebrated for their vibrant green hue and remarkable health benefits. Bursting with chlorophyll, vitamins, and minerals, these microgreens are not only detoxifying but also known for their energy-boosting properties.
Their mild, sweet flavor makes them a delightful complement to smoothies, juices, and salads, enhancing both flavor and nutrition.
Cultivating wheatgrass microgreens at home is a breeze. They require minimal resources and care, making them an ideal choice for anyone eager to grow their own nutritious greens.
To thrive, these microgreens prefer bright, indirect sunlight and need to be watered lightly but consistently to avoid drowning. Once harvested, they are incredibly versatile.
You can easily incorporate them into nutrient-packed smoothies, where they blend beautifully with fruits like bananas and oranges. They also serve as a refreshing garnish for soups and salads.
Tossing them into wraps or sandwiches elevates the taste while adding an extra nutrient boost. Their adaptability ensures anyone can elevate their diet with these potent greens, promoting overall wellness with minimal effort.
Start growing your own microgreens today and transform your meals!
How to Store Microgreens Properly
Want to keep your microgreens fresh and flavorful? Here s how! Proper storage is essential for preserving their flavor and nutritional value. This allows you to enjoy these fresh greens at their best. Whether you’re growing arugula, broccoli, radish, or another variety, mastering the right storage techniques can significantly extend their shelf life and enhance your culinary experience.
From choosing the right containers to managing temperature and humidity, how you store your microgreens plays a vital role in keeping their vibrant flavors and essential nutrients intact. For those interested in growing their own, understanding how to grow your favorite microgreen varieties is essential. A thoughtful approach to storage turns your harvested microgreens into a convenient, nutritious enhancement for your meals.
Select suitable containers, like airtight bags or glass jars, to create the best conditions for maintaining freshness. Aim for temperature settings between 34 F and 40 F, and keep humidity levels low to prevent excess moisture that could lead to spoilage.
Microgreens can last up to a week when stored correctly. Check frequently for signs of wilting, discoloration, or an off smell to ensure your greens stay fresh!
Incorporating these greens into salads, sandwiches, or smoothies amplifies flavor and enriches the nutritional profile of your dishes. Using a variety of microgreens, like kale, arugula, and mustard, makes your meals delightful and healthful.
What Are the Best Storage Containers for Microgreens?
Choosing the right storage containers is crucial for preserving the freshness, flavor, and nutritional value of your microgreens. Select containers that let air circulate while protecting your greens.
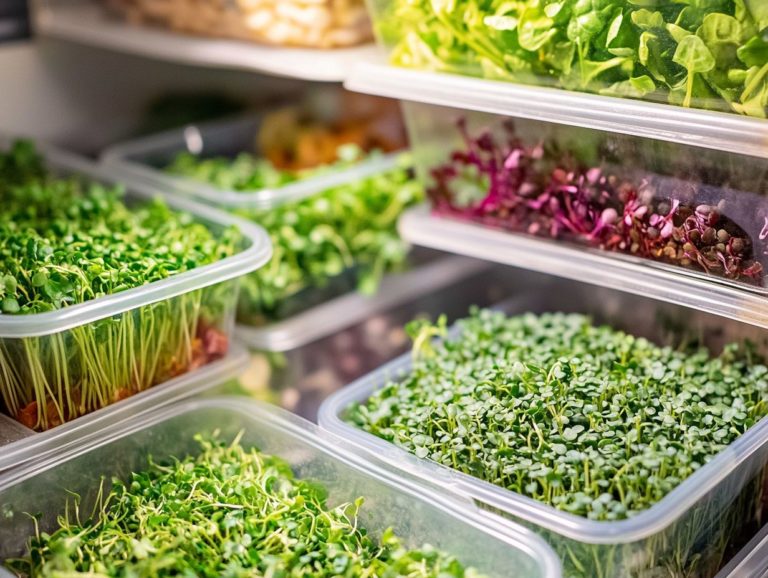
Opt for perforated plastic clamshells, glass jars, or breathable mesh bags for varieties like arugula, broccoli, and radish microgreens. Using the proper storage solutions ensures your microgreens stay crisp and bursting with flavor. To learn more about different types, check out microgreen varieties: a guide for beginners that can help elevate your culinary creations.
It s equally important to choose the appropriate container size. They should be just large enough to hold the greens without leaving excessive space, as too much air can lead to wilting. Varying materials have different effectiveness glass can be airtight, keeping odors away, while plastic is lightweight and convenient.
For easy visibility, consider using clear containers, and label them with the type and harvest date for simplified access. This organized approach helps maintain optimal freshness and streamlines meal preparation, ensuring those vibrant greens are always at your fingertips.
What Is the Ideal Temperature for Storing Microgreens?
The ideal temperature for storing your microgreens is essential for preserving their freshness and nutritional value. Most microgreens thrive in cooler conditions, typically between 34 F and 40 F (1 C to 4 C). This temperature range helps maintain their crisp texture and vibrant color.
Varieties like arugula, broccoli, and radish microgreens retain their essential vitamins and minerals when stored at these optimal temperatures. You’ll fully benefit from their nutritious qualities. To learn more, check out this quick guide to common microgreen varieties. You need to control the temperature to enjoy the maximum flavor and health benefits these greens provide.
Storing microgreens at higher temperatures can lead to rapid spoilage and significant nutrient degradation, compromising both taste and health benefits. If not stored correctly, these greens become vulnerable to wilting and mold growth, shortening their shelf life. To maximize your microgreen production, consider growing microgreen varieties in small spaces.
To maintain that ideal storage temperature, invest in a reliable refrigerator and set it to the recommended range. Utilizing airtight containers can help maintain moisture levels and prevent temperature fluctuations.
Placing your microgreens in the warmest part of the fridge, typically towards the back, keeps them crisp and fresh. By mastering these techniques, you can savor the full spectrum of flavors and nutrients that microgreens have to offer.
How Long Can Microgreens Be Stored?
Microgreens typically have a shelf life of about 7 to 14 days, depending on the variety and how you store them. Factors like temperature and humidity play a significant role in their longevity, with hardier types like broccoli and radish microgreens often outlasting more delicate varieties such as arugula.
To truly savor their freshness and nutritional benefits, it’s important to keep an eye on your microgreens and consume them within this timeframe. Knowing the best storage practices will allow you to enjoy microgreens at their peak flavor and health benefits.
An ideal storage environment involves keeping them at a cool temperature, ideally between 34 to 38 degrees Fahrenheit. It’s also important to maintain low moisture levels to ward off mold and decay.
Light exposure can diminish their quality, so it’s wise to store them in opaque containers to reduce that risk. Regularly checking for any signs of wilting or discoloration is crucial; if any microgreens appear slimy or have an off smell, it s best to toss them to ensure your food safety.
By staying vigilant about their condition, you’ll be able to relish their vibrant taste and nutritional goodness for as long as possible.
What Are the Signs of Spoiled Microgreens?
Identifying the signs of spoiled microgreens is crucial for ensuring that you enjoy only the freshest and most nutritious greens. Key indicators of spoilage include wilting leaves, discoloration, and an unpleasant odor these can signal that your microgreens have lost their flavor and nutritional value.
Varieties like arugula and broccoli are particularly sensitive to storage conditions, so it’s essential to regularly check for these signs. Beyond wilted or discolored leaves, be on the lookout for any slimy textures or mold growth, which clearly indicate that the greens have become unfit for consumption.
Scents resembling a rotten or sour odor are also serious red flags. To prevent spoilage, proper storage is vital.
Always keep your microgreens in a cool, dark place ideally in an airtight container lined with a paper towel to absorb excess moisture. Regularly inspecting them can help you catch any freshness issues before they escalate.
This small effort can significantly enhance the nutritional value and crispness of these vibrant plants, ensuring you enjoy them at their best.
Can Microgreens Be Frozen for Storage?
Freezing microgreens can be an excellent way to extend their shelf life, but it requires a few specific techniques to ensure their flavor and nutritional integrity stays intact. While most microgreens, such as broccoli and radish, can be frozen, you should be aware that their texture may change upon thawing.
This makes them more suited for cooked dishes or smoothies rather than fresh salads. To freeze microgreens effectively, wash and dry them thoroughly before placing them in airtight freezer bags or containers.
This method offers a convenient way to store surplus microgreens and enjoy their health benefits at a later time. It’s essential to note that certain varieties, like pea shoots and spinach microgreens, tend to freeze better due to their hardier leaves. For a delicious addition to your meals, consider exploring must-try microgreen varieties for salads.
Before freezing, consider blanching them briefly in boiling water to help maintain their vibrant color and nutrients. Once frozen, these microgreens can easily be tossed into soups, stews, or blended into pesto, making them a versatile kitchen staple.
When you’re ready to use your frozen microgreens, it’s best to add them toward the end of cooking to preserve as much of their flavor as possible. With these tips, incorporating the goodness of frozen microgreens into your meals can be both effortless and gratifying.
Why not try growing your own microgreens at home? It’s a rewarding experience that will enhance your meals and health!
How to Use Stored Microgreens in Recipes?
Using stored microgreens in your recipes is a brilliant way to improve the taste and healthiness of your meals. Fresh or frozen microgreens like arugula, broccoli, and radish can be added to salads, sandwiches, smoothies, and soups, injecting a punch of flavor along with a wealth of nutrients.
Experimenting with different varieties helps you create unique dishes that delight your taste buds and enhance your health and well-being. Incorporating microgreens into your recipes is a delightful invitation to enjoy their myriad benefits.
Try adding spicy radish microgreens with creamy avocado; this combination adds an exciting texture and flavor contrast to toast or salads. Milder options like pea shoots can brighten up stir-fries or grain bowls, offering a subtle sweetness that complements other ingredients beautifully.
Don t hesitate to sneak them into pasta dishes or omelets, where they provide a nutritious boost without overwhelming your palate. With a dash of creativity, these tiny greens can become a staple in your everyday meals as well as in gourmet creations.
They can elevate not just the dish s aesthetics but also its overall nutritional profile.
What Are the Benefits of Growing and Storing Your Own Microgreens?
Growing and storing your own microgreens provides a wealth of benefits. You enjoy fresh, flavorful, nutrient-rich greens right at your fingertips. When you cultivate varieties like arugula, broccoli, and radish, you savor their unique flavors while ensuring the highest quality produce free from preservatives and pesticides.
Properly storing microgreens extends their shelf life, allowing you to relish their health benefits longer. This practice deepens your connection to your food and encourages a more health-conscious lifestyle.
The economic advantage is hard to ignore; by growing microgreens at home, you can significantly cut down on grocery bills, especially for organic produce, which often comes with a hefty price tag.
With just a little bit of space and simple tools like small trays or jars, anyone can easily cultivate these greens. By following straightforward tips like using a mix of soil and water for optimal growth you can enhance their longevity.
Just imagine the satisfaction of snipping fresh greens for a salad or smoothie, knowing you nurtured them from seed to harvest.
Watch this quick guide on how to grow and use microgreens to enhance your cooking.
Frequently Asked Questions
What are 5 popular microgreen varieties and their storage needs?
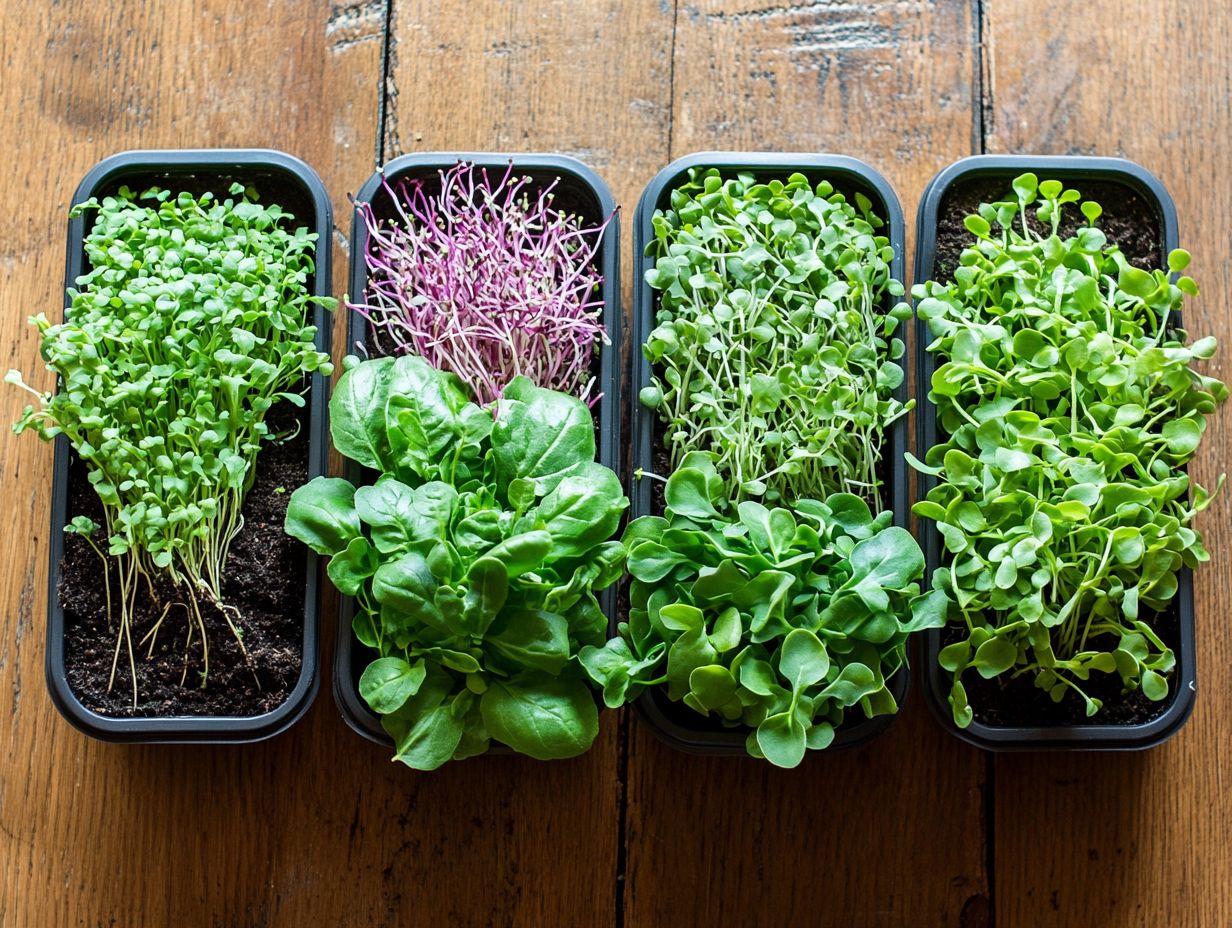
The 5 popular microgreen varieties are broccoli, kale, pea shoots, sunflower, radish, and arugula. These microgreens should be stored in a sealed container in the refrigerator and will last for up to 5 days.
Red Acre Cabbage microgreens can also be included in your diet for added nutrition and variety. A snappy micro mix that includes radish and broccoli microgreens can add vibrant flavor to salads and sandwiches.
How should broccoli microgreens be stored?
Broccoli microgreens, rich in Vitamin K, should be stored in a sealed container or plastic bag in the refrigerator, ideally with a damp paper towel to keep them fresh. Use them within 5 days of purchase.
What is the best way to store pea shoot microgreens?
Pea shoot microgreens should be stored in a sealed container or plastic bag in the refrigerator, with a damp paper towel to maintain freshness. They can last up to 5 days when stored properly.
Can I freeze microgreens to extend their storage life?
It is not recommended to freeze microgreens such as mustard and kohlrabi, as they may lose their texture and flavor. It is best to consume them fresh within 5 days of purchase.
What is the ideal temperature for storing sunflower microgreens?
Sunflower microgreens should be stored in the refrigerator at a temperature between 35-40 F. Keep them in a sealed container or plastic bag with a damp paper towel, and they will last for up to 5 days.
Start your microgreens journey today and enjoy fresh flavors in your meals!
We invite you to share your own recipes or experiences with microgreens for community engagement!
How should arugula microgreens be stored?
Want to keep your arugula microgreens fresh? Store them in an airtight container or plastic bag in the refrigerator, along with a damp paper towel to maintain moisture.
For the best taste, consume them within 5 days of purchase. The Waltham-29 variety is a favorite among chefs!

