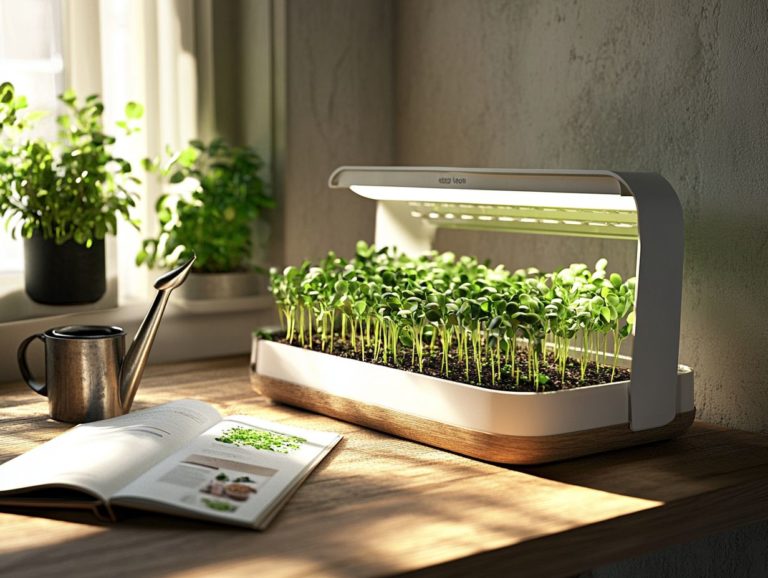
Microgreen Growing: The Best Indoor Equipment
Microgreens are those delightful little plants packed with nutrients that add a burst of flavor, making them a favorite among health-conscious eaters and culinary enthusiasts alike.
In this article, you ll delve into what microgreens are, uncover their many benefits, and discover the essential indoor equipment required for successful growth.
You will learn how to select the right seeds and follow a step-by-step guide to grow your greens with ease.
We ll also touch on common pitfalls to avoid, ensuring your journey into the world of microgreens is both rewarding and delicious.
Get ready to transform your indoor space into a vibrant garden!
Contents
- Key Takeaways:
- What are Microgreens?
- Indoor Equipment for Growing Microgreens
- Choosing the Right Seeds for Microgreens
- Step-by-Step Guide for Growing Microgreens
- Caring for Your Microgreens
- Common Mistakes to Avoid
- Frequently Asked Questions
- 1. What is microgreen growing and why is it beneficial to grow them indoors?
- 2. What equipment do I need to start growing microgreens indoors?
- 3. What type of grow lights are best for indoor microgreen growing?
- 4. How long does it take to grow microgreens indoors?
- 5. Can I reuse the soil and trays for multiple cycles of microgreen growing?
- 6. Are there any benefits to using organic soil and seeds for indoor microgreen growing?
Key Takeaways:
- Microgreens are nutrient-packed, flavorful, and easy to grow plants that can be grown indoors year-round.
- Essential supplies and tools for growing microgreens include trays, soil, seeds, and a light source.
- When choosing seeds for microgreens, consider factors like germination rate, taste, and color to ensure a successful and delicious harvest.
What are Microgreens?
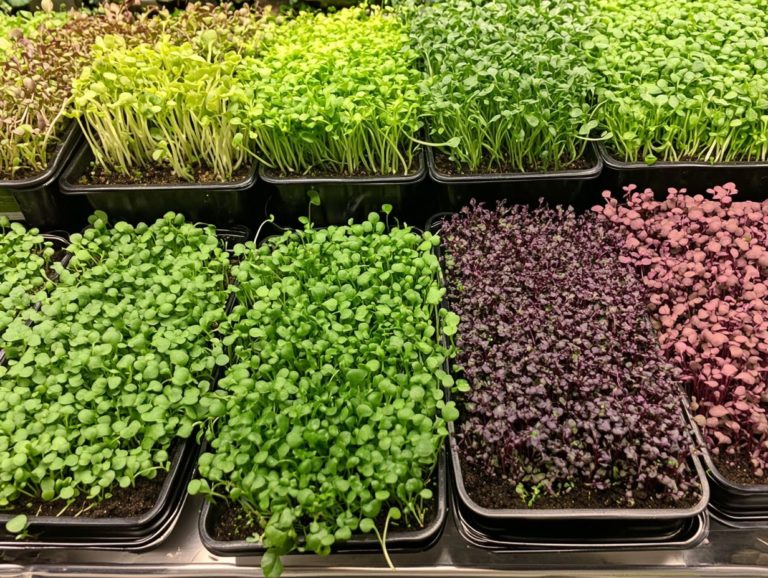
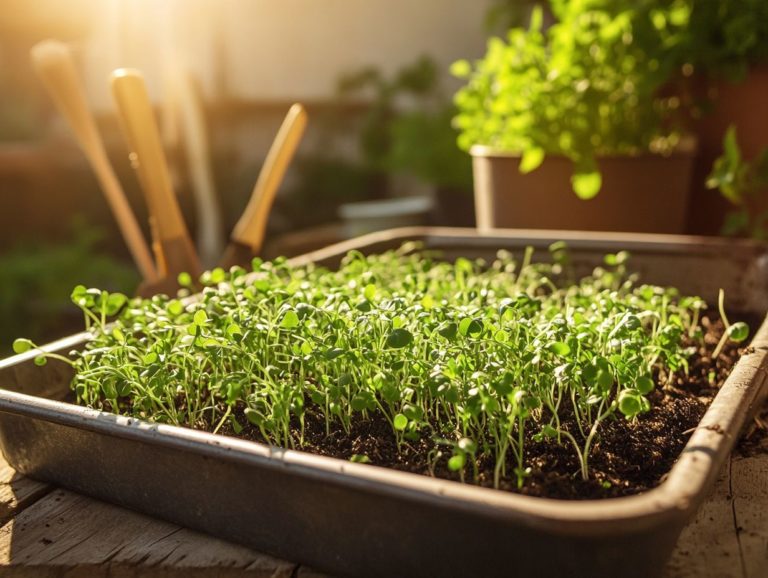
Microgreens are the young, vibrant vegetable plants that you harvest right after they sprout their first true leaves, typically within 7 to 21 days post-germination.
These petite greens are not just adorable; they deliver an impressive nutrient boost, brimming with essential vitamins and antioxidants like vitamin C and vitamin E.
Popular choices for indoor gardening include varieties such as arugula, kale, red cabbage, spinach, and beets. They are a top pick for both home gardens and kitchen gardens.
Definition and Benefits
Microgreens, those young edible plants harvested at their prime, are celebrated not just for their vibrant flavors but also for their impressive health benefits.
Think of them as your tiny allies, packed with antioxidants and essential nutrients.
With an abundance of vitamins A, C, E, and K, alongside vital minerals like calcium, iron, and magnesium, these little powerhouses can make a significant impact on your overall health.
Their concentrated beneficial compounds are renowned for helping to reduce chronic inflammation and support heart health.
Incorporating microgreens into your daily meals is both simple and rewarding. They can elevate your salads, enhance your sandwiches, or serve as eye-catching garnishes for soups and entrees.
By sprinkling a handful of these nutrient-dense greens on your dishes, you effortlessly promote a wholesome eating experience while enjoying a delightful burst of flavor and color.
Indoor Equipment for Growing Microgreens
To successfully grow microgreens indoors, you’ll need a range of essential equipment and supplies. This includes specialized light sources, reliable water sources, and the right soil mixes to create optimal growth conditions for these petite plants.
Get ready to supercharge your indoor gardening! By incorporating hydroponic systems growing plants without soil, using nutrient-rich water organic potting, and effective soil drainage solutions, you can ensure a bountiful microgreen harvest throughout the year.
Essential Supplies and Tools
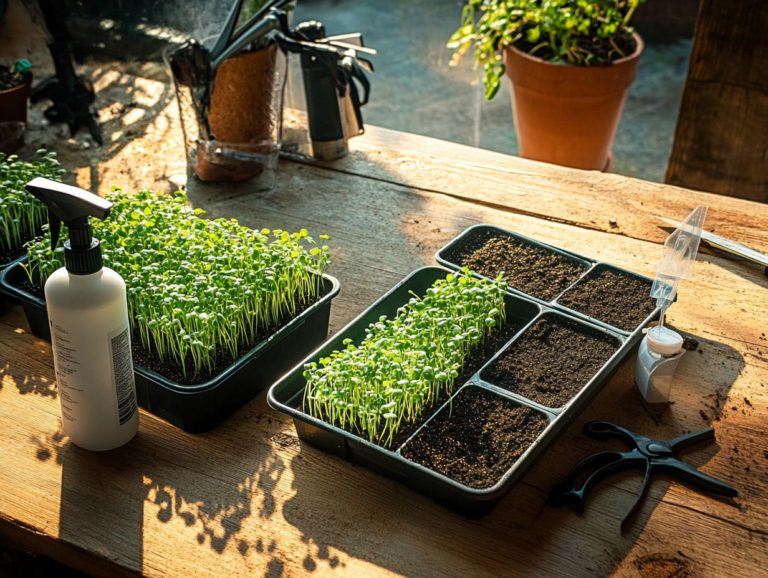
Essential supplies for growing microgreens include high-quality soil mixes, planting trays, and adequate plant tags to help you keep track of the various microgreen seeds and their specific needs.
Selecting a nutrient-rich soil mix is paramount; it lays the foundation for optimal growth and encourages healthy root development.
Opt for planting trays equipped with drainage holes to ensure excess water escapes, effectively preventing root rot.
For watering, use a gentle spray bottle or a watering can with a fine spout to maintain soil moisture without over-saturating it.
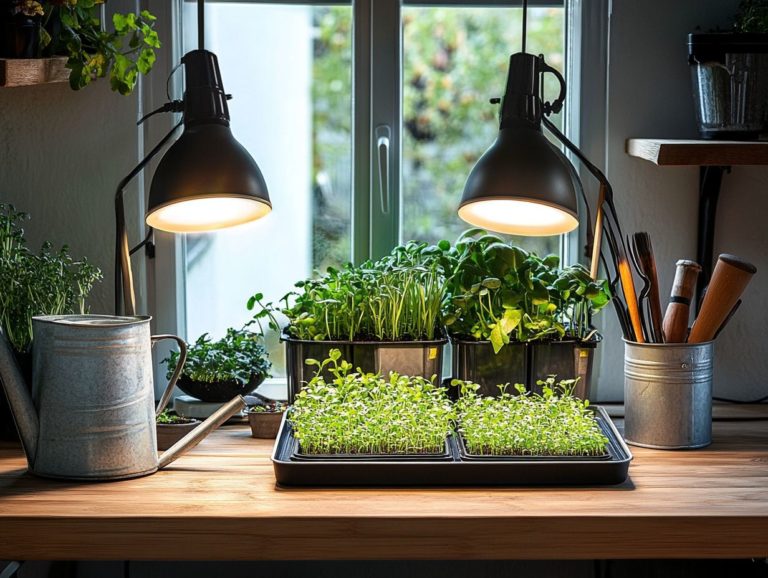
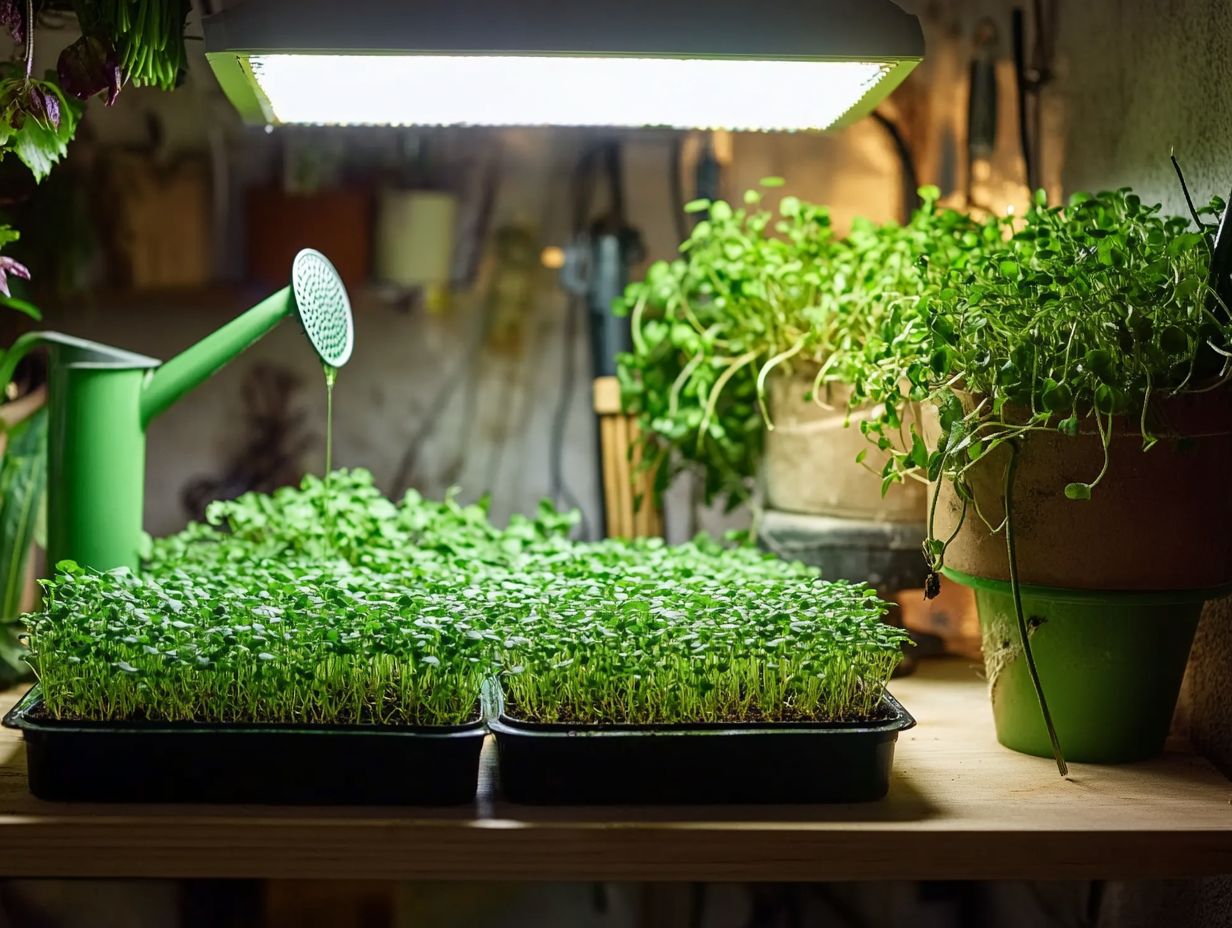
Balanced light exposure, whether from natural sunlight or grow lights, is vital for photosynthesis the process plants use to convert light into energy which in turn fosters robust, vibrant microgreens.
In the end, these elements harmoniously work together to create a thriving environment tailored to the unique requirements of each microgreen variety.
Choosing the Right Seeds for Microgreens
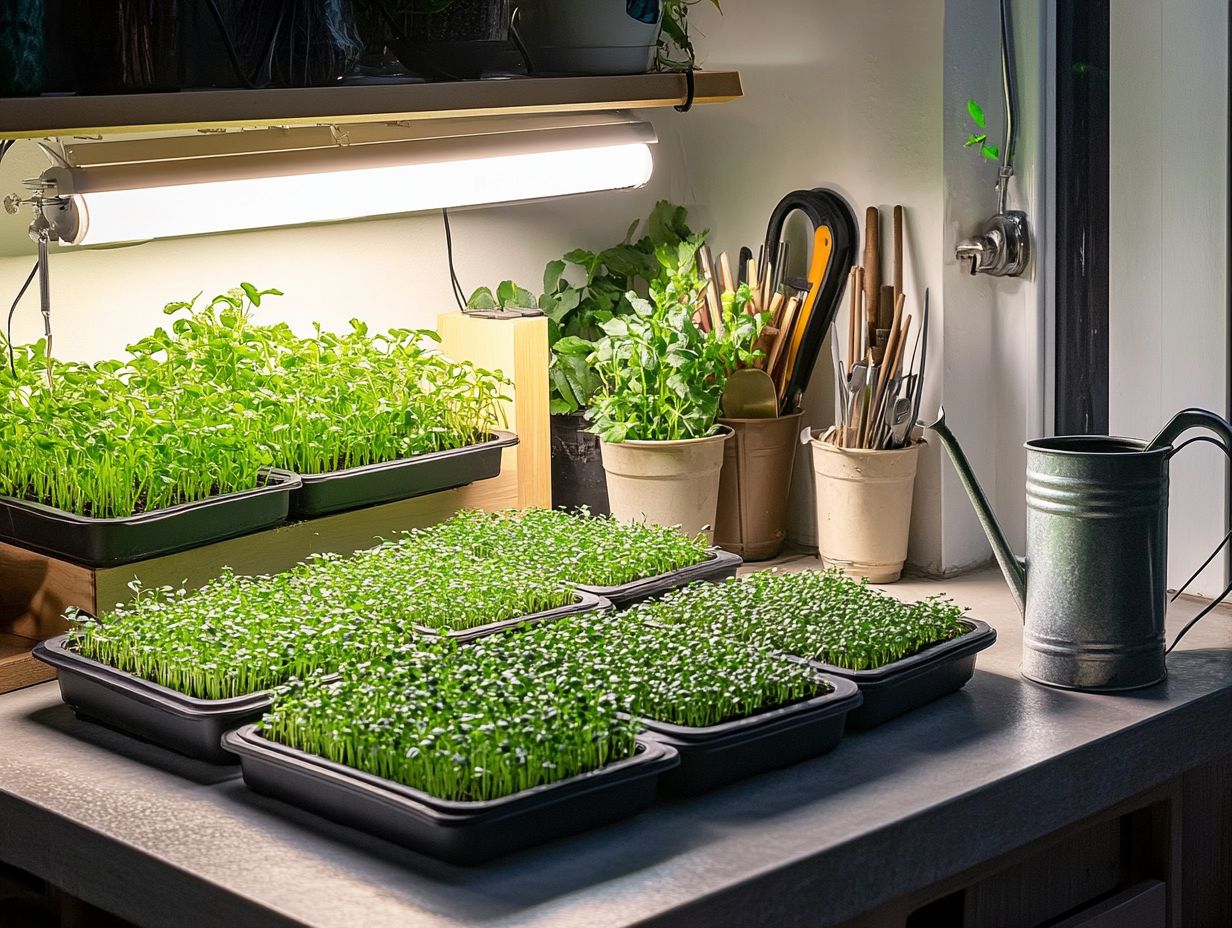
Selecting the appropriate seeds for your microgreens is essential. Each vegetable variety be it arugula, kale, red cabbage, or spinach comes with distinct growth requirements and flavor profiles that can elevate your indoor garden to new heights.
Factors to Consider
When selecting seeds for your microgreens, consider factors like seed starting techniques, light exposure, soil drainage, and plant nutrients. These are essential for ensuring healthy and abundant growth.
Pick the right seed variety to enhance both flavor and nutrient content. For instance, varieties such as radish or sunflower are popular choices because of their quick harvest times and robust flavors.
You ll want to monitor environmental conditions closely, including temperature and humidity. Generally, microgreens thrive best in temperatures ranging from 60 F to 70 F, with adequate airflow to prevent mold growth.
Proper care techniques are crucial. Make sure to water regularly without over-saturating and provide at least 12 to 16 hours of light each day. Get ready for a bountiful crop of vibrant and nutritious microgreens!
Step-by-Step Guide for Growing Microgreens
Growing microgreens, whether you choose soil-based or hydroponic methods, is an elegantly straightforward process. It begins with the careful germination of seeds and culminates in the rewarding experience of harvesting these nutrient-dense greens.
From Seed to Harvest
The journey from seed to harvest for microgreens requires a blend of precision and care. Thoughtful seed starting, proper watering techniques, and ample light exposure come together to foster robust growth.
- Begin by selecting high-quality seeds that are perfect for microgreens, like kale, radish, or basil. A quick soak for a few hours will help kickstart the germination process.
- Utilizing a shallow container filled with a seed-starting mix, evenly distribute the seeds across the surface. Gently press them into the soil to ensure good contact.
- After sowing, cover the seeds lightly with a thin layer of soil to shield them from the elements.
- Water your seeds carefully, using a spray bottle to avoid displacing them during this delicate process.
- It’s crucial to maintain consistent moisture without drowning them; nobody likes soggy soil.
- Position your container in a bright spot or beneath grow lights to create ideal light conditions for your little green friends.
- To ensure optimal growth, choose the best containers for microgreen cultivation. Within a week or two, you’ll witness the vibrant emergence of your microgreens, ready for harvest once they’ve developed their first true leaves (called cotyledons), typically between 7 to 21 days after planting.
By following these steps, you’ll find that cultivating your own microgreens is not only rewarding but also a truly enjoyable endeavor.
Caring for Your Microgreens
Caring for your microgreens requires a thoughtful approach. Provide the perfect balance of watering, ensure they receive optimal light exposure, and maintain healthy soil drainage.
Your careful attention will lead to robust plant growth in your indoor garden, allowing you to enjoy the fruits of your labor.
Watering, Lighting, and Harvesting Tips
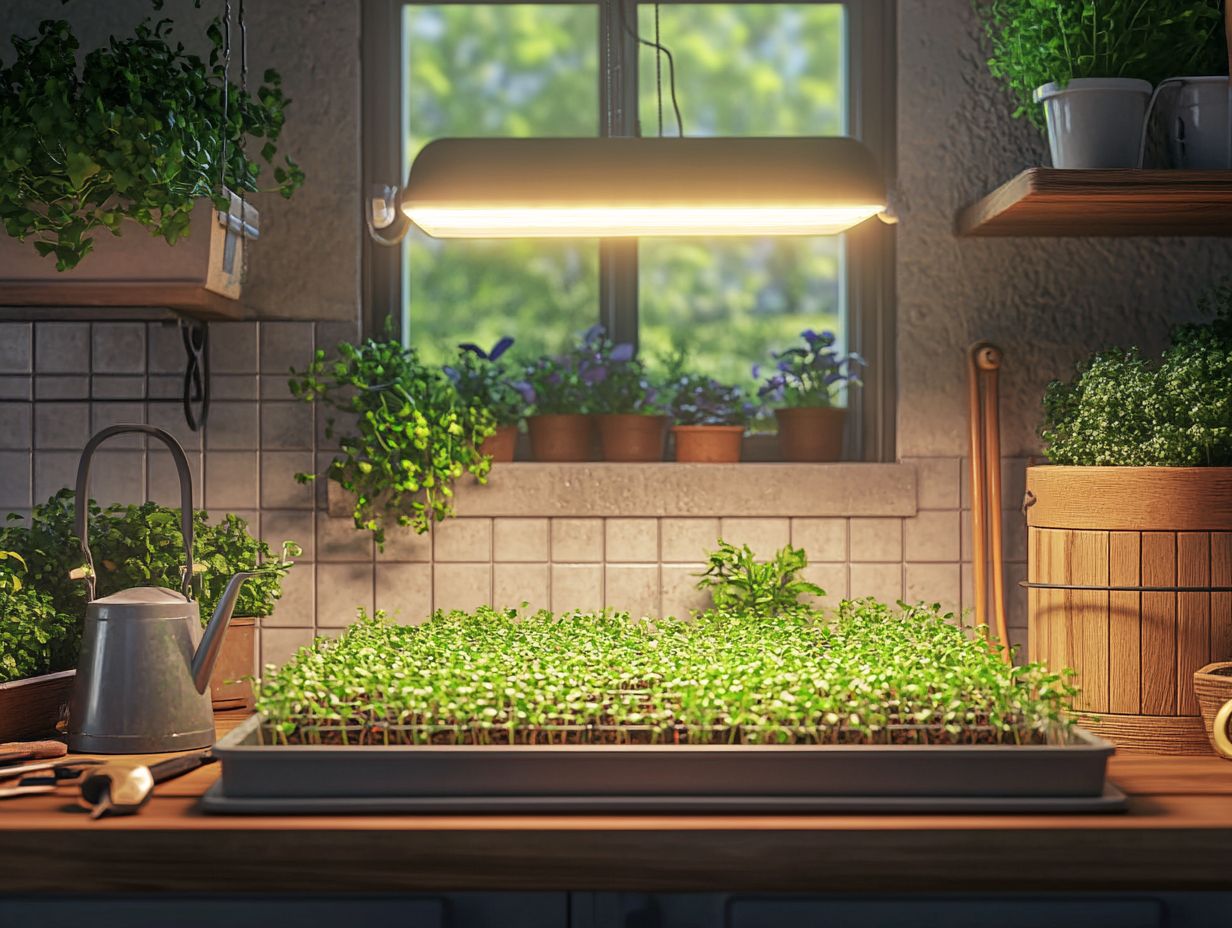
Watering effectively and providing proper light are key to successfully harvesting microgreens. Additionally, mastering the timing for harvest will maximize their nutritional value.
It’s important to achieve the right moisture level. Both overwatering and underwatering can lead to unwanted issues like mold growth or stunted development. Strive for a delicate balance, ensuring the soil remains consistently moist without becoming saturated.
Regarding light exposure, placing your microgreens under bright, indirect sunlight for about 12 to 16 hours a day will greatly enhance their vibrant color and flavor.
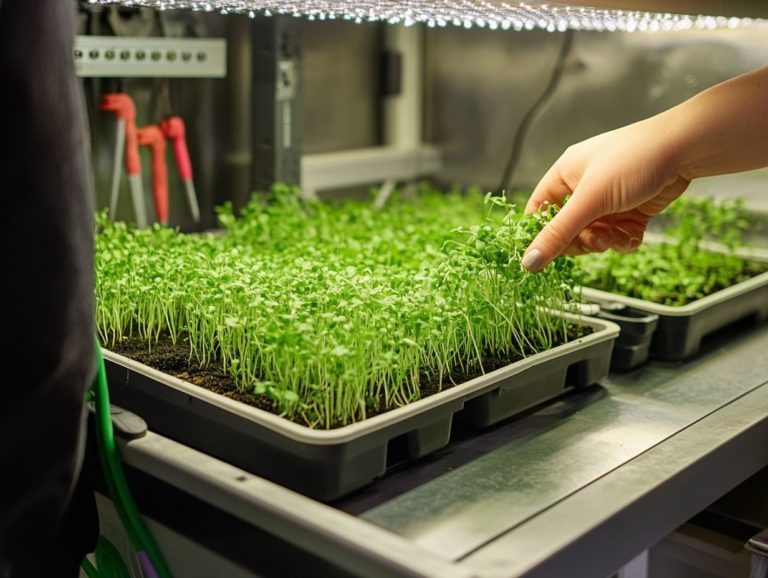
Timing your harvest is equally important. Waiting until the first true leaves, or cotyledons, make their appearance typically signals peak nutrition, enabling you to enjoy a bountiful yield brimming with flavor and health benefits.
Common Mistakes to Avoid
Avoiding common mistakes in microgreen cultivation is crucial for achieving a successful harvest. Improper watering, inadequate light exposure, and poor soil drainage can all result in disappointing outcomes.
Pay close attention to these factors to maximize your yield and enjoy the fruits of your labor.
Troubleshooting and Solutions
Troubleshooting common issues in microgreen gardening requires careful analysis of factors such as watering practices, light exposure, and plant nutrients to ensure robust growth.
Monitor these elements closely to tackle potential problems before they escalate. For instance, overwatering can lead to mold and seedling rot. Establish a consistent watering schedule that strikes the perfect balance.
Ensure your microgreens receive adequate light ideally 12 to 16 hours of bright, indirect light to avoid issues like leggy growth. Regularly check soil moisture, choose quality seeds with high germination rates, and provide an organic nutrient source to cultivate vibrant and nutritious greens effortlessly. For the best results, understand the perfect light conditions for microgreens.
Frequently Asked Questions
Here are some common questions about growing microgreens indoors:
1. What is microgreen growing and why is it beneficial to grow them indoors?
Microgreen growing involves cultivating young, edible greens typically harvested within 14 days. Growing them indoors allows for a controlled environment, making it easier to produce consistent, high-quality microgreens year-round.
2. What equipment do I need to start growing microgreens indoors?
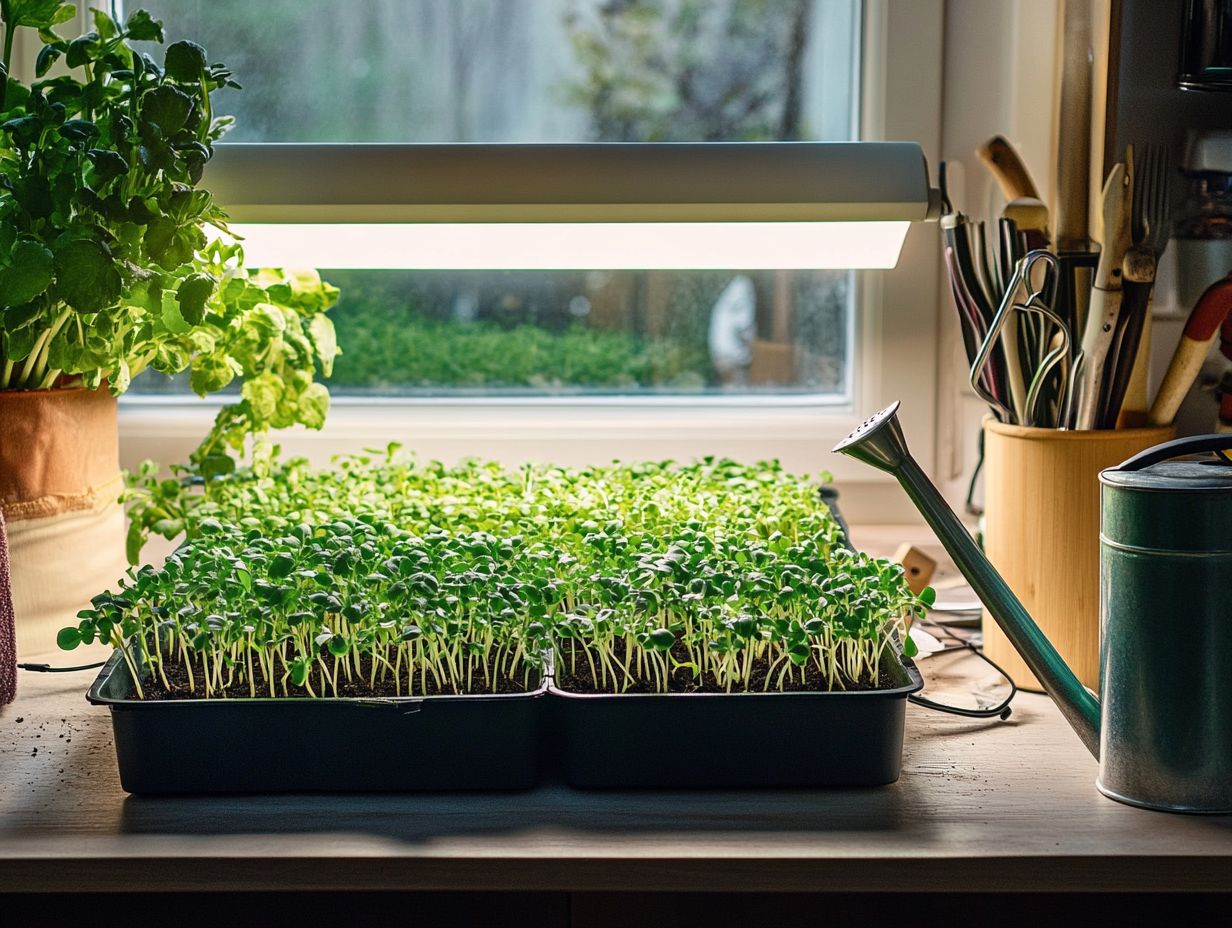
The basic equipment needed includes:
- Growing tray
- Potting soil
- Seeds
- Grow lights
- Water source
Additional items like a spray bottle for watering and a fan for air circulation can also be helpful.
3. What type of grow lights are best for indoor microgreen growing?
LED grow lights are the recommended choice for growing microgreens indoors. They are energy-efficient, provide a full spectrum of light, and can be adjusted for the specific needs of different types of microgreens.
4. How long does it take to grow microgreens indoors?
The growing time for microgreens varies by type, but on average, it takes about 7-14 days. Some varieties, like broccoli and radish, can be harvested in as little as 5 days.
5. Can I reuse the soil and trays for multiple cycles of microgreen growing?
Yes, you can reuse the soil and trays for multiple cycles of microgreen growing. However, it s important to clean and disinfect them between uses to prevent disease and maintain optimal growing conditions.
6. Are there any benefits to using organic soil and seeds for indoor microgreen growing?
Using organic soil and seeds provides several benefits. They are free from harmful chemicals and pesticides, can produce more nutrient-dense greens, and support environmentally sustainable practices.
Start your microgreen journey today and enjoy fresh greens right from your home!

