Creating a Microgreen Supply Checklist
Are you prepared to embark on the thrilling journey of growing your own microgreens? Whether you re a seasoned gardener or just dipping your toes into this vibrant world, this guide will lead you through every essential step for cultivating a successful crop.
From selecting the perfect seeds to grasping the nuances of the growth cycle, you ll discover everything you need to nurture vibrant, nutritious microgreens. You ll also find valuable insights on budgeting, pest management, and quality control, all designed to make your growing experience both efficient and rewarding.
Dive in and get ready to cultivate fresh greens right in your home!
Contents
- Key Takeaways:
- 1. Choosing the Right Seeds
- 2. Preparing the Growing Medium
- 3. Finding the Right Containers
- 4. Providing Adequate Lighting
- 5. Watering and Humidity Control
- 6. Fertilizing the Microgreens
- 7. Managing Pests and Diseases
- 8. Harvesting and Storing Microgreens
- 9. Proper Cleaning and Sanitization
- 10. Understanding the Growth Cycle
- 11. Calculating the Right Amount of Seeds
- 12. Budgeting for Supplies
- 13. Choosing Organic vs. Non-Organic Seeds
- 14. Sourcing Supplies from Reliable Vendors
- 15. Importance of Quality Control and Record-Keeping
- Frequently Asked Questions
Key Takeaways:
- Choose the right seeds for your microgreen supply checklist based on your preferences and growing conditions.
- Proper cleaning and sanitization is important for maintaining a healthy microgreen supply and preventing contamination.
- Record-keeping and quality control are essential for successful microgreen production and ensuring consistent quality for consumers.
1. Choosing the Right Seeds
Choosing the right seeds is a crucial step in your journey of growing microgreens. This decision directly impacts the flavor and texture of your homegrown greens. For urban gardeners like yourself, selecting quality microgreen seeds that align with your culinary needs and growing conditions is essential.
When you’re picking microgreen seeds, consider factors such as germination time, which is the process where seeds start to grow and can vary significantly across different varieties. For example, radish microgreens sprout in just a few days, while basil might take a little longer to make its appearance.
Explore the unique taste profiles of each type; some may relish the peppery kick of arugula, while others might lean towards the mild sweetness of sunflower greens. Reliable vendors like True Leaf Market can provide a range of options to cater to your diverse preferences.
Prioritizing seed quality is crucial, as healthy seeds yield robust plants and enhance the overall health benefits of your greens. This ensures that the right growing conditions amplify both flavor and nutritional content.
2. Preparing the Growing Medium
The preparation of your growing medium is vital for successful microgreen production. It provides essential nutrients and support for seed germination while ensuring an optimal environment for growth.
You have several types of growing media at your disposal, each boasting its unique benefits and drawbacks. For example, peat-based mixes are popular for their light texture and ability to hold water, which makes them ideal for sprouting seeds. However, the environmental concerns surrounding peat harvesting can be a significant downside.
On the flip side, consider coconut coir a more sustainable option that offers excellent drainage and aeration while retaining enough moisture for healthy growth. To make the most of these media, it’s crucial to create a suitable growing environment by maintaining consistent moisture levels and using a balanced fertilizer.
This approach not only enhances nutrient absorption but also promotes overall plant health, ensuring your microgreens thrive.
3. Finding the Right Containers
Selecting the right containers for growing microgreens is crucial for optimizing your space and ensuring healthy development, giving you the power to make the most of your small kitchen.
The choice of planting and growing trays significantly influences key factors such as drainage and ability to hold water both vital for the flourishing growth of these delicate greens. For instance, opting for shallow trays with proper drainage holes will promote effective water flow, preventing the dreaded root rot. On the other hand, deeper containers can retain moisture for longer stretches, which is particularly beneficial during the germination phase.
Choosing different materials like bamboo and recycled plastic not only enhances functionality but also supports sustainability. Understanding how these elements affect your plants’ health will help you select the right containers for your microgreen journey.
Start your microgreen adventure today, and watch your culinary creations flourish!
4. Providing Adequate Lighting
Providing adequate lighting is essential for your microgreens’ growth. The intensity and duration of light can greatly influence their germination time and overall health, making this a crucial factor for any urban gardener.
Regarding lighting, choosing the right type like LED or fluorescent can significantly enhance your growing experience. LEDs are energy-efficient and emit less heat, allowing you to position them closer to your plants without any risk of damage. This makes them perfect for smaller indoor spaces.
On the other hand, fluorescent lights tend to be more budget-friendly and can cover larger areas, making them a solid choice for setups with multiple trays.
As you set up your lighting system, know the specific needs of each microgreen variety. Some may thrive with more full-spectrum exposure than others. Whether you’re growing indoors or outdoors, keep a close eye on light duration and aim for around 12 to 16 hours per day while also factoring in seasonal variations in sunlight for outdoor setups. Utilizing essential tools for microgreen growing success can help optimize your setup.
5. Watering and Humidity Control
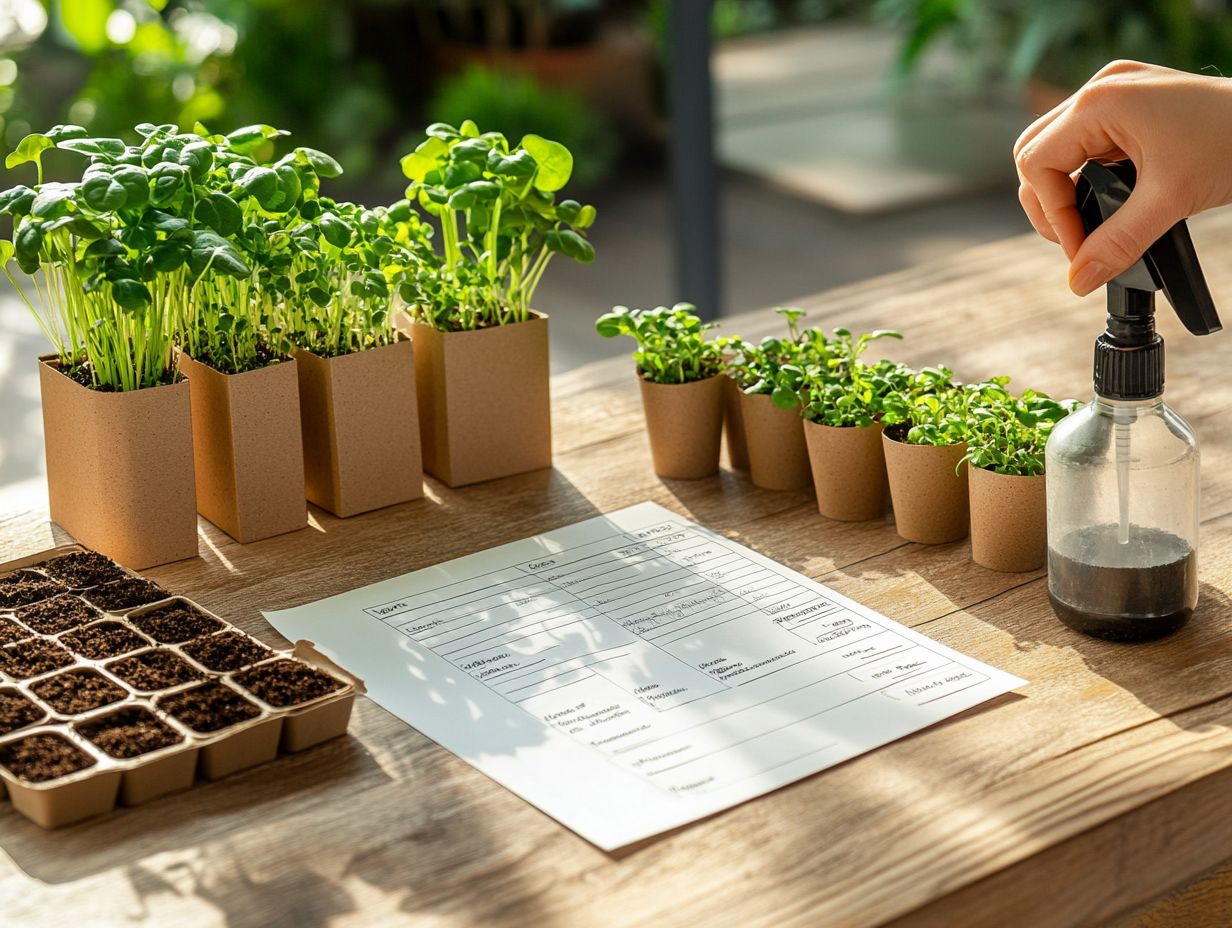
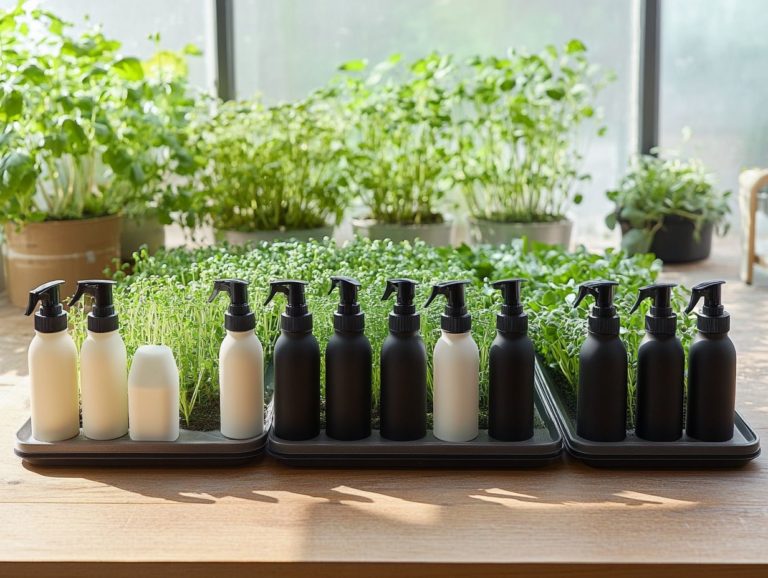
Effective watering and humidity control are essential for cultivating microgreens. They significantly impact germination rates and overall plant vigor. Utilizing tools like a spray bottle allows for precise watering, which is crucial for success.
The timing and volume of water you provide are vital; it’s generally advisable to water your microgreens daily. Adjust the amount according to their growth stage and environmental conditions. Be mindful overwatering can lead to mold, while underwatering may stunt their development.
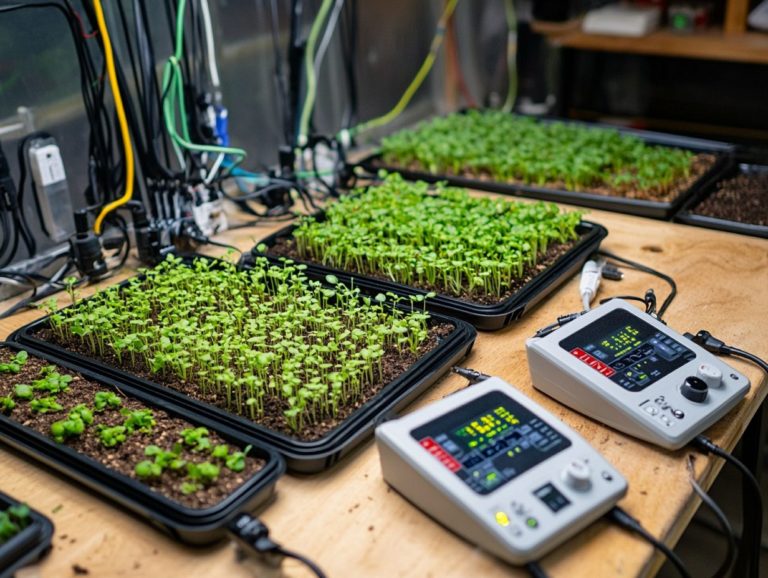
Humidity also plays a critical role in their growth and should ideally be kept between 40-70%. You can monitor this with a hygrometer. If adjustments are necessary, consider using humidifiers or water trays.
To cultivate an optimal environment, routinely check moisture and humidity levels to ensure your microgreens thrive beautifully.
6. Fertilizing the Microgreens
Fertilizing microgreens is an essential step that enhances their nutrient profile and promotes robust growth. This is especially important when you use hydroponic nutrients to create a balanced solution.
By choosing the right type of hydroponic fertilizers, you can effectively provide the essential major nutrients and minor nutrients crucial for the healthy development of these delicate greens. With a variety of formulations available liquid, powder, and slow-release each option suits different growing systems.
Applying fertilizers at the right stages, notably during germination and just before harvest, can significantly enhance both the overall yield and nutrient density of your microgreens. For optimal results, consider following a microgreen storage schedule. Proper nutrient management will reward you with a flavor-packed and nutrient-rich harvest that your consumers will love!
7. Managing Pests and Diseases
Managing pests and diseases is a crucial part of growing microgreens. It ensures a healthy crop and aligns with environmentally sustainable home gardening practices.
The delicate nature of these small plants makes them particularly vulnerable to various pests, like aphids and fungus gnats, as well as diseases such as damping-off, a type of fungal disease that can affect seedlings. Implementing effective prevention measures is essential, such as maintaining proper air circulation, ensuring adequate drainage, and regularly inspecting your growing environment.
Utilizing organic pest control methods, like introducing beneficial insects or using neem oil, can help you manage outbreaks naturally. Create a clean growing space by routinely sanitizing your trays and tools to significantly reduce the risk of infestations and contamination. This promotes robust growth and resilience in your vibrant microgreens.
8. Harvesting and Storing Microgreens
Harvesting microgreens at the perfect moment is essential for unlocking their full flavor and nutritional potential. Pay close attention to the signs of readiness to ensure a delightful culinary experience.
Typically, aim to harvest microgreens when they reach about two to three inches in height. These vibrant leaves indicate they re at peak maturity.
Use a sharp knife or scissors to snip them just above the soil line. This minimizes damage and helps retain those precious nutrients.
Timing is key; harvest in the morning when the greens are at their crispest after soaking up moisture overnight.
After harvesting, proper storage is crucial for maintaining freshness and nutrients. Place these delicate greens in a breathable container lined with a damp paper towel and store them in the refrigerator to keep them vibrant for several days.
This thoughtful approach not only elevates their flavor but also extends their shelf life. Get ready to savor their deliciousness!
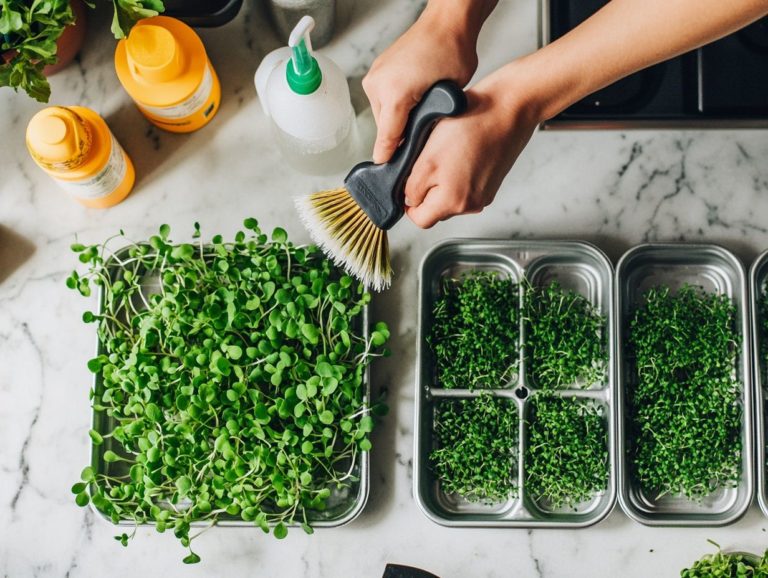
9. Proper Cleaning and Sanitization
Maintaining proper cleaning and sanitization of your equipment and growing areas is essential for growing microgreens. This practice prevents contamination and secures the health benefits of your homegrown greens.
A clean environment promotes robust growth and diminishes the risk of pests and diseases that can negatively impact your yields. It s vital to regularly wash tools like trays, cutting utensils, and any containers you use throughout the process.
Opt for mild, non-toxic cleaners to effectively eliminate harmful residues, while thorough rinsing ensures that no harmful chemicals linger. By adopting a consistent cleaning schedule and inspecting your growing areas after each harvest, you’ll uphold high hygiene standards, creating a flourishing and vibrant microgreen garden. Additionally, using essential tools for harvesting microgreens can further enhance your gardening success.
10. Understanding the Growth Cycle
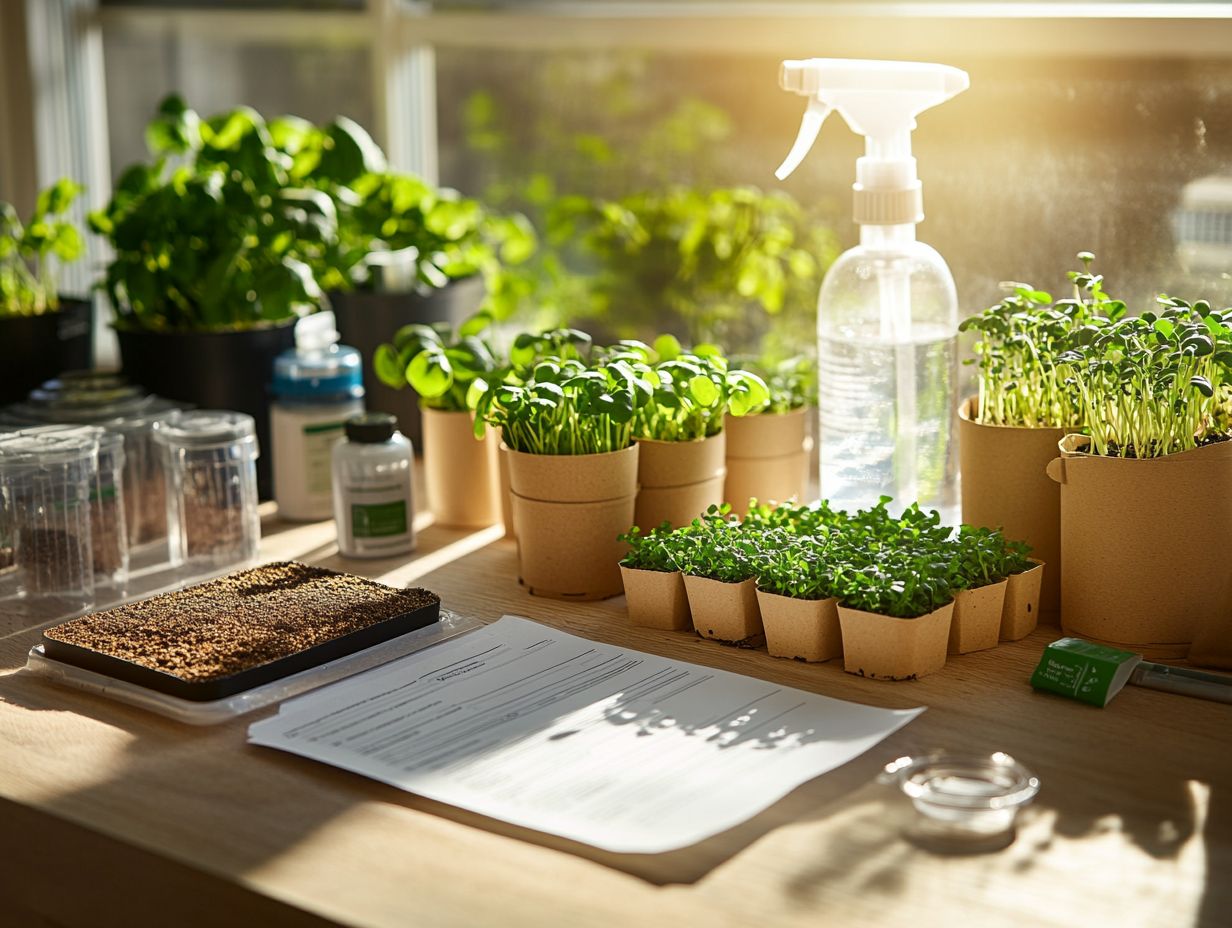
Understanding the growth cycle of microgreens is crucial for your successful cultivation. This cycle includes various stages, from germination to harvest, which allows you to optimize your microgreen production effectively.
By focusing on the specific timeframes, typically ranging from just 7 to 21 days depending on the variety, you can ensure that each phase receives the right amount of care. During the germination stage, lasting about 3 to 5 days, it s essential to maintain proper moisture levels and temperature to achieve optimal seed sprouting.
Once you move into the young plant stage, which lasts around 4 to 10 days, providing adequate light and careful watering is key to promoting healthy growth. As your microgreens edge closer to harvest, usually between 10 to 21 days, understanding their nutrient needs can significantly enhance both yield and quality. For those interested in expanding their gardening efforts, check out this guide on how to create a microgreen variety garden.
By mastering these stages, you can not only increase the quantity of your harvest but also ensure the vibrant flavors and textures that microgreens are celebrated for.
11. Calculating the Right Amount of Seeds
Calculating the right amount of seeds is essential for maximizing the efficiency of your microgreens project, ensuring you achieve the desired yield without wasting any resources.
When determining the appropriate seed quantity, consider both the size of your container and the specific type of microgreens you’re cultivating. Larger containers may require a greater number of seeds to promote even and robust growth, while smaller trays might only need a fraction of that amount. For a detailed guide on setting up your growing space, check out this resource on how to create a microgreen grow kit.
To help with precise measurements, utilizing measuring cups can be incredibly beneficial. Start by using a standard measuring cup to portion out your seeds, which allows for consistency across different batches.
Don’t wait too long to figure this out; the right amount of seeds can make all the difference in your harvest! Keeping notes on the amounts used in various conditions will aid in refining your future planting strategies, ultimately leading to optimal yields over time.
12. Budgeting for Supplies
Budgeting for supplies is an essential step in growing microgreens. It enables you to allocate resources effectively and ensures a successful and sustainable gardening experience at home.
Start by identifying the essential supplies: seeds, trays, soil, and grow lights. Each of these components plays a vital role in your cultivation journey. For detailed instructions, check out this step-by-step guide to sowing microgreens. Seeds typically range from $2 to $5 per pack. Trays can be found for about $1 to $3 each. A high-quality organic soil bag, which covers several trays, might set you back between $10 and $20. If natural light isn’t your ally, grow lights become a worthwhile investment, usually starting around $25.
Investing in quality seeds is the first step toward a thriving garden! It’s wise to first invest in quality seeds and soil, as they significantly influence your growth. Next, consider trays, lights, and the essential care tools for microgreen plants to ensure that every dollar you spend maximizes yield and quality.
13. Choosing Organic vs. Non-Organic Seeds
Choosing between organic and non-organic seeds is an important choice for you as a microgreens grower. It influences both the health benefits of your produce and the entirety of your growing experience.
This choice doesn’t just sway the nutrient profile; it also impacts the flavor and the impact on the environment of your microgreens. Organic seeds, grown without synthetic pesticides or fertilizers, typically result in microgreens that are richer in antioxidants and nutrients, offering superior health benefits for your consumers. Additionally, understanding the tools needed for harvesting microgreens can enhance the overall quality of your crop.
Many growers find that these seeds produce a more vibrant flavor profile, elevating the overall taste of their dishes. Environmentally speaking, opting for organic contributes to sustainable farming practices, helping to reduce soil degradation and foster biodiversity, which is the variety of life in the world.
The quality of microgreens harvested from organic seeds often far exceeds that of non-organic counterparts. This is essential for anyone committed to providing the finest produce possible.
14. Sourcing Supplies from Reliable Vendors
Sourcing supplies from reliable vendors is crucial for your microgreens cultivation. It ensures you have access to high-quality seeds and materials that foster successful growth.
When nurturing these delicate crops, quality is very important. A reputable vendor, such as True Leaf Market, not only supplies seeds that have been rigorously tested for viability but also offers a variety of growing supplies designed to optimize your microgreens’ development. For more insights, check out these essential tips for growing microgreens at home.
As you embark on this journey, consider factors like customer reviews of the vendor, the sourcing practices of the seeds, and the diversity of products available. By ensuring that your suppliers provide educational resources, you give yourself the power to make informed decisions that will enhance your growing experience and yield. For all the necessary information, check out the ultimate guide to microgreen supplies.
15. Importance of Quality Control and Record-Keeping
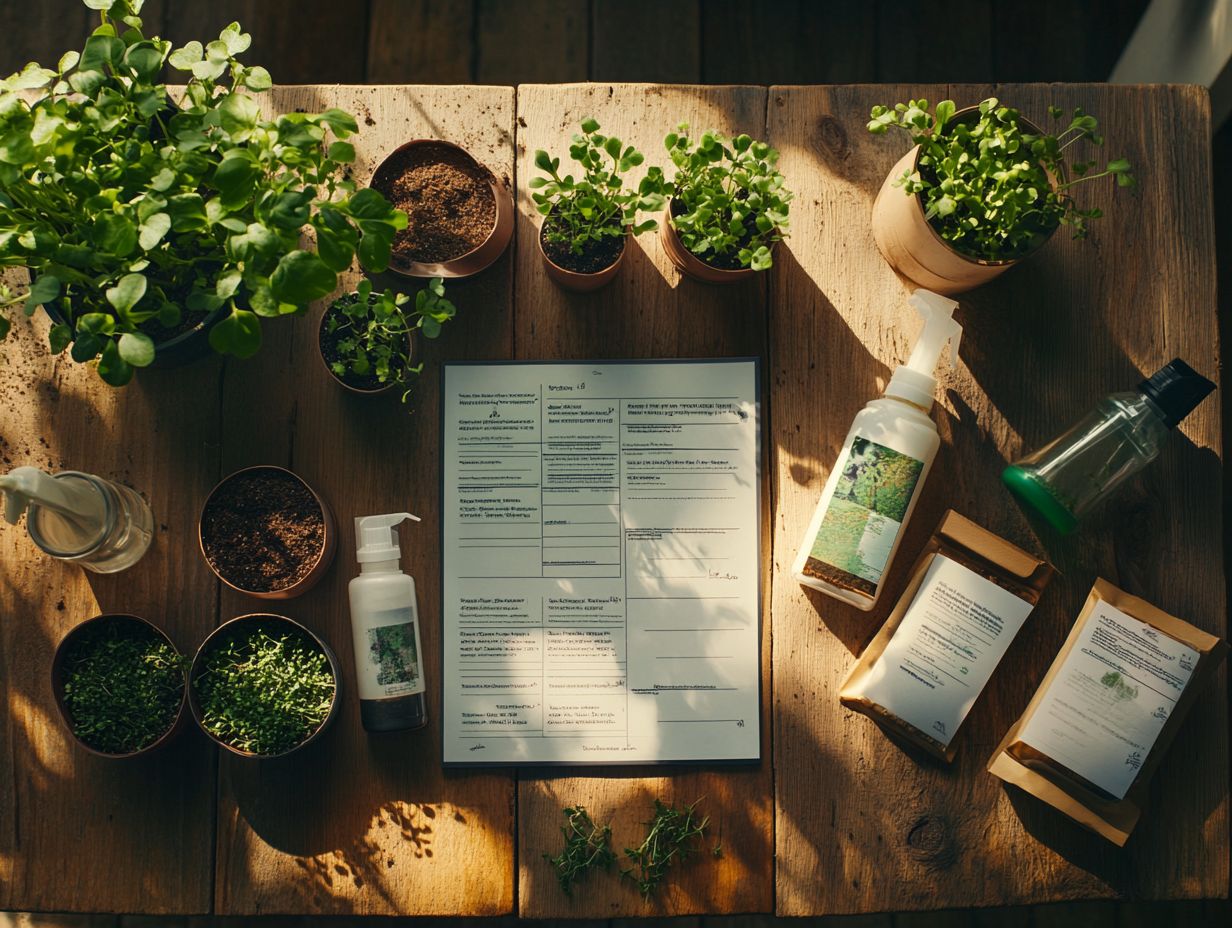
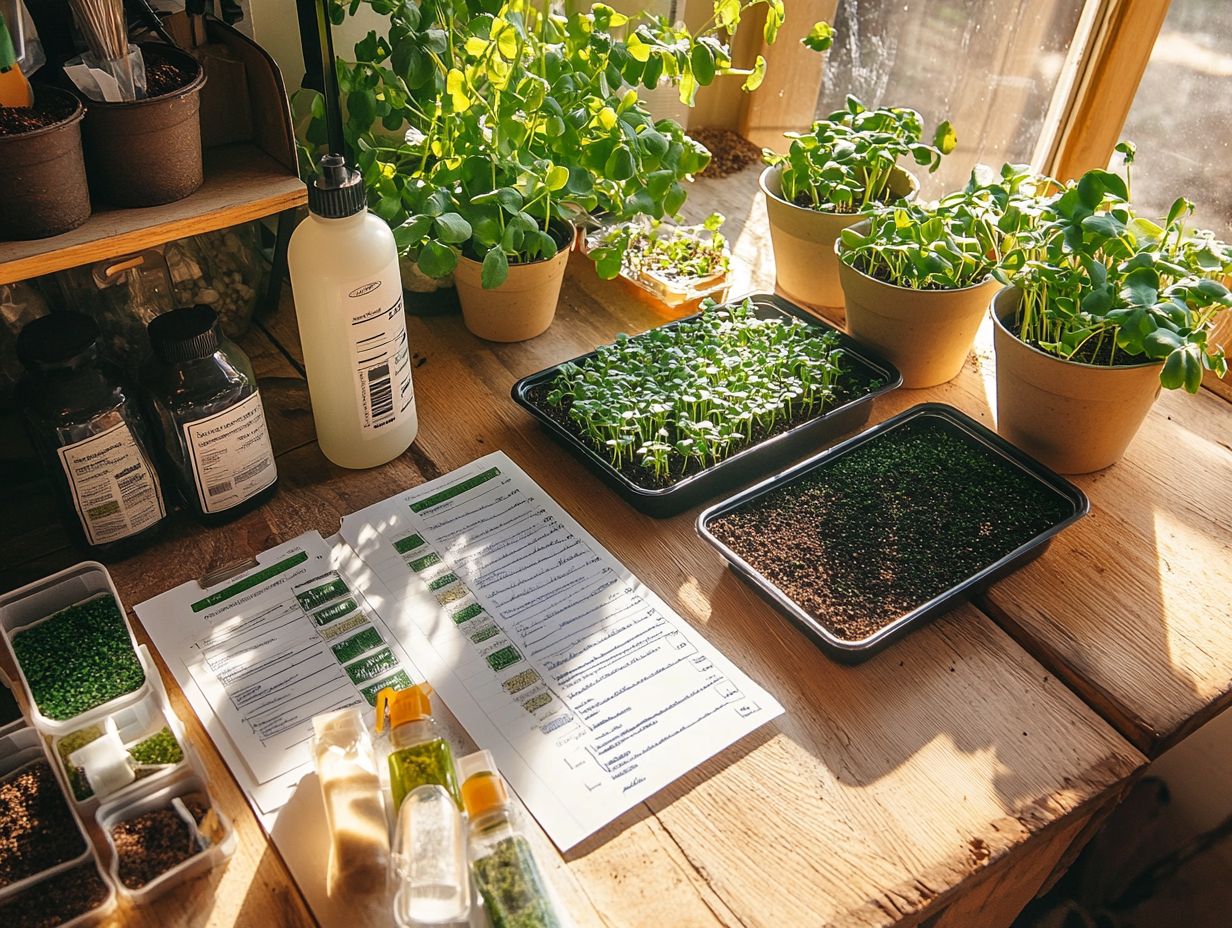
Implementing quality control and effective record-keeping practices is crucial for your success in microgreens cultivation. Quality control means checking your plants and processes to ensure everything is growing as it should. This approach gives you the power to track progress and optimize growing conditions seamlessly.
By systematically documenting every detail of your planting cycles like sowing dates, selected varieties, and environmental conditions you ll be able to identify trends and make informed decisions for future crops.
For example, keeping tabs on growth patterns and yields not only helps you understand which seed types flourish in specific settings but also allows you to catch potential issues before they escalate.
This meticulous approach can significantly enhance the consistency of your harvest quality, ultimately benefiting your sales and customer satisfaction. Your detailed records will uncover valuable insights, enabling you to fine-tune watering and nutrient application for healthier plants and more efficient cultivation overall.
Frequently Asked Questions
What is a microgreen supply checklist?
A microgreen supply checklist helps you gather everything you need to grow your microgreens successfully. It includes everything from seeds and soil to containers and tools.
Why is a microgreen supply checklist important?
A microgreen supply checklist keeps you organized. It ensures you have everything you need to start your growing journey.
What items should I include?
Your checklist should include:
- Microgreen seeds
- Planting trays
- Potting soil
- Spray bottle
- Watering can
- Grow light
- Scissors
Optional items might be a cover to keep moisture in, a heat mat, or a pH tester.
How do I determine quantities?
The quantity depends on your growing space and how many microgreens you want to grow. Start small and increase as you gain experience.
Where can I buy these items?
You can find supplies online, at gardening stores, or home improvement stores. Local grocery or health food stores may also have seeds and soil.
Can I customize my checklist?
Absolutely! Tailor your checklist to fit your needs and budget. Just make sure you have everything necessary for success.

