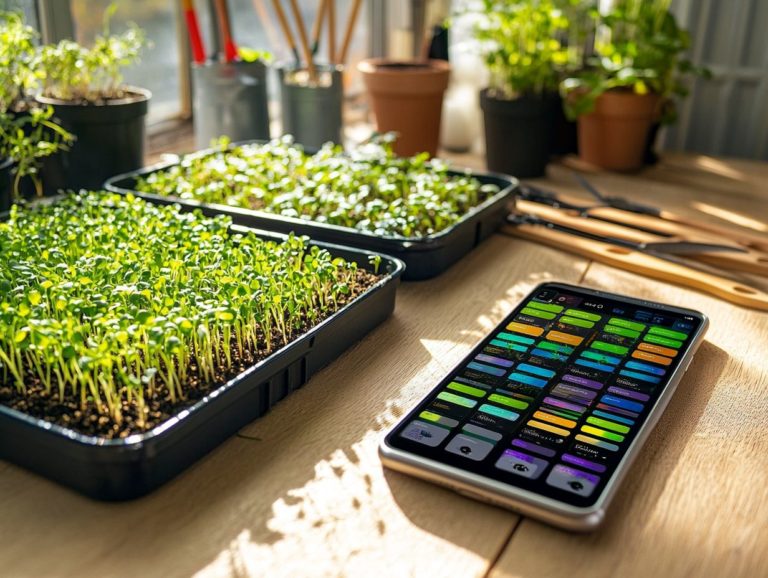
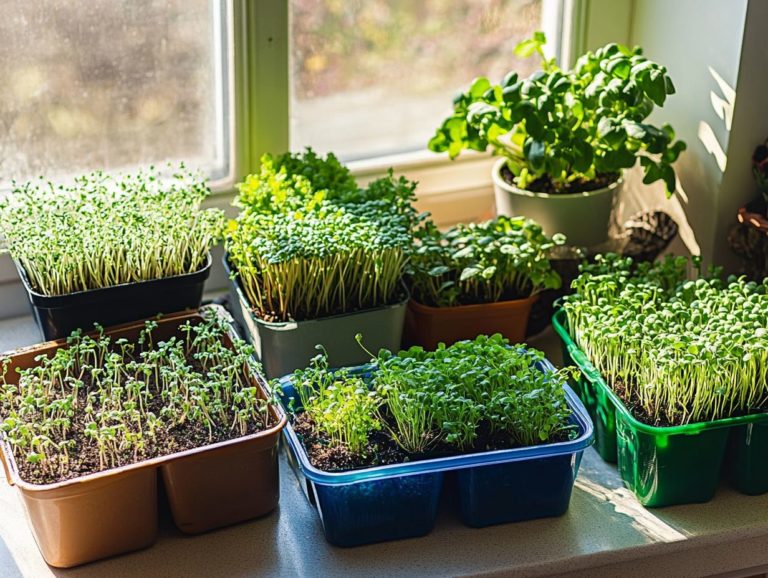
How to Set Up a Microgreen Station at Home
Microgreens, such as basil, broccoli, and sunflower, are exceptional powerhouses packed with nutrients. They are a superb addition to your home garden.
Get ready to discover the amazing benefits of cultivating microgreens at home! This guide will walk you through establishing your growing station, selecting the perfect seeds, caring for your plants, and incorporating them into your culinary creations.
Whether you re a seasoned gardener or a curious novice, you ll find everything you need to launch your microgreens journey right here.
Contents
- Key Takeaways:
- Benefits of Growing Microgreens at Home
- Setting Up a Microgreen Station
- Preparing and Planting Microgreens
- Caring for Microgreens
- Harvesting and Using Microgreens
- Frequently Asked Questions
- How do I set up a microgreen station at home?
- What type of container should I use for my microgreen station?
- What type of soil should I use for my microgreen station?
- What are the best seeds to use for microgreens?
- How long does it take for microgreens to grow?
- Can I reuse the soil after harvesting my microgreens?
Key Takeaways:
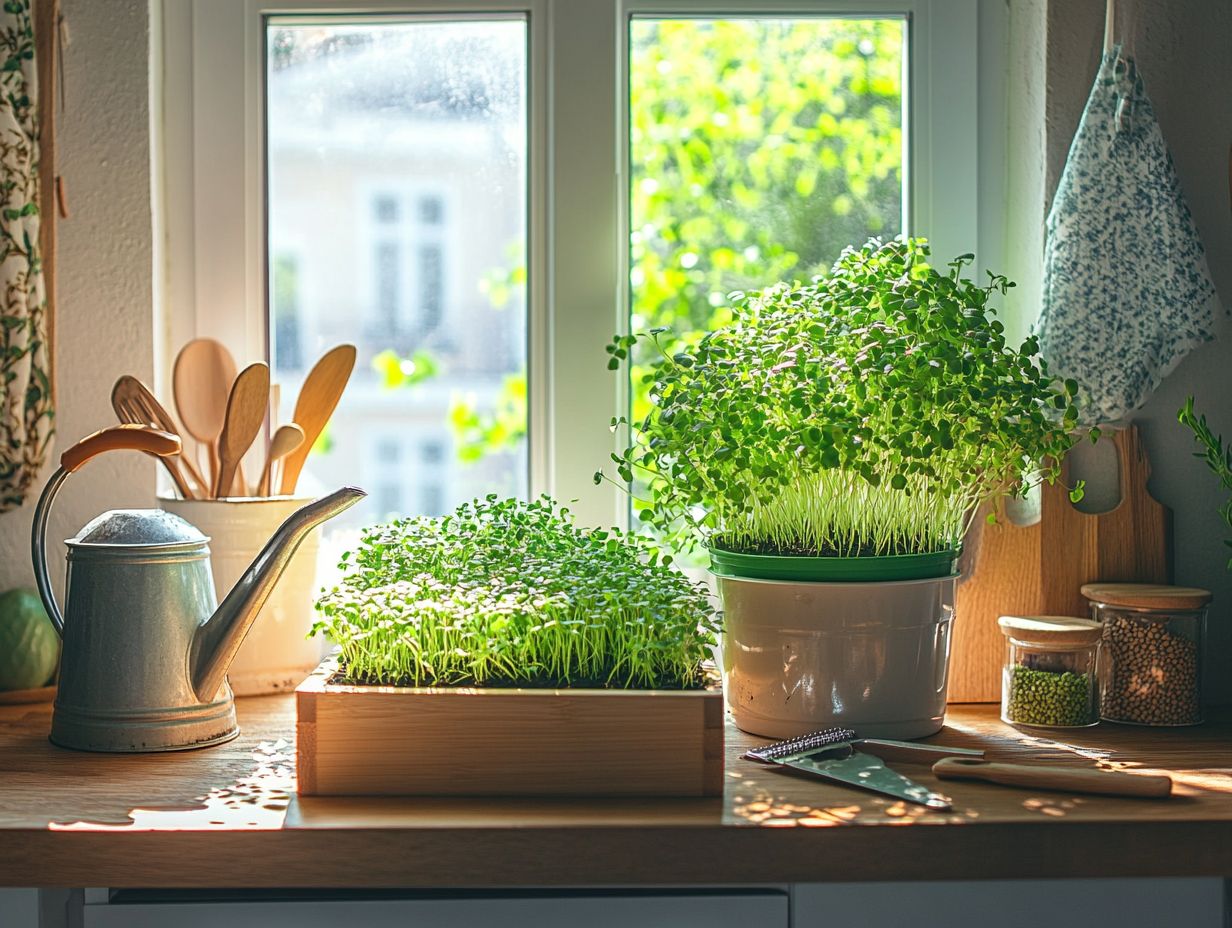
- Incorporating indoor microgreens into your diet offers a convenient and nutrient-rich way to boost your health at home.
- Setting up a microgreen station requires minimal space, basic supplies, and proper care for successful growth.
- You can easily harvest and use growing microgreens in meals to add fresh and healthy ingredients to your dishes.
What are Microgreens?
Microgreens are young, edible plants known for their impressive nutritional benefits and vibrant flavors. Varieties like basil, sunflower, broccoli, and pea microgreens are loaded with vitamins, minerals, and antioxidants, making them perfect for anyone focused on health and culinary flair.
As a sustainable option, you can easily grow microgreens indoors using water-based growing methods or traditional soil methods. For a detailed approach, refer to this step-by-step guide to sowing microgreens. This allows you to enjoy fresh produce year-round, even with limited outdoor space.
These tiny greens typically reach peak growth in just 7 to 21 days, depending on the species. This quick growth enhances their appeal and makes them an excellent choice for urban gardening enthusiasts looking for fast results.
Celebrated for their superfood status, microgreens actually pack more nutrients than their fully grown counterparts. This perfectly aligns with modern health trends emphasizing nutrient-dense diets. Varieties like arugula and radish microgreens elevate the flavor profile of your dishes and add a touch of elegance, making them a favorite among gourmet chefs.
Interest in water-based cultivation has surged, offering alternatives for those passionate about sustainable farming practices while conserving water and contributing to environmental sustainability.
Benefits of Growing Microgreens at Home
Growing microgreens at home presents a wealth of benefits tailored just for you. Imagine enhancing your nutritional intake, saving on grocery bills, and experiencing the joy of cultivating your own food in a vibrant kitchen garden.
With the ease of indoor microgreens cultivation, you can savor fresh, flavorful greens whenever you desire. Ensure the seeds you choose are pristine and free from harmful chemicals. This elevates your meals and supports a sustainable lifestyle.
Nutritional Value and Convenience
Microgreens are amazing for their rich flavors and health benefits. They often contain more nutrients than fully grown plants.
Rich in essential nutrients like vitamins A, C, E, and K, along with minerals such as iron and calcium, microgreens act as potent health boosters in your diet. The concentrated antioxidants support your immune system and may help reduce inflammation, promoting overall well-being.
Integrating microgreens into your daily cooking is a breeze; they require minimal preparation. Use them as a topping for sandwiches, a flavorful garnish for soups, or a quick nutrient-rich boost in stir-fries. For those new to this ingredient, following microgreen harvesting: a step-by-step guide can enhance your experience. Their versatility invites you to experiment with different varieties, encouraging creativity in the kitchen while ensuring you enjoy a wholesome meal.
Setting Up a Microgreen Station
Establishing a microgreen station at home gives you the power to cultivate these nutrient-rich greens with remarkable ease and efficiency. By choosing the right growing medium be it potting soil or hydroponics (growing plants without soil, using nutrient-rich water instead) and using special trays for microgreens, you can craft an ideal environment for seed germination.
To ensure optimal conditions, incorporating a humidity dome and supplying ample lighting for your microgreens becomes essential for achieving successful growth. Additionally, exploring techniques for growing microgreens year-round can further enhance your gardening success.
Choosing the Right Location
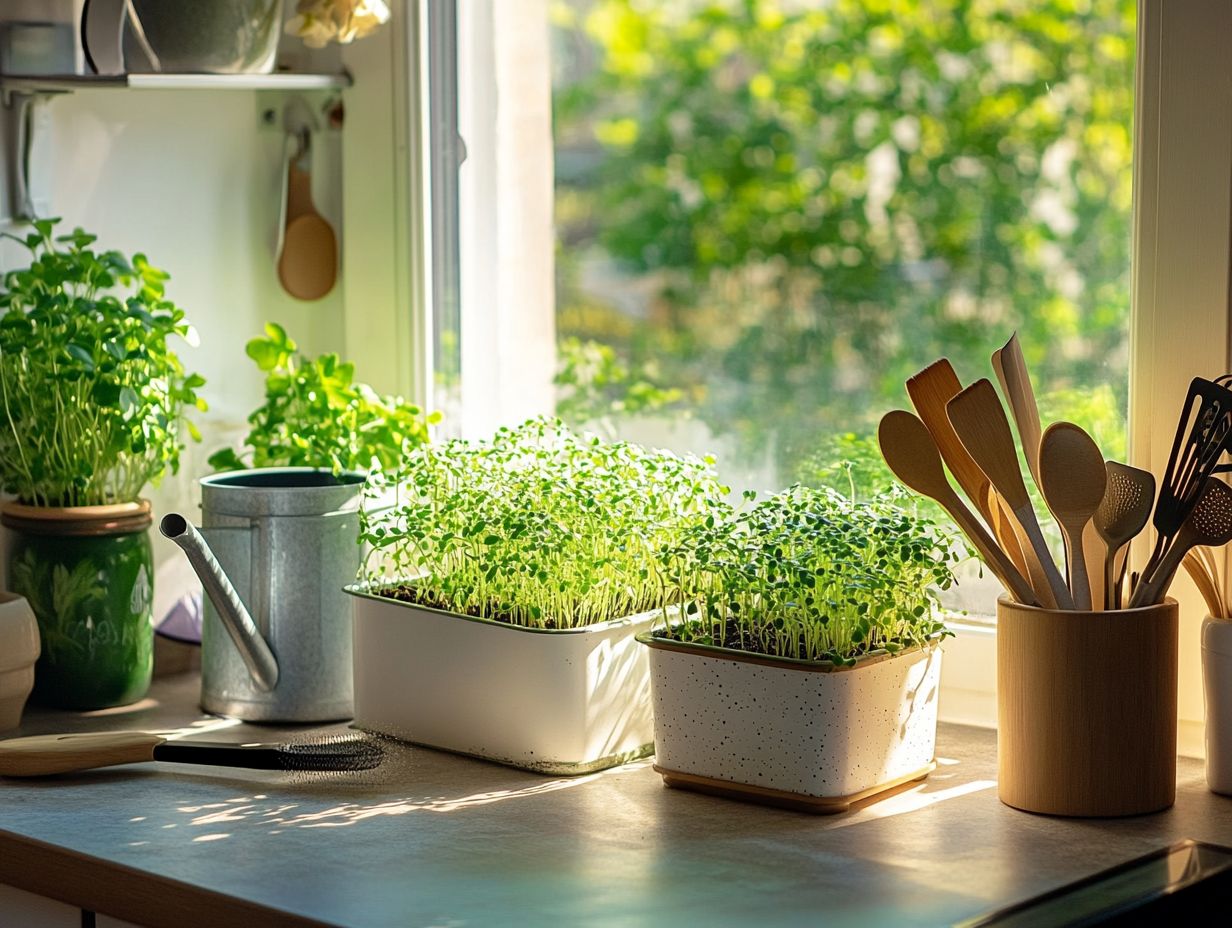
Choosing the right location for growing microgreens is essential for ensuring their success indoors. These delicate plants thrive in environments where they receive adequate light and stability, particularly lighting for microgreens that mimics natural sunlight. Positioning them near a window that offers ample natural light or setting up a dedicated area with proper artificial lighting can significantly influence their growth and overall health.
Maintaining temperature stability is crucial for creating optimal conditions. Keep the temperature stable for the best growth. Microgreens typically thrive in temperatures between 60 F and 75 F, so it’s important to steer clear of drafts and heat sources that might cause fluctuations. For effective growing techniques, consider using sprouting trays for microgreens.
Humidity levels also play a vital role in the health of your microgreens. Too much moisture can invite mold and diseases, while too little can hinder germination. That’s why it’s wise to consider factors like air circulation and even the use of humidity domes to enhance the growing environment, ensuring your microgreens flourish into lush, healthy greens.
Supplies and Equipment Needed
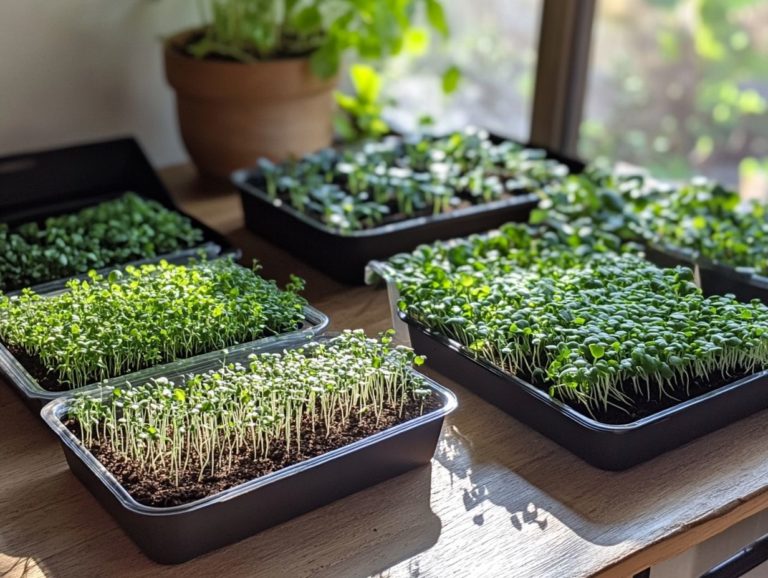
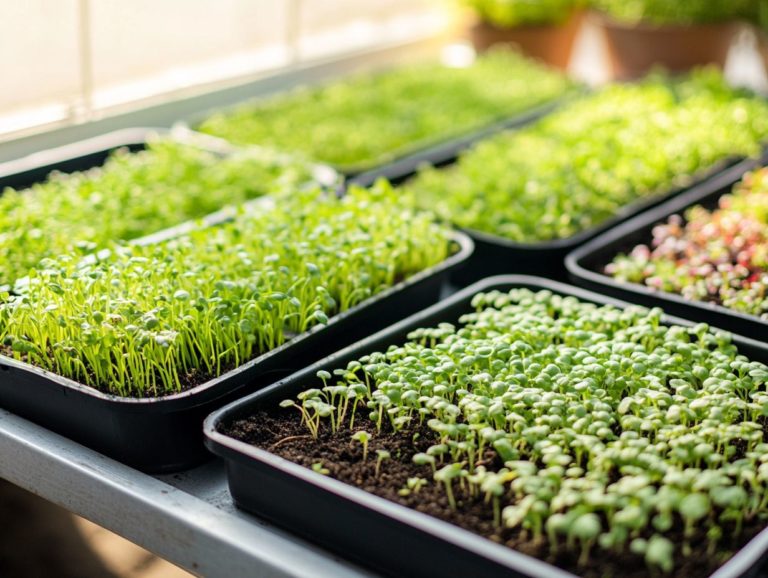
Get ready to embark on a fun gardening adventure! Here s what you ll need to grow vibrant microgreens. To successfully grow microgreens, you’ll need a few essential supplies and equipment. Start with microgreen trays for planting, a humidity dome to retain moisture, and clean seeds to ensure a healthy crop. Choosing a suitable growing medium, like potting soil or hydroponics, will elevate your microgreen-growing experience.
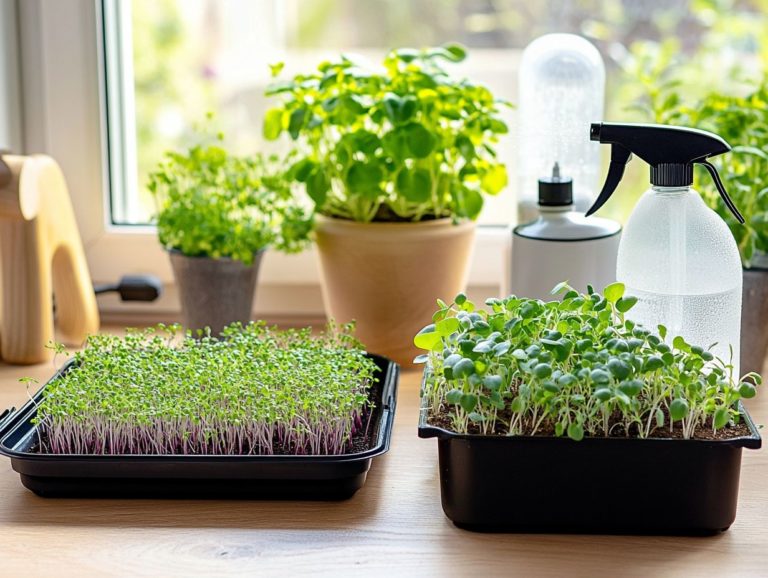
Adequate lighting is crucial, whether it comes from natural sunlight or grow lights, as it plays a vital role in photosynthesis, allowing your microgreens to flourish. A spray bottle for watering is a must; it provides gentle moisture that prevents soil disturbance while ensuring your seedlings receive just the right amount of hydration without the risk of overwatering. Additionally, learning how to use hydroponics for microgreens can further enhance your growing techniques.
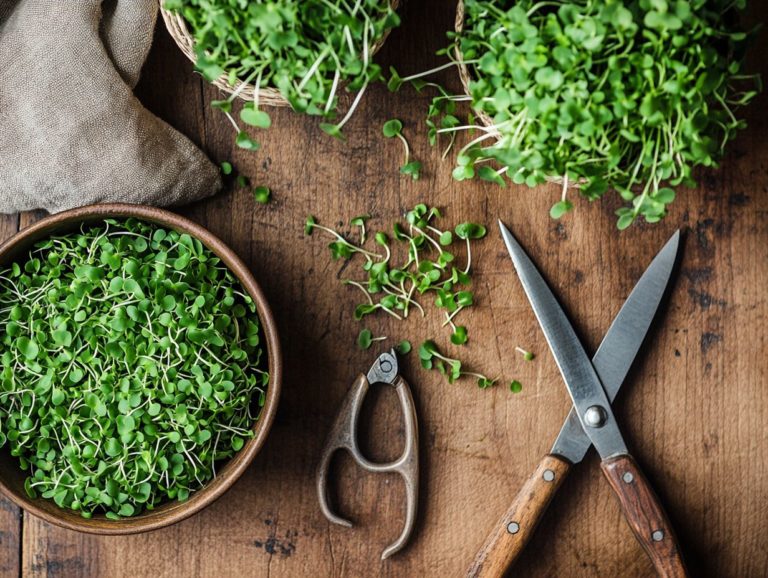
When it s time to harvest, garden shears become your best friend, offering a clean cut that encourages regrowth. Keeping an eye on the environment with a thermometer will help you maintain the ideal temperature for optimal growth. Altogether, these tools create the perfect conditions for cultivating vibrant, nutrient-dense microgreens, ensuring a healthy harvest.
Preparing and Planting Microgreens
Preparing and planting microgreens demands your careful attention to detail, especially when it comes to seed selection and germination techniques. By opting for high-quality seeds and employing precise planting methods, you can cultivate an optimal environment for those delicate seedlings to thrive, ultimately paving the way for a bountiful harvest.
Seed Selection and Preparation
Selecting the right seeds is crucial when it comes to growing microgreens, as the quality of those seeds greatly impacts germination rates and the overall health of your crop. By choosing clean seeds specifically designed for microgreen cultivation, you significantly enhance your chances of a successful harvest, providing you with nutritious greens to elevate your meals.
When you re evaluating different varieties, consider factors like flavor, texture, and growth time to ensure your choices align with your personal preferences and culinary needs. High-quality seeds not only offer better germination potential but also help reduce the risks of pests and diseases. By assessing germination rates, you can pick reliable options that thrive indoors or in limited spaces, perfect for urban gardening.
It s essential to prioritize seeds that have been tested for purity and are free from contaminants, as clean seeds substantially decrease the likelihood of introducing toxic substances into your growing environment. Ultimately, the careful selection of seeds is fundamental in cultivating a vibrant and healthy microgreen garden that supports your culinary adventures.
Planting Techniques
Effective planting techniques are crucial for achieving healthy microgreens. Your focus should be on optimal seed density that maximizes growth potential without overcrowding. By properly spacing seeds during planting, you ensure adequate airflow and light penetration, leading to robust and vibrant crops.
The depth at which you sow seeds can significantly influence their *germination* and overall development of *microgreens*. Shallower planting may encourage quicker sprouting, while slightly deeper placement can enhance root anchorage. To ensure your microgreens stay fresh, consider exploring the best methods for storing microgreens.
It’s essential to consider the specific needs of different microgreen varieties. Factors such as moisture retention and temperature can vary widely among them. By carefully adjusting these parameters and learning how to use grow lights for microgreens, you can create the ideal environment for your microgreens. This ultimately results in a harvest that is not only plentiful but also packed with flavor and nutrients.
Caring for Microgreens
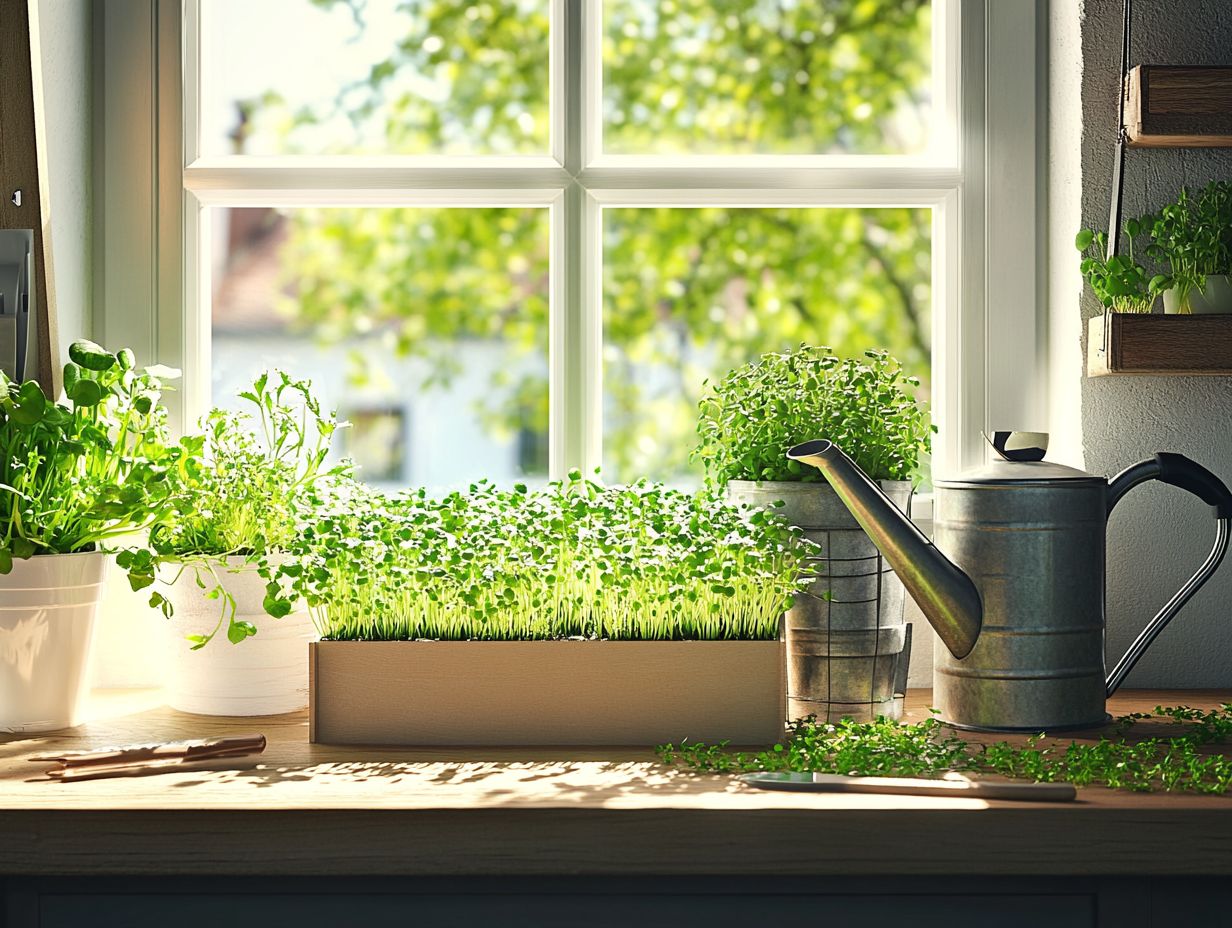
Caring for microgreens requires consistent attention to several vital factors, including watering, humidity, and lighting, all essential for their growth and vibrancy.
By diligently monitoring soil moisture levels and using a humidity dome to enhance moisture retention, you can cultivate thriving plants. Whether you’re growing long-cycle or short-cycle microgreens, ensuring the right lighting conditions is crucial. For those looking to get started, check out this guide on how to start microgreens from seed.
Watering and Nutrient Management
Proper watering and nutrient management are essential for the health of your microgreens. These delicate plants thrive on consistent moisture. By selecting the right growing medium and adopting a balanced watering approach, you ensure that your microgreens receive the vital nutrients they need for robust growth.
Use a lightweight mix that retains moisture while allowing for effective drainage. This careful balance helps prevent waterlogging and root rot, which can easily compromise the fragile structures of your microgreens. To optimize your growing experience, consider learning how to use a grow tent for microgreens.
Implement a drip irrigation system to provide a steady supply of water without overwhelming your plants. By incorporating organic fertilizers or nutrient-rich solutions into your watering routine, you can cater to the specific needs of different varieties. This promotes vibrant and lush foliage.
Regularly monitoring moisture levels and adjusting nutrient delivery will significantly enhance your chances of an abundant harvest.
Light and Temperature Requirements
Your microgreens flourish when you give them the perfect light and temperature conditions. It’s essential to pay close attention to their growing environment. Adequate lighting is critical, and maintaining a consistent temperature range will promote healthy growth while preventing pesky issues like leggy stems or mold.
These delicate seedlings typically need about 12 to 16 hours of light each day to achieve those vibrant colors and robust flavors you re after. Utilizing full-spectrum LED lights will provide the necessary wavelengths for photosynthesis, ensuring they develop beautifully.
The ideal temperature for microgreens usually falls between 55 F to 70 F. This creates a perfect setting for rapid growth. Any fluctuations outside this range can stress the plants and result in less-than-stellar outcomes.
Thus, careful monitoring and management of both light intensity and ambient temperature are vital for cultivating a flourishing crop of microgreens.
Harvesting and Using Microgreens
Harvesting microgreens at the perfect moment is essential for maximizing their flavor, texture, and nutritional advantages. This allows you to elevate your culinary creations.
By employing proper techniques for harvesting, you not only maintain the integrity of these delicate plants but also seamlessly integrate their vibrant greens into your dishes. This enhances both presentation and taste.
When and How to Harvest
Knowing when and how to harvest your microgreens is crucial for unlocking their full flavors and nutrients. The sweet spot for harvesting generally occurs as the first true leaves the first leaves that look like actual leaves, marking maturity make their appearance. By using the right techniques like wielding clean scissors and cutting just above the soil line you ensure a successful crop and extend the shelf-life of your greens.
Pay attention to the growth rate of each specific type of microgreen, as some will reach maturity faster than others. Typically, after about 7 to 21 days, you’ll notice signs of readiness: vibrant colors and noticeable height. For beginners looking to delve into this rewarding hobby, check out this guide on how to start a microgreen garden. These indicators suggest they’re brimming with flavor and nutrients.
For the best results, aim to harvest during the cooler parts of the day; this can significantly enhance their flavor profile. Be gentle when handling them post-harvest to avoid bruising, which can detract from their quality and shelf-life. A thorough rinse, followed by storing them in a cool environment, will help maintain their freshness.
Ways to Incorporate Microgreens into Meals
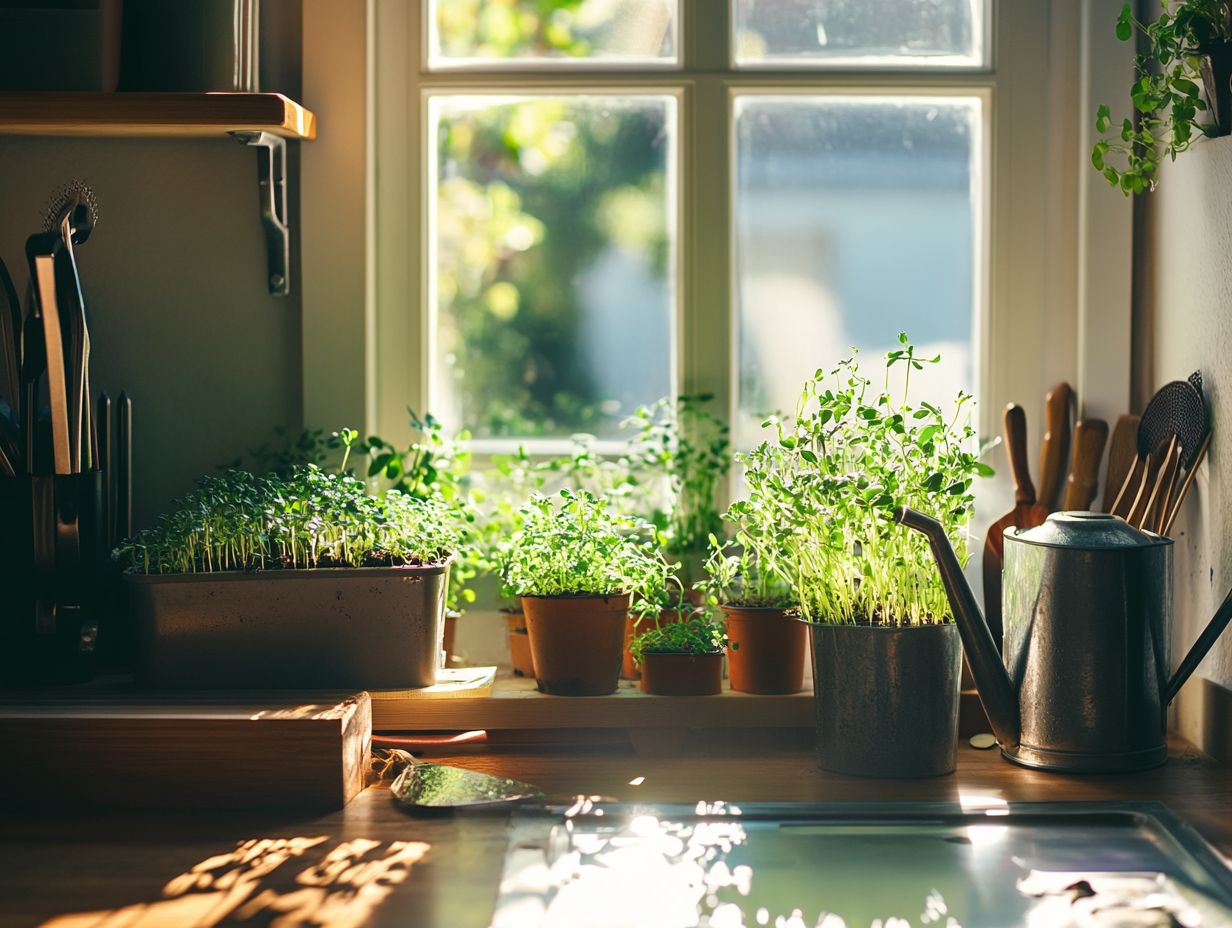
Microgreens can effortlessly elevate a variety of meals, enhancing both flavor and nutritional value in everything from salads to sandwiches and beyond! Their versatility invites creative culinary explorations, making them a prized ingredient in contemporary cuisine.
These tiny powerhouses are packed with vitamins, minerals, and antioxidants, transforming any dish they adorn. For instance, imagine adding a handful of arugula microgreens atop a rich, creamy risotto; the peppery kick beautifully contrasts with the dish’s texture. Alternatively, consider using sunflower microgreens in a vibrant poke bowl, where they introduce a refreshing element alongside salmon and avocado, enhancing your meal even further!
For a Mediterranean twist, sprinkle basil microgreens over a classic Caprese salad to amplify the herbaceous flavor, or blend them into a pesto for a nutrient-dense twist on a beloved favorite. With such a diverse range of options, microgreens truly shine across multicultural cuisines, delivering both exquisite taste and significant health benefits.
Frequently Asked Questions
How do I set up a microgreen station at home?
To set up a microgreen station at home, you will need a few supplies such as a tray or container, potting soil, seeds, and a light source. First, fill the container with potting soil and evenly spread the seeds on top. Then, cover the seeds with a thin layer of soil and water lightly. Finally, place the container in a well-lit area, preferably near a window, or use a grow light.
What type of container should I use for my microgreen station?
You can use any container that is at least 2-3 inches deep to allow for proper root growth. Some popular options include plastic or wooden trays, shallow pots, and even repurposed egg cartons. Just make sure the container has drainage holes to prevent water from pooling.
What type of soil should I use for my microgreen station?
Potting soil or seed starting mix is the best option for microgreens, as it provides the necessary nutrients and moisture retention. Avoid using regular garden soil, as it can contain harmful bacteria and may not be suitable for indoor growing.
What are the best seeds to use for microgreens?
You can use a variety of seeds for microgreens, and they re so much fun to grow! Some popular choices include broccoli, kale, radish, and arugula. Be sure to use seeds specifically labeled for microgreens, as they will have a higher germination rate and produce more flavorful greens.
How long does it take for microgreens to grow?
Microgreens typically take anywhere from 7-14 days to grow, depending on the type of seed used and environmental conditions. It is recommended to harvest them once they have reached 1-3 inches in height, as this is when they are at their peak flavor and nutrient content.
Can I reuse the soil after harvesting my microgreens?
Yes, you can reuse the soil for multiple harvests of microgreens! However, it is important to replenish the nutrients by adding compost or organic fertilizer before planting new seeds. Carefully remove any leftover roots or debris to prevent mold and bacteria growth.
Now that you know the essentials, get started on your microgreen adventure today!

