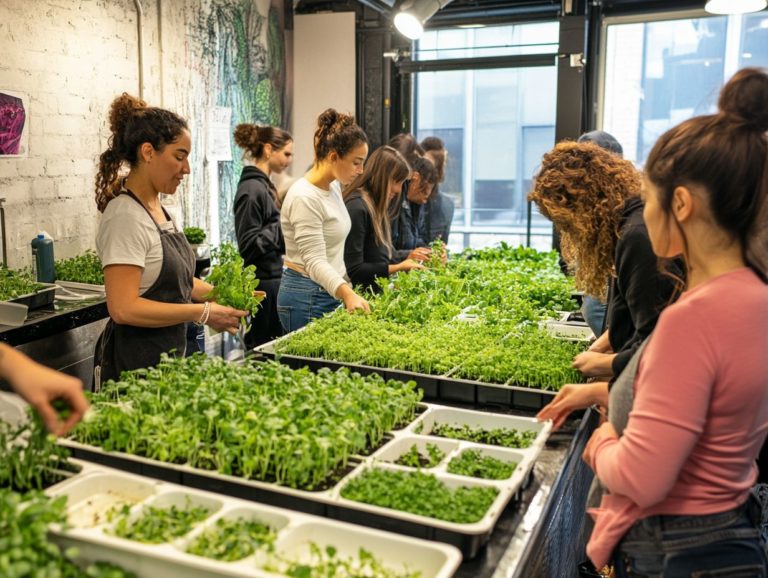
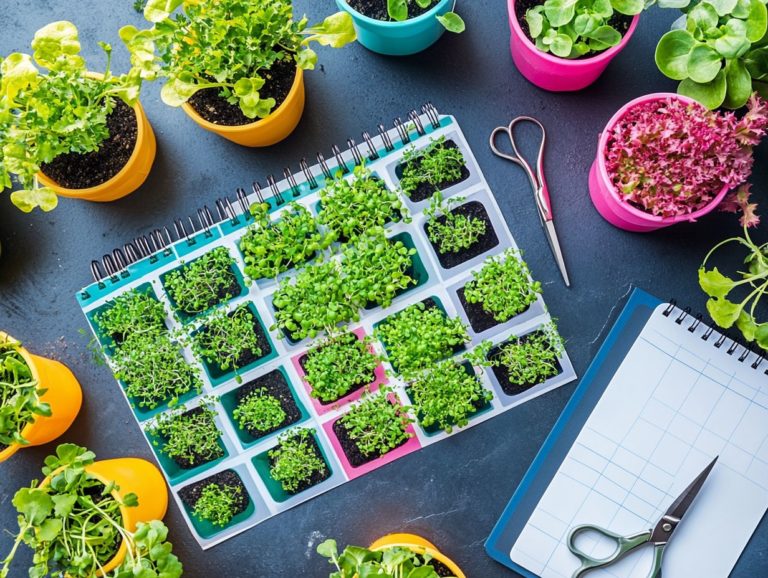
How to Grow Microgreens in a Container Garden?
Microgreens have transformed the culinary landscape, delivering an explosion of flavor and nutrition in an impressively compact package. Whether you’re a seasoned gardener or just starting out, cultivating these tiny powerhouses in a container garden is straightforward and gratifying.
Uncover the myriad benefits of microgreens, learn how to select the perfect containers, and follow step-by-step instructions for sowing and nurturing them. Delve into innovative ways to infuse these vibrant greens into your meals, elevating both your gardening skills and your dining experience!
Contents
- Key Takeaways:
- Benefits of Growing Microgreens in a Container Garden
- Choosing the Right Container for Growing Microgreens
- Steps for Growing Microgreens in a Container Garden
- Harvesting and Using Microgreens
- Frequently Asked Questions
- 1. What are microgreens and why should I grow them in a container garden?
- 2. How do I choose the right container for growing microgreens?
- 3. What type of soil should I use for growing microgreens in a container garden?
- 4. How do I plant microgreens in a container garden?
- 5. How often should I water my microgreens in a container garden?
- 6. When and how do I harvest my microgreens from a container garden?
Key Takeaways:
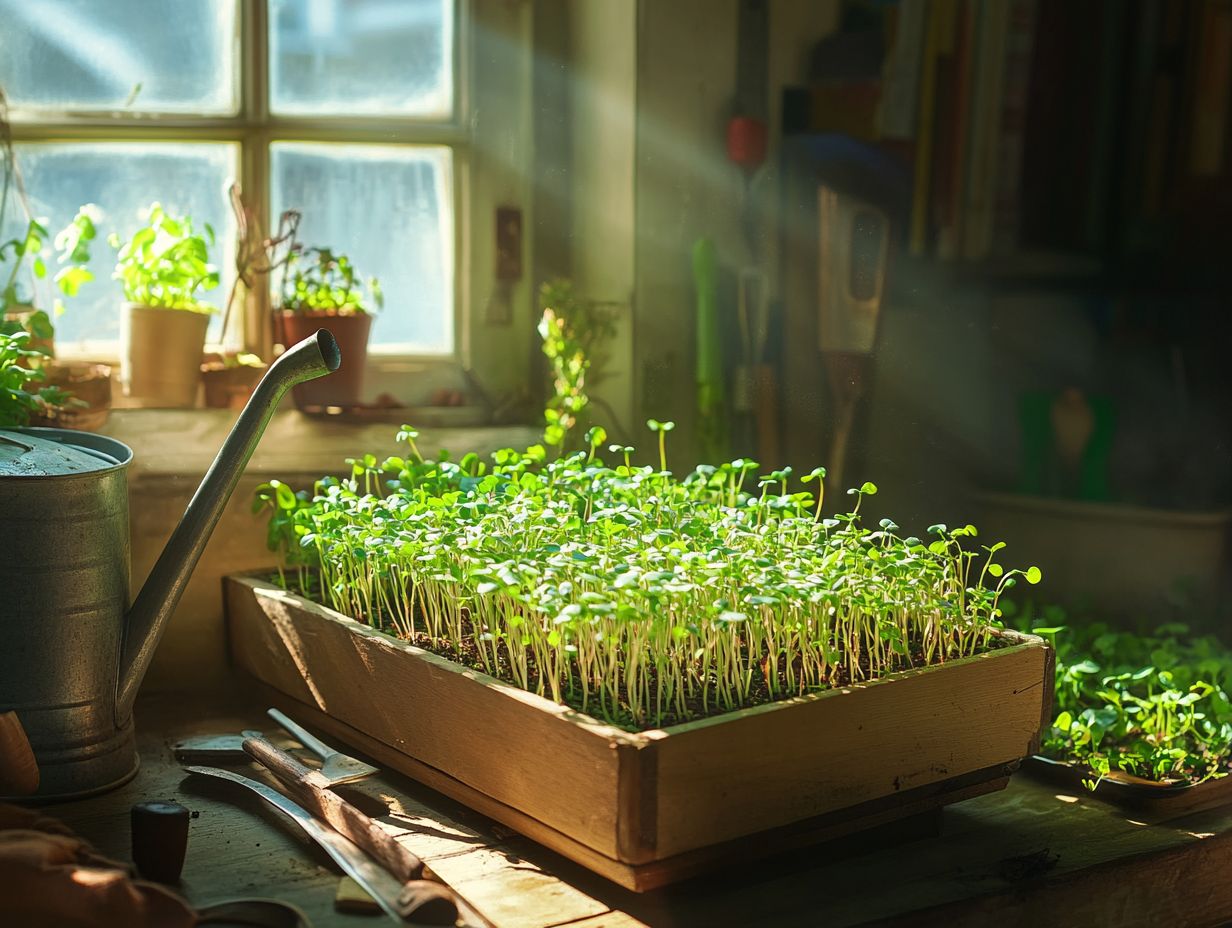
What are Microgreens?
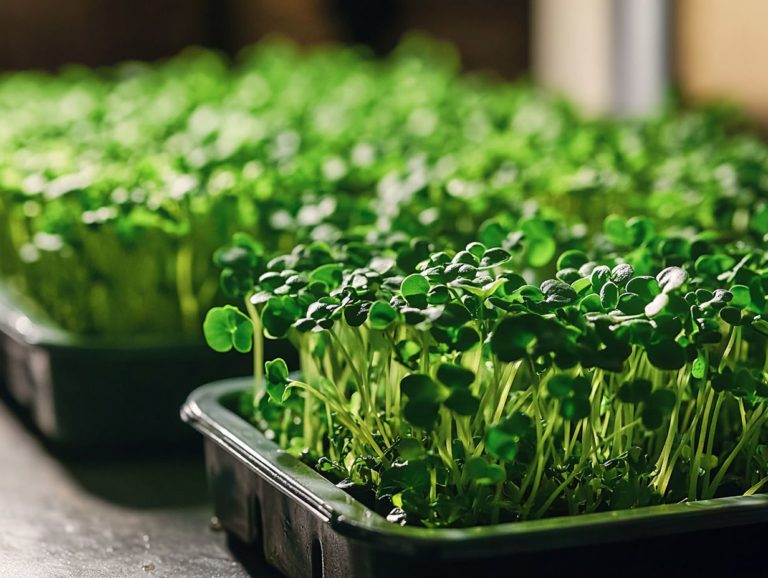
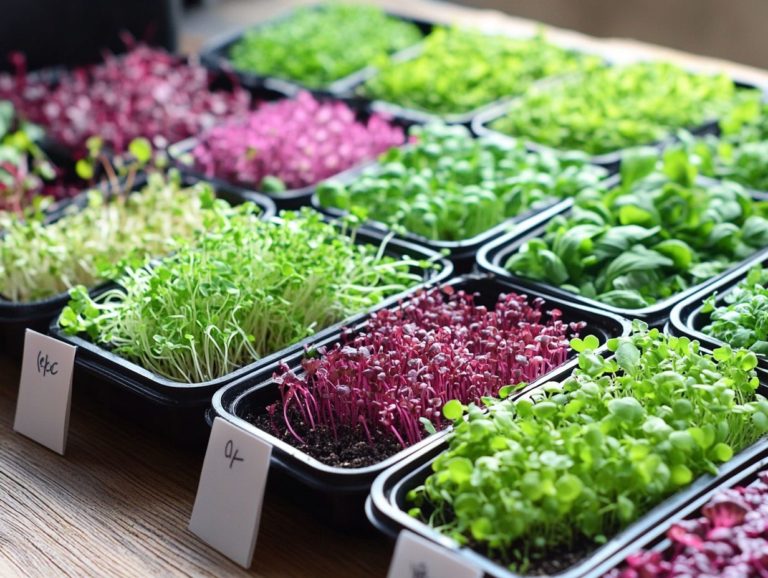
Microgreens are young, edible greens that you harvest just after their first leaves have developed. These little powerhouses are bursting with flavor and nutrients, making them the go-to choice for culinary enthusiasts and health-conscious individuals alike. From broccoli and spinach to mustard and kale, there s a whole world of microgreens waiting for you!
The growth journey starts with the delicate seed leaves, known as cotyledons, which are often the first to appear. As they flourish, they transition into their true leaves, revealing a stunning array of greens.
Whether you sprinkle them atop soups, blend them into smoothies, or use them as garnishes for gourmet dishes, microgreens elevate your meals with their fresh taste and impressive nutritional benefits. To achieve the best growth, understanding how to use grow lights for microgreens can be essential. Rich in vitamins A, C, E, and K, along with essential amino acids, these miniature plants enhance the visual appeal of your dishes while boosting the overall flavor profile.
Benefits of Growing Microgreens in a Container Garden
Growing microgreens in a container garden presents many advantages for both novice and seasoned gardeners, especially in the realm of indoor gardening. You can cultivate nutrient-dense greens swiftly and efficiently within a controlled environment.
This approach to indoor farming provides remarkable flexibility in space and resource management, making it ideal for urban dwellers or anyone with limited outdoor gardening options.
Nutritional Value and Convenience
Microgreens are a remarkable addition to your culinary repertoire, delivering impressive nutritional value that often surpasses that of their mature counterparts. Their concentrated vitamins and minerals make them an ideal enhancement to any meal.
Take broccoli microgreens, for example; they are particularly high in sulforaphane, a compound celebrated for its anti-cancer properties. Spinach microgreens offer significant amounts of iron and calcium, bolstering bone health and helping to prevent anemia. Basil microgreens bring their own charm to the table, bursting with essential oils that provide powerful anti-inflammatory effects.
These tiny nutritional powerhouses not only enhance the health quotient of your meals but also elevate the flavors, allowing even the busiest cooks to whip up nourishing and delicious dishes without complicated preparation methods.
Curious how to get started? Start growing your microgreens today and transform your meals!
Choosing the Right Container for Growing Microgreens
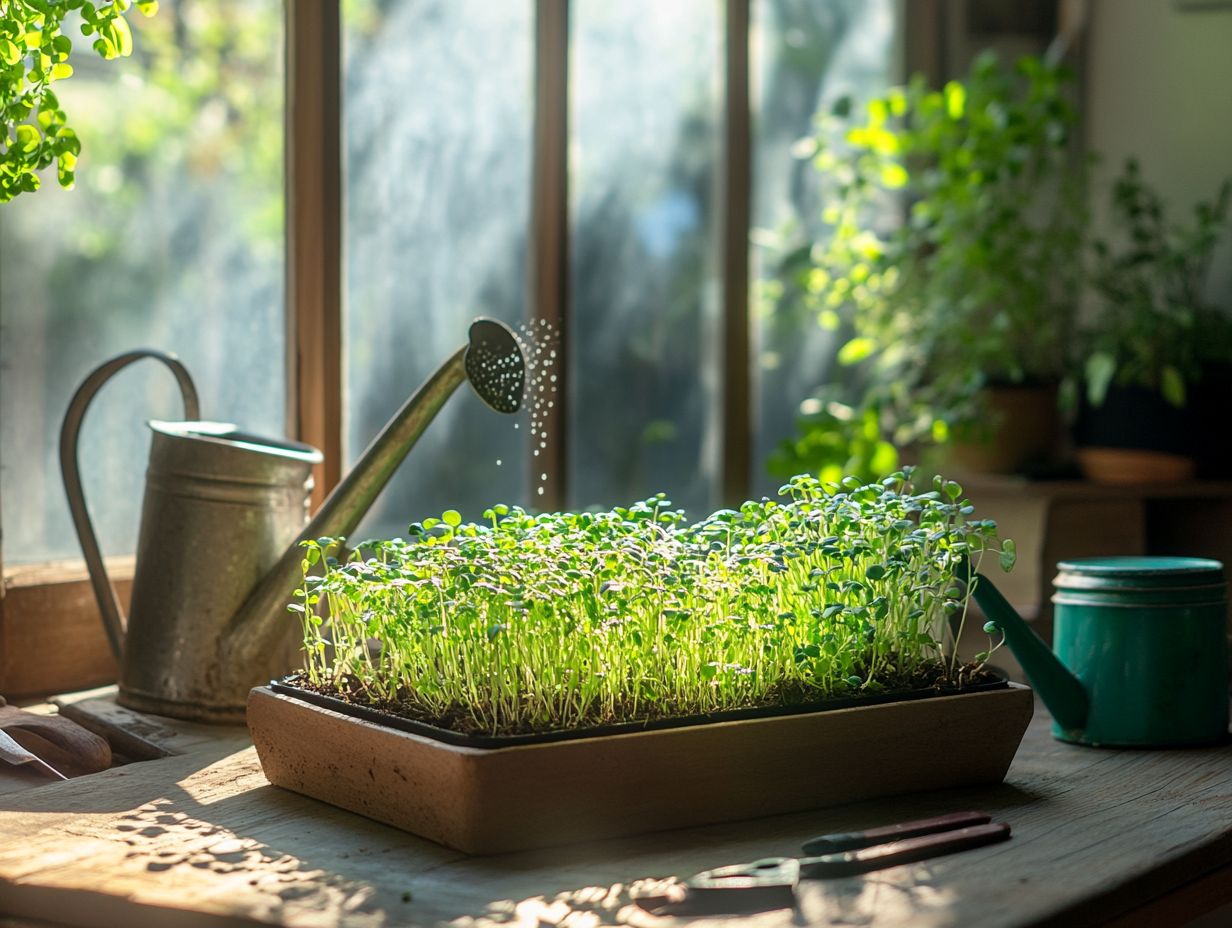
Choosing the right container for growing microgreens is essential for creating the ideal conditions for optimal growth and ensuring your indoor gardening project thrives. Considerations like size, drainage, and material play a significant role in regulating moisture levels and selecting the appropriate growing medium. These factors ultimately enhance the overall health of your microgreens.
By making informed choices, you can elevate your gardening experience to new heights.
Types of Containers and Materials
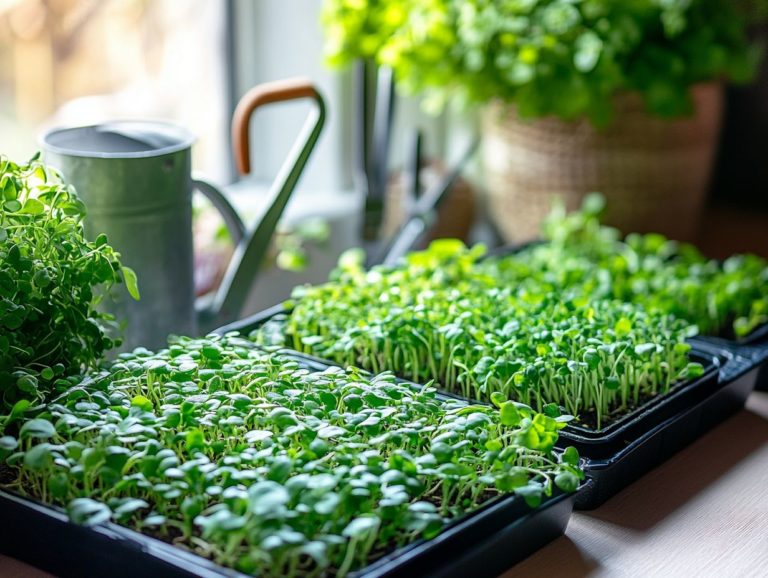
You have a diverse array of containers at your disposal for growing microgreens, from traditional planting trays to innovative shipping containers tailored for hydroponics a method of growing plants without soil, using nutrient-rich water instead. The material you choose plays a pivotal role in moisture retention, light exposure, and root development. It’s essential to select wisely based on your gardening approach.
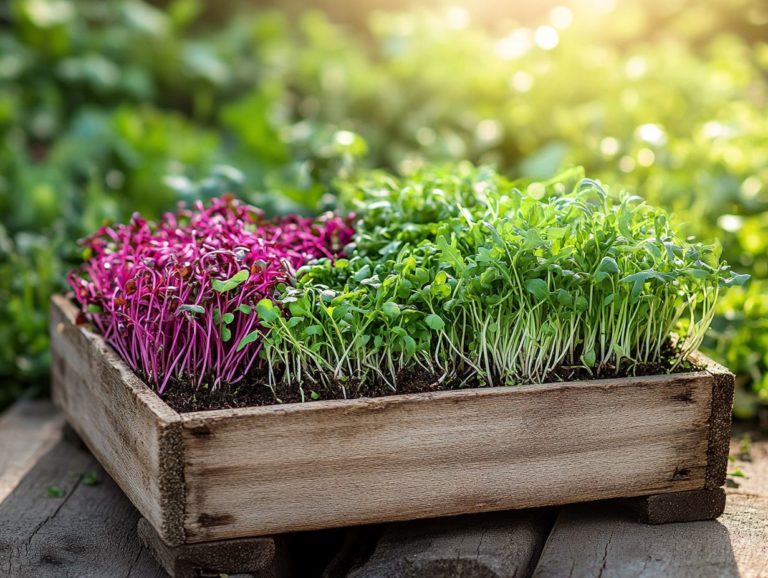
For instance, plastic trays are lightweight and often come with drainage holes, helping you maintain the perfect moisture levels for optimal growth. Meanwhile, wooden containers offer a charming rustic aesthetic and typically retain moisture better, but they may need extra treatment to fend off rot.
Biodegradable options, such as those crafted from recycled paper or plant fibers, are gaining popularity for their environmental benefits.
Make sure your containers work seamlessly with your hydroponic systems for the best results! Ultimately, the right container can significantly enhance both the success and flavor of your microgreens. If you’re looking for tips on maximizing your space, check out this guide on how to grow microgreens in a small space.
Steps for Growing Microgreens in a Container Garden
Ready to grow vibrant microgreens in your container garden? Follow these essential steps to get started! Growing microgreens requires a few essential steps, starting with the preparation of your containers and soil. By adopting this structured approach, you can maximize your yield and foster optimal plant growth.
It’s all about meticulously managing the light spectrum and nutrient solution throughout the various growth stages. This ensures that your microgreens thrive beautifully by providing the right artificial light in a controlled environment. For those interested in starting, check out this step-by-step guide to sowing microgreens.
Preparing the Container and Soil
Preparing your container and soil is a crucial step in creating a flourishing microgreens garden. The choice of growing medium and organic matter significantly influences moisture levels and root development. Opt for a well-draining soil mix to establish the ideal conditions for your seeds to germinate and thrive.
Choosing the right container is just as important. You can select from traditional seed trays or even repurpose shallow containers you have on hand. To enhance your growing medium, consider adding components like coconut coir, perlite, and vermiculite. These additions improve aeration and boost moisture retention. For optimal results, check out the best containers for microgreen cultivation.
Mixing equal parts of these ingredients will yield a balanced soil blend that s perfect for microgreens. Once you ve filled your containers with this mix, be sure to water them adequately but don t go overboard! Waterlogging can lead to pesky fungal issues.
Regularly monitoring moisture levels will help you maintain a consistently damp environment. This promotes robust growth and thriving plants, while also aiding in pest and disease management.
Sowing and Caring for Microgreens
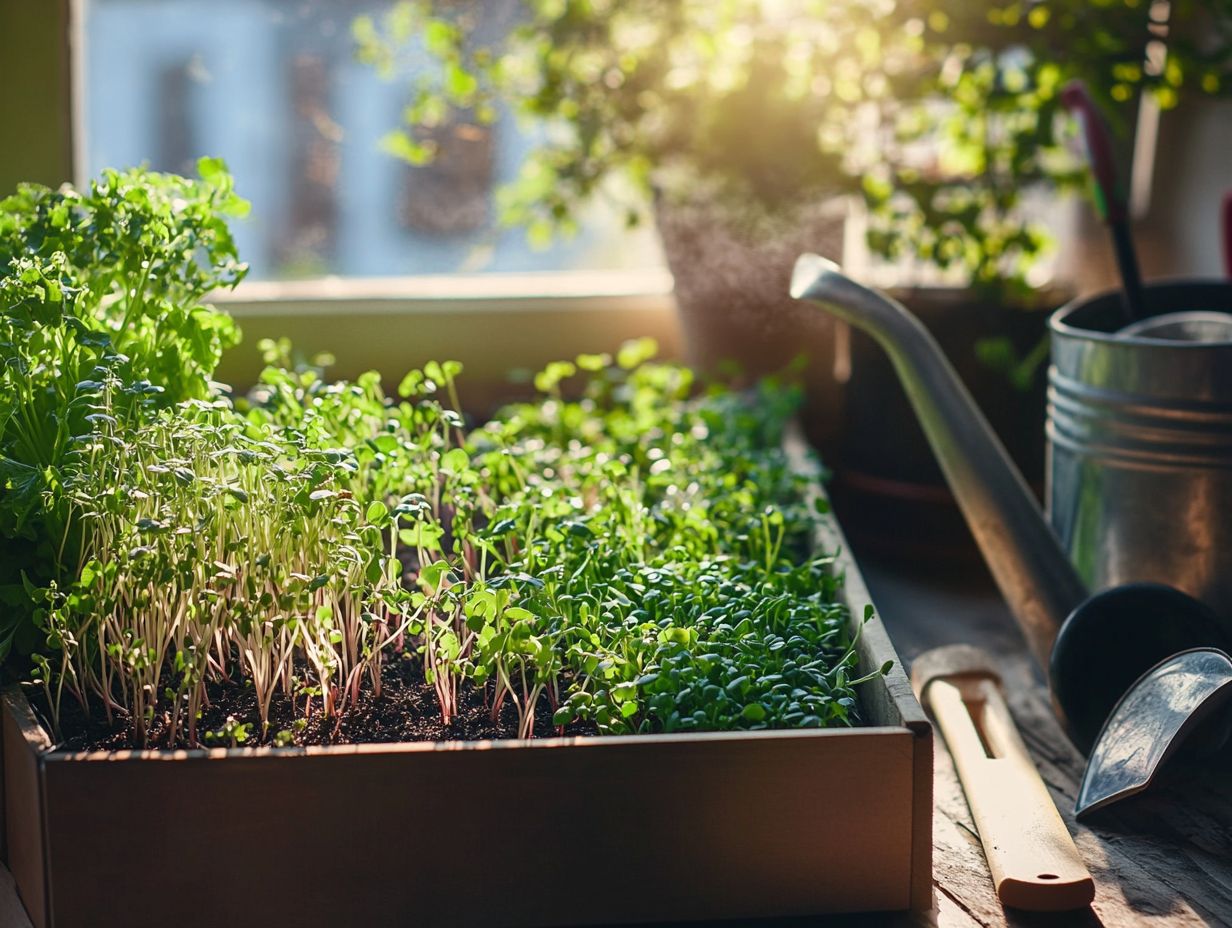
Sowing microgreens requires you to carefully distribute the seeds over the prepared growing medium. Ensure they receive just the right amount of moisture and light both are essential for optimal growth.
You can achieve this distribution by either hand-sowing or using specialized seeders, which are tools designed to help spread seeds evenly. For successful germination, aim for a temperature range between 65 F and 75 F while maintaining humidity levels around 40-60%.
After sowing the seeds, regular watering is a must usually every day or every other day to keep the soil consistently moist without becoming waterlogged.
Managing light exposure is crucial. Microgreens thrive under bright, indirect sunlight or grow lights for about 12-16 hours each day. Follow these tips to quickly grow vibrant microgreens that will elevate your meals!
Harvesting and Using Microgreens
Harvesting microgreens at the right moment is key to maximizing their health benefits and flavor, turning them into wonderful additions to your meals.
By understanding the optimal time for harvest, you can enjoy your microgreens at their freshest, enhancing both the nutrition and cooking options of your dishes.
When and How to Harvest Microgreens
To savor the freshest flavors and maximize nutritional value, it s crucial to know when and how to harvest microgreens typically around 7 to 21 days after sowing, depending on the variety.
Use quick harvesting techniques, like scissors to snip just above the soil line, to minimize disruption to the plant’s growth. This approach allows for continuous harvesting without compromising the health of your greens.
Timing varies with each microgreen type; for instance, you’ll find that basil and arugula are often ready for harvest in about 10 days, while sturdier varieties, like sunflower or pea shoots, may take up to 21 days. To optimize your growing process, consider learning How to Use Hydroponics for Microgreens.
By harvesting at their peak growth, you not only elevate the flavor but also retain essential nutrients. Utilizing sharp, sanitized scissors during this process is key, as a clean cut reduces the risk of disease and promotes regrowth for future harvests.
Ways to Incorporate Microgreens into Meals
Incorporating microgreens into your meals boosts their visual appeal and elevates flavor profiles and nutrition opening up cooking options that can transform your everyday dishes.
Sprinkle them on salads, blend them into smoothies, or use them as garnishes. Microgreens deliver a delightful burst of flavor that enhances a variety of cuisines.
These tiny powerhouses, brimming with nutrients, can easily be folded into omelets, giving your breakfast a fresh twist, or layered within sandwiches for added crunch and flavor.
Chefs often use them to enhance the presentation of main dishes, adding not just visual elegance but also a complex flavor layer that harmonizes beautifully with meats, seafood, and vegetarian options alike.
Their versatility makes them perfect for garnishing soups, enriching pasta dishes, or even serving as flavorful toppings for pizzas. With microgreens, every meal can become a vibrant expression of creativity and health.
Frequently Asked Questions
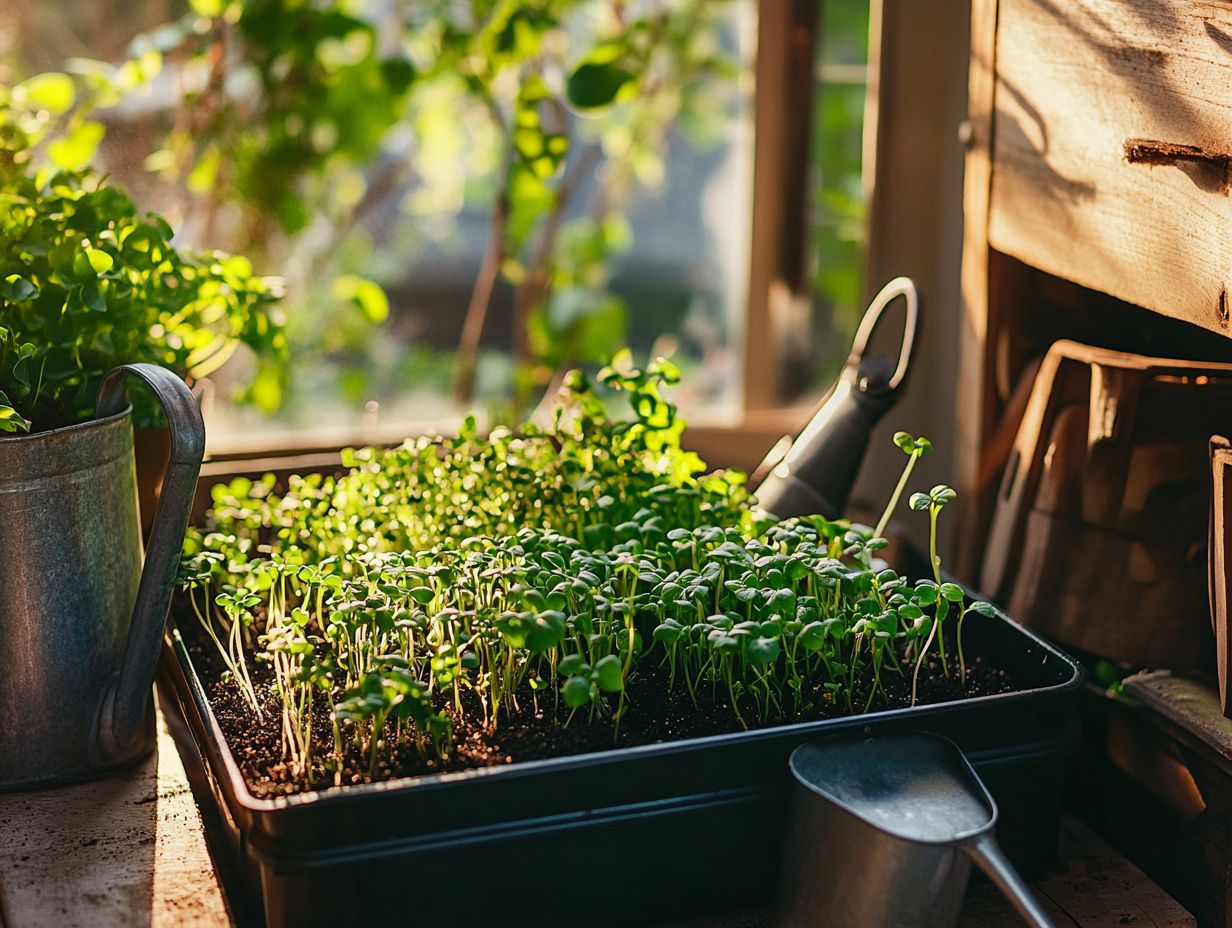
1. What are microgreens and why should I grow them in a container garden?
Microgreens are young vegetable or herb seedlings that are harvested when they are only a few inches tall. They are packed with nutrition and flavor, making them a popular addition to meals. Growing them in a container garden allows you to have fresh microgreens at your fingertips all year round.
Start growing your microgreens today for a fresh boost to your meals!
2. How do I choose the right container for growing microgreens?
When growing microgreens, choose a container that is at least 2-3 inches deep. It should have good drainage.
You can use plastic trays, shallow pots, or even repurpose household items like egg cartons or takeout containers.
3. What type of soil should I use for growing microgreens in a container garden?
The best soil for microgreens is light and quick-draining. You can make your own mix by combining equal parts of peat moss, vermiculite, and compost.
Avoid heavy soils, as they can hinder microgreen growth. Peat moss is a soft, spongy material that retains moisture, while vermiculite is a mineral that helps with drainage.
4. How do I plant microgreens in a container garden?
Start by evenly spreading and lightly pressing down the soil in your container. Scatter the seeds over the soil and gently press them in.
Cover the seeds with a thin layer of soil and water gently. Keep the soil moist but not soaked, and you should see sprouts in 3-5 days.
5. How often should I water my microgreens in a container garden?
Microgreens need consistent moisture, so keep the soil moist but not waterlogged. Water them once or twice a day, depending on temperature and humidity.
Misting with a spray bottle can help maintain moisture without overwatering.
6. When and how do I harvest my microgreens from a container garden?
Get ready! Microgreens are usually ready to harvest in just 7-14 days. Use scissors to cut the greens just above the soil level.
Rinse them with water and pat them dry before adding them to your meals. You can also cut just the top layer and allow the lower layer to regrow for multiple harvests!

