Growing Microgreens Without Soil: A Guide
Microgreens have transformed the culinary landscape. They provide vibrant flavors and many health benefits, all packed into those tiny greens.
What if you learned that you could grow these little powerhouses without soil? This article will walk you through the essentials of microgreens, explore the advantages of growing plants without soil, and offer a comprehensive guide on how to grow them right in your own home.
From the necessary supplies to common pitfalls, you ll uncover everything you need to enjoy fresh microgreens that elevate your dishes and enhance your living space. Get ready to embark on this delightful journey!
Contents
Key Takeaways:
- Explore the benefits of growing microgreens without soil, such as reduced mess, faster growth, and increased nutrient density.
- Learn about the essential supplies and materials needed for soilless microgreen growing, including trays, seeds, and watering techniques.
- Discover creative ways to use soilless microgreens in culinary and decorative applications, and avoid common mistakes for maintaining healthy plants.
What are Microgreens?
Microgreens are young, edible plants harvested at the seedling stage, typically between 7 to 21 days after germination. They include a delightful array of vegetables and herbs, such as basil, kale, and amaranth.
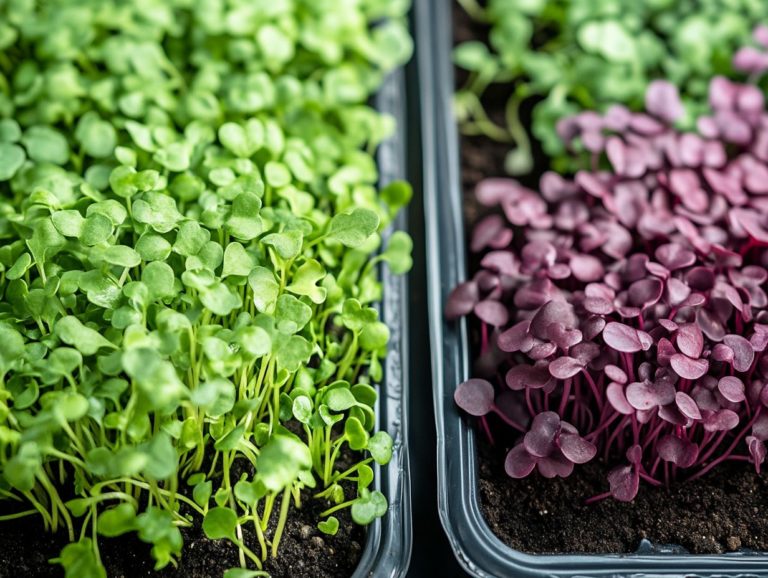
These nutrient-rich gems come in various types, like mustard greens, radish, and cilantro. Each offers a unique taste experience and culinary application.
To cultivate these treasures optimally, you need well-drained soil, consistent moisture, and ample light exposure. These elements work together to foster robust growth and enhance their rich flavors.
The versatility of microgreens allows you to use them in countless ways from garnishing exquisite dishes to elevating salads and smoothies. Their rising prominence in modern culinary practices speaks volumes about their health benefits. Packed with vitamins, minerals, and antioxidants, they provide an effortless way to boost your nutritional intake in everyday meals. For those starting out, consider these harvesting microgreens tips for beginners.
The Benefits of Soilless Microgreens
Soilless microgreens offer many advantages compared to traditional soil-based growing methods. You ll enjoy enhanced space efficiency, a diminished risk of pests and diseases, and the ability to control growing conditions with precision.
This technique optimizes nutrient uptake and supports sustainable practices in home gardening and commercial food production.
Why Choose Soilless Growing?
Choosing to grow microgreens without soil has many advantages. You’ll enjoy enhanced moisture control and the freedom to use nutrient-rich solutions, which are crucial for plant health.
This method allows for precise pH testing, ensuring that nutrients are effectively delivered for maximum seedling growth and flavor.
By growing without soil, you significantly reduce the risk of pests and diseases. This leads to cleaner harvests, making hygiene management easier. For those interested in getting started, learning how to start a microgreen garden for beginners can provide valuable insights. Soilless systems also optimize water retention, resulting in less water waste—a valuable benefit in conservation-focused environments.
These techniques enable faster growth rates, giving your plants direct access to their nutrient solutions and ensuring they receive everything they need to thrive. By adopting soilless growing methods, you’ll cultivate vibrant microgreens bursting with flavor and nutrients, all while positively impacting sustainability efforts. Additionally, knowing how to choose the right soil for microgreen growth can enhance your growing success.
Supplies and Materials Needed
To successfully grow microgreens without soil, assemble the right supplies and materials. This includes seed trays and suitable growing mediums like jute fiber, coco coir, or fiber pads, along with a reliable source of microgreen seeds.
Each element is vital, contributing to effective seed germination, optimal nutrient delivery, and the overall health of your plants.
Essential Tools and Equipment
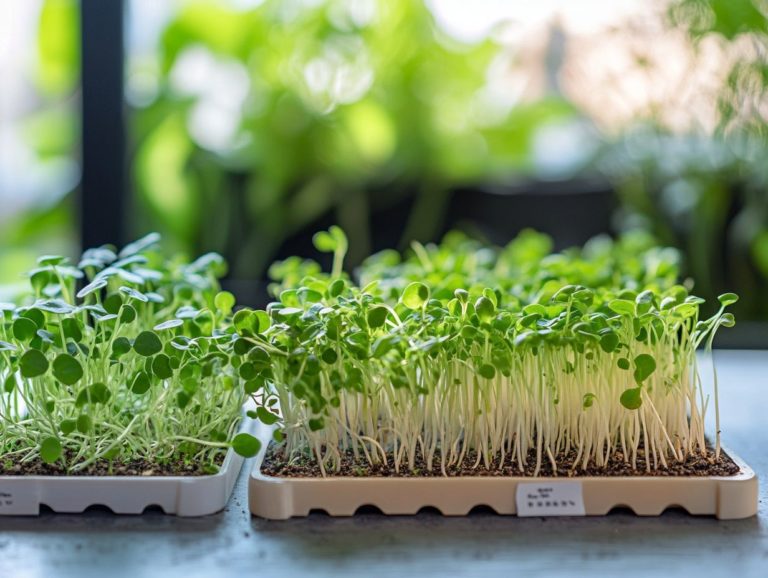
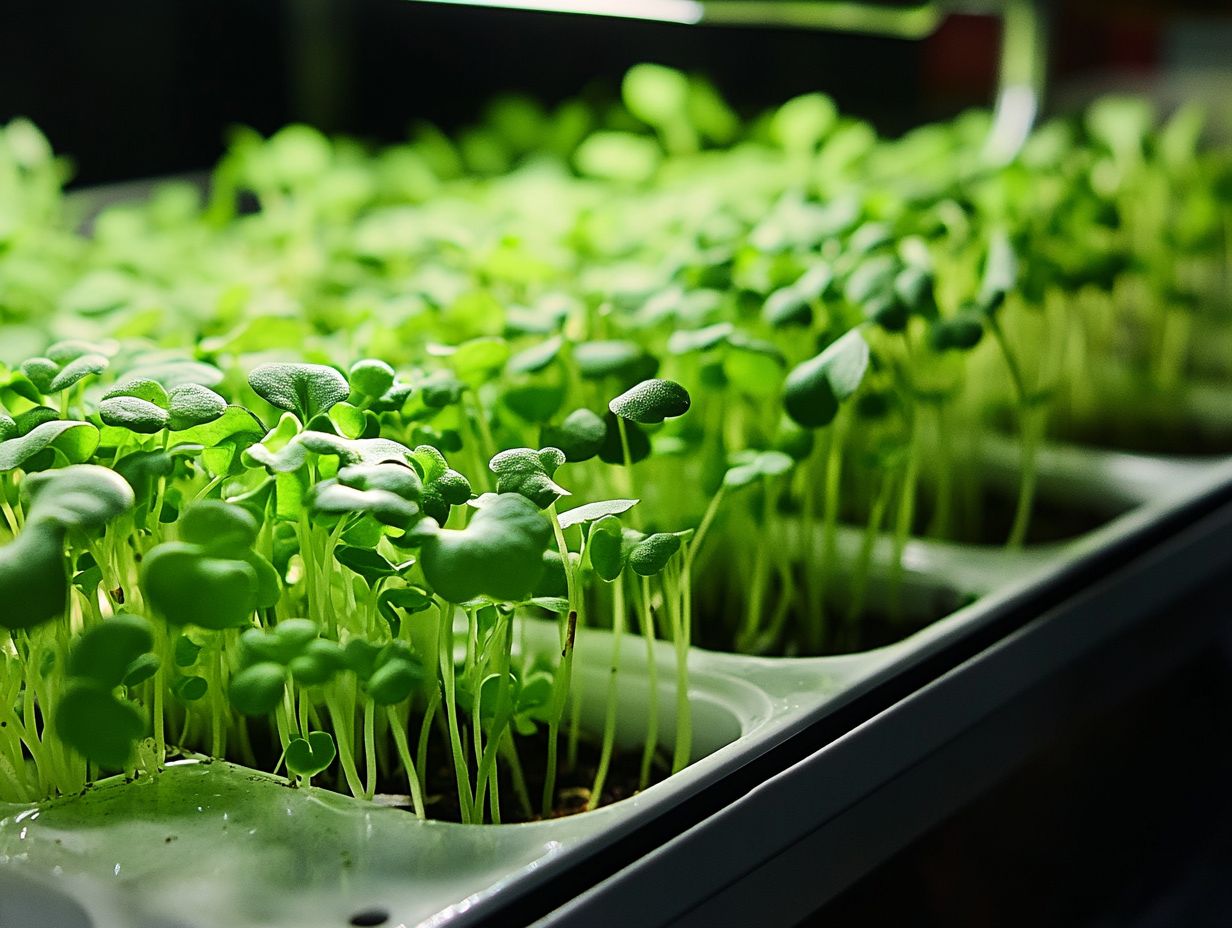
To successfully grow microgreens without soil, equip yourself with the right tools. A reliable light source and an efficient watering system are essential for healthy growth.
These tools streamline your gardening experience and enhance the overall health and vigor of your microgreens.
Using seed trays designed with proper drainage holes is vital. This prevents waterlogging and allows the delicate roots to breathe and flourish. Additionally, if you’re interested in growing your own food, you might find helpful tips in how to grow microgreens in your kitchen. Consider investing in a tool that measures acidity levels in the water and a nutrient solution to tailor your growing environment.
Incorporating a humidity dome can create a favorable microclimate that encourages germination, leading to faster growth rates. For optimal results, refer to microgreen harvesting: a step-by-step guide. Together, these specialized tools form a harmonious growing system, transforming your gardening endeavor into an exciting adventure with the potential for impressive yields.
Step-by-Step Guide to Growing Microgreens Without Soil
Growing microgreens without soil is a seamless process that you can master by following a series of essential steps. This makes it accessible for both novices and experienced gardeners alike.
This guide will enlighten you on the fundamentals of seed germination, the preparation of optimal growing mediums, and the use of nutrient solutions to ensure robust growth and impressive yields, even in confined spaces.
Preparing Seeds and Trays
Preparing your seeds and trays is an essential first step in growing microgreens. It significantly impacts germination rates and the overall success of your seedlings.
By choosing high-quality seed varieties and ensuring your seed trays are impeccably clean, you re laying a solid foundation for a bountiful harvest.
To embark on this journey, begin by selecting seeds that are well-suited for microgreen cultivation. Choosing the right varieties can greatly elevate both flavor and nutritional value.
Next, clean your trays using a mixture of water and mild soap, followed by a disinfectant solution. This crucial step helps eliminate any potential pathogens, safeguarding against diseases that might impede growth.
Once your trays are thoroughly prepped, moistening the growing medium before sowing your seeds can enhance the overall germination rate. For a detailed process, refer to this step-by-step guide to sowing microgreens. After planting, maintaining optimal moisture and temperature conditions will encourage robust seedlings, paving the way for vibrant and healthy microgreens.
Watering and Harvesting
Effective watering and harvesting techniques play a crucial role in ensuring your microgreens thrive. This maximizes their health benefits while preserving their fresh flavors.
Maintaining moisture control during the growth phase is essential for promoting robust seedling growth. Knowing the perfect moment to harvest can yield the most delectable microgreens.
To achieve optimal moisture levels, frequent but light watering is your best bet. This approach helps you avoid waterlogging, which can lead to mold and a decline in flavor.
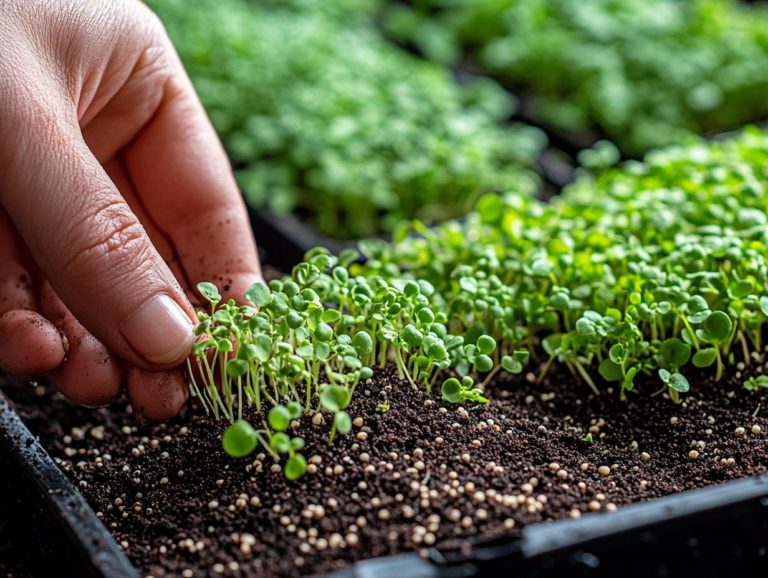
The sweet spot for harvesting typically lies between 7 to 21 days, depending on the variety. This timeframe ensures that nutrient density is at its peak.
By using scissors for a clean cut, you can minimize stress on the plants. Understanding the specific preferences of different microgreens, including their sunlight and water needs, will further contribute to a flavorful and healthful harvest.
Tips for Maintaining Healthy Soilless Microgreens
Maintaining healthy soilless microgreens demands your keen attention to detail and a commitment to best practices. These foster their growth and enhance their nutritional quality.
By implementing effective nutrient delivery systems and cultivating a pristine environment, you can ensure that your microgreens not only thrive but also deliver maximum health benefits. If you’re looking for tips, check out this guide on how to grow microgreens in a small space, all while remaining environmentally friendly.
Common Mistakes to Avoid
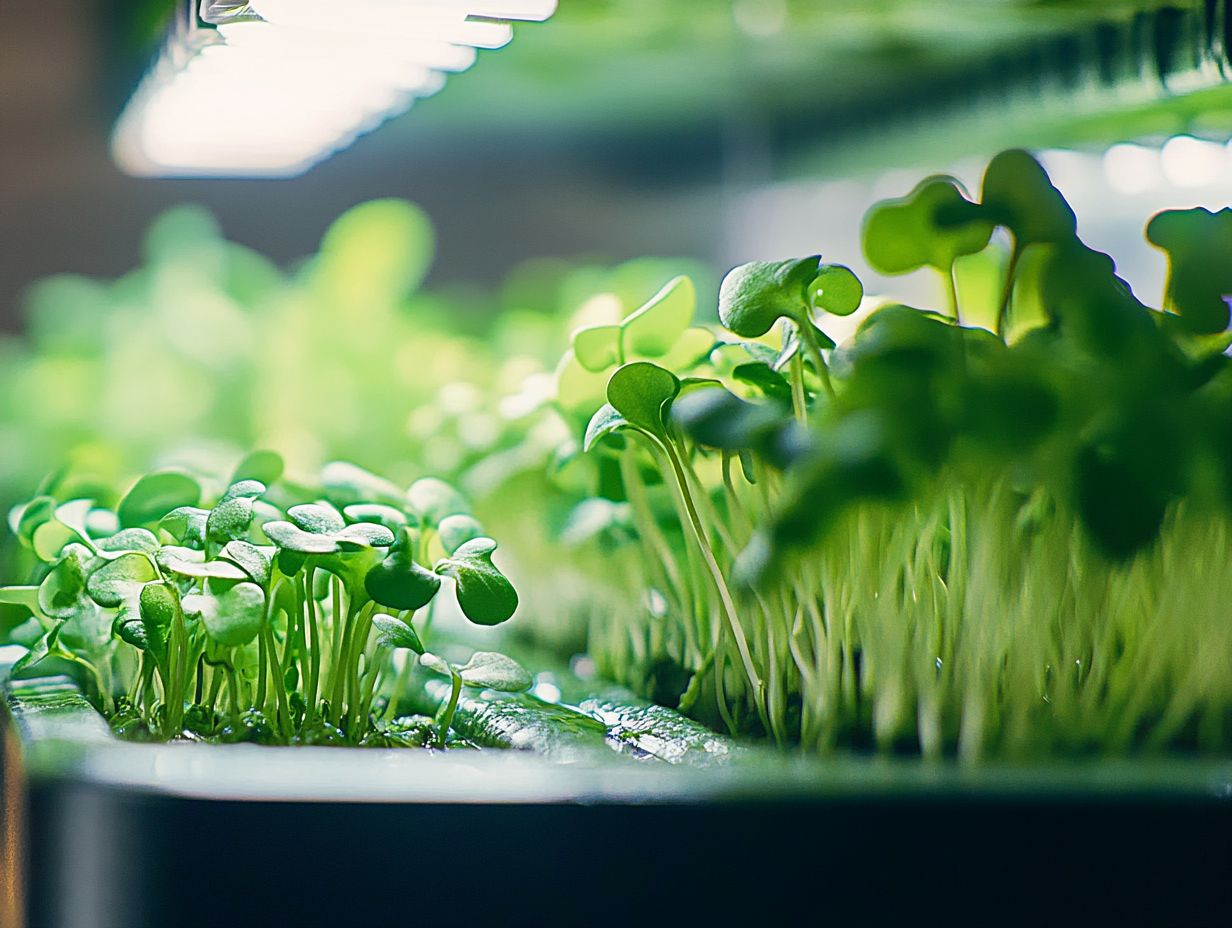
Avoiding common mistakes during the growing process is crucial for ensuring your microgreens achieve their full potential in flavor and nutrition. Errors in nutrient solutions, watering techniques, and environmental conditions can significantly affect plant health and seedling growth.
Many novice gardeners often underestimate the importance of selecting the right growing medium. This oversight can lead to poor drainage or insufficient aeration, stunting growth in the process. For those growing microgreens, considering soil alternatives can be beneficial. Incorrect lighting can also lead to weak plants. It’s essential for you to monitor moisture levels diligently; both overwatering and underwatering can lead to issues like mold or wilting.
Using the right nutrient mix for microgreens can provide that extra boost needed for vibrant and flavorful yields. You can cultivate a thriving ecosystem that promotes optimal growth and enhances flavor.
Creative Ways to Use Soilless Microgreens
Soilless microgreens present an array of imaginative possibilities that elevate both culinary experiences and decorative displays, infusing dishes with fresh flavors and a wealth of health benefits.
Whether you’re garnishing a dish or blending them into salads and smoothies, the versatility of microgreens makes them an enticing option for both chefs and home cooks. If you’re interested in cultivating your own, check out this guide on how to grow microgreens for beginners.
Culinary and Decorative Uses
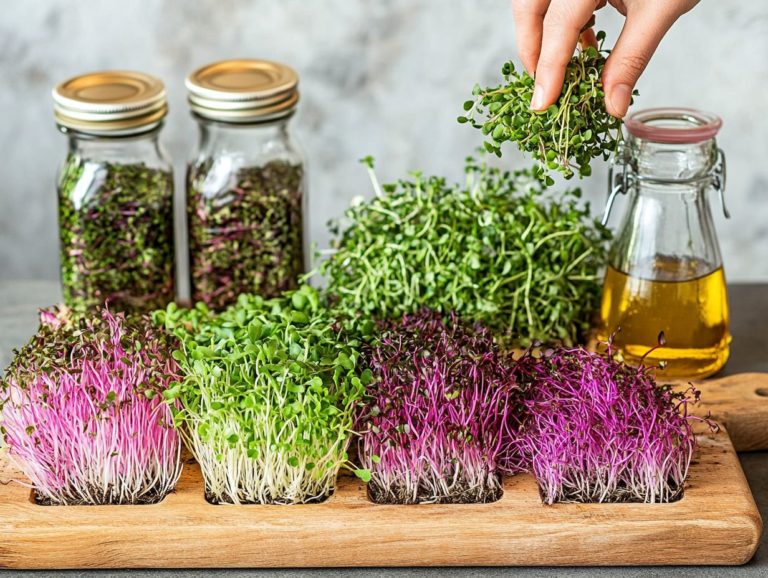
Microgreens are a fantastic way to spice up your dishes! They enhance flavors and presentation while offering significant health benefits. Their vibrant colors and unique textures are perfect for garnishing platters, salads, and soups, transforming any meal into a feast for the eyes and taste buds.
These tiny greens, brimming with nutrients, elevate the nutritional profile of your everyday meals without overwhelming your palate. You can easily incorporate them into smoothies for an extra health boost or sprinkle them atop sandwiches and wraps to introduce fresh flavors and a satisfying crunch.
Chefs often turn to microgreens not just for their visual appeal but also for the distinct taste they lend, like the peppery zing of radish greens or the delicate sweetness of basil sprouts. With their rich antioxidant content and vitamins, these tiny wonders contribute to your overall well-being, making them not only a culinary delight but also a health-enhancing choice. If you’re interested in incorporating them into your cooking, check out this guide to harvesting microgreens for cooking.
Frequently Asked Questions
What are microgreens?
Microgreens are young vegetable greens that are harvested just after the first set of true leaves have developed. They are packed with nutrients and have intense flavors and colors.
Why should I grow microgreens without soil?
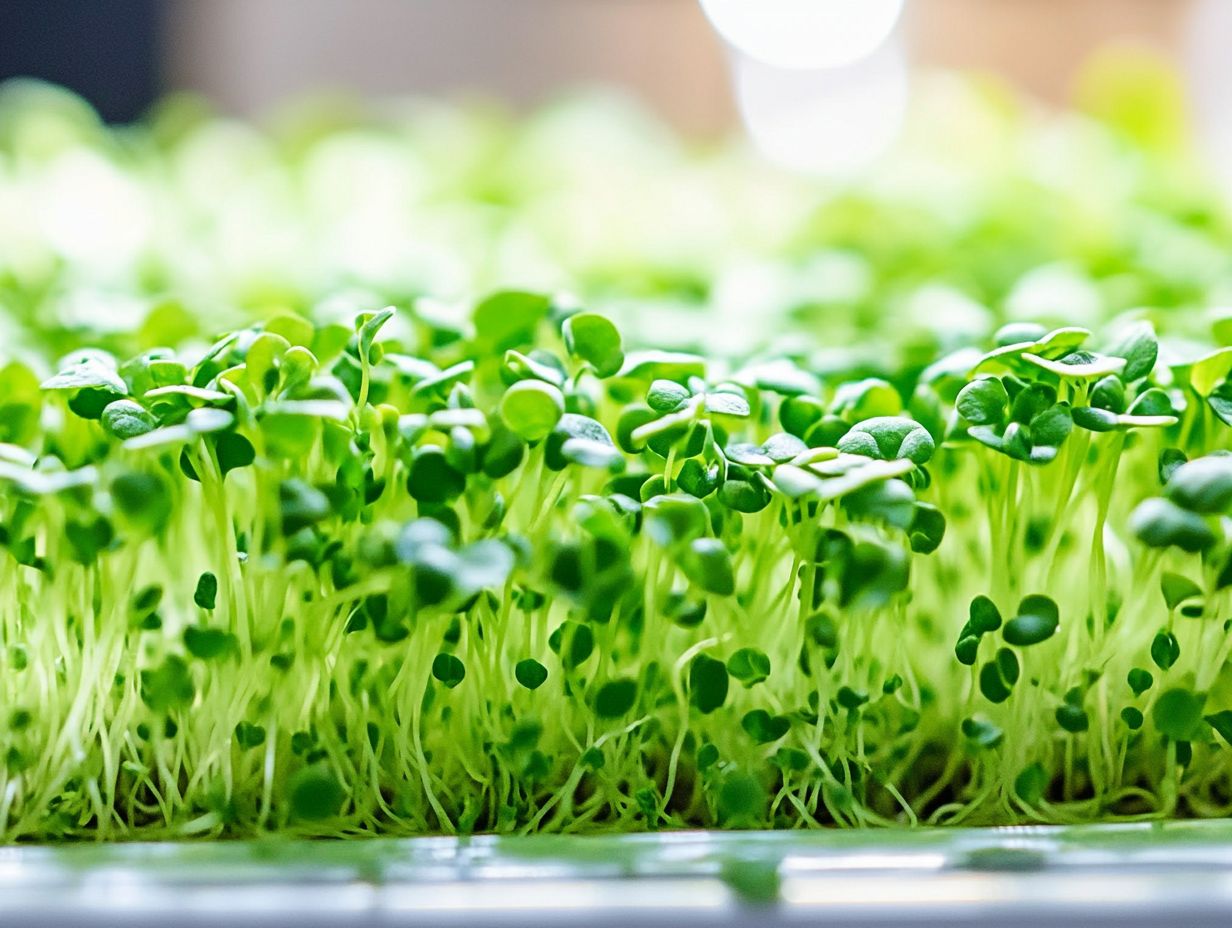
Growing microgreens without soil eliminates the risk of soil-borne diseases and pests. It also makes the growing process more convenient and accessible for those without outdoor space or for those looking to grow indoors.
What supplies do I need to grow microgreens without soil?
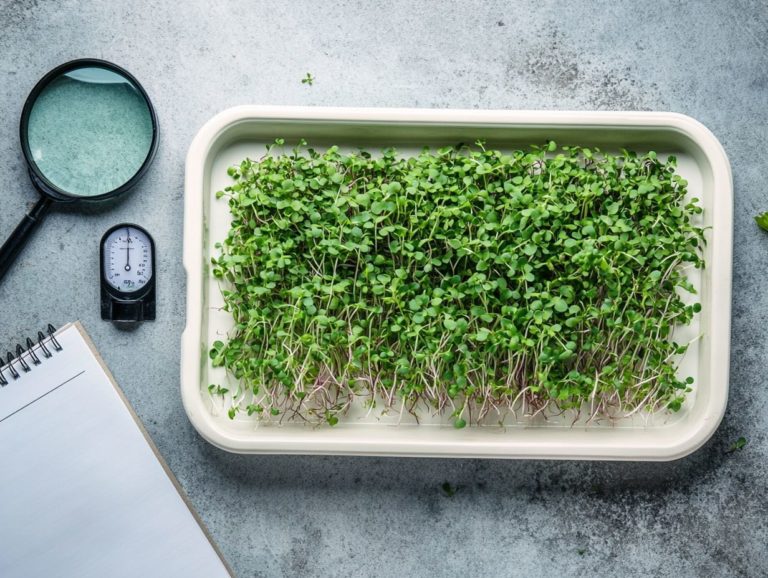
You will need a shallow tray or container, a growing medium such as coconut coir or hemp mats, seeds, and a source of water and light. Optional supplies include a spray bottle for watering and a grow light for optimal growth.
What types of microgreens can I grow without soil?
Most types of microgreens can be grown without soil, including broccoli, radish, sunflower, and pea shoots. However, some herbs and greens, such as basil and arugula, may have a harder time growing without soil.
How do I water microgreens without soil?
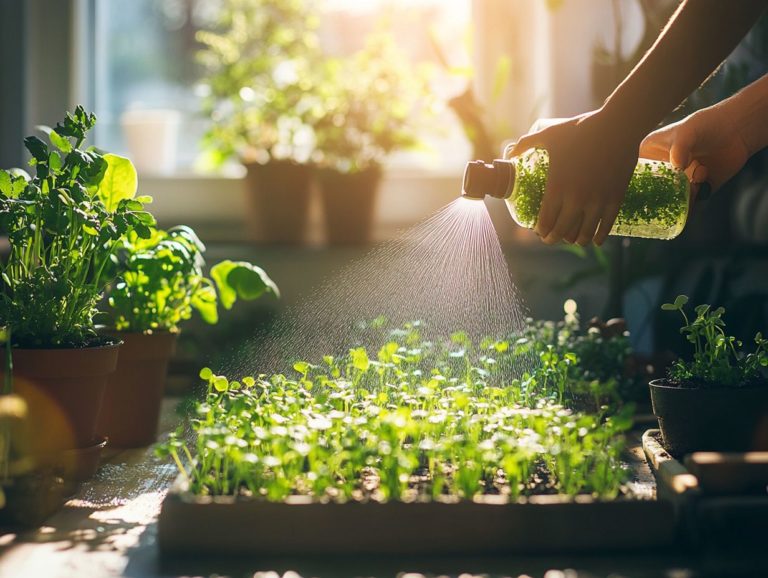
To water microgreens without soil, mist the growing medium lightly with a spray bottle or use a bottom-watering method by filling the tray with water and allowing the growing medium to absorb it from the bottom. Keep the medium evenly moist, but not waterlogged.
How long does it take to grow microgreens without soil?
The time it takes to grow microgreens without soil varies depending on the type of microgreen and growing conditions. On average, it takes 7-14 days for microgreens to reach maturity, but some can be harvested as early as 5 days.
Start your microgreens journey now for fresher meals!

