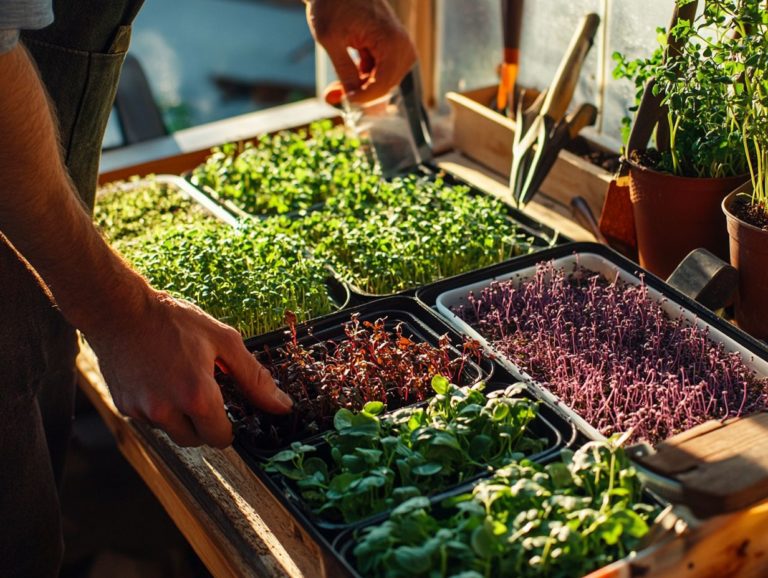
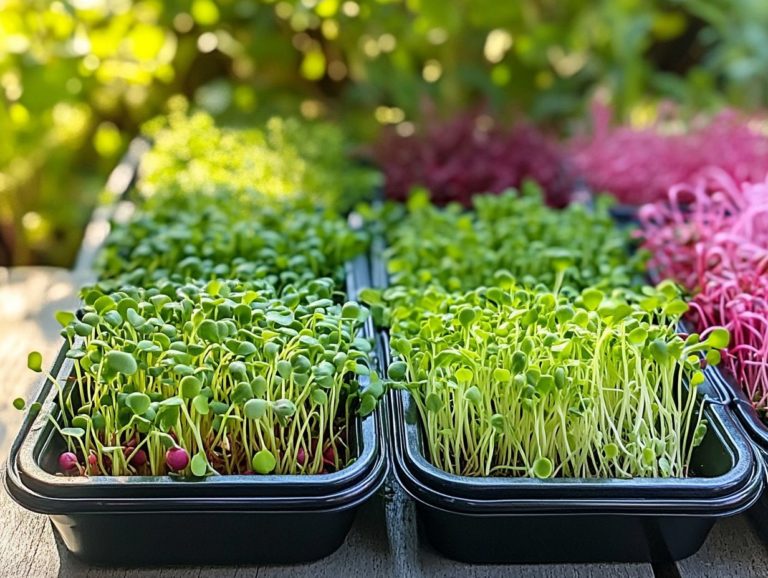
How to Grow Microgreen Varieties in Containers
Microgreens have truly revolutionized both the culinary and gardening landscapes. They deliver an impressive burst of flavor and nutrition in a delightfully compact form, particularly when you consider the health benefits they offer as nutrient-rich foods.
If you re eager to elevate your home gardening experience, cultivating microgreens in containers is an ideal first step for those interested in sprouting seeds and creating a vibrant home garden. This guide will illuminate the benefits of container gardening, provide insights on selecting the right containers and microgreen varieties, and offer a step-by-step guide for planting, nurturing, and harvesting your greens.
Get ready for a rewarding and cost-effective journey that will infuse your kitchen with fresh, vibrant flavors while you explore cooking with microgreens!
Contents
- Key Takeaways:
- Benefits of Growing Microgreens in Containers
- Choosing the Right Container
- Selecting the Right Microgreen Varieties
- Preparing the Container for Planting
- Planting and Caring for Microgreens
- Harvesting and Using Microgreens
- Frequently Asked Questions
- Can I grow microgreen varieties in containers indoors?
- What types of containers can I use to grow microgreen varieties?
- How do I prepare the container for growing microgreen varieties like fenugreek and buckwheat?
- What are some popular microgreen varieties that are suitable for container growing?
- How often should I water my microgreen varieties in containers?
- How long does it take to grow microgreen varieties in containers?
Key Takeaways:
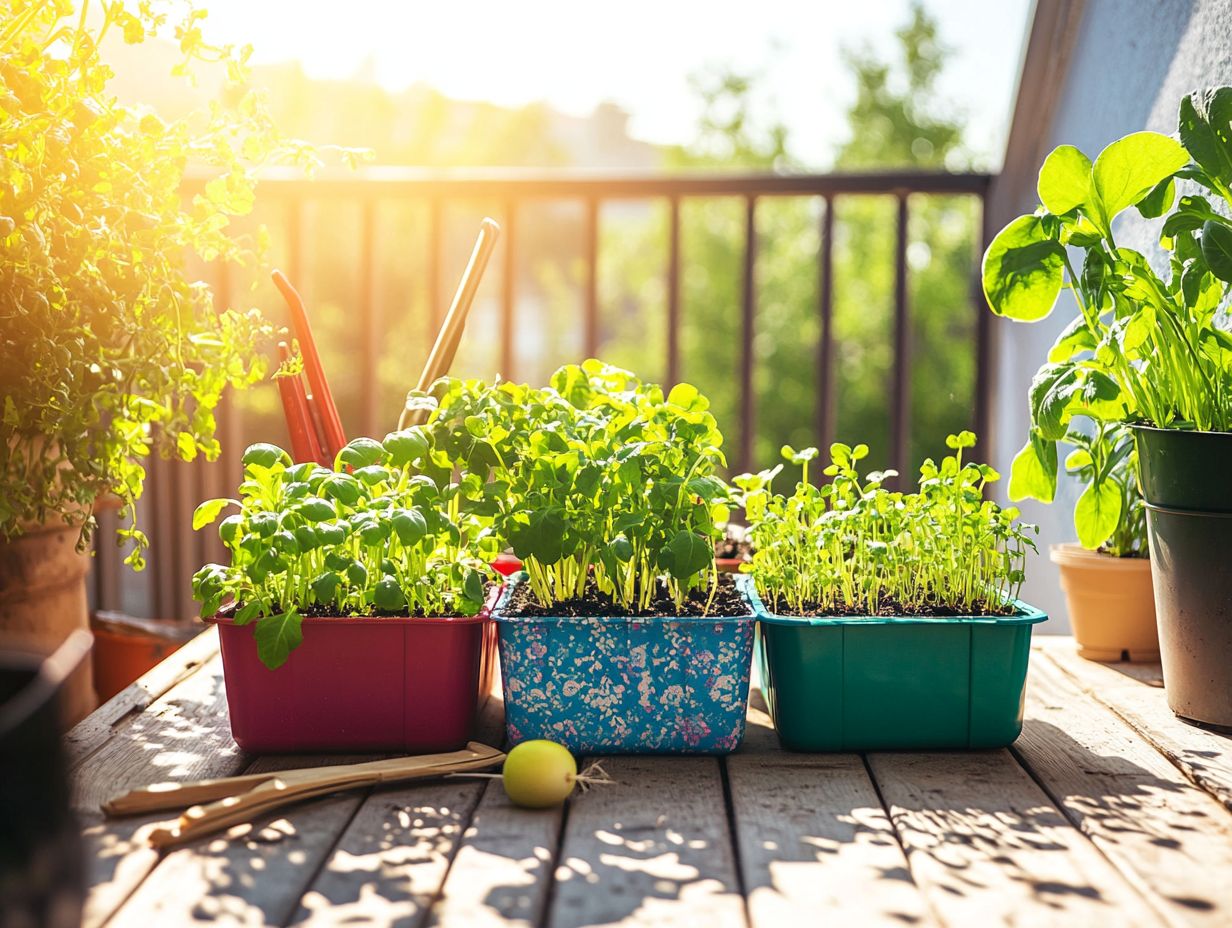
- Growing microgreens in containers is convenient and cost-effective.
- Consider factors such as size, drainage, and material when choosing a container for microgreens, especially when using hydroponic systems for optimal growth.
- Popular and easy-to-grow microgreen varieties include arugula, radish, and sunflower.
What are Microgreens?
Microgreens are those delightful little edible plants you can harvest at an early growth stage, usually within 7 to 21 days. This makes them easy to grow and an excellent choice for indoor gardening. They re not just small; they re nutrient powerhouses, brimming with health benefits.
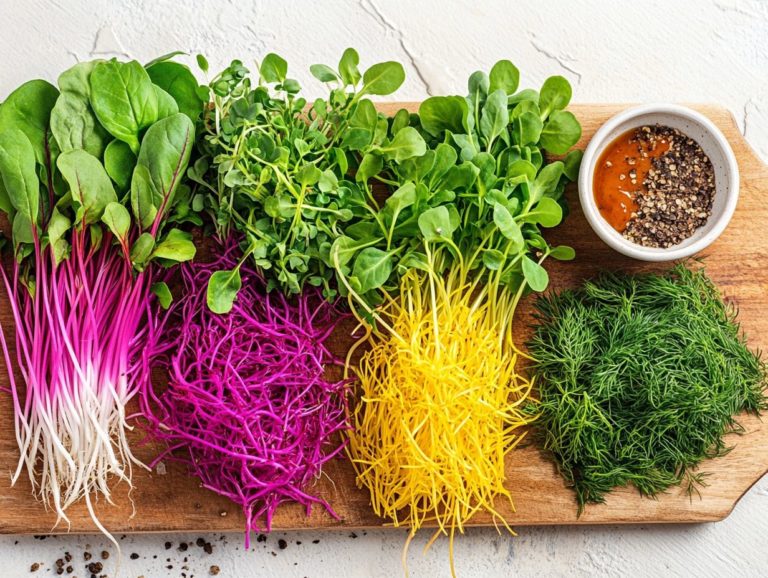
Varieties like broccoli sprouts, arugula, radish, and kale are often your go-to choices, celebrated for their vibrant leaves and rich flavors that elevate the taste and nutritional value of your dishes.
These tiny greens are often labeled as living foods, teeming with prebiotic foods and high in minerals. This makes them fantastic allies for weight management while contributing vital micronutrients to a plant-based diet.
The journey of microgreens begins with seed germination, often utilizing organic seeds. This progresses to the seedling phase, where they develop their first true leaves, and finally reaches that perfect harvest stage, bursting with optimal flavor and nutrient concentration.
In the culinary realm, microgreens are your secret weapon. They add a delightful crunch and an explosion of flavor to salads, sandwiches, and garnishes, enhancing the flavors and textures of your dishes. This makes them highly sought after by chefs and home cooks alike.
Let s not overlook their impressive health benefits beyond flavor. Research shows they re packed with antioxidants and essential vitamins like A, C, and E. This underscores their vital role in supporting your immune system and promoting skin health, making them beneficial for a balanced diet.
Benefits of Growing Microgreens in Containers
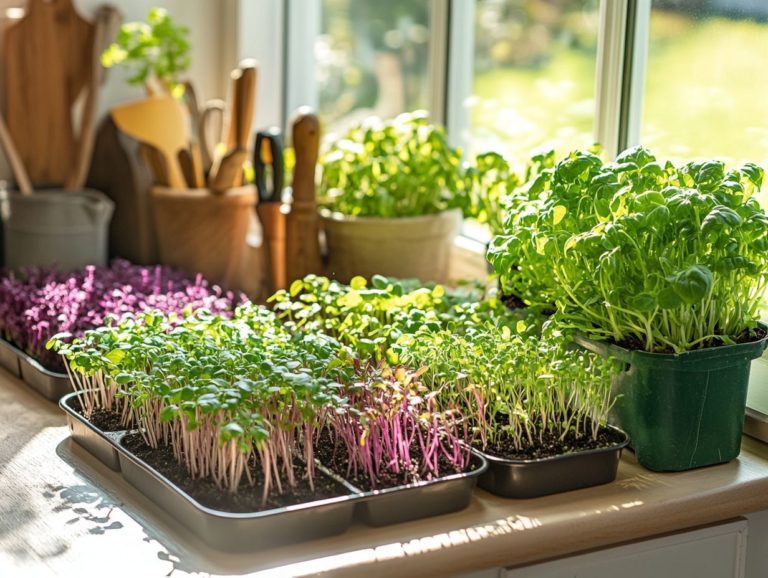
Growing microgreens in containers presents a wealth of advantages. It transforms even the smallest spaces into a vibrant home garden, perfect for those keen on indoor gardening.
This straightforward approach allows you to cultivate nutrient-rich greens indoors, regardless of your outdoor space limitations. This enriches your diet with health-enhancing micronutrients.
The container gardening method optimizes your available space and fosters growing plants in a controlled space. This allows you to grow microgreens in low light conditions and enjoy year-round cultivation with access to fresh, flavorful produce that elevates your culinary experience. To enhance your growth techniques, check out this guide on maximizing yields from microgreens.
Convenience and Cost-Effectiveness
Microgreens are a convenient and cost-effective choice for novice and seasoned gardeners alike. You can easily grow foods packed with nutrients, like basil and cilantro, right at home.
With just a bit of daily care, such as watering, you can produce fresh greens without needing large outdoor spaces. This ensures a steady supply of important micronutrients.
Growing your own microgreens saves money on groceries and promotes a healthier lifestyle, especially when you add more plant-based foods to your diet. Unlike traditional gardening, which often requires a lot of time and resources, you can grow microgreens right on your kitchen countertop or windowsill.
They grow rapidly, in as little as 7 to 14 days, making it easier to include them in your daily meals. Plus, cultivating microgreens indoors shields them from pests and harsh weather, allowing for successful growing even with limited space.
Choosing the Right Container
Selecting the right container is essential for successfully cultivating microgreens, such as broccoli, arugula, and radish. The container directly influences their growth and overall yield.
You ll find a variety of options at your disposal, including glass containers, specialized microgreens kits, and systems that grow plants without soil, using nutrient-rich water. Each option is tailored to different gardening preferences and conditions.
Don’t overlook the importance of a suitable growing mat. It can enhance drainage and promote healthy root development, ensuring your microgreens thrive.
As you set up your indoor gardening space, consider the specific needs of the microgreen varieties you choose, like chia and fenugreek, to achieve optimal results. Learning How to Use Hydroponics for Microgreens can also enhance your gardening experience.
Factors to Consider
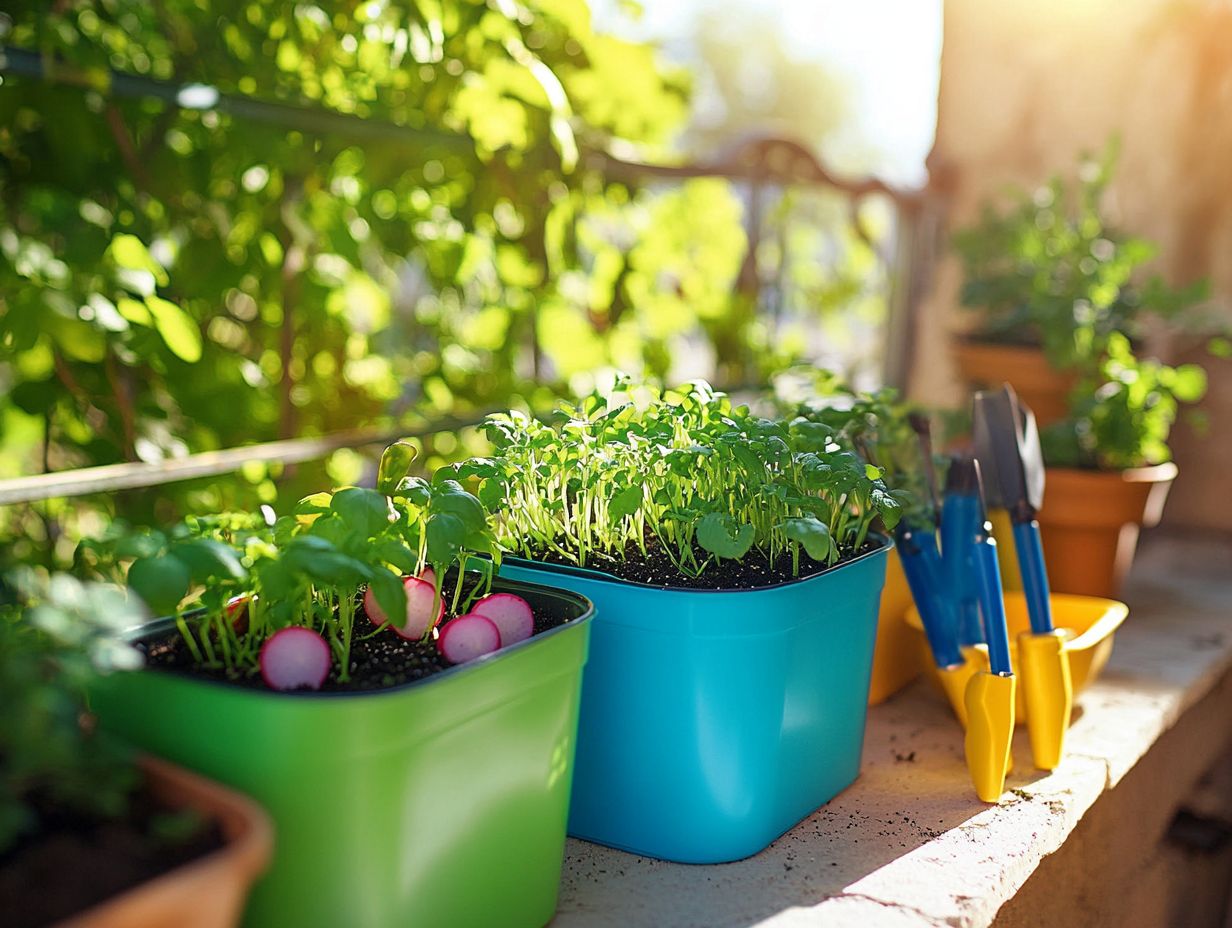
When choosing a container for growing microgreens, consider key factors to ensure their optimal growth and health, including the nutrient solution you’ll use. Think about the size of the container, its drainage capabilities, and the overall conditions of your indoor setup these aspects are crucial.
Getting the right size is crucial. If the container is too shallow, it may stifle root growth, while an excessively deep one could lead to waterlogging. Using a lightweight substrate will aid in this process.
You ll want to select a vessel with adequate drainage holes to prevent excess moisture, ensuring the best conditions for your microgreens. Aim for a lightweight substrate that retains moisture well materials like peat or coconut coir are top recommendations for indoor growing.
Using a balanced nutrient solution tailored to your microgreens’ specific needs can significantly impact their growth rate and flavor, allowing you to harvest microgreens with robust tastes. This thoughtful approach enhances not only the quantity but also the quality of your harvest, leading to a rewarding gardening experience filled with vibrant leaves and flavors. For more insights, explore techniques for growing microgreens year-round.
Selecting the Right Microgreen Varieties
Selecting the right microgreen varieties is crucial for cultivating a successful indoor garden, especially if you re focused on those that are easy to grow, like beet and buckwheat. They offer a delightful array of flavors and textures.
Consider including popular options like broccoli, arugula, radish, and kale each brings its own unique profile and health benefits, such as the sulforaphane content found in broccoli.
By exploring various herbs and microgreens like cilantro and basil, you can elevate your culinary repertoire, savoring an assortment of nutrient-packed foods straight from your home garden.
Popular and Easy-to-Grow Varieties
Some of the most popular and easy-to-grow microgreen varieties include broccoli, arugula, radish, and kale. Each brings unique flavors and health benefits, such as antioxidants and vitamins, to your plate. These microgreens are rich in nutrients, packed with essential vitamins, antioxidants, and minerals, making them perfect for enriching your plant-based meals. By incorporating these vibrant leaves into your dishes, you enhance aesthetics and support a balanced, plant-based nutrition plan that promotes overall health.
Broccoli microgreens are particularly noteworthy for their high levels of sulforaphane, a compound celebrated for its cancer-fighting properties and overall health benefits. Plus, they add a mild, slightly peppery flavor to salads and sandwiches that you ll love, making them versatile ingredients in your cooking. Arugula offers a spicy bite that can elevate any dish while delivering heart-healthy benefits, such as lowering cholesterol levels. Radish microgreens provide a crunchy texture and a zesty kick, while being loaded with vitamins A, C, and E. Kale microgreens are champions for eye health and provide a substantial dose of calcium.
With cultivation being both simple and rewarding, why not transform your space into a vibrant indoor garden filled with a variety of herbs and microgreens? To effectively grow these plants indoors, learn how to use grow lights for microgreens. This way, you can enjoy these nutritious varieties year-round while exploring exciting new flavors in your culinary creations.
Preparing the Container for Planting
Get ready to dive into the exciting world of microgreens! Preparing your planting container sets the stage for a successful harvest and vibrant growth, particularly when using a high-quality growing mat. Start by selecting a high-quality growing mat that ensures proper drainage and aeration, which is vital in indoor gardening.
Next, add a nutrient solution specifically formulated to meet the unique needs of your microgreens, ensuring they receive the necessary nutrients for optimal growth. If you’re using hydroponic systems that grow plants without soil, take care to optimize your setup for efficient water delivery and nutrient absorption, which is crucial for supporting both germination and the growth process effectively. For those new to this method, check out our guide on starting a microgreen garden.
Steps for Setting Up the Container
- Ensure your container has adequate drainage before layering in a growing mat or substrate to support root health.
- Once your growing medium is in place, evenly distribute the microgreen seeds for uniform growth. Gently pressing them down will ensure good contact with the substrate, which is key for germination and healthy growth.
- Mix your nutrient solution with care, following the specified instructions to saturate the growing medium thoroughly, creating an optimal environment for your microgreens.
- Establish a consistent watering schedule with daily check-ups to maintain moisture levels without overwatering.
- Pay close attention to the light requirements and nutrient-dense needs of the microgreens you re cultivating. Some varieties flourish in direct sunlight, while others prefer indirect light. Adjusting these conditions according to the specific type you re growing can lead to a more bountiful harvest while enjoying the health benefits of plant-based foods.
Planting and Caring for Microgreens
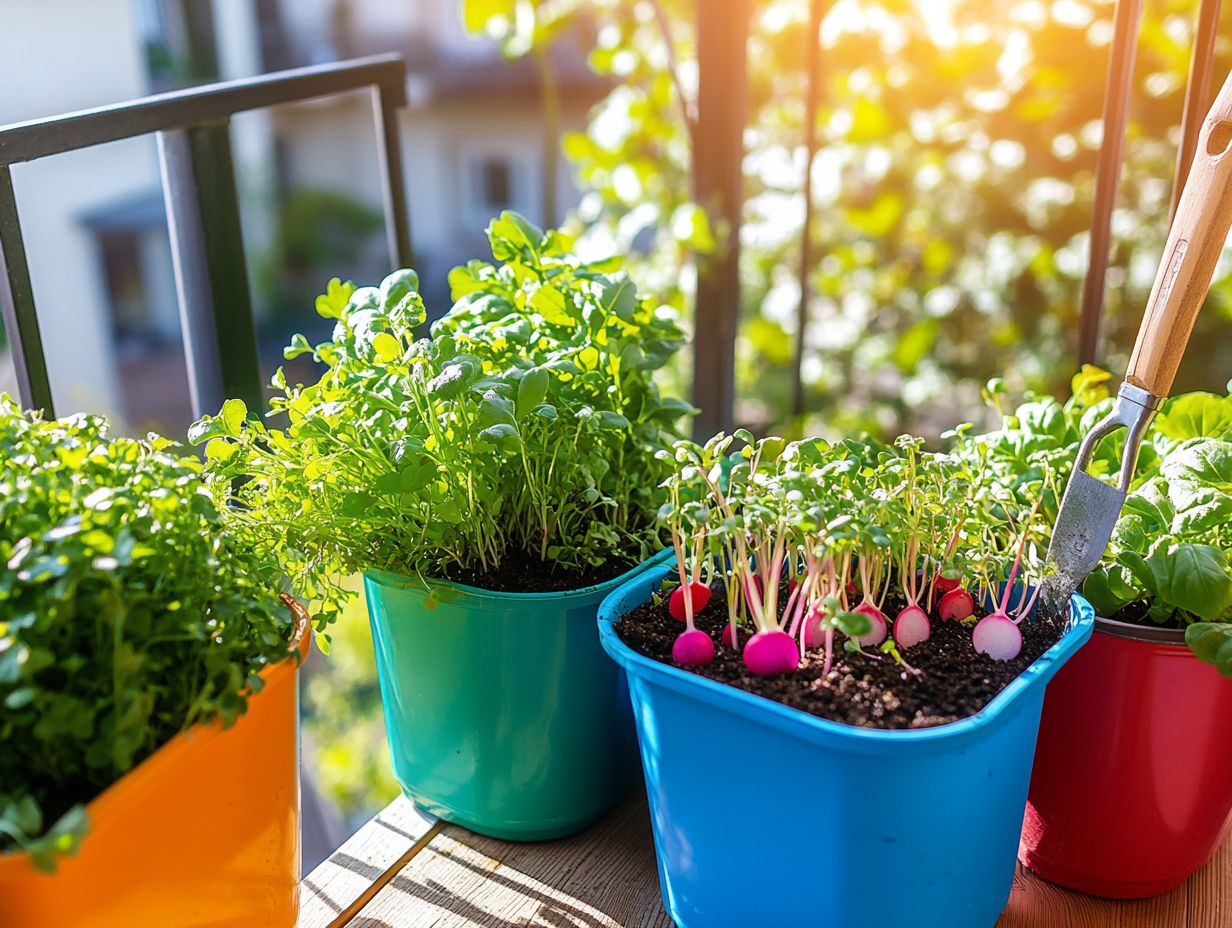
Planting and nurturing microgreens is a remarkably simple endeavor that can lead to delightful and nutritious outcomes when approached correctly.
Begin by evenly sowing your seeds in the prepared container, paying attention to proper spacing to allow for ample growth. After planting, create an ideal environment with low light conditions, which can be particularly beneficial for broccoli sprouts and other easy-to-grow varieties. For more tips, check out this guide on how to grow microgreens in a small space. Commit to daily watering to foster healthy development.
By closely observing your microgreens, you can tailor their care to meet the unique needs of each variety, ensuring a thriving harvest.
Step-by-Step Instructions
To plant microgreens, start by evenly sowing seeds in your container. Lightly press them into the growing medium for good contact.
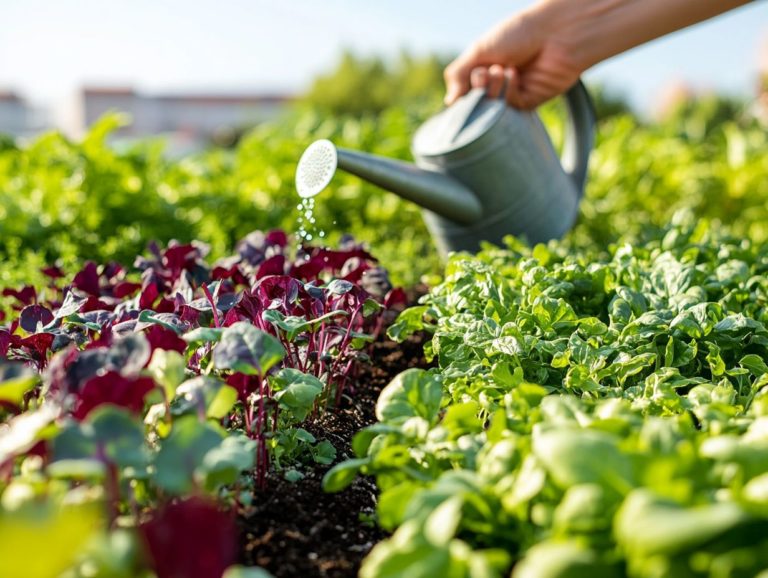
Next, mist the surface with water to maintain moisture without overdoing it. Position your container in a spot with indirect light and water daily to keep things hydrated. Adjust the light exposure as needed to encourage healthy growth in an indoor setup.
Once you’ve set up your microgreens, keep an eye on them for common challenges like mold or uneven growth. If you see mold, lower the moisture and increase air circulation. If growth appears stunted, check to ensure they’re getting enough light and reposition the best containers for microgreen cultivation if necessary.
Consider keeping a journal of your planting experiences. This will help you track progress and refine your gardening approach for future endeavors. Celebrate your small victories in enhancing your home garden with herbs and microgreens. Don’t shy away from experimenting with different seeds and techniques for richer yields.
Harvesting and Using Microgreens
Harvesting and using microgreens is an essential skill that enhances your culinary repertoire, especially when cooking with microgreens like arugula and kale, allowing you to fully reap their health benefits.
Once your microgreens reach 2 to 3 inches, grab clean scissors. Snip them just above the soil line, leaving the roots intact for a chance at regrowth.
These vibrant leaves can transform salads, sandwiches, and smoothies, adding flavor and nutrition. For any surplus, store them in a sealed container in the refrigerator to preserve their freshness while enjoying their vibrant leaves, flavors, and vitality.
Best Practices for Harvesting and Storing
To achieve the finest flavor and optimal nutrient retention, adhere to these best practices for harvesting and storing microgreens. Harvest in the morning for the best flavor. Use clean scissors to cut just above the soil line.
After harvesting, gently rinse and dry the microgreens before placing them in a sealed container in the refrigerator. For those looking to grow their own, a step-by-step guide to sowing microgreens can help. Incorporate these nutrient-dense greens into a variety of dishes, enhancing both flavor and health benefits.
Timing is essential; harvesting too late in the day can compromise taste and nutritional value. By choosing the right moment, you significantly elevate the quality of your microgreens. For optimal growth, learn how to rotate crops for microgreens. Ensure your scissors are sharp and sanitized to prevent bruising the plants. After the initial rinse, using a salad spinner can effectively remove excess water, guarding against mold during storage.
If you wish to savor your microgreens for an extended period, consider placing a paper towel or a growing mat inside the container to absorb moisture and keep your produce fresh. Keeping them refrigerated at around 32 F will maximize their shelf life and flavor, ensuring they stay vibrant and fresh for up to a week.
Frequently Asked Questions
Can I grow microgreen varieties in containers indoors?
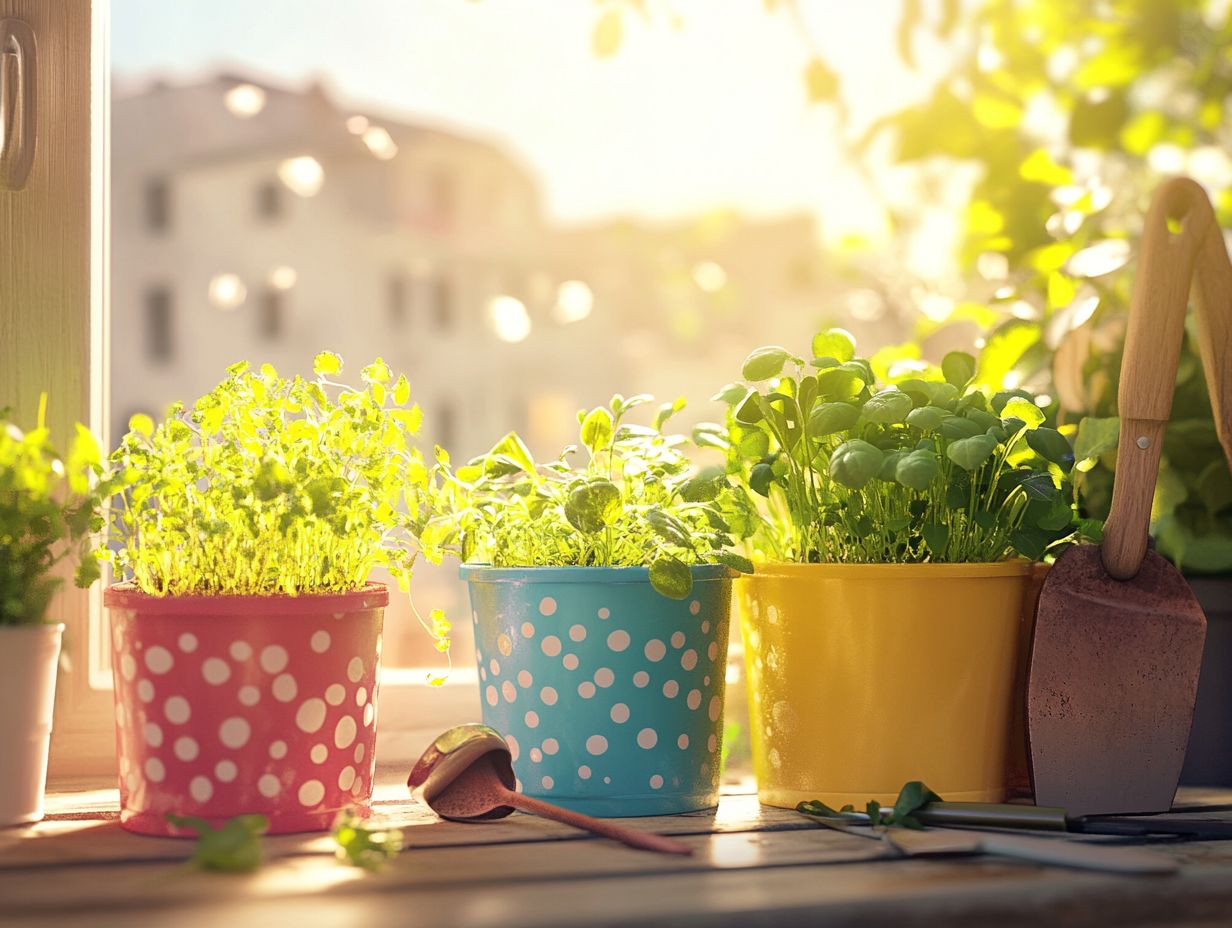
Yes, you can easily grow microgreen varieties in containers indoors. You just need a sunny spot or a well-lit area to promote the sulforaphane content in your greens and the right materials to get started.
What types of containers can I use to grow microgreen varieties?
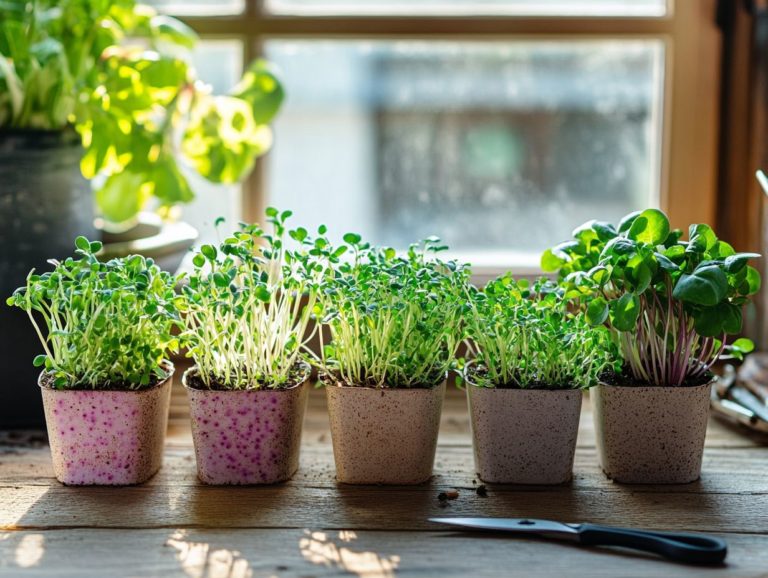
You can use a wide variety of containers to grow microgreen varieties, including plastic trays, shallow pots, shipping containers for unique growing methods, and even repurposed containers like egg cartons or takeout containers.
How do I prepare the container for growing microgreen varieties like fenugreek and buckwheat?
First, make sure your container has drainage holes at the bottom. Next, fill it with a thin layer of moist potting mix or soil, and gently press it down to create a level surface.
What are some popular microgreen varieties that are suitable for container growing?
Some popular varieties of microgreens that are suitable for container growing include sunflower, pea shoots, radish, broccoli, and mustard greens.
How often should I water my microgreen varieties in containers?
Microgreens need to stay consistently moist. Water them daily to maintain the right moisture levels for optimal growth.
Use a spray bottle or a watering can with a fine rose to avoid damaging the delicate seedlings.
How long does it take to grow microgreen varieties in containers?
The time it takes for microgreen varieties to grow in containers varies depending on the variety, but most will be ready to harvest within 1-3 weeks, depending on whether you use water-based growing systems or traditional methods.
Growing microgreens is not just easy it’s fun and rewarding! Start your microgreen journey today and enjoy fresh, nutritious greens right at home!

