Budget-Friendly Tools for Microgreen Growers
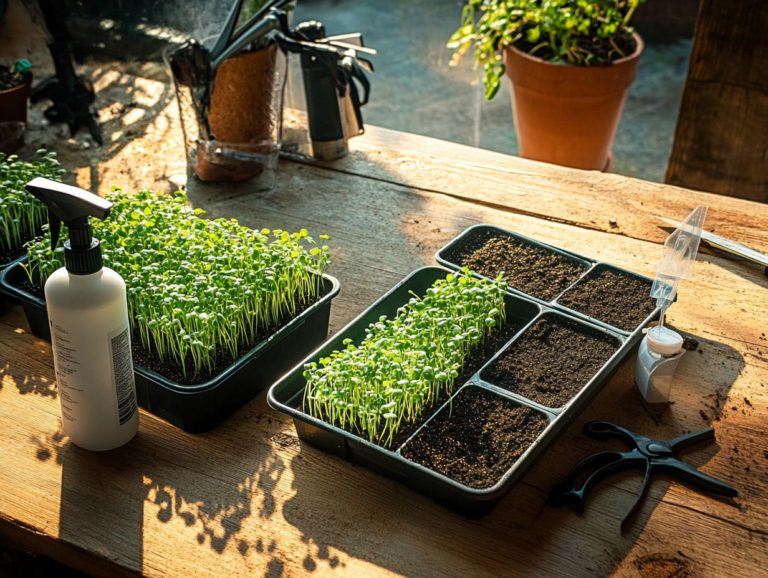
Growing microgreens can be an incredibly rewarding and cost-effective hobby, especially with the right tools from trusted sources like True Leaf Market and Amazon. This article delves into essential tools that every microgreen enthusiast should have at their disposal, from growing trays and seed starting mix to humidity domes and harvesting microgreens tools. Whether you’re just starting out or aiming to optimize your existing home gardening setup, you’ll discover practical options that won’t strain your wallet.
You ll also learn how to maintain quality while keeping costs low, especially when sourcing vegetable seeds and plant tags. Dive in and start your microgreen garden with confidence today!
Contents
- Key Takeaways:
- 1. Seedling Trays
- 2. Grow Lights
- 3. Soil Mix
- 4. Spray Bottle
- 5. Humidity Dome
- 6. Heat Mat
- 7. Scissors
- 8. Watering Can
- 9. Plant Labels
- 10. Fan
- 11. pH Testing Kit
- 12. Harvesting Tools
- 13. Shelving Units
- 14. Thermometer
- 15. Plastic Covers
- How to Choose the Right Budget-Friendly Tools for Your Microgreen Garden?
- Frequently Asked Questions
- What are budget-friendly tools for microgreen growers?
- Are seed trays necessary for growing microgreens on a budget?
- Do I need to invest in expensive grow lights for my microgreens?
- Can I use regular soil for growing microgreens?
- What can I use as a substitute for a spray bottle for watering my microgreens?
- Is it necessary to invest in a shelving unit for my microgreens?
Key Takeaways:
- Invest in multi-purpose tools, such as a spray bottle and scissors, to save money and space.
- Consider alternative options, like using plastic covers or DIY shelving units, to save on costs.
- Keep tools in good condition by regularly cleaning and maintaining them with Hydrogen Peroxide, rather than constantly replacing them.
1. Seedling Trays
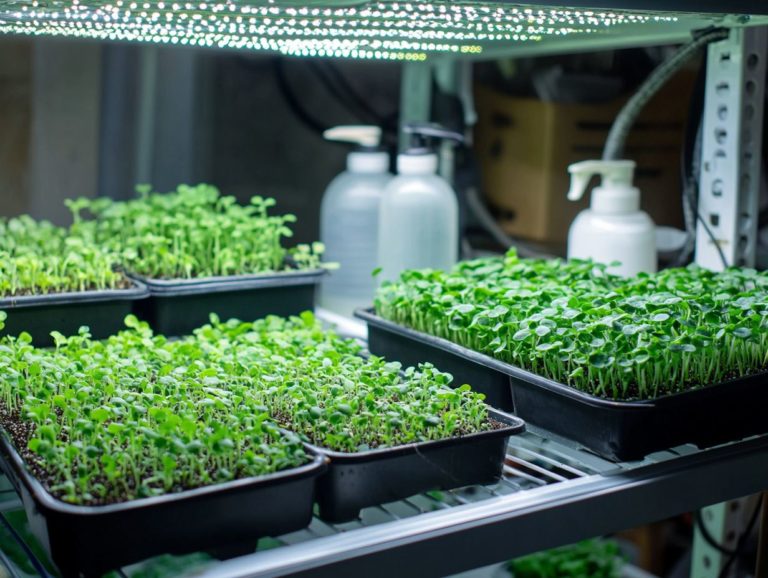
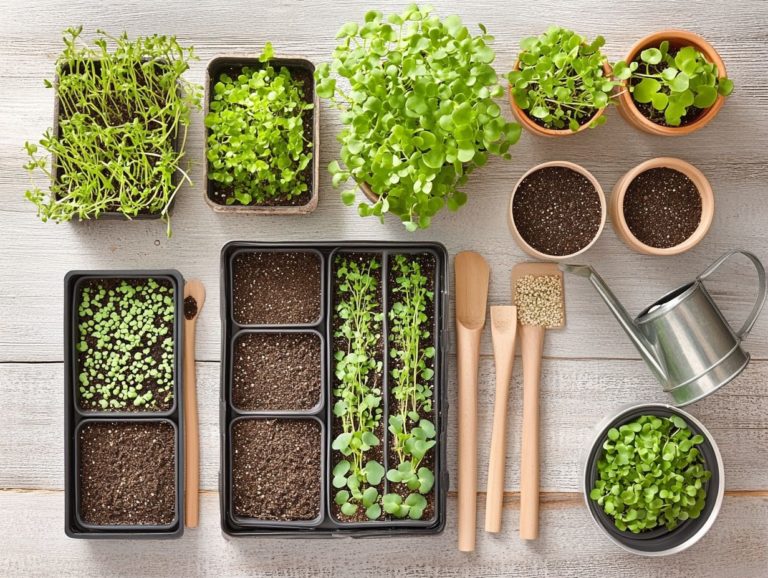
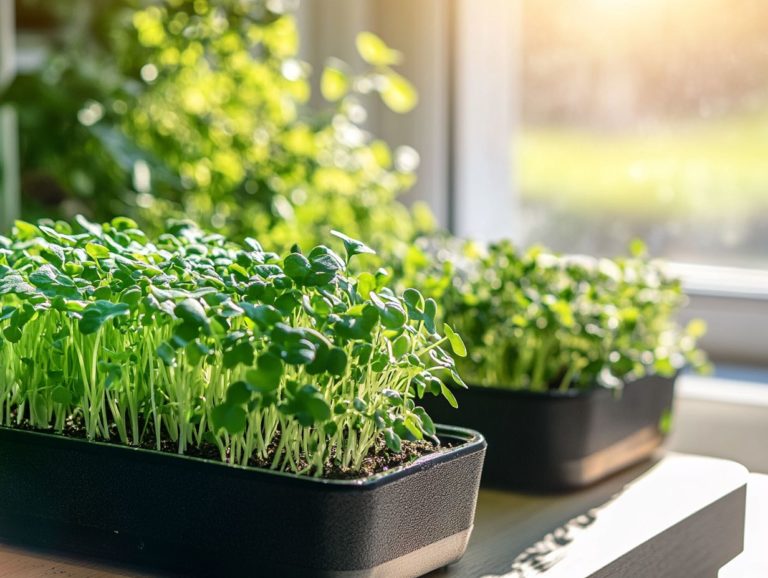
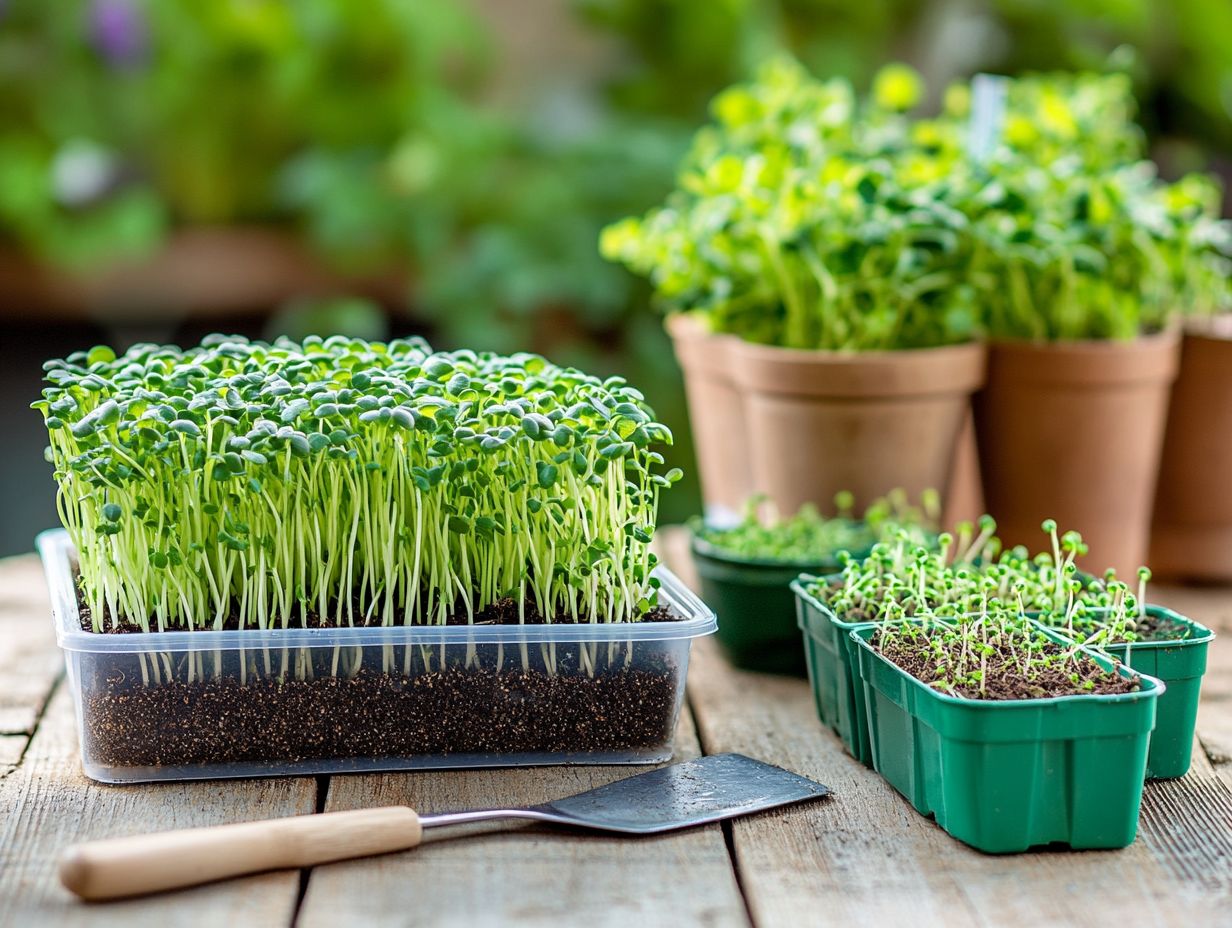
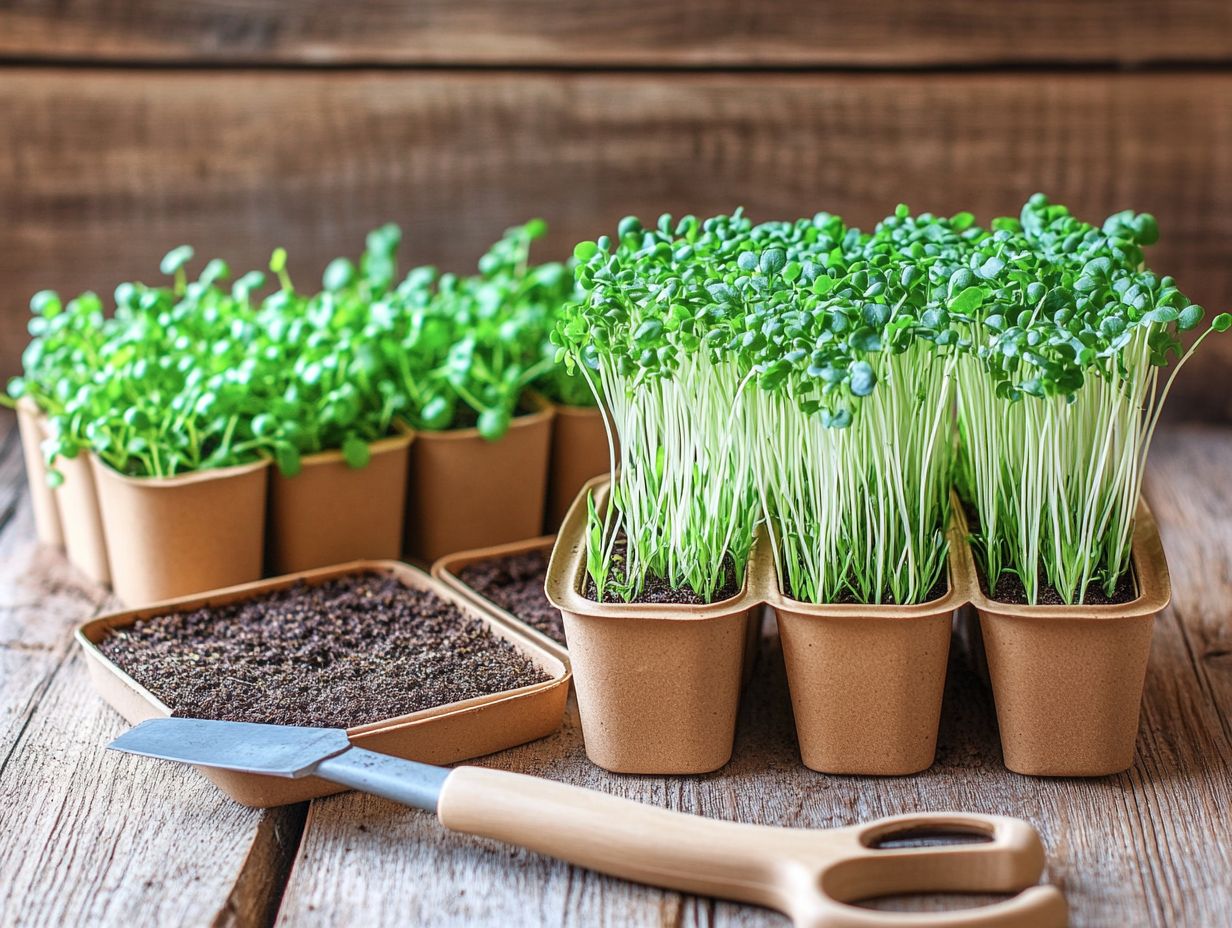
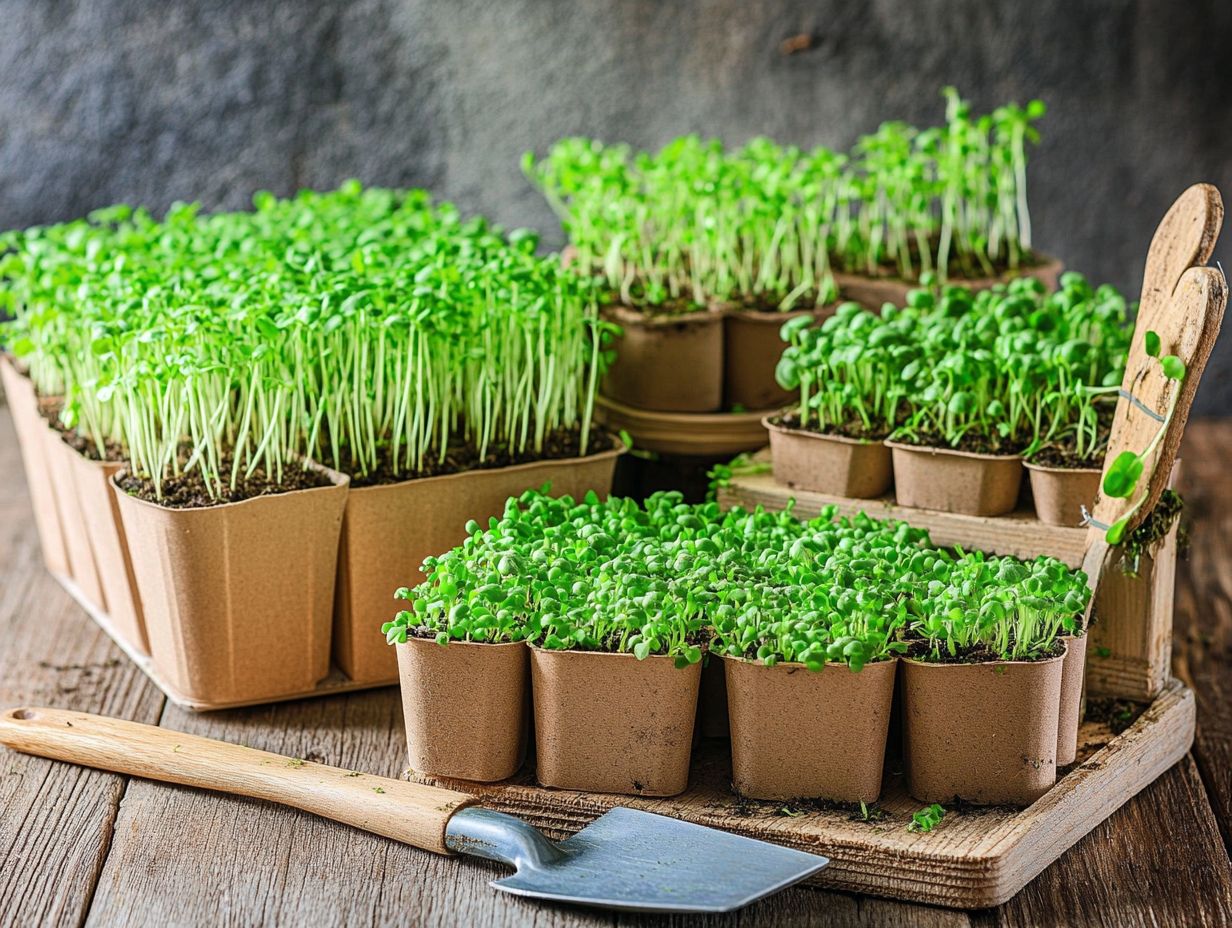
Seedling trays are paramount for anyone venturing into indoor gardening, especially when it comes to cultivating microgreens. They offer the ideal structure to support seedlings while ensuring proper drainage and airflow for optimal growth. With various sizes available, these trays help you maximize your home gardening setup, making them an essential part of your garden supplies for growing nutritious foods right in your kitchen.
When selecting trays, you have options galore plastic, biodegradable materials, or even metal, each presenting its own set of benefits. It’s crucial to choose trays equipped with drainage holes to allow excess water to escape, thus preventing root rot and promoting healthier plants.
By enhancing these trays with suitable growing mediums, such as coconut coir or organic potting mix, you can significantly improve nutrient retention and aeration. Grasping the interplay between seedling trays, materials, and growing mediums will undoubtedly yield more robust microgreens, ensuring that every bite is as fresh and flavorful as it should be.
2. Grow Lights
Grow lights are essential for indoor gardening, particularly when natural sunlight falls short for nurturing microgreens. They provide the man-made light necessary to effectively stimulate growth and facilitate photosynthesis.
Selecting the right type of grow light can profoundly impact your plants’ health and yield. Full-spectrum options, which mimic natural sunlight, are especially advantageous for a diverse array of plants, encouraging both flowering and leaf growth. You can strategically position these lights at varying heights above your plants; for instance, keeping them 12 to 24 inches away optimizes light absorption while reducing heat stress.
It’s also wise to consider energy consumption LED grow lights are not only energy-efficient but also boast a longer lifespan, making them a superb choice for long-term gardening endeavors. You can find a wide array of grow lights to suit any budget at local garden centers, online retailers, and specialized gardening stores.
3. Soil Mix
Choosing the right soil mix is essential for cultivating microgreens, as a quality seed starting mix creates the ideal environment for robust root development and optimal nutrient absorption.
A successful mix usually encompasses components such as peat moss, vermiculite, and compost, striking the perfect balance between moisture retention and aeration. Incorporating Mycorrhizae a type of fungus that helps plants absorb nutrients into the soil can elevate plant health significantly, as it forms beneficial relationships with the root systems, enhancing nutrient uptake and resilience against stress.
When you re preparing or selecting a mix, it’s imperative to seek out those specifically crafted for microgreens, ensuring they boast organic matter and a fine texture. Opting for sterilized mixes can also diminish the risk of disease, ultimately leading to stronger, more vibrant plants.
4. Spray Bottle
A spray bottle is vital for indoor gardening. It helps you grow microgreens effectively by allowing you to water gently while keeping the humidity levels just right crucial for seed germination.
Using a mist spray bottle ensures that each seedling enjoys an even distribution of moisture, preventing both over-saturation and dryness. For the best results, stick to a consistent water source; variations in water quality can impact your plants’ health.
When you pair the mist with a humidity dome, you create a stable growing environment that traps moisture and forms a small environment. This combination boosts germination rates and encourages robust growth, enabling you to cultivate lush, vibrant crops with ease.
5. Humidity Dome
A humidity dome is crucial for maintaining an optimal microenvironment during the early stages of growing microgreens. It helps retain moisture and creates the necessary humidity levels for successful sprouting and growth.
This dome shields your young seedlings from temperature fluctuations and environmental factors that could impede their development. This gentle airflow strengthens your seedlings and minimizes the risk of mold formation, ensuring a healthy growing environment.
Depending on the type of microgreens you’re cultivating, you may need to keep the dome in place for anywhere from a few days to a week. This careful timing promotes vigorous growth before you gradually transition to an open-air environment, allowing your microgreens to continue flourishing.
6. Heat Mat
A heat mat is an invaluable asset for your indoor gardening efforts, especially when cultivating microgreens in a controlled setting. It delivers bottom heat, accelerating germination and fostering healthy growth.
When searching for the right heat mat, pay close attention to its temperature range. The sweet spot typically lies between 70 F and 80 F, ideal for most microgreens such as arugula, basil, and cress. Investing in a thermostat can further enhance your setup, ensuring consistent warmth and preventing overheating that could jeopardize your seedlings’ health.
To make the most of your heat mat, consider these best practices:
- Place the mat on a flat, hard surface to facilitate effective heat distribution.
- Cover the seeds with a humidity dome to lock in moisture during the germination phase.
This perfect blend of warmth and humidity creates an ideal environment for robust growth and vibrant microgreens.
7. Scissors
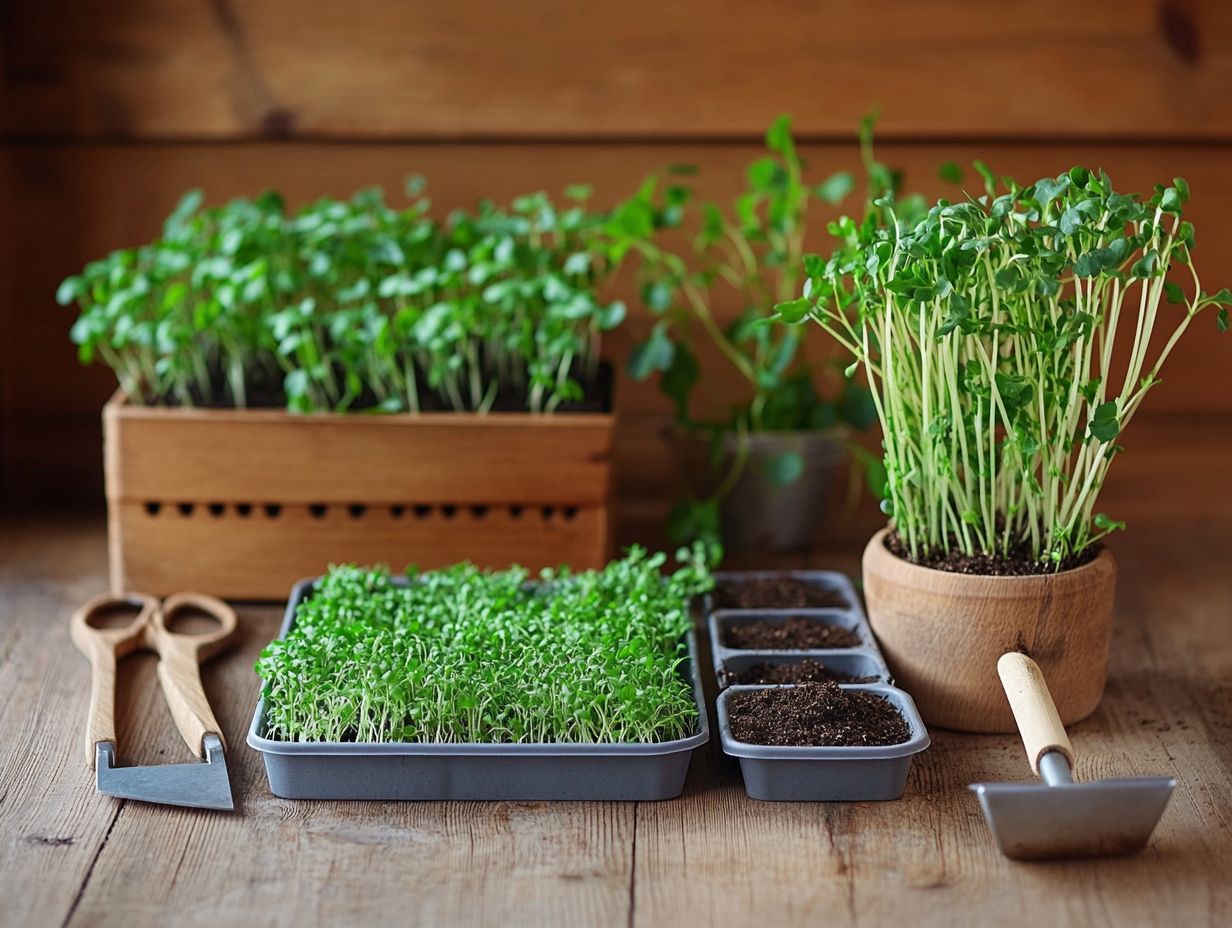
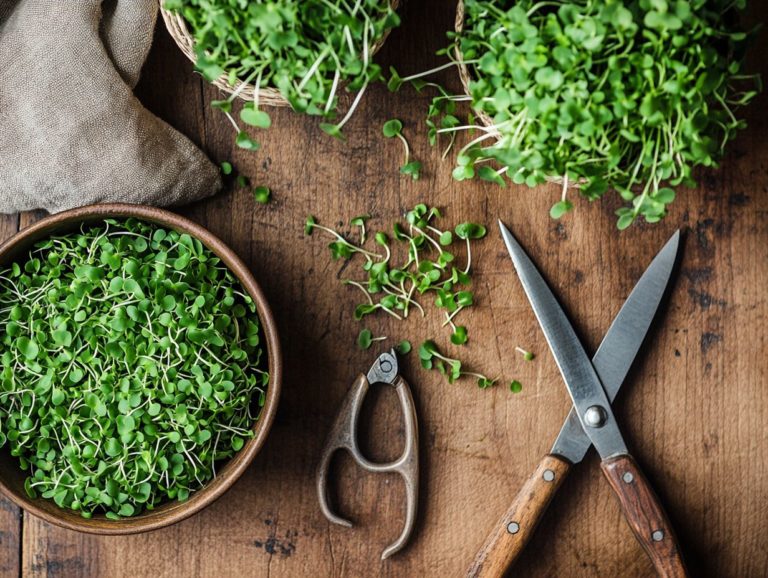
Kitchen scissors are essential for harvesting microgreens, allowing you to cut quickly and efficiently while minimizing damage to those delicate plants.
Choosing the right scissors look for sharp, stainless steel blades and easy-grip handles will elevate your harvesting experience. When using these tools, proper techniques are key. Cut just above the soil line to encourage regrowth.
Cleanliness is crucial to prevent contamination; before you dive into your harvest, sanitize your scissors with rubbing alcohol. This simple step ensures the safety of your microgreens and keeps you aligned with food safety practices.
By following these tips, you can guarantee a successful and hygienic harvesting process.
8. Watering Can
A watering can is an essential tool in your indoor gardening arsenal, particularly when it comes to nurturing microgreens. It provides a controlled water source, ensuring that your plants receive the hydration they need without the risk of overwatering.
When searching for the ideal watering can, pay attention to features that matter like a fine spout for gentle watering and a comfortable handle that makes the task a breeze. Mastering proper watering techniques is key; aim to water lightly and evenly to prevent displacing those delicate seeds while keeping the moisture balance just right. Water in the morning for the best results!
Watch the moisture level of your growing medium to gauge the optimal watering frequency, which ensures consistent growth. With a well-designed can and thoughtful watering practices, you’ll foster robust microgreen development and boost your overall yield. Get started today, and watch your indoor garden flourish!
9. Plant Labels
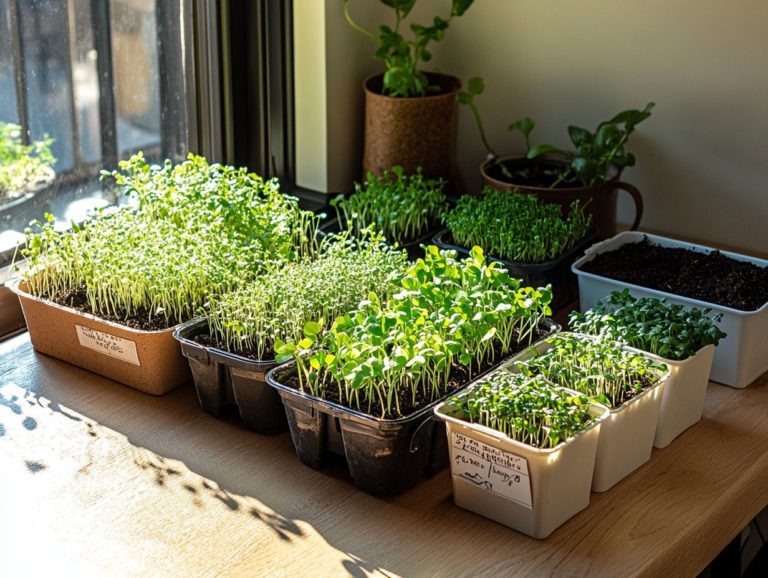
Plant labels, or plant tags, are essential for anyone diving into indoor gardening. They allow you to easily identify various microgreens and maintain better organization throughout the growing process.
Use different labeling methods like color-coding for different plant varieties or utilizing etching tools for durable markers to effectively monitor the various stages of growth. The significance of tracking these growth stages can’t be overstated; it gives you the power to understand the unique needs of each plant, ensuring optimal health and yield.
If you re keen on creating DIY plant tags, you ll find that simple materials such as popsicle sticks, recycled plastic containers, or even stones can be transformed into functional yet attractive markers. Using waterproof ink or paint will help these personalized tags withstand moisture, extending their lifespan and enhancing their utility. Labeling now means less confusion later trust us!
10. Fan
A small fan is essential for promoting air movement in your indoor gardening setup, especially when you re using a humidity dome. It s your secret weapon against mold and helps cultivate robust microgreens.
Proper airflow is key, as it balances humidity levels and prevents stagnant air that can nurture unwanted pathogens. To maximize the benefits, position the fan at an angle to enhance circulation without overwhelming your delicate microgreens. Ideally, place it near the seedlings, but not directly on them; this way, a continuous, gentle breeze will nurture healthy growth.
This thoughtful placement supports the young plants and reinforces their stems, making them sturdier. It also helps regulate temperature, significantly contributing to creating those ideal growing conditions you strive for. Get started today, and watch your indoor garden flourish!
11. pH Testing Kit
A pH testing kit is essential for ensuring the quality of your indoor gardening soil, especially when it comes to growing microgreens. This tool allows you to accurately assess and adjust pH levels, ensuring the best nutrients for your plants.
Maintaining the right pH balance is paramount since microgreens flourish within specific pH ranges, which greatly affect their growth, flavor, and nutritional value. To use the testing kit effectively, simply collect a soil sample and mix it with distilled water; this will give you a clear indication of the current pH level.
If you find that adjustments are necessary, you can lower the pH by incorporating sulfur or an acidic fertilizer, while baking soda or lime can help raise it. By consistently monitoring these levels, you can ensure your microgreens receive the essential nutrients they need for a healthy and vigorous growth cycle. Don t forget to monitor those pH levels regularly for the best results!
12. Harvesting Tools
Using the right harvesting tools, such as kitchen scissors, is crucial for efficiently and cleanly harvesting microgreens, ensuring that your plants remain healthy for subsequent growth cycles.
These tools can vary from specialized harvesting knives to simple herb shears, each crafted to minimize damage to those delicate greens. When you’re using these tools, aim to make clean cuts just above the soil line. This encourages regrowth while preventing bruising. For growing microgreens effectively, consider using the best containers for microgreen cultivation. A gentle hand is key to maintaining the integrity of your microgreens.
Once you’ve harvested, it’s time to turn your attention to proper storage techniques. Keep those cut greens in a cool, dry place or seal them tightly in a container lined with a damp paper towel to significantly extend their shelf life. Just be mindful of excess moisture, as that can lead to spoilage. Get started today, and watch your indoor garden flourish!
13. Shelving Units
Shelving units are essential for elevating your indoor gardening game. They provide an organized structure for your growing trays and enhance accessibility to your microgreens.
These shelves improve air circulation and ensure each tray gets plenty of light. This is vital for nurturing healthy plants! Multiple tiered shelves encourage vertical growth and make efficient use of space, especially in smaller apartments or homes.
By strategically arranging your trays based on light requirements, you can optimize your microgreen growth. Place those that crave more sunlight higher up and shade-loving varieties below.
Consider DIY shelving solutions like adjustable metal racks or repurposed wooden crates. They offer creative options for customizing your arrangements to fit uniquely shaped spaces while keeping everything tidy and functional.
14. Thermometer
A thermometer is an essential tool for mastering temperature control in your indoor gardening setup. It s your ally in ensuring optimal conditions for thriving plants.
The ideal temperature range for cultivating these tiny powerhouses typically lies between 60 F and 75 F. This range accelerates growth and enhances flavor and nutrient density, making your microgreens even more remarkable!
To make the most of your thermometer, place it where it can accurately gauge the air temperature around your plants. If you find the temperature straying from this range, act quickly to adjust vents or reposition grow lights. You can also utilize heating mats to warm things up. These small changes can make a big difference!
15. Plastic Covers
Plastic covers are an excellent solution for humidity control in indoor gardening, especially for cultivating microgreens. They help maintain optimal moisture levels while allowing essential light to reach your plants.
You ll find a variety of plastic covers available, including clear plastic domes, humidity trays, and greenhouse films. Each is designed for specific purposes and creates a greenhouse effect, trapping moisture and warmth to boost seedling growth.
When paired with tools like humidity gauges, you can enhance the effectiveness of these covers. This allows you to monitor environmental conditions with greater precision.
For the best results, remember to vent the covers occasionally to prevent mold or mildew. Make sure your microgreens receive consistent light. This thoughtful approach promotes robust plant health and accelerates growth rates!
How to Choose the Right Budget-Friendly Tools for Your Microgreen Garden?
Choosing the right budget-friendly tools for your microgreen garden can truly elevate your home gardening experience without emptying your wallet. Having all the necessary supplies doesn t have to compromise quality.
As you make your selections, balance is key. Avoid flimsy tools that won t stand up to regular use. Opt for versatile options that serve multiple purposes. This not only saves you money but also maximizes your gardening space.
Exploring local garden centers, online marketplaces, or even community exchanges can reveal affordable supplies tailored for indoor gardening. Remember, investing in a few high-quality items instead of a multitude of cheap tools will yield better long-term results.
Start your indoor garden today with these budget-friendly tools and watch your microgreens flourish!
What Are Some Other Budget-Friendly Options for Microgreen Growers?
As a microgreen grower, you can explore a range of budget-friendly options that enhance your gardening experience without straining your wallet. Consider incorporating DIY solutions and cheap garden supplies into your routine.
Repurposed containers like old yogurt cups or tin cans make perfect seedling trays. This sustainable approach keeps costs low and adds a touch of creativity to your gardening.
Discover discounted seeds at local garden centers or online marketplaces! This gives you the freedom to try various varieties without overspending.
Using homemade compost or even kitchen scraps is a smart way to enrich your soil. This allows those tiny greens to thrive without pricey fertilizers.
By embracing these inventive strategies, you can nurture your passion for microgreens and enjoy growing your own fresh produce!
How Can One Maintain the Quality of Their Tools on a Budget?
Maintaining the quality of your gardening tools while sticking to your budget is achievable. Focus on regular care, proper storage, and effective cleaning practices to extend the life of your equipment.
Incorporating a few straightforward techniques into your routine saves money and enhances your tools performance. Clean your tools right after use to prevent rust and residue buildup.
Mix soap and water for a powerful cleaning solution! Use a wire brush for stubborn grime spots.
When your tools aren t in use, store them in a dry, cool space or hang them on a pegboard. This minimizes wear and tear and ensures easy access when inspiration strikes.
Familiarize yourself with common issues like loose screws or dull blades. These can be quickly fixed without breaking the bank!
What Are Some Essential Tools for Beginner Microgreen Growers?
For beginner microgreen growers, having the essential tools can transform your journey from a struggle into a rewarding experience. This ensures a seamless entry into indoor gardening.
Equip yourself with the right supplies to significantly elevate your growing process. Seedling trays are your best friends, providing the perfect environment for germinating tiny seeds!
A spray bottle is essential for maintaining moisture levels, promoting the healthy growth of your delicate greens.
Choosing the right growing mediums like quality soil or coconut coir, a natural fiber from the coconut husk is crucial for nurturing your plants. Together, these tools create an optimal setup that encourages a vibrant microgreen garden.
How Can One Save Money on Tools without Compromising Quality?
Saving money on gardening tools while maintaining quality is a savvy strategy that enables you to invest wisely. This ensures you have reliable equipment for your indoor gardening adventures!
Employ various tactics like shopping during seasonal sales or snagging discount codes online to cut costs while securing the best tools available.
Delve into second-hand options through community groups or local marketplaces. This can lead to fantastic discoveries, often in excellent condition and at a fraction of the original price.
By combining these approaches, you elevate your gardening experience while ensuring that every dollar spent nurtures a thriving indoor garden. Make gardening an accessible and enjoyable pursuit for everyone!
Frequently Asked Questions
What are budget-friendly tools for microgreen growers?
Budget-friendly tools for microgreen growers include seed trays, grow lights, soil, spray bottles, and a shelving unit.
Are seed trays necessary for growing microgreens on a budget?
Yes, seed trays are essential for growing microgreens on a budget. They are an inexpensive way to start growing seeds indoors!
Start your microgreen journey today!
Do I need to invest in expensive grow lights for my microgreens?
No, you don’t need to spend a lot on grow lights. LED strip lights and fluorescent bulbs are affordable and effective.
Can I use regular soil for growing microgreens?
Yes, you can use regular potting soil. A mix of compost and peat moss is also a cost-effective choice.
What can I use as a substitute for a spray bottle for watering my microgreens?
A regular water bottle with a spray nozzle works well. You can also use a misting bottle as a budget-friendly option.
Is it necessary to invest in a shelving unit for my microgreens?
You don t need a shelving unit, but it s a great way to maximize space. It can help you grow multiple trays of microgreens efficiently.
Ready to start your microgreen journey? Dive in and enjoy fresh greens right at home!

