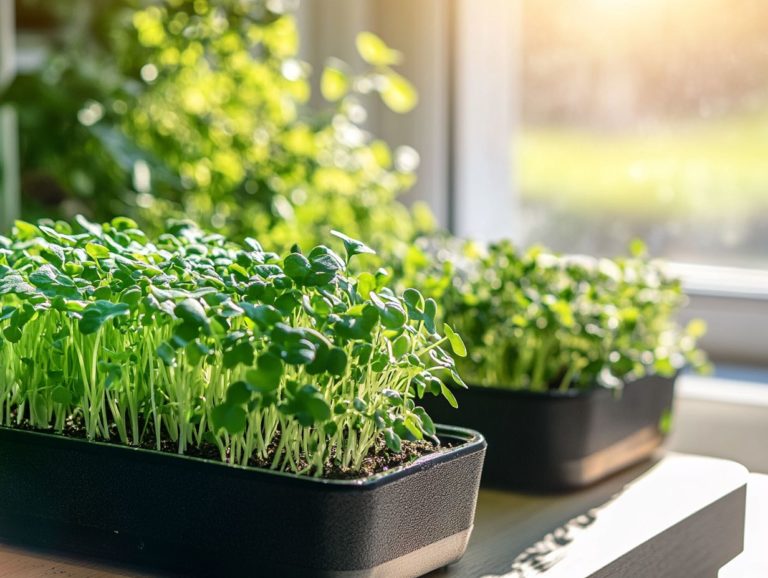
How to Optimize Your Microgreen Setup
Microgreens are far more than mere trendy garnishes; they are powerhouses of flavor and nutrition, all neatly packed into tiny packages.
This article delves into the myriad benefits of cultivating microgreens, highlighting their remarkable nutritional value and the cost savings they can bring to your kitchen.
You’ll gain insights into everything necessary to establish your own microgreen garden, from selecting the ideal location and essential supplies to choosing the best seeds for your needs.
Unearth the steps for planting, nurturing, and harvesting your greens, alongside inventive ways to incorporate them into your meals.
Prepare to elevate your culinary experience with these vibrant little plants that will transform any dish!
Contents
Key Takeaways:
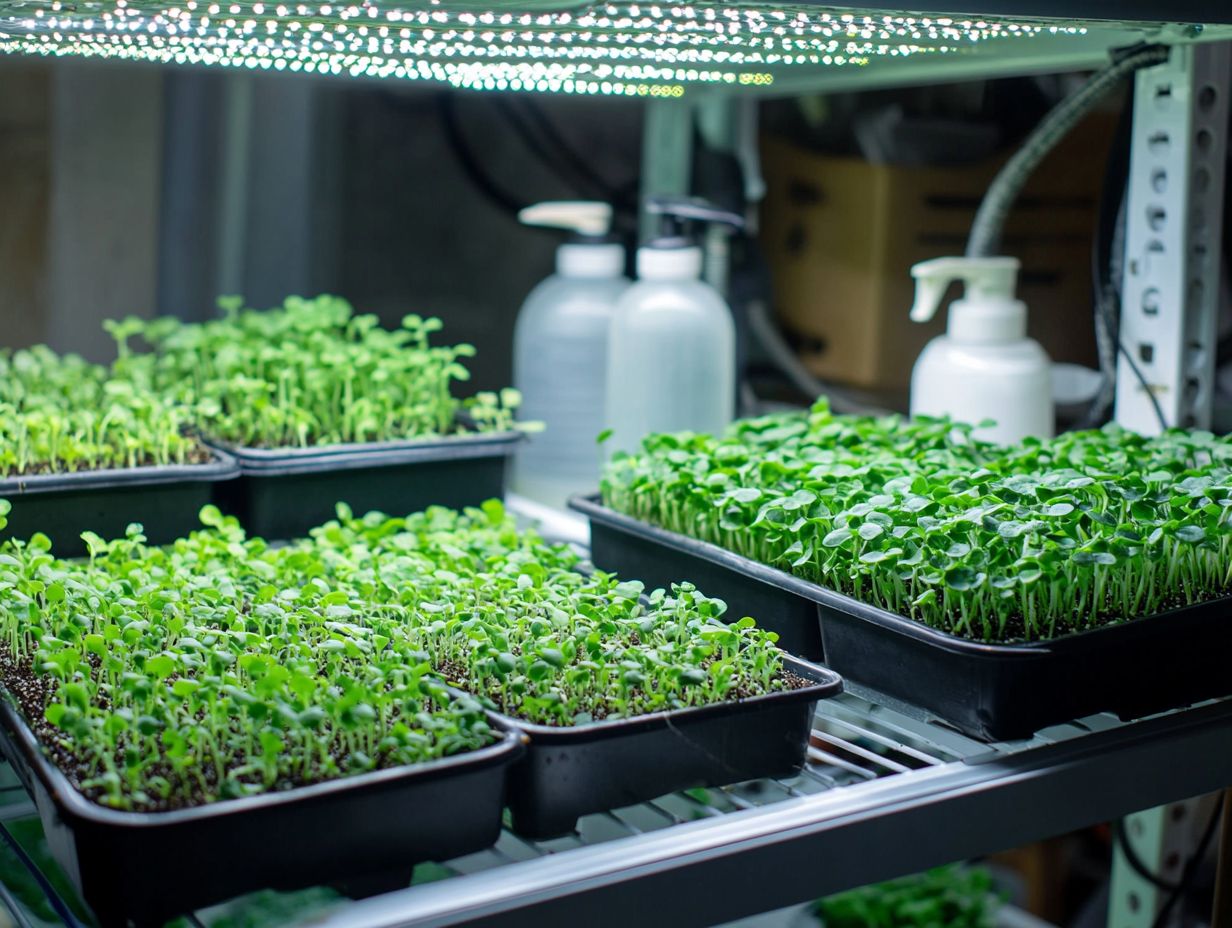
- Microgreens are nutrient-dense, cost-effective plants that can easily be grown at home.
- Proper location, supplies, and equipment are essential for a successful microgreen setup.
- The right selection of seeds and varieties is crucial for optimal growth and flavors.
What are Microgreens?
Microgreens are the young seedlings of edible vegetables and herbs, harvested just after they sprout their first true leaves.
These vibrant greens include Amaranth, Arugula, Broccoli, and Cilantro. They add flavor and texture to your dishes while also providing a remarkable nutritional boost.
No wonder they re a top choice for food lovers everywhere! Packed with vitamins, minerals, and antioxidants, these miniature powerhouses can flourish in a variety of settings, whether in soil or hydroponic systems.
Their cultivation is refreshingly straightforward, often requiring minimal space perfect for apartment dwellers and anyone eager to embrace sustainable practices.
With a spectrum of flavors that range from spicy to earthy, microgreens can elevate your salads, sandwiches, and garnishes. Popular growing methods involve using seed trays, ensuring adequate light, and maintaining the right moisture levels. For those interested in innovative techniques, How to Use Hydroponics for Microgreens allows you to savor these nutrient-dense greens fresh from your own home.
Benefits of Growing Microgreens
Growing microgreens presents a wealth of benefits tailored for health-conscious individuals and those passionate about sustainable urban farming.
Not only do these tiny powerhouses pack a punch in nutritional value, but they also offer substantial cost savings compared to buying them from the store.
Embracing this practice allows you to enjoy fresh, nutrient-dense greens while making a smart financial choice.
Nutritional Value and Cost Savings
Microgreens are celebrated for their remarkable nutritional value, often packing higher concentrations of vitamins and minerals than their fully grown counterparts.
This makes them not just a delightful addition to your microgreens salad, but also a savvy choice for anyone mindful of their health.
Take broccoli microgreens, for instance they can deliver up to 40 times more vitamin E than the mature vegetable. And let s not forget basil microgreens, which are a vibrant source of essential oils and antioxidants.
These tiny powerhouses elevate both the flavor and presentation of your dishes while also offering significant savings if you decide to grow them at home.
The initial investment in seeds and growing trays is minimal compared to the ongoing expense of buying fresh greens from the store. As more people catch on to these benefits, home gardening is becoming increasingly popular.
This shift allows you to relish the freshness and nutrient density of microgreens while slashing your grocery bills.
Setting Up Your Microgreen Garden
Establishing your microgreen garden is an exhilarating venture that you can pursue in a variety of settings, be it indoors or outdoors.
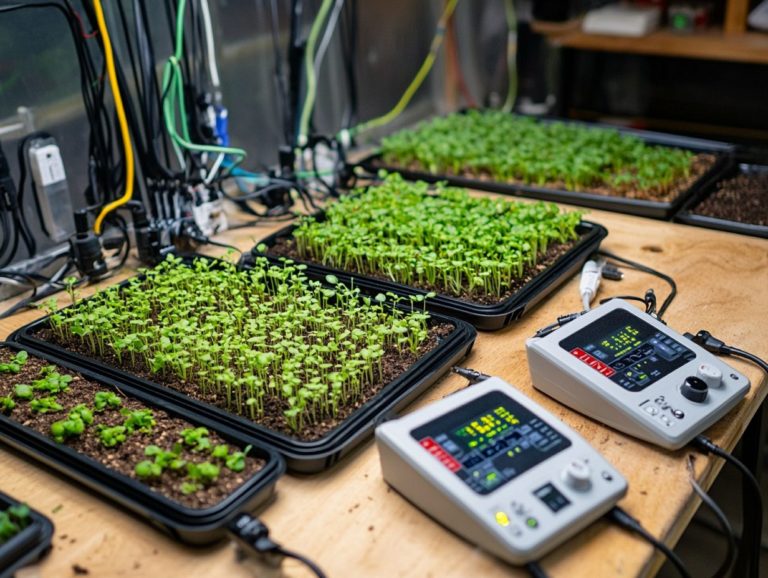
By selecting the appropriate growing medium and employing effective ways to control your growing environment, you can significantly enhance both growth and yield.
Choosing the Right Location
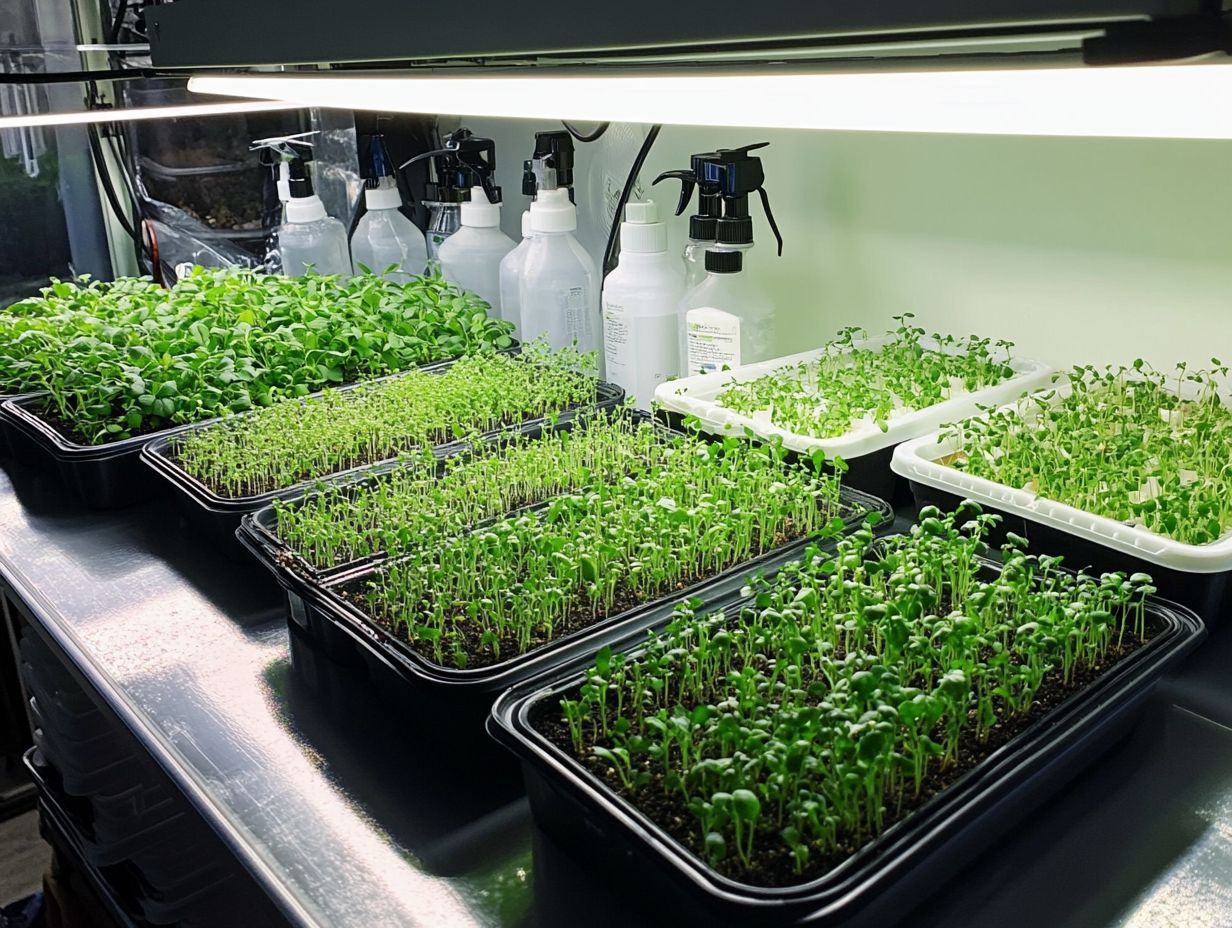
Choosing the right location for your microgreen garden is crucial for optimal growth. Whether you cultivate them at home or in an urban setting, the right spot can make a big difference.
Light is vital for microgreens. They thrive in bright, indirect sunlight, so place your garden near a window or use grow lights for the best results.
Temperature also matters. These delicate plants prefer a steady range, ideally between 65 F and 75 F.
Consider your available space. A well-organized setup maximizes yield and makes care easier.
By implementing effective urban farming strategies, you can achieve flourishing microgreens in no time.
Supplies and Equipment Needed
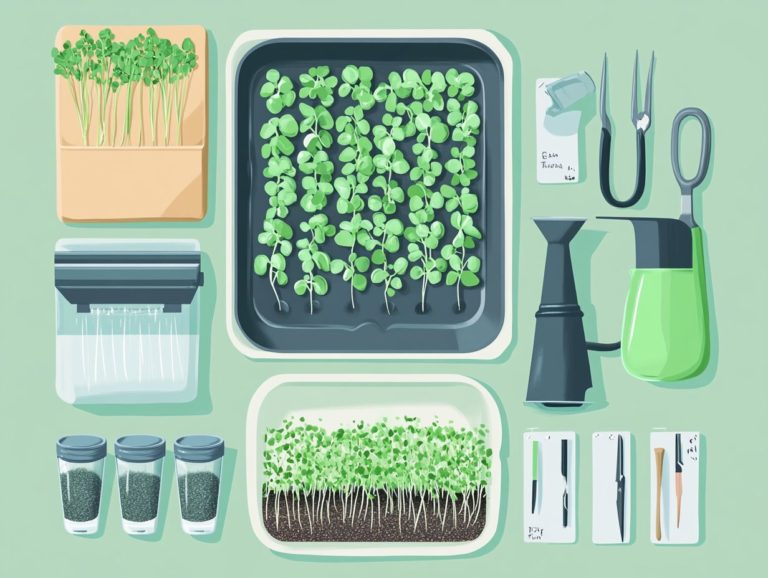
To grow microgreens successfully, gather the right supplies and equipment. This ensures your garden thrives.
Start with high-quality trays that have good drainage. You can use potting soil or a method that grows plants in water without soil both work well!
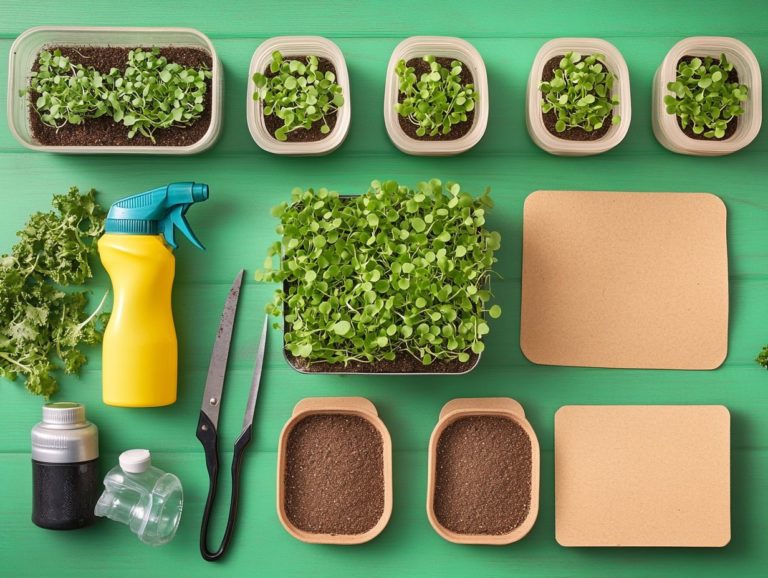
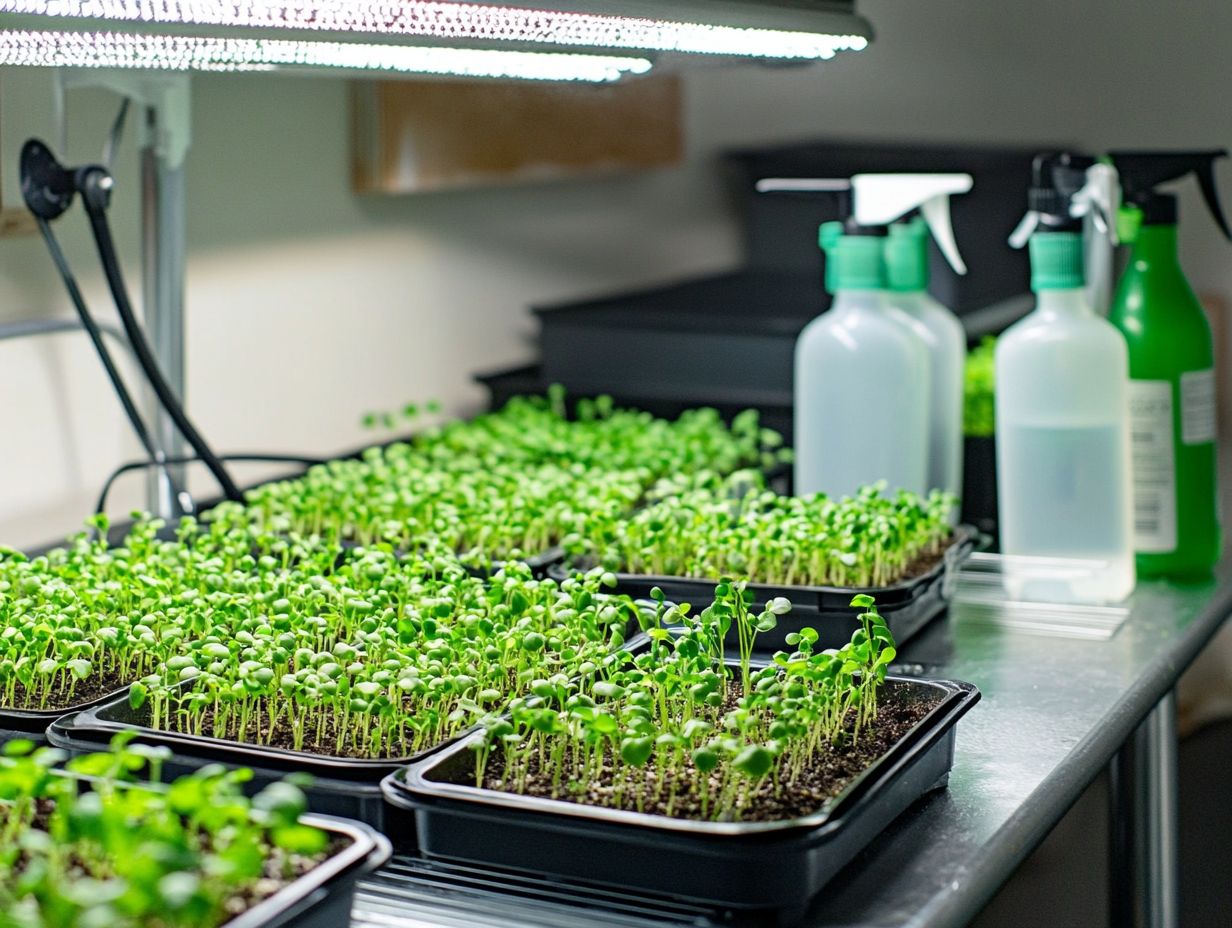
Don’t forget essentials like a spray bottle for moisture control and tweezers for easy harvesting. These tools enhance your growing experience.
With the right equipment, any space can become a vibrant garden.
Choosing the Right Seeds
Choosing the right seeds is key for thriving microgreens. Each variety offers unique flavors, textures, and nutrients.
Focus on popular seeds that sprout easily for the best results.
Types of Seeds and Recommended Varieties
Many seeds are available for microgreens, but some stand out: Cilantro, Amaranth, and Curled Cress. Each adds a unique flair to your dishes.
Cilantro microgreens have a vibrant, citrusy flavor that enhances guacamole and tacos. Amaranth offers a mild, slightly sweet taste perfect for salads and sandwiches.
Curled Cress provides a peppery bite that adds zest to soups and salads. For healthy growth, use well-draining soil and provide ample light.
Harvest your microgreens at about 2 inches tall for the best flavor and nutrition. This timing is essential for culinary enthusiasts and home gardeners alike.
Steps for Growing Microgreens
Growing microgreens involves simple steps anyone can master. This rewarding experience offers a comprehensive guide to cultivating nutrient-rich plants.
Preparation and Planting Process
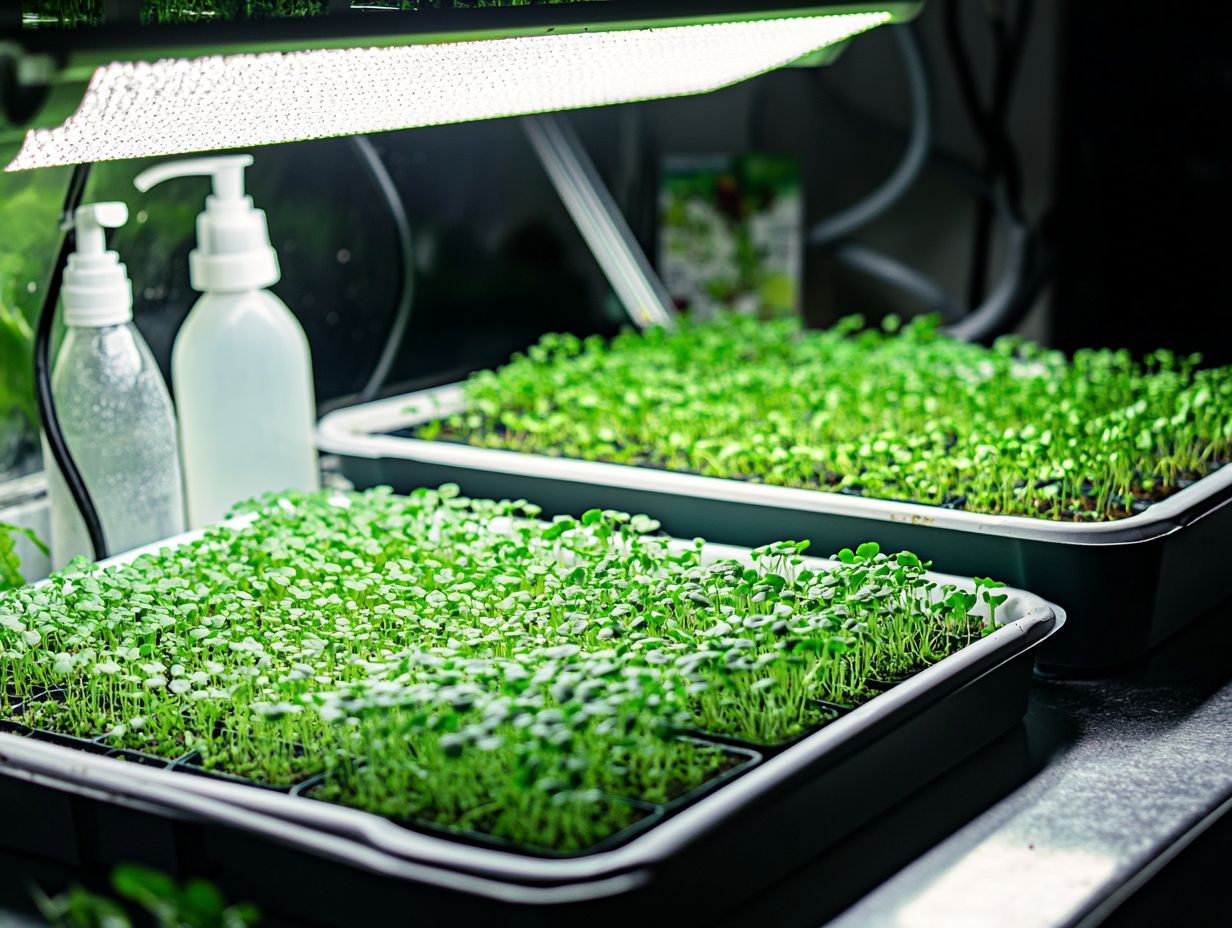
The preparation and planting process for microgreens is crucial, whether you choose soil or hydroponic methods (growing plants in water without soil). This process establishes the foundation for your seedlings to thrive.
The initial steps can significantly impact the health and yield of your plants. If cultivating in soil, select a well-draining and nutrient-rich growing medium. Keeping moisture levels right is essential; watering techniques for thriving microgreens can help ensure that overwatering or underwatering doesn’t hinder growth.
If you opt for hydroponics, it’s vital to balance the nutrient solution and monitor pH levels regularly. Regardless of your method, ensure your microgreens receive ample light exposure typically around 12 to 16 hours daily. For the best results, consider learning about the perfect light conditions for microgreens and maintain optimal temperatures between 65 F and 75 F. This combination promotes healthy seedling development, nurturing strong roots and vibrant greens.
Let’s Make Your Microgreens Thrive!
Caring for your microgreens in a controlled environment means monitoring water, light, and temperature. This ensures they thrive while avoiding common pitfalls.
Establish a consistent watering schedule keeping the soil damp but not soggy to encourage robust root development. Light conditions are equally important; place your microgreens in a bright, indirect sunlight location or use grow lights to boost growth and color vibrancy.
Stay vigilant against pests with regular inspections and use organic pest control methods to protect these delicate plants. For those looking to enhance their gardening skills, refer to this step-by-step guide to sowing microgreens. By maintaining optimal conditions, you can cultivate an environment that maximizes both yield and quality.
Harvesting and Using Your Microgreens
Harvesting your microgreens at the perfect moment is crucial for unlocking their full flavor, texture, and nutritional benefits. This attention to detail elevates dishes, from vibrant microgreens salads to exquisite gourmet recipes.
When and How to Harvest
Understanding when and how to harvest your microgreens is essential. The optimal harvest window generally spans from 7 to 21 days post-planting, depending on the variety and growth conditions.
This timeframe allows your microgreens to reach peak flavor and nutrient density, so watch their growth closely. Look for microgreens with vibrant colors and their first true leaves this signals they re ready to shine.
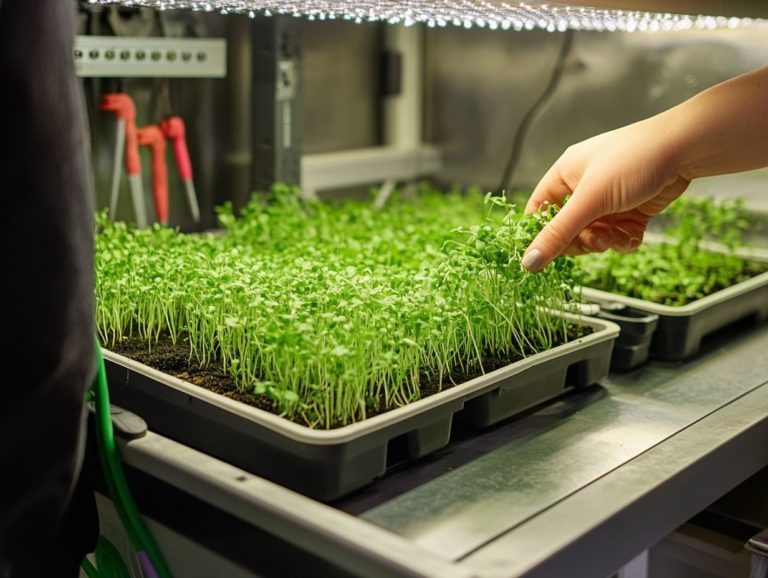
When cutting these delicate plants, use a sharp pair of scissors or a knife. A clean cut just above the soil line minimizes root damage and encourages better regrowth if that s your goal.
For maximum freshness, harvest in the early morning hours when moisture levels are at their peak. After cutting, rinse the greens promptly and refrigerate them to retain crispness and flavor.
Ways to Incorporate Microgreens into Your Diet
Incorporating microgreens into your diet is a delightful culinary adventure that opens up a world of flavor and nutrition in everything from salads to smoothies.
These tiny greens can elevate even the simplest meals, infusing them with an array of textures and tastes that transform everyday recipes into gourmet experiences. Imagine sprinkling them atop roasted vegetables for a vibrant finish or using them to crown savory omelets, turning a humble breakfast into a masterpiece.
Blending microgreens into homemade pesto introduces a fresh twist that invigorates your pasta dishes, making them sing with flavor. They also serve beautifully as a garnish for soups, adding aesthetic appeal and a burst of flavor that elevates the whole dish.
Whether you blend them into a refreshing juice or add a touch to your tacos, the possibilities are as limitless as your creativity in the kitchen. What delicious creation will you make with microgreens today?
Frequently Asked Questions
What are microgreens?
Microgreens are young, edible greens harvested right after sprouting. They are rich in nutrients and perfect for salads or garnishes!
How do I optimize my microgreen setup?
Use quality soil to give your microgreens a strong start. Ensure they have enough light and air while watering and fertilizing regularly.
What type of soil is best for growing microgreens?
Choose organic potting soil or a seed-starting mix for your microgreens. These soils supply necessary nutrients and allow for good drainage.
Do I need special lighting for my microgreen setup?
Natural sunlight is great for microgreens, but artificial grow lights can also work well. LED or fluorescent lights that provide full-spectrum light, which means they emit all the wavelengths of light that plants need, are ideal for healthy growth.
How often should I water my microgreens?
Water your microgreens once or twice daily, depending on your environment s temperature and humidity. It s crucial to keep the soil moist but avoid waterlogging.
When should I harvest my microgreens?
Harvest microgreens when they show their first set of true leaves, usually in 7-14 days. Use clean scissors to snip them just above the soil line and enjoy!

