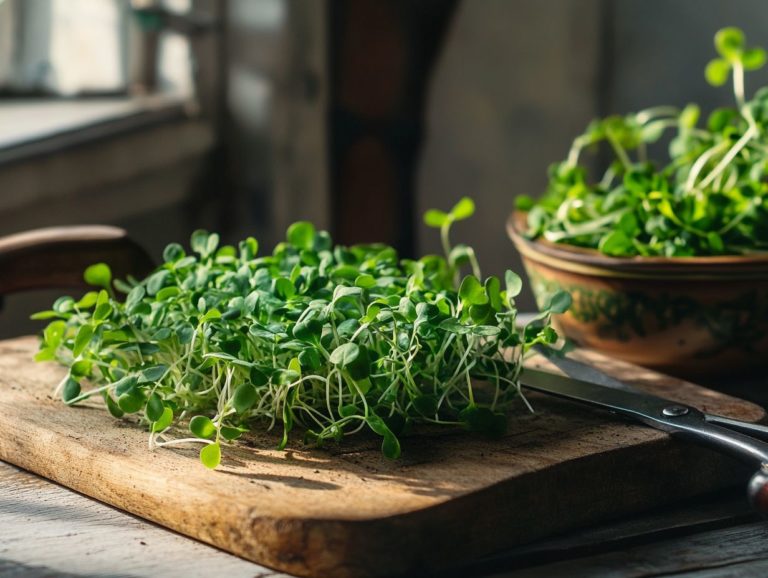
Must-Have Accessories for Microgreen Farmers
Are you prepared to embark on a captivating journey into the realm of microgreens?
Whether you re a seasoned gardening enthusiast or a complete newcomer, this guide will equip you with the essential accessories needed to cultivate these nutrient-rich plants in your home.
From selecting the perfect trays and growing containers to choosing optimal lighting and pest control solutions, we ll cover every detail.
You ll find numerous benefits of microgreens, including their nutritional value. You’ll also learn how to sidestep common pitfalls and explore imaginative ways to incorporate these vibrant greens into your meals.
Jump in and see how easy it is to start growing your own microgreens today!
Contents
- Key Takeaways:
- 1. Grow Trays and Containers
- 2. Growing Medium
- 3. Seeds
- 4. Watering Can or Sprayer
- 5. Grow Lights
- 6. Thermometer and Humidity Monitor
- 7. Ventilation System
- 8. Plant Labels
- 9. Harvesting Tools
- 10. Storage Containers
- 11. pH Testing Kit
- 12. Fertilizer
- 13. Pest Control Products
- 14. Seedling Heat Mat
- 15. Gardening Gloves
- What Are Microgreens and Why Are They Popular?
- Frequently Asked Questions
- 1. What are some must-have accessories for microgreen farmers, including growing supplies?
- 2. Do I need special trays for growing microgreens?
- 3. Why do I need grow lights for my microgreens and artificial lighting?
- 4. Can I use any type of water source for watering my microgreens?
- 5. How often should I water my microgreens to maintain proper soil moisture?
- 6. Should I use a fan for my microgreens to ensure proper air circulation?
Key Takeaways:
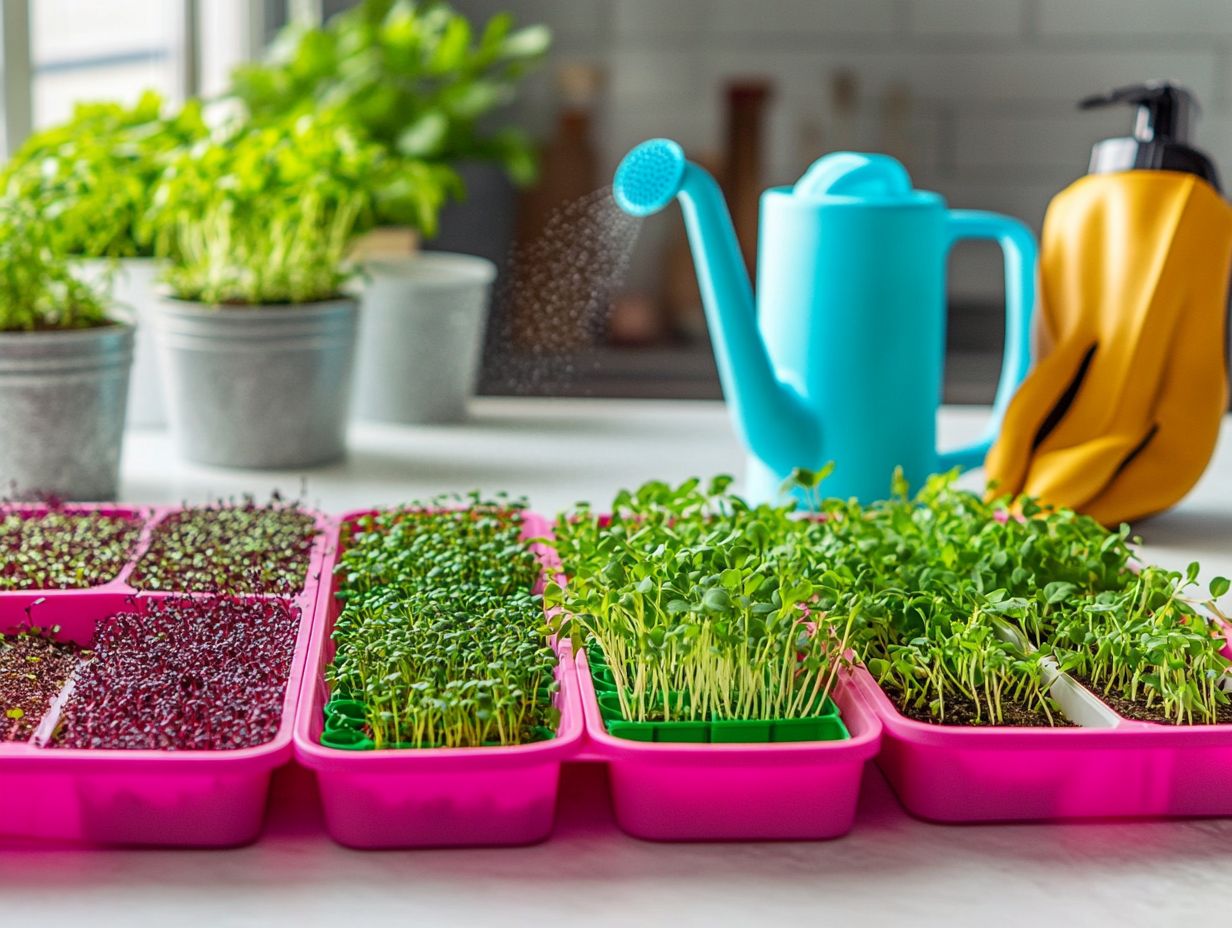
- Invest in quality grow trays and containers to ensure proper drainage and ventilation for your microgreens.
- Choose a high-quality growing medium, such as organic soil or coco coir, to make gardening easier and more enjoyable.
- Select seeds specifically labeled for microgreen production to ensure quality and desired flavor profiles.
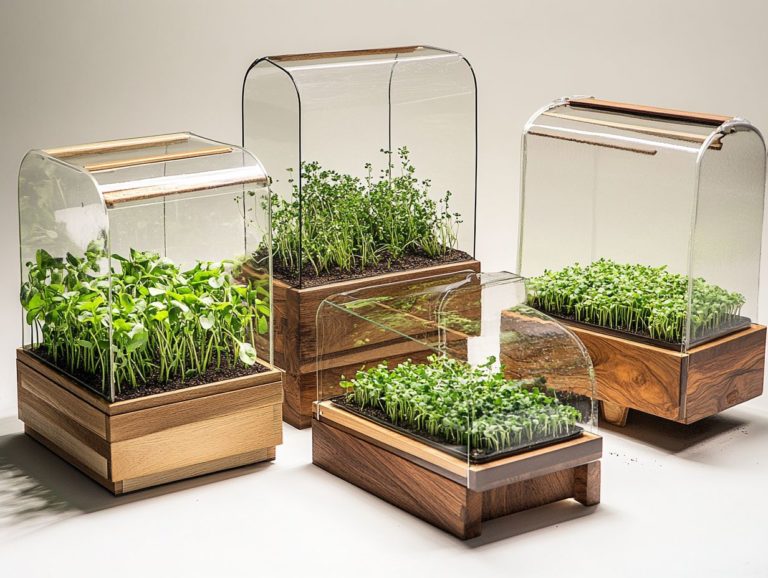
1. Grow Trays and Containers
Choosing the right grow trays and containers is essential for cultivating microgreens. These elements create a structured environment that supports the process of seeds beginning to grow and the growth of nutrient-rich crops in your home.
Whether it s on a cozy kitchen windowsill or in a dedicated indoor gardening nook, this foundation is vital for achieving optimal soil moisture and light exposure. This enhances your gardening experience and ensures the success of your microgreens farming endeavors.
You have a variety of options at your fingertips. From shallow trays that are perfect for smaller batches to deeper containers that give roots the space they need to flourish, the choices are abundant.
Don’t overlook drainage capabilities; proper drainage is crucial to prevent overwatering, which can cause problems for delicate seedlings. The materials you choose be it plastic, biodegradable options, or even glass will impact how well light penetrates and how moisture is retained in the soil.
Each of these choices ultimately influences how well your microgreens thrive. So, it s important to consider carefully which type of tray or container aligns best with your individual growing needs.
2. Growing Medium
The choice of growing medium is pivotal for the successful cultivation of microgreens, as it directly affects soil moisture retention and nutrient availability. This supports the healthy growth of various species, including basil and broccoli, which thrive beautifully in an organic gardening setup.
Different growing mediums serve different purposes and can significantly influence overall plant health. For instance, soil provides a rich array of nutrients and beneficial microorganisms that promote robust seedling development.
On the other hand, coconut coir excels in moisture retention and aeration, making it ideal for those who prioritize sustainability. Hydroponics, a method where plants grow without soil using nutrient-rich water, offers precise control over nutrient delivery, ensuring optimal growth conditions.
No matter what medium you choose, maintaining the right moisture levels is crucial; both overwatering and under-watering can impede the emergence of healthy seedlings.
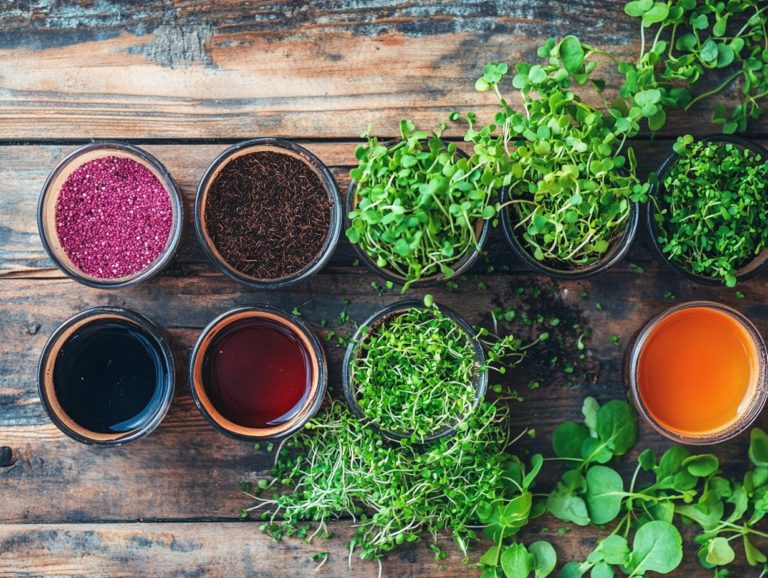
3. Seeds
Choosing organic seeds is essential for boosting flavor and health benefits in your microgreens cultivation journey. Seeds like radish and pea shoots can elevate both the taste and health benefits of your homegrown produce, turning them into a prized addition to your kitchen.
When you use high-quality organic seeds, you ensure that your microgreens not only taste superior but also remain free from harmful chemicals, fostering a healthier lifestyle. Soaking seeds before planting boosts germination rates, leading to stronger, more vigorous growth.
This simple yet effective step activates the seeds and can speed up the sprouting process, ultimately resulting in a more abundant harvest.
Try varieties like sunflower, broccoli, and basil to add exciting flavors to your dishes and enjoy their health benefits!
4. Watering Can or Sprayer
A reliable watering can or sprayer is essential for cultivating microgreens. These tools help ensure your home farming efforts yield fresh vegetables brimming with optimal nutrients.
Opting for a watering can grants you controlled water application, allowing you to direct it precisely to the base of your plants. This precision is vital for microgreens, as maintaining consistent moisture levels fosters healthy root systems and promotes robust growth.
A sprayer can cover larger areas quickly but risks oversaturation if not used carefully. Water in light increments for better absorption, giving the soil a chance to absorb moisture evenly. Keeping an eye on moisture levels and adjusting your watering technique is essential for thriving microgreen production.
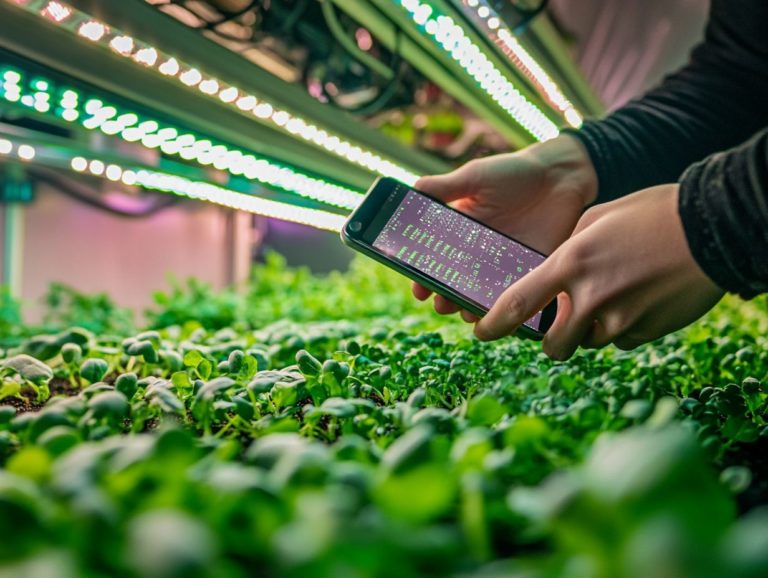
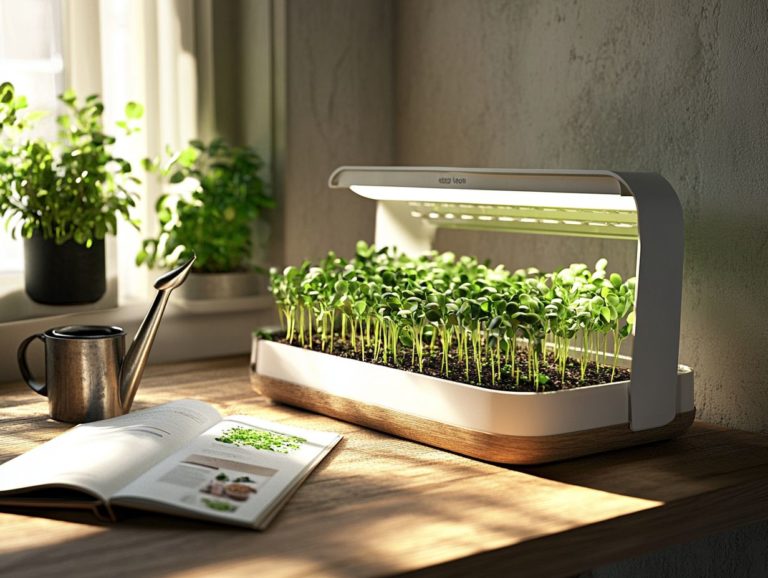
5. Grow Lights
In indoor gardening, grow lights are crucial for delivering the light exposure that microgreens crave, especially when natural sunlight falls short. This allows you to cultivate nutrient-rich varieties like sunflower and broccoli year-round.
You ll find several types of grow lights at your disposal, each with unique perks. LED lights are energy-efficient and emit minimal heat, making them ideal for placing close to your plants without the worry of scorching. Fluorescent lights offer a broad spectrum of illumination, advantageous during the early stages of your microgreens growth.
For optimal results, position the lights 12 to 24 inches above your plants and keep them on for about 12 to 16 hours a day. This mimics the natural sunlight they need. Regularly adjusting the height of the lights as your plants grow is a straightforward way to boost their health and vitality.
6. Thermometer and Humidity Monitor
A thermometer and humidity monitor are essential tools to ensure your microgreens flourish in controlled environments. These instruments help maintain optimal temperatures and moisture levels, critical for promoting healthy growth and maximizing yields.
By monitoring these factors, you can fine-tune practices to create the ideal conditions for various microgreens. Most microgreens thrive at temperatures between 65 F and 75 F, with a relative humidity of about 40% to 60%. Act now to maintain these standards by employing techniques such as misting or using a humidifier when humidity levels dip too low.
If the environment gets too humid, increase ventilation or use dehumidifiers to strike the right balance. This meticulous attention to detail cultivates stronger plants and enhances the flavor and nutritional value of your final harvest.
7. Ventilation System
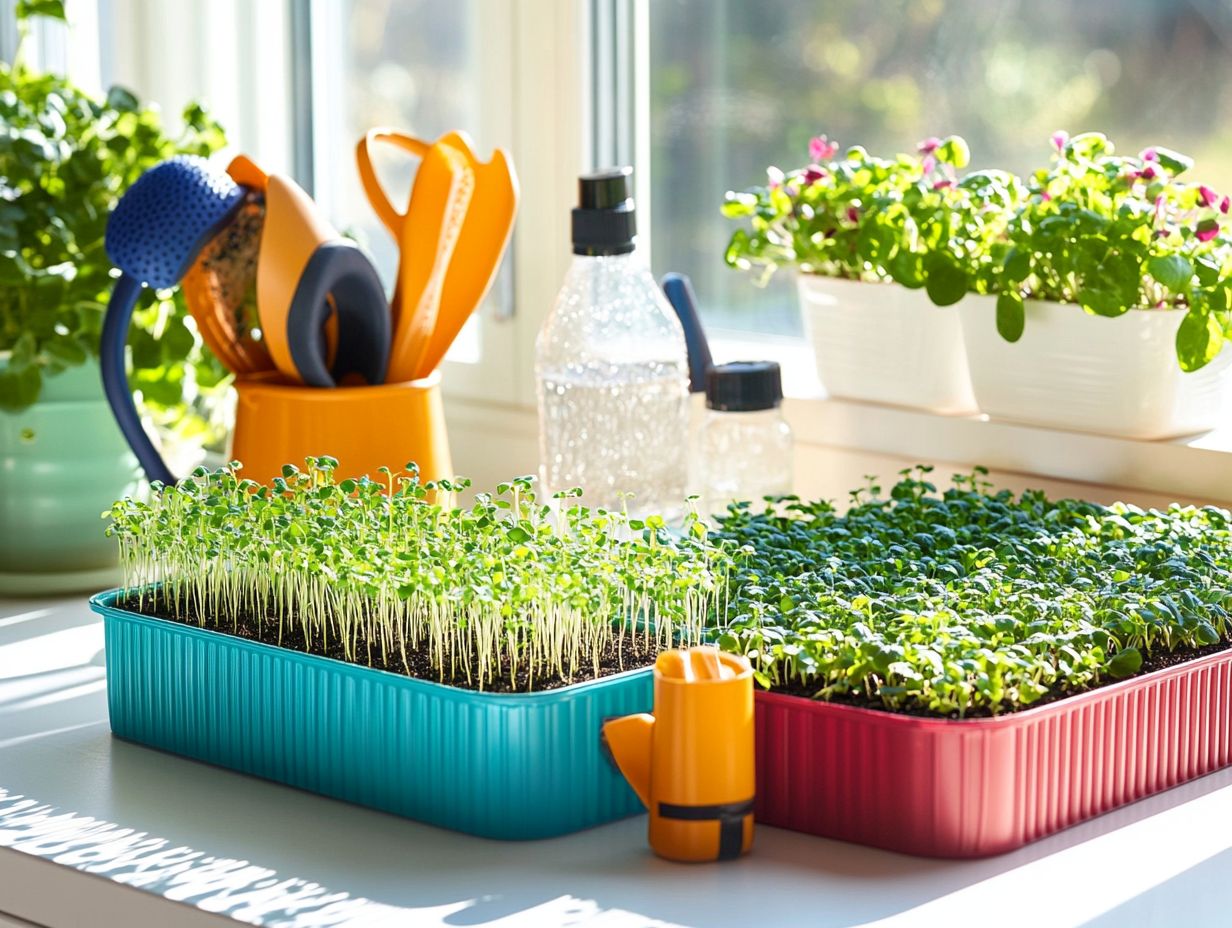
Implementing a proper ventilation system is essential for your indoor gardening endeavors. It ensures air circulates adequately around your microgreens, helping to prevent fungal diseases and maintain the moisture levels critical for healthy plants.
This task becomes even more vital when considering various ventilation options, such as exhaust fans, oscillating fans, or passive solutions like vents and openings. Each type contributes uniquely to the overall environment, facilitating consistent airflow and preventing stagnation.
By balancing humidity and airflow, you create an ideal setting that promotes vigorous growth while minimizing the risks associated with excess moisture. Understanding the specific needs of your plants and making necessary adjustments will lead to healthier harvests, showcasing the benefits of effective air circulation in your indoor gardening journey.
Start optimizing your indoor garden today for a bountiful harvest!
8. Plant Labels
Plant labels help you keep your microgreens organized. They allow you to track different varieties and their unique growing techniques.
This practice enhances your management skills for diverse plants. It also streamlines maintenance tasks, especially during watering, fertilizing, or harvesting.
Include essential details on your labels. For example, jot down the plant’s name, sowing date, and specific care instructions.
Creative labeling solutions, like colorful tags or engraved stones, can add personal flair. These strategies promote effective organization and ensure optimal growth for your microgreens!
9. Harvesting Tools
Investing in the right harvesting tools is crucial for efficiently cutting and collecting microgreens. This ensures a smooth and swift process that maximizes yield while preserving the quality of your fresh vegetables.
Using sharp scissors or specialized microgreen harvesters allows for precise cutting, minimizing any damage to those delicate greens. A small rake can be invaluable for gathering and arranging the cuttings.
Timing your harvest in the early morning, when the plants are at their freshest, is key. Gently washing and drying the microgreens afterward can significantly extend their shelf life.
Store your harvested microgreens in breathable containers to help retain their crispness. This enhances their appeal for both personal enjoyment and resale!
10. Storage Containers
Proper storage containers are essential for preserving the freshness and longevity of your harvested microgreens. This enables you to savor the health benefits of these healthy foods long after the day of harvest!
Selecting the right type of container can dramatically impact how long your microgreens remain fresh. Different materials provide varying levels of air circulation and moisture retention.
For example, breathable bags or containers with perforations are fantastic for preventing excess moisture, which can lead to pesky mold. Airtight containers, while great at keeping air out, can trap condensation if your greens aren’t sufficiently dry.
It s also important to store your microgreens in the refrigerator. Keep them in a cool, dark section rather than the door, where fluctuating temperatures could compromise their quality. With just a little attention to how you store your microgreens, you can significantly extend their shelf life!
11. pH Testing Kit
A pH testing kit is an essential tool for checking your soil’s health and determining the suitability of your growing medium for microgreens. Optimal pH levels are crucial, as they directly influence nutrient availability and the overall vitality of your plants.
By regularly testing the pH, you can ascertain whether your medium sits comfortably within the ideal range of 6.0 to 7.0. This range is vital for the absorption of essential nutrients like nitrogen, phosphorus, and potassium.
If the pH veers outside this range, you may find nutrient uptake hindered, potentially leading to subpar growth or stress for your plants.
Once your kit provides the current pH levels, you can make necessary adjustments with amendments like lime to elevate the pH or sulfur to bring it down.
This proactive strategy not only guarantees robust growth but also significantly enhances your overall yield of nutrient-dense microgreens!
12. Fertilizer
Utilizing the right fertilizer is essential for providing your microgreens with vital minerals and nutrients. This enhances their growth and health while maximizing your indoor gardening efforts.
These tiny greens thrive when you use specific fertilizers. Organic options like compost or seaweed extract enrich the soil and promote healthier root development.
On the other hand, synthetic fertilizers deliver targeted nutrients, helping plants take in nutrients quickly. Understanding the unique needs of different microgreen varieties and applying fertilizers at the right growth stages is key to your success.
To get the most out of your efforts, consider these best practices:
- Dilute concentrated formulas to prevent over-fertilization.
- Apply lightly to avoid any risk of burn.
- Monitor moisture levels to enhance nutrient uptake effectively.
13. Pest Control Products
Implementing effective pest control products is crucial for protecting your microgreens from harmful insects and diseases. This ensures your organic gardening experience is successful and sustainable.
Pests can quickly jeopardize your hard work. Explore various methods, including organic options that promote ecological balance to create a holistic pest control strategy.
Regular monitoring and preventive measures, like crop rotation (changing the types of plants in an area) and companion planting, can significantly reduce risks. You can also use effective treatments, like introducing beneficial insects, to combat infestations.
14. Seedling Heat Mat
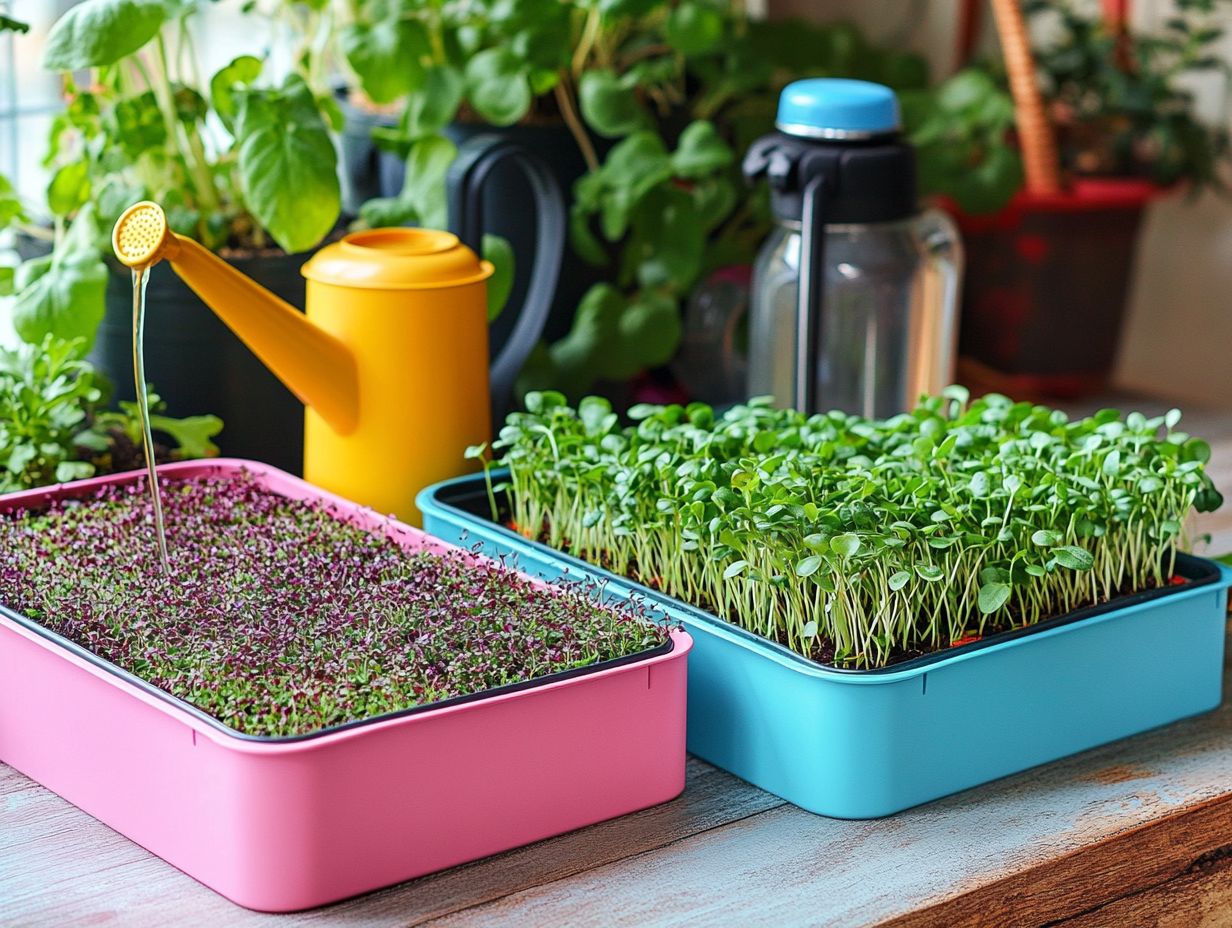
A seedling heat mat is a smart investment for gardeners eager to optimize the germination process of microgreens. It provides consistent warmth that speeds up seed sprouting and boosts growth rates.
By creating the ideal environment, these mats maintain a stable soil temperature, which is vital for achieving high germination rates. When temperatures are in the optimal range, seeds like arugula, radish, and basil sprout more quickly.
For the best results, place the mat in a well-ventilated area. Consider using a thermostat to prevent overheating, ensuring your microgreens thrive. This investment saves time and enhances the quality of your greens, making them tastier and more nutritious. You might also want to explore the best containers for microgreen cultivation to optimize your growing experience.
15. Gardening Gloves
Gardening gloves are an essential accessory for your gardening endeavors. They protect your hands as you nurture microgreens and other plants, especially during seed soaking and planting.
Wearing gloves guards against scrapes and cuts from rough soil or thorny branches. They also provide a barrier against harmful chemicals and contaminants.
You ll find a range of glove options to suit your needs. Lightweight gloves are perfect for delicate tasks, while thicker, padded varieties are designed for heavy-duty work.
Ultimately, selecting the right pair enhances your comfort and safety. This allows you to fully enjoy the gardening experience without unnecessary worries.
What Are Microgreens and Why Are They Popular?
Microgreens are young, edible plants harvested right after their first true leaves develop. These little powerhouses are celebrated for their vibrant flavors and high in nutrients, making them a favorite among health-conscious individuals who crave fresh vegetables packed with essential minerals and health benefits.
Emerging in the 1980s, these tiny greens quickly captured the attention of both chefs and home cooks. Their eye-catching colors and bold flavors elevate any dish. With an impressive nutritional profile, microgreens often contain higher concentrations of vitamins and antioxidants compared to their mature counterparts.
Their appeal is further enhanced by how easy they are to grow at home. Requiring minimal space, they can thrive both indoors and outdoors, making them a perfect choice for urban gardeners and cooking fans eager to incorporate fresh, nutrient-rich elements into their meals with minimal effort.
What Are the Benefits of Growing Microgreens?
Growing microgreens presents a wealth of benefits. They grant you access to nutrient-dense greens that enhance your diet and provide essential vitamins and minerals, contributing to your overall health and well-being, aligning with the Dietary Guidelines for Americans.
These tiny powerhouses are brimming with vitamins A, C, and E elements vital for maintaining healthy skin, boosting your immune system, and combating oxidative stress. Microgreens are simple to grow, making them a perfect choice for both seasoned gardeners and those just starting out.
With the right conditions, you can expect microgreens to sprout in as little as 7 to 14 days. This rapid turnaround allows you to relish fresh greens almost immediately. You can continually replenish your supply, ensuring you always have a robust source of nutrients ready to enhance your meals.
How Can One Start Growing Microgreens at Home?
Growing microgreens at home is a fun and rewarding project you ll love! It s perfectly suited for those who appreciate the beauty of gardening but may have limited space and resources. It s an ideal choice for anyone eager to elevate their home garden with fresh, organic produce.
With just a handful of essential supplies seeds, containers, and soil you can easily embark on this green journey. The germination process is remarkably simple: soak the seeds overnight, scatter them evenly in a shallow tray filled with moist soil, and cover them lightly to retain that precious moisture.
Selecting the right location is key. Look for a spot that provides ample light, whether it’s a kitchen windowsill or a space illuminated by grow lights. For the best results, keep a close eye on moisture levels and maintain a consistent temperature.
Regularly monitor their growth and ensure they receive adequate watering to cultivate a rich, bountiful harvest of vibrant microgreens, which are nutrient-dense.
What Are the Common Mistakes to Avoid When Growing Microgreens?
In your journey of growing microgreens, it s easy to stumble into common pitfalls that could derail your success like overwatering, inadequate lighting, and insufficient pest control. These missteps can seriously compromise the health of your plants.
Understanding the intricacies of each issue is essential for thriving microgreens. For instance, getting the watering just right can help you avoid root rot, which is a common problem caused by overwatering, and encourage robust growth. Ensuring your crops receive adequate sunlight exposure or artificial lighting is vital for vibrant plants; too little light will leave you with spindly, weak shoots. Additionally, utilizing sprouting trays for microgreens can further enhance your growing technique.
Implementing effective pest management strategies such as using organic treatments or maintaining a clean growing environment can protect your crops from infestations, safeguarding both yield and quality. Perfect these techniques, and you ll see lush, healthy microgreens thriving in your home, supporting environmental sustainability.
Don t wait! Start your microgreens journey today and enjoy fresh greens right from your kitchen!
What Are Some Creative Ways to Use Microgreens in Cooking?
Microgreens are the secret weapon in your culinary arsenal. They can transform a range of dishes while delivering fresh flavors and nutritional benefits. Whether you re tossing them into salads, layering them on sandwiches, or blending them into smoothies, these little greens are a great addition for any health-conscious kitchen.
Get ready to elevate your meals! Imagine the crisp, peppery bite of arugula or the sweet aroma of basil. They can take your everyday meals to gourmet status. A handful of vibrant microgreens atop your creamy avocado toast enhances its visual appeal and enriches its nutrient content. When blended into smoothies, they lend a subtle earthiness while packing in a wealth of vitamins and antioxidants.
Don t shy away from getting creative with presentation. Use small jars filled with fresh herbs or sprinkle colorful microgreens over your dishes. This creates a delightful visual contrast that tantalizes the eye and encourages healthier eating habits. Plus, it promotes home gardening.
Frequently Asked Questions
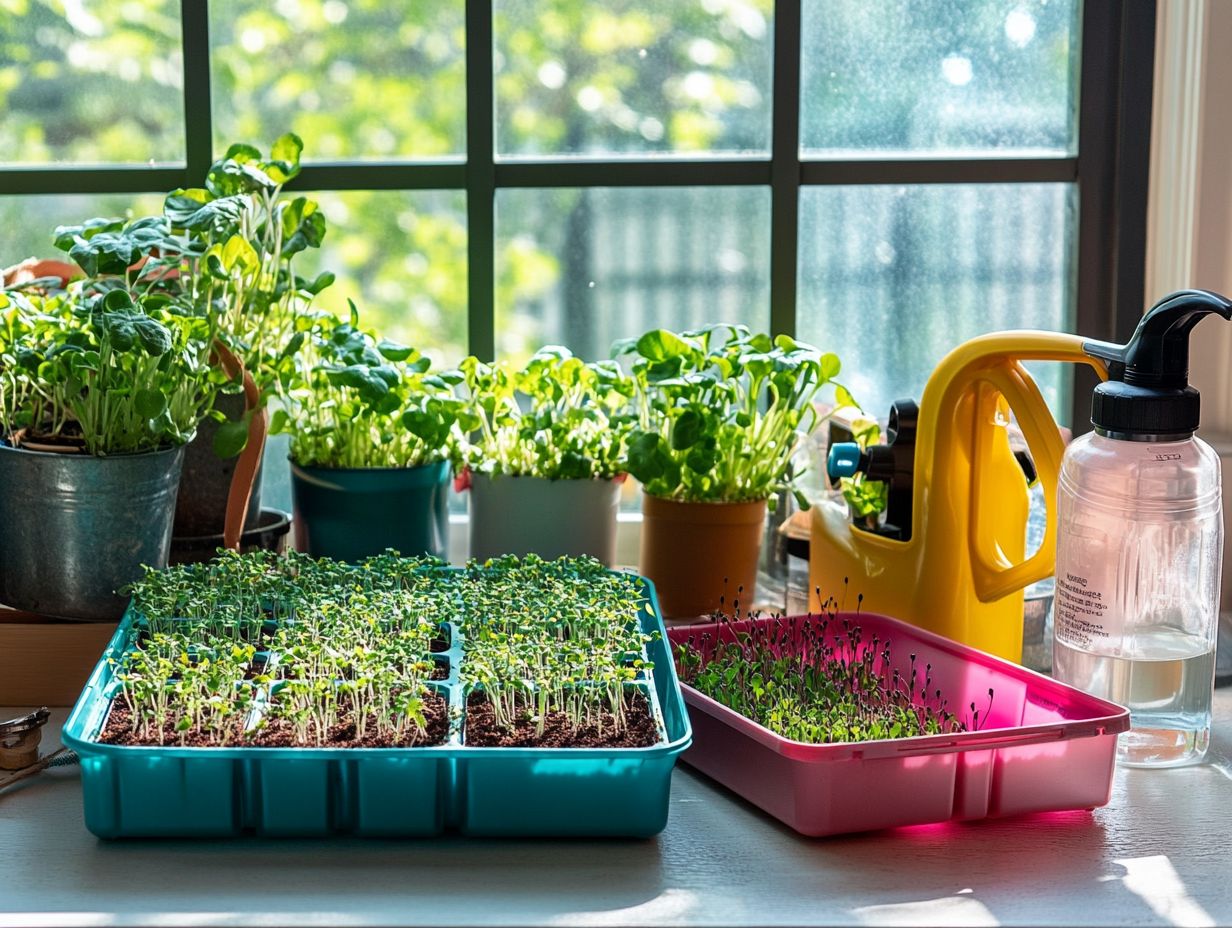
1. What are some must-have accessories for microgreen farmers, including growing supplies?
- Growing trays
- Grow lights
- A watering can or spray bottle
- A fan for air circulation
- A thermometer for monitoring temperature
2. Do I need special trays for growing microgreens?
Yes, using trays specifically designed for growing microgreens will make the process easier and more efficient. These trays often have drainage holes and are shallow, allowing for proper air circulation and helping with taking care of your plants.
3. Why do I need grow lights for my microgreens and artificial lighting?
Grow lights are essential for microgreen farming. They provide the necessary light for photosynthesis and proper growth, especially when light exposure is limited. They help to mimic natural sunlight, which is crucial for healthy and vibrant microgreens.
4. Can I use any type of water source for watering my microgreens?
No, it is recommended to use filtered or distilled water for watering your microgreens. A clean water source is essential, as tap water may contain chlorine and other chemicals that can harm or inhibit the growth of your microgreens.
5. How often should I water my microgreens to maintain proper soil moisture?
Microgreens need to be watered at least once a day, or even twice a day in drier climates. It is important to keep the soil moisture balanced, but not waterlogged, to promote healthy growth.
6. Should I use a fan for my microgreens to ensure proper air circulation?
Yes, using a fan for air circulation is crucial for microgreen farming. It helps prevent the growth of mold or mildew and promotes stronger and sturdier microgreens, ensuring a successful business opportunity for aspiring farmers.

