Understanding Microgreen Growth Cycles
Microgreens are far more than mere trendy garnishes; they are nutrient-rich powerhouses that elevate your meals and boost your health.
This article will guide you through the fascinating world of microgreens, exploring their diverse applications and providing insights on how to grow them right in your own home.
You ll discover essential supplies and a comprehensive step-by-step guide that covers everything from light and water needs to temperature requirements.
You’ll also learn the best techniques for harvesting and how to effectively manage common pests.
With these expert tips for success, you’ll be well on your way to cultivating vibrant microgreens!
Contents
Key Takeaways:
- Microgreens are young, edible plants harvested after sprouting, valued for their nutrients.
- Growing microgreens requires minimal supplies and can be done easily at home.
- Light, water, and temperature are crucial for growth and should be carefully monitored.
What are Microgreens?
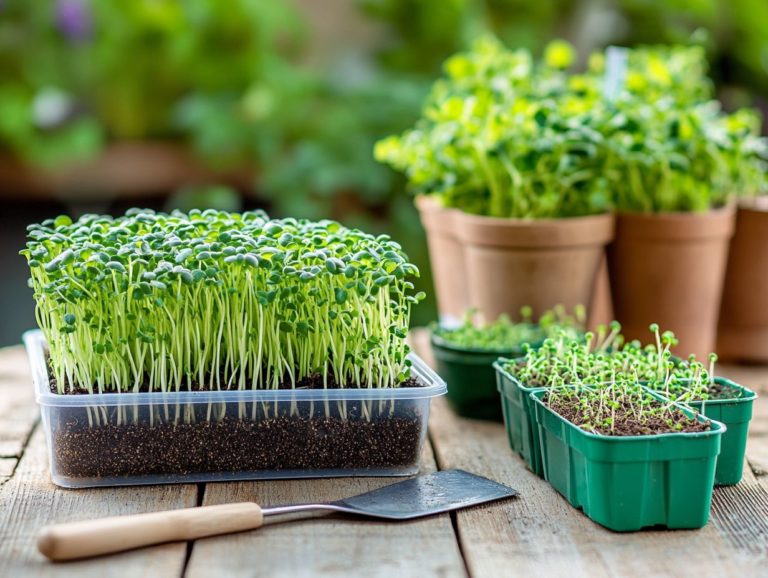
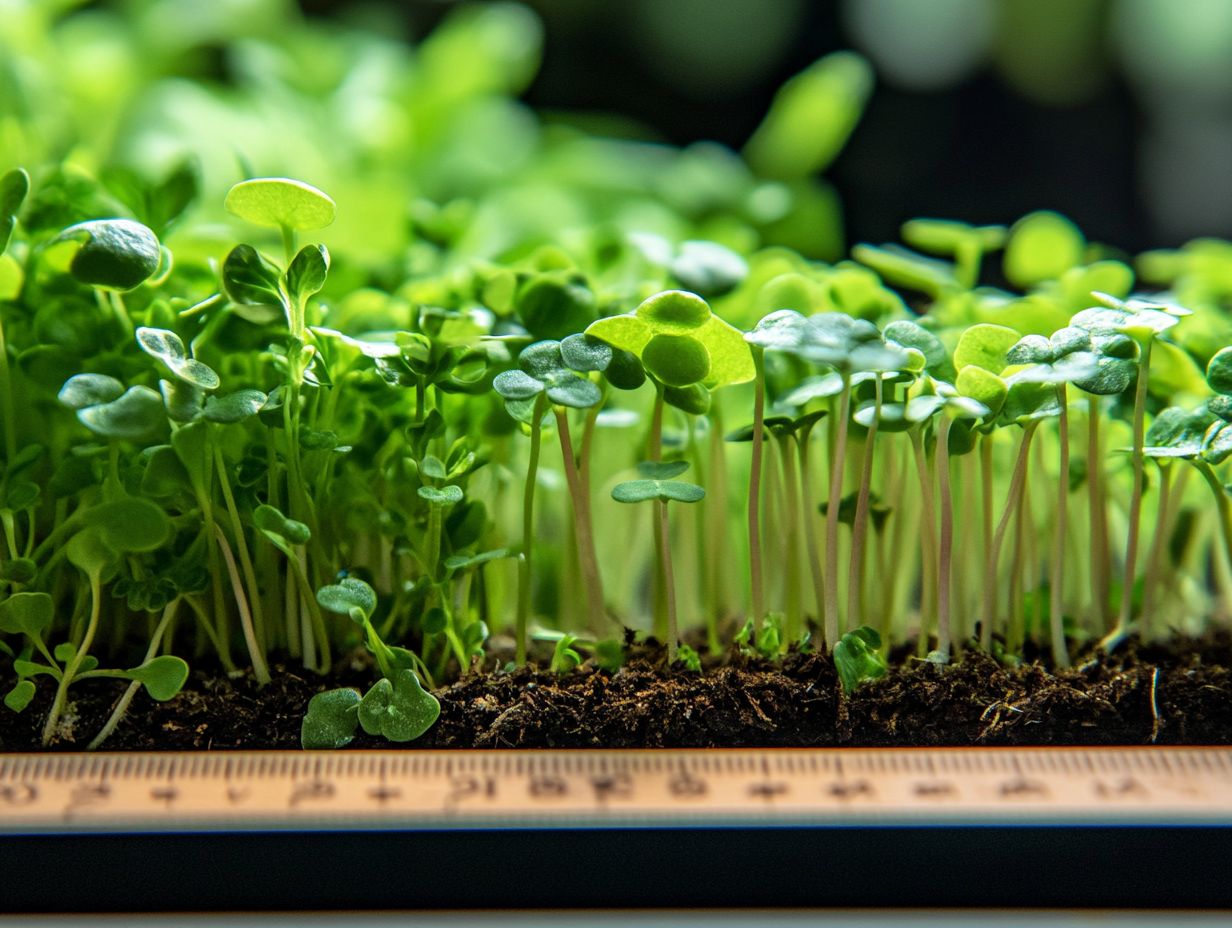
Microgreens are young, edible plants that you can harvest right after their first true leaves emerge. These are the first leaves that appear after germination, indicating the plant is ready for harvest.
These little powerhouses are often bursting with flavor, packed with nutrients, and boast vibrant colors.
They originate from a variety of seeds, including popular choices like broccoli, radish, peas, mustard, and rocket. Each brings its own unique taste and health benefits to the table. Not only do these greens delight your palate, but they also serve as a nutritious enhancement to your meals, delivering essential vitamins and minerals crucial for your well-being.
Whether you re tossing them into salads or incorporating them into gourmet dishes, microgreens have secured their place as a kitchen staple across North America, Australia, the UK, and Canada.
Definition and Uses
Microgreens are the young seedlings of edible vegetables and herbs, harvested for their distinctive flavors and health benefits.
These vibrant greens have quickly become a staple in modern cuisine, enhancing salads and elevating the visual appeal and taste of many dishes. Whether you re a seasoned chef or a home cook, you ll find their versatility irresistible using them as garnishes to elevate soups and entrees or blending them into wraps and smoothies.
Microgreens also pack a punch when it comes to health benefits, offering concentrated doses of vitamins, minerals, and antioxidants. As the demand for fresh, health-conscious ingredients continues to rise, the allure of these nutrient-dense seedlings flourishes, firmly establishing them as a must-have in trendy restaurants and kitchens worldwide.
Growing Microgreens
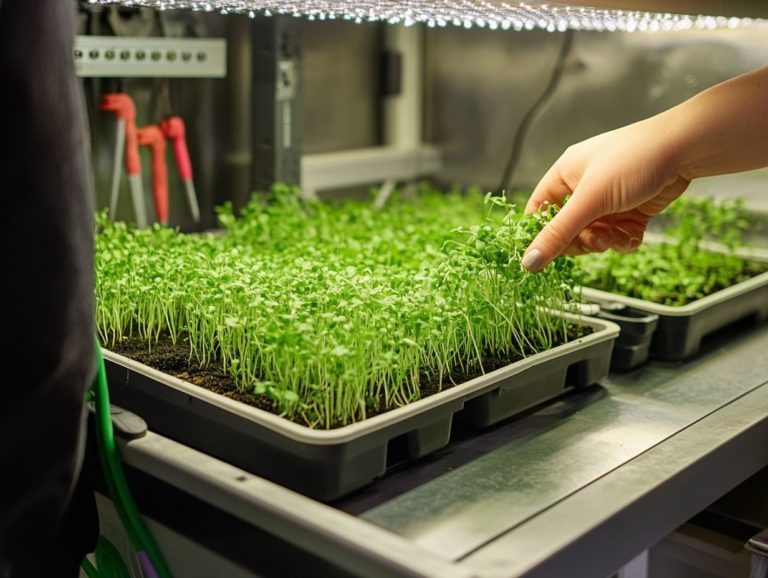
Growing microgreens is easy and rewarding, whether you opt to nurture them indoors or outdoors. The journey begins with choosing the right seeds, preparing the soil, and creating the perfect environment for germination through optimal water and light conditions.
With just a bit of space and minimal equipment, you can easily establish a dedicated area for cultivating microgreens. This is a perfect option for home gardeners and anyone wanting to start a small business.
Supplies and Equipment Needed
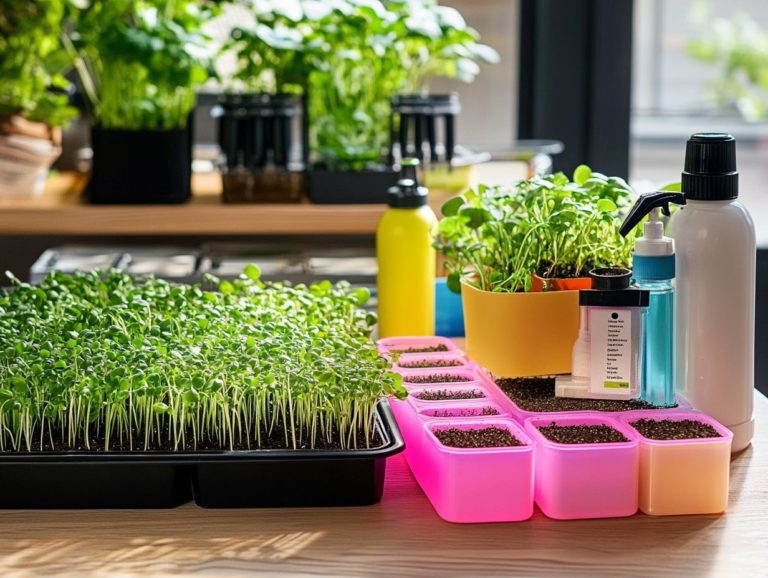
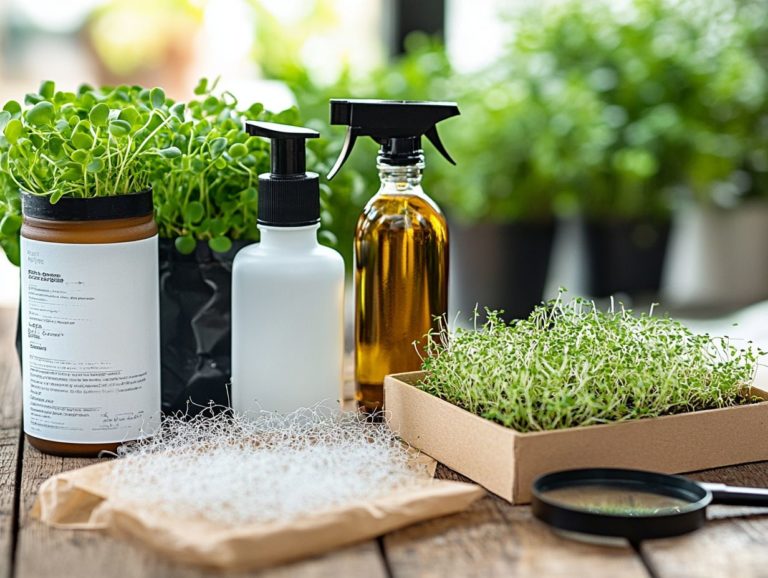
To successfully grow microgreens, you ll need a range of supplies and equipment, including the right containers, quality seeds, and suitable lighting.
Selecting the right containers is key. Shallow trays with drainage holes work wonders by allowing excess water to escape and preventing root rot.
Quality seeds designed specifically for microgreens are essential. They not only promote faster growth but also enhance flavor.
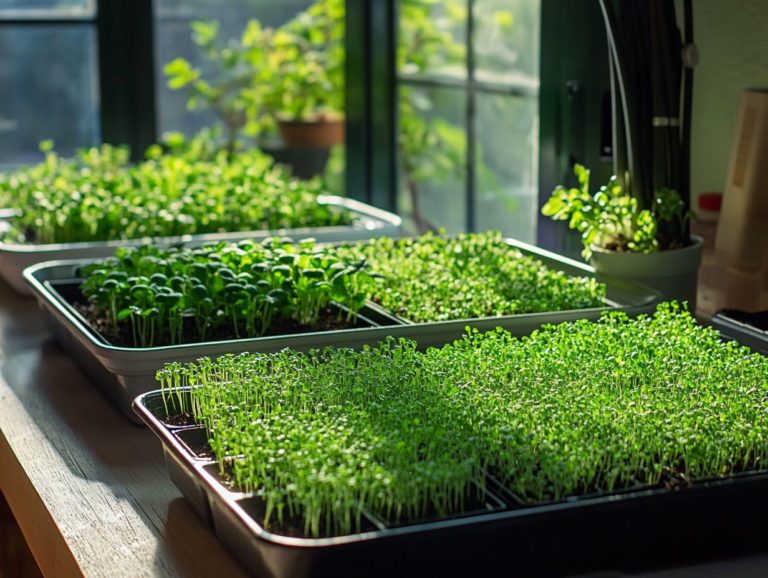
You can take advantage of natural sunlight by placing your containers near south-facing windows. You can also choose artificial lights. LED grow lights are especially effective. They not only boost growth but also help the plants make food more efficiently.
Each item in your setup plays a crucial role in nurturing the delicate microgreen ecosystem. This ensures that your harvest is both bountiful and rewarding.
Step-by-Step Guide to Growing
The journey to growing microgreens unfolds through a series of thoughtful steps:
- Soak the seeds
- Prepare the soil
- Ensure optimal light for germination
To embark on this rewarding gardening adventure, gather all the essential materials, starting with high-quality seeds specifically suited for microgreen cultivation.
Begin by soaking the seeds in water for several hours. This simple act hydrates them and kickstarts the germination process.
Next, focus on soil preparation. Use a good soil that drains well to create an optimal environment for growth. During the growing phase, ensure you provide sufficient light, ideally giving your greens 12 to 16 hours of light each day whether from the sun or grow lights. For detailed insights, refer to understanding microgreen growth cycles.
Keep a close eye on your nutrients for vibrant, healthy greens! A balanced approach to fertilization will promote healthier, more robust microgreens. As your greens mature, understanding microgreen harvest timing is crucial—harvest them promptly for the best flavor!
Factors Affecting Growth
The growth of microgreens is profoundly influenced by several key factors: light, water, temperature, and nutrient availability. Each of these elements deserves your careful attention and monitoring to ensure optimal results.
Light, Water, and Temperature Requirements
Microgreens thrive under specific light, water, and temperature conditions. It s crucial to keep a close eye on these factors.
Natural sunlight is often your best ally, offering a spectrum that perfectly supports their growth. On days when sunlight is lacking, artificial light can step in as a reliable substitute.
These young plants prefer moist but not soggy soil, so be gentle as you water to avoid disturbing their delicate roots.
For the best results, keep temperatures warm, ideally between 60 F and 75 F. Maintaining consistent humidity levels and ensuring good air circulation are essential.
If you notice yellowing leaves or sluggish growth, it s a sign that you might be overwatering or that they aren t getting enough light. It s time to tweak your care routine.
Harvesting Microgreens
Harvesting microgreens is an essential phase in the growing process. It demands your careful attention to timing and technique. By mastering these elements, you can unlock optimal flavor and maximize nutritional value.
When and How to Harvest
Knowing when and how to harvest microgreens is essential for maximizing their flavor and health benefits.
Many growers often find themselves uncertain about the ideal time for harvesting. This is typically indicated by the appearance of their first true leaves, or cotyledons, depending on the variety.
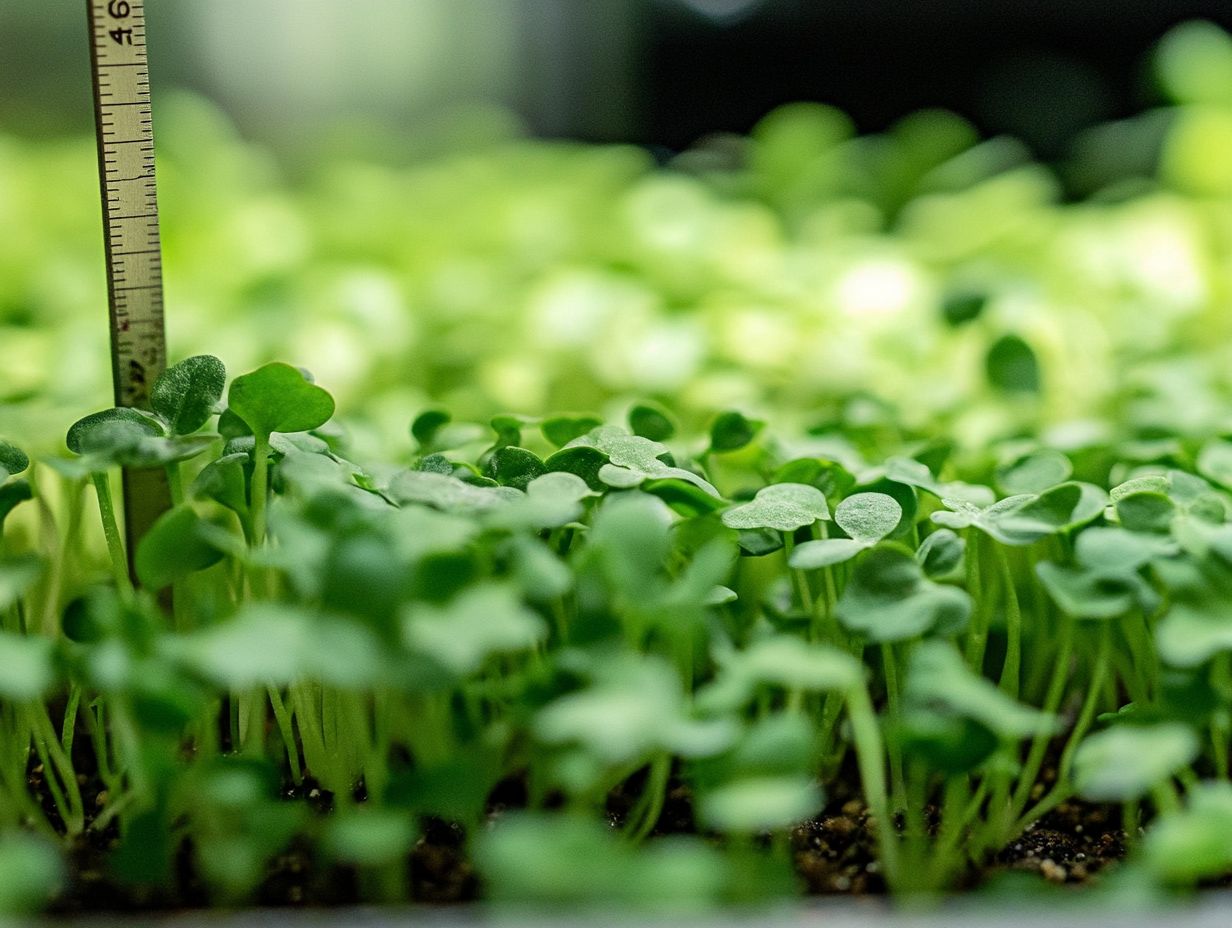
By observing the microgreens color, texture, and height, you can easily identify the perfect moment to snip them.
For optimal results, cut microgreens just above the soil line using clean, sharp scissors. This ensures a quick and precise snip that minimizes damage. Employing this technique not only promotes the health of your microgreens but also enhances their flavor profile. To further enrich your understanding, explore understanding the growth patterns of microgreen varieties, making them a vibrant addition to a variety of dishes.
Common Pests and Diseases
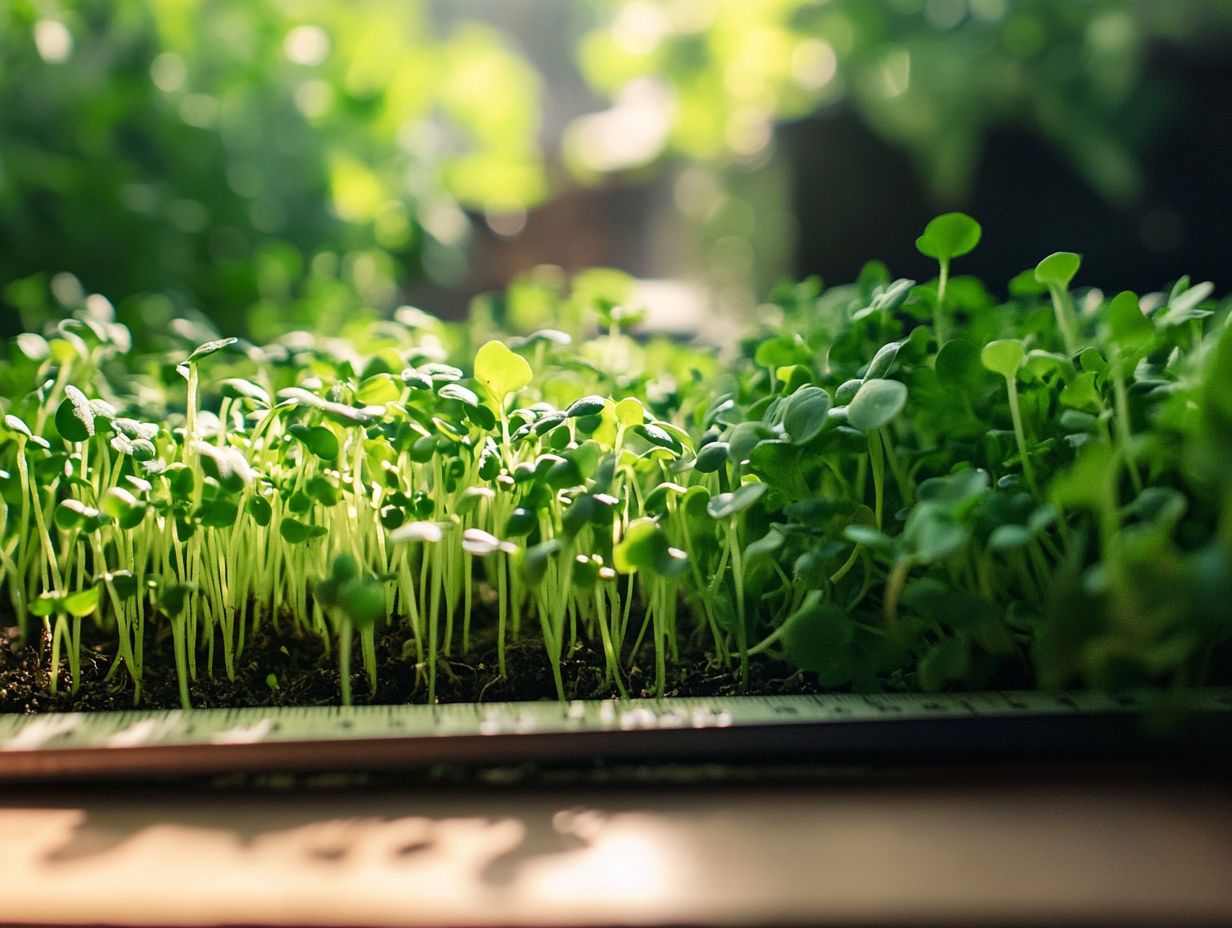
Common pests and diseases can present big challenges to your microgreens, making quickly spotting and effective treatment essential for ensuring a successful cultivation experience.
Identification and Treatment
Identifying pests and diseases early is crucial for treating microgreens effectively and ensuring their healthy growth.
These young plants are particularly susceptible to various issues. You might notice early symptoms such as yellowing leaves, stunted growth, or tiny crawling insects.
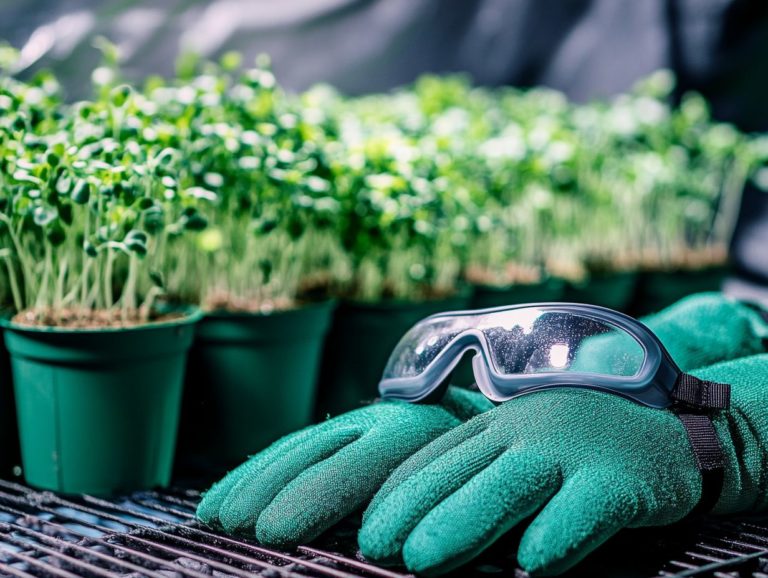
Common pests include aphids and fungus gnats, while diseases like downy mildew and damping-off can also occur. To accurately diagnose the problem, it’s wise to regularly inspect your plants under bright light and pay close attention to any changes. Use preventive care measures, like ensuring proper air circulation and maintaining optimal moisture levels, to significantly lower the risk of infestations.
When treatment is necessary, consider using organic insecticides or fungicides substances that kill or inhibit the growth of fungi as effective solutions. This ensures your microgreens remain healthy and safe for consumption, allowing you to enjoy their benefits.
Tips for Successful Microgreen Growth
To create a thriving garden, it’s crucial to apply specific tips and best practices. Focus on maintaining optimal conditions and providing the necessary care to nurture your plants effectively.
Best Practices and Troubleshooting
Understanding the best practices and troubleshooting techniques for microgreen growth can significantly elevate your gardening success.
By skillfully managing key factors such as watering, light exposure, and soil conditions, you can cultivate vibrant microgreens that truly thrive. For optimal results, provide just the right amount of moisture without oversaturating the soil; too much water can lead to mold and rot, which is a gardener’s nightmare. To better understand the microgreen growth phases, ensure your microgreens receive sufficient yet indirect light by positioning them near a bright window or utilizing grow lights.
Preparing the ideal soil mix, typically a blend of organic compost and peat moss, creates a fertile environment that promotes rapid germination. To improve your success, consider understanding microgreen growth rates and staying vigilant for common issues like pests or nutrient deficiencies. Address them promptly to enhance the overall yield and health of your microgreens.
Frequently Asked Questions
What are microgreens?
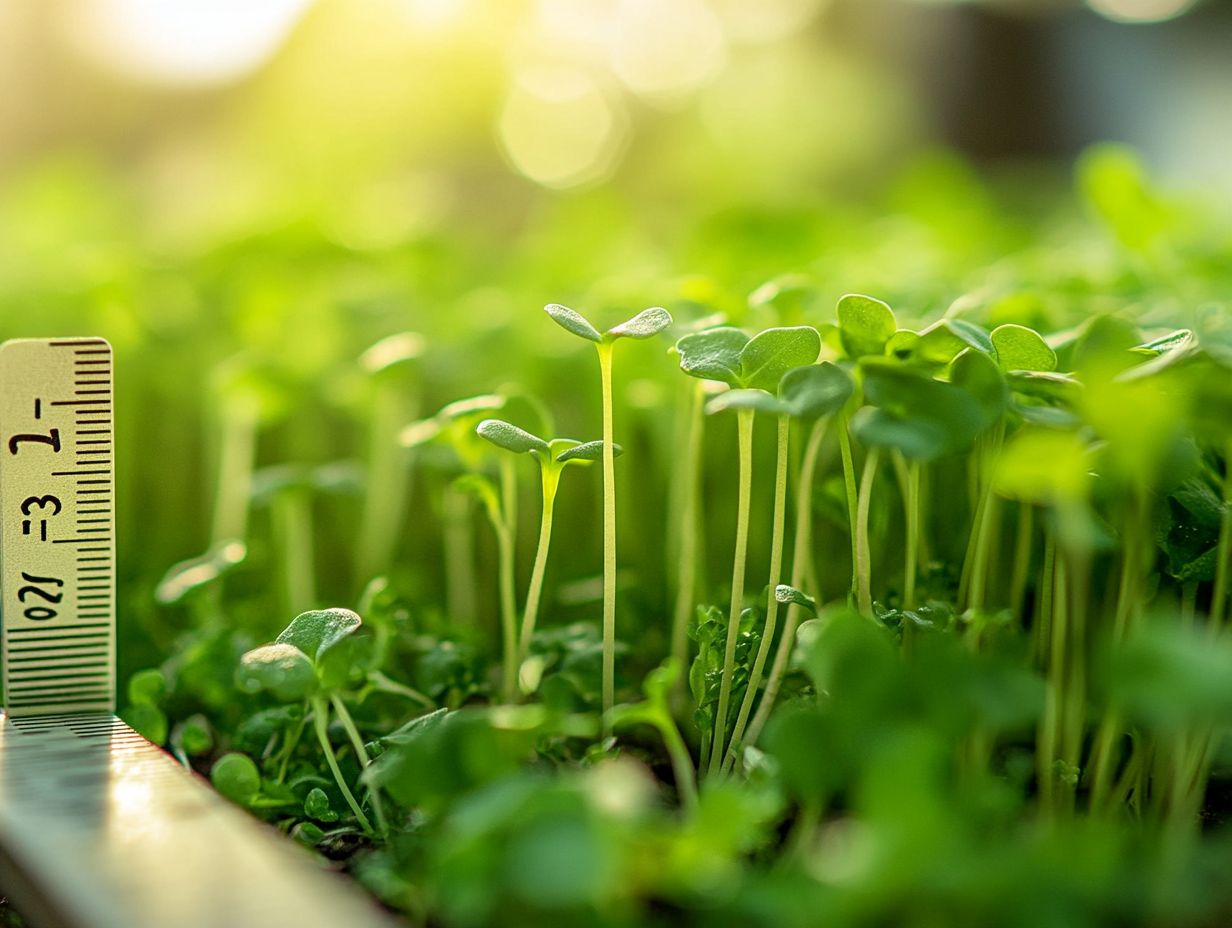
Microgreens are young, edible plants harvested when they have their first true leaves. They are smaller than baby greens and larger than sprouts, making them a popular ingredient in salads, smoothies, and as a garnish.
What is a microgreen growth cycle?
The microgreen growth cycle is the process of planting, germinating, growing, and harvesting microgreens. It typically takes around 2-3 weeks for microgreens to reach their optimal size for harvesting.
What factors affect microgreen growth cycles?
- Temperature
- Humidity
- Light
- Soil quality
- Seed quality
Controlling these factors carefully is important to ensure healthy and consistent growth.
How can I understand the growth cycle of specific microgreens?
Each type of microgreen has its own unique growth cycle, which can vary in terms of time and optimal growing conditions. Researching and understanding the specific growth cycle of the microgreens you are growing is crucial for successful results.
What are the stages of microgreen growth?
The stages of microgreen growth include seeding, germination, cotyledon stage, and true leaf stage. During the cotyledon stage, the first set of leaves appears, and during the true leaf stage, the microgreens reach their optimal size for harvesting.
How long does it take for microgreens to reach full maturity?
Microgreens typically reach full maturity within 2-3 weeks after planting. However, some varieties may take longer, up to 4-6 weeks, depending on the type of microgreen and the growing conditions.
Stay proactive! Check your plants daily for signs of trouble.

