How to Harvest Microgreens Correctly?
Microgreens have truly revolutionized the culinary landscape, delivering a delightful explosion of flavor and nutrition in remarkably small packages.
These petite greens, brimming with vitamins and antioxidants, can elevate your dishes while being surprisingly simple to cultivate at home.
Explore what microgreens are, the diverse varieties available, and the great health benefits they provide.
You’ll also learn about the harvesting process through a comprehensive step-by-step guide, equipping you with essential tools and tips to maximize both yield and quality.
You can also discover the best ways to store and enjoy your homegrown greens.
Whether you re a seasoned gardener or just embarking on your green-thumb journey, dive into this guide and unlock the secrets to mastering the art of microgreens today!
Contents
- Key Takeaways:
- What are Microgreens?
- Benefits of Growing Microgreens
- How to Harvest Microgreens
- Tools and Materials Needed
- Tips for Maximizing Yield and Quality
- How to Store and Use Harvested Microgreens
- Frequently Asked Questions
- What are microgreens and why should I harvest them correctly?
- How do I know when my microgreens are ready to be harvested?
- Can I harvest all the microgreens at once, or should I only take what I need?
- What tools do I need to harvest microgreens correctly?
- How do I actually harvest the microgreens?
- What is the best way to store harvested microgreens?
Key Takeaways:
- Harvest microgreens when they have reached the ideal stage of growth – usually within 7-14 days after sowing. Knowing when to harvest is crucial to avoid waiting too long as they can become tough and less flavorful.
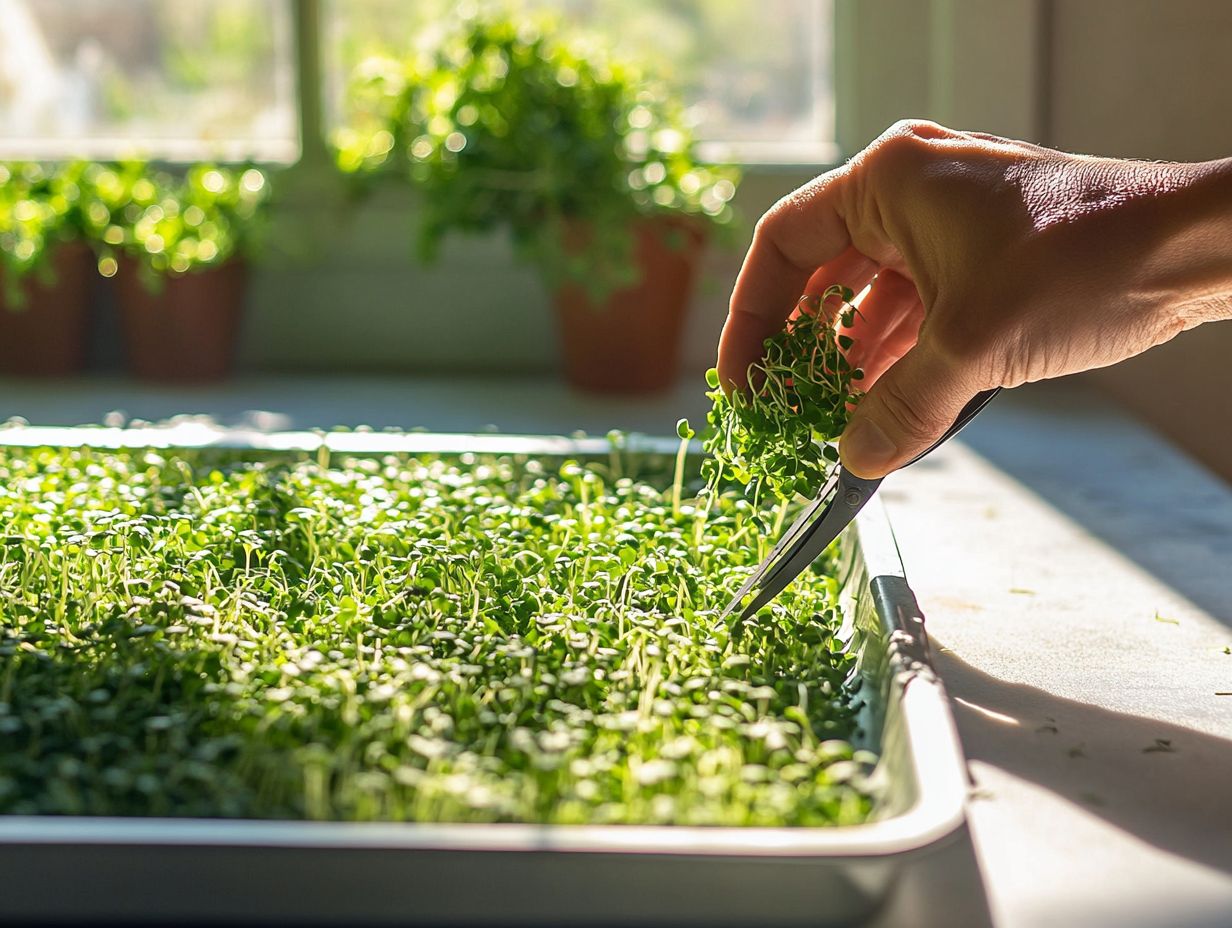
- Use sharp scissors or a clean knife to snip the microgreens just above the soil level. Avoid pulling them out as this can damage the roots and affect future growth.
- Store harvested microgreens in an airtight container in the refrigerator for up to a week. Use them fresh in salads, sandwiches, or as a garnish for added flavor and nutrition in your meals.
What are Microgreens?
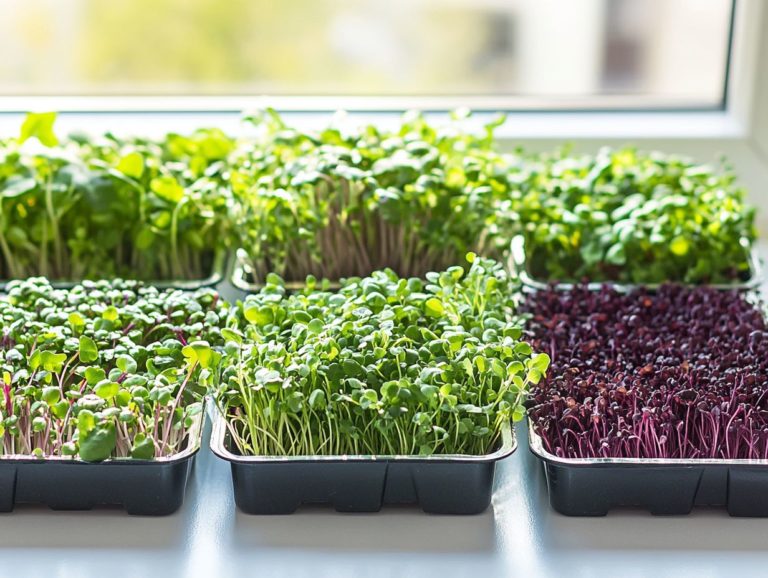
Microgreens are the young edible plants you harvest right after they ve developed their first true leaves, known as cotyledons (the first leaves that appear on a plant that signal it’s time to harvest). These vibrant, nutrient-dense greens are bursting with flavor, making them a favorite among those who prioritize health and creativity in their cooking.
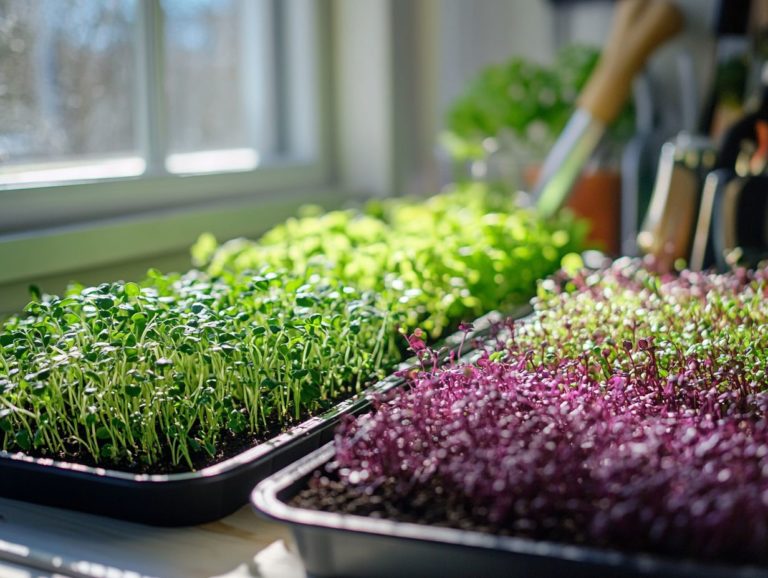
Popular choices like Pea Shoots, Radish Microgreens, and Sunflower Microgreens each bring their own distinctive taste and vibrant colors to your dishes.
Grown effortlessly in soil or containers, microgreens are not only simple to cultivate but also have the power to enhance both the nutritional value and aesthetic appeal of your meals.
Definition and Types
Microgreens are small, edible plants that you can harvest at an early stage of growth, typically just after the first true leaves have emerged.
These vibrant greens, like Pea Shoots, Radish Microgreens, and Sunflower Microgreens, offer delightful flavors and a plethora of nutritional benefits. For example, Pea Shoots bring a sweet, pea-like taste that makes them a charming addition to your salads and sandwiches. Radish Microgreens, with their peppery kick, have the potential to elevate the flavor profile of your tacos or grain bowls. Meanwhile, Sunflower Microgreens are known for their nutty flavor, perfectly complementing everything from soups to grain salads.
The nutritional content of these microgreens can vary significantly, with some being packed with vitamins A, C, and E, along with essential minerals. This not only enhances the taste but also boosts the health benefits of any meal you choose to adorn with them.
Benefits of Growing Microgreens
Growing microgreens brings a wealth of benefits that elevate your culinary experience. Not only do these petite powerhouses boost nutritional value, but they also allow you to savor fresh flavors straight from your garden or kitchen.
Packed with vitamins and minerals, microgreens are an ideal choice for those who prioritize their health and wish to enhance their diet. Plus, they re remarkably easy to cultivate, whether indoors or outdoors, requiring minimal space and resources.
This versatility makes them a perfect fit for any lifestyle, culinary preference, and even indoor gardening space you may have.
Start your microgreens journey now and transform your meals with vibrant flavor!
Nutritional Value and Convenience
Microgreens are a true powerhouse of nutrition, often boasting higher concentrations of vitamins and minerals than their fully grown counterparts. Take broccoli microgreens, for example; they re brimming with sulforaphane, a compound renowned for its cancer-fighting properties. Meanwhile, pea shoots offer a delightful dose of vitamin C and potassium, crucial for supporting a healthy immune system and maintaining balanced blood pressure.
Incorporating microgreens into your meals is effortlessly simple. With minimal prep required, they can elevate even the most basic dishes, transforming salads, sandwiches, and s smoothies into nutrient-rich delights. Their vibrant colors and burst of flavor not only enhance the visual appeal of your meals but also serve as a swift, convenient way for you to load up on essential nutrients.
How to Harvest Microgreens
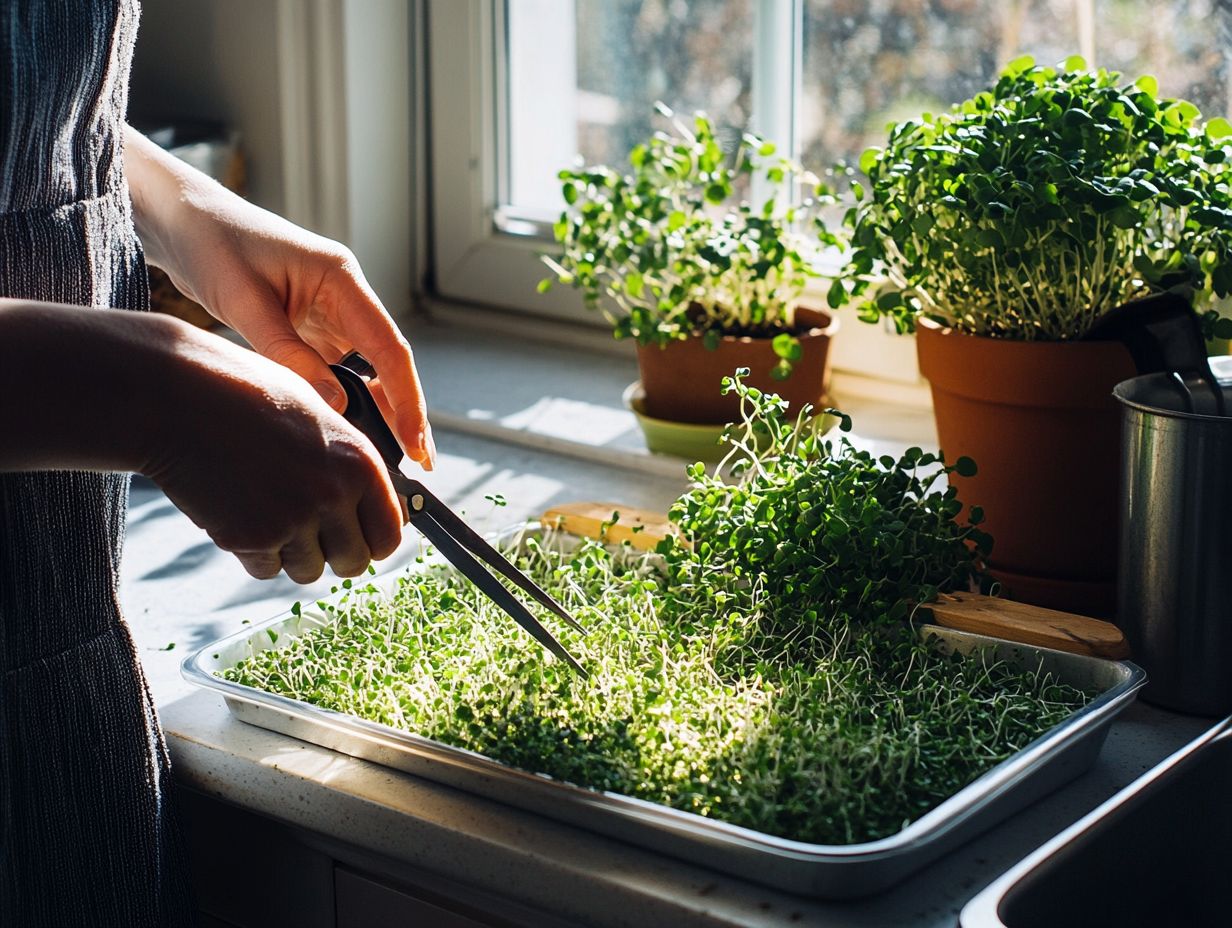
Harvesting microgreens requires a keen understanding of timing, typically taking place once the plants have established their true leaves, which happens around 7 to 14 days post-germination. By observing visual cues such as vibrant color and appropriate height you can expertly pinpoint the ideal moment for harvest.
This straightforward process not only enables you to relish fresh, flavorful greens but also ensures that you are reaping their full nutritional benefits. To maximize your harvest, it’s crucial to know when to harvest your microgreens. You can employ various techniques, like using scissors to cut just above the soil line, ensuring minimal disruption to the remaining plants.
Step-by-Step Guide
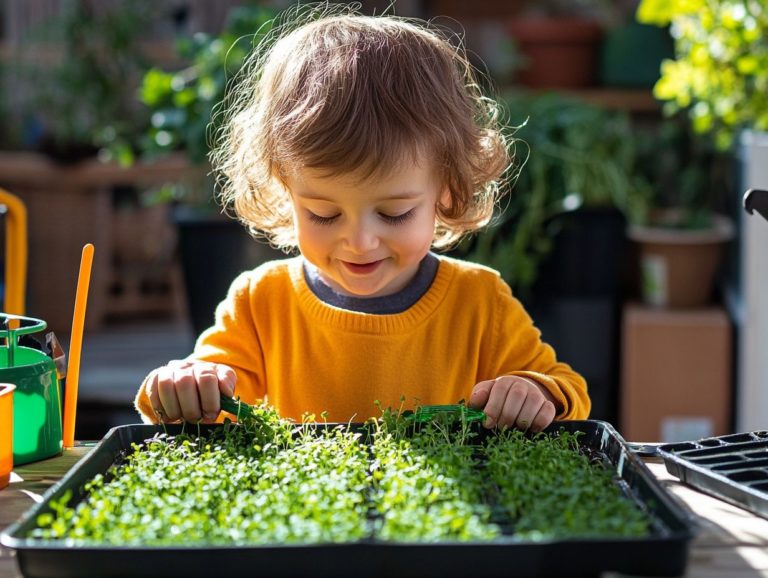
To effectively harvest microgreens, start by assessing their growth to determine the optimal moment for cutting typically when they have developed true leaves. This usually occurs between 7 to 21 days after sowing, depending on the variety. Early morning or late evening is ideal for harvesting; during these cooler hours, the plants are more turgid and retain moisture.
You’ll want to gather a few essential tools to get started:
- Sharp scissors or a knife
- A clean surface for cutting and rinsing the greens is essential to maintain their quality.
- A container for collection
For the freshest results, cut the stems just above the soil line at a 45-degree angle. This technique ensures a cleaner cut and minimizes damage to the remaining plants. Such a careful approach not only preserves the vibrant flavor of your microgreens but also sets them up perfectly for storage or immediate use, especially when paired with watering techniques for thriving microgreens.
Tools and Materials Needed
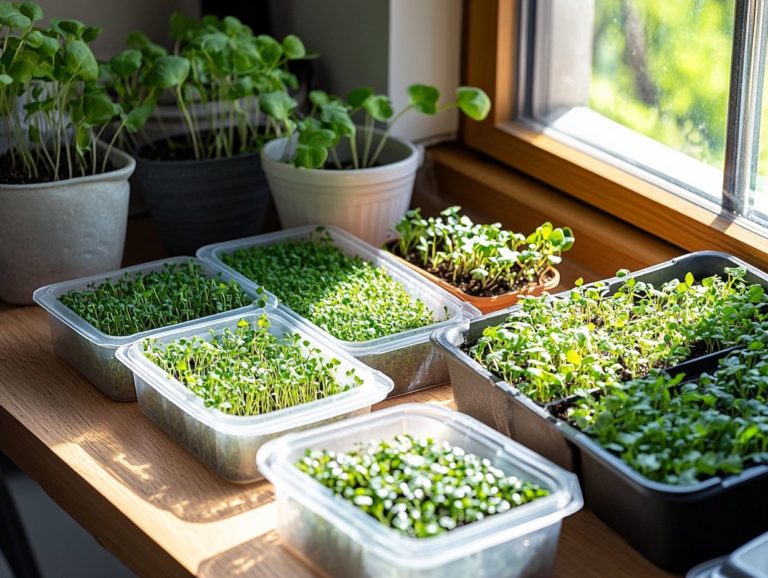
To successfully harvest microgreens, you will need a few essential tools and materials, including food-grade containers, that will streamline your process.
These include:
- Food-grade containers for proper storage and drying,
- Sharp scissors for precise cutting,
- Adequate watering equipment to maintain optimal growth.
Essential Equipment for Harvesting
The essential equipment for harvesting microgreens includes a sharp pair of scissors for precise cutting and food-grade containers to store your freshly harvested greens.
A quality pair of scissors is crucial in your toolkit, ensuring clean cuts that prevent damage to the delicate stems and promote better shelf life. Food-grade containers are equally important, as they help preserve the freshness of your microgreens by minimizing moisture exposure and prolonging their crispness. For those interested in growing microgreens, following a step-by-step guide to sowing microgreens can be incredibly beneficial.
Having a fine mesh strainer on hand is a smart move; it allows you to rinse the greens gently, removing any soil remnants without bruising them. Harvesting trays assist in organizing your greens neatly, while labels help you keep track of different varieties, making the entire process smoother and more enjoyable.
Tips for Maximizing Yield and Quality
Maximizing yield and quality in your microgreens cultivation requires a keen focus on maintenance practices. Consider the importance of optimal watering, humidity control, and the right plant density during growth.
By adopting best practices, you can cultivate an ideal environment for your microgreens, ultimately enhancing their flavor and nutritional value. Whether you choose to grow them indoors or outdoors, learning How to Use Hydroponics for Microgreens will profoundly influence the overall success of your microgreen garden.
Best Practices for Harvesting Microgreens
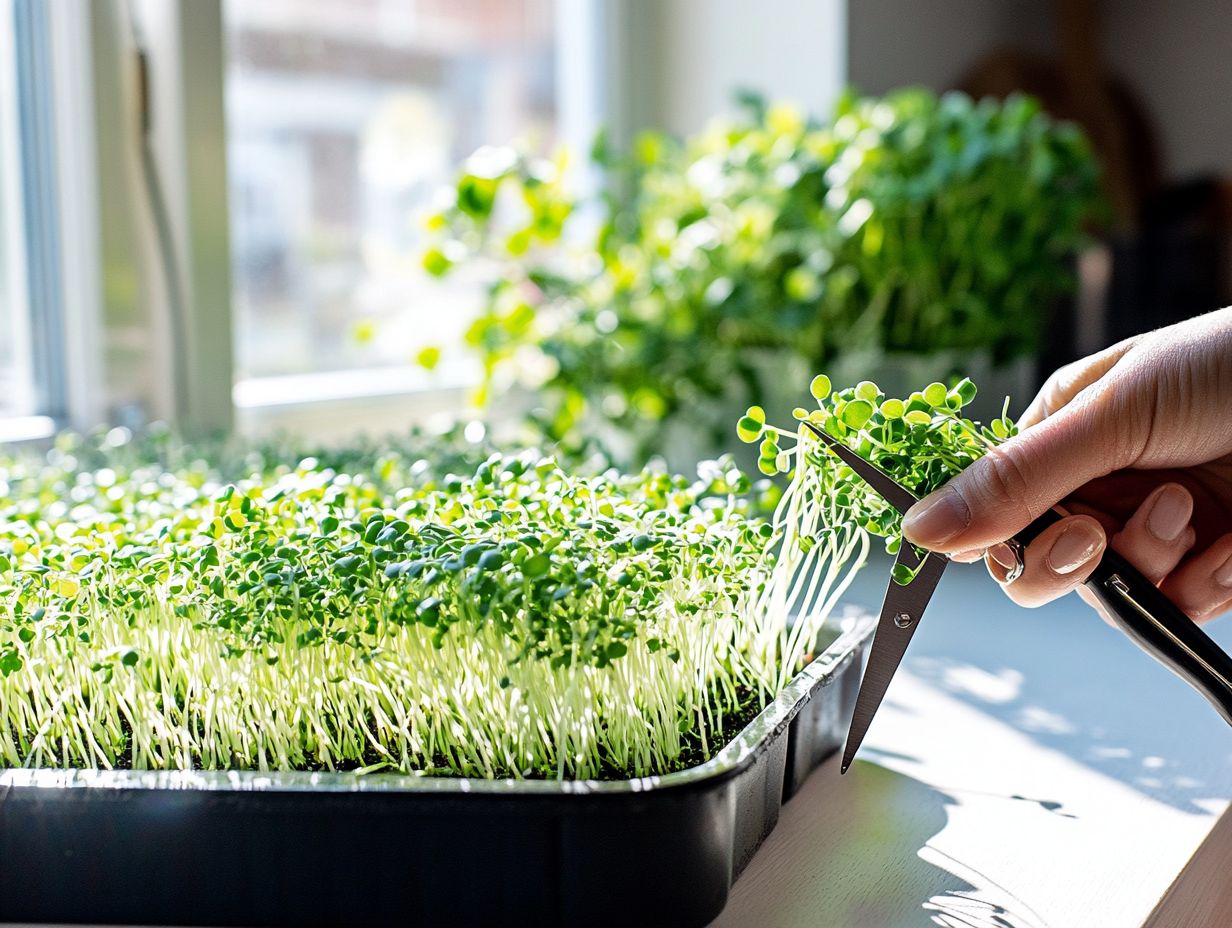
Using the best practices for harvesting microgreens ensures quality and preserves freshness.
This sets the stage for an optimal culinary experience.
Timing is key. Harvest in the early morning when the greens are fully hydrated for great flavor.
When it’s time to cut, use sharp scissors or a knife to make a clean cut just above the soil line, minimizing damage to the delicate stems.
Once cut, handle microgreens with care to maintain their integrity.
Placing them immediately in a cool environment helps preserve their vibrant colors and flavors.
These practices greatly enhance the quality of your greens, enriching any dish with their vibrant colors and rich nutrients.
How to Store and Use Harvested Microgreens
Storing and using harvested microgreens effectively is vital for preserving their freshness, flavor, and nutrition.
Once you ve harvested them, rinse the microgreens thoroughly to eliminate any soil or impurities.
Gently dry them with food-grade paper towels or a salad spinner to avoid moisture buildup.
Proper storage keeps your greens vibrant and nutrient-dense, ready for a variety of culinary delights.
Storage Methods and Recipe Ideas
Proper storage methods for freshly harvested microgreens are essential for preserving their flavor and nutrition.
To maintain crispness and vibrant color, refrigerate microgreens promptly in airtight containers that balance moisture retention and breathability.
This simple tip keeps your greens fresh and flavorful for a lot longer.
When planning your meals, consider:
- Add them to salads to enjoy their unique textures and nutrients.
- Layering them in sandwiches for an added nutritional punch.
Microgreens also serve as stunning edible garnishes for soups and entrees, enhancing the presentation of any dish.
Imagine a refreshing microgreen pesto or a zesty garnish atop grilled fish, showcasing their versatility.
Frequently Asked Questions
What are microgreens and why should I harvest them correctly?
Understanding when to harvest microgreens is crucial, as it impacts their flavor and nutrition.
Microgreens are young, edible plants harvested just after their first leaves develop. They are packed with nutrients and add a burst of flavor to dishes.
Harvesting them correctly ensures the best taste and texture.
How do I know when my microgreens are ready to be harvested?
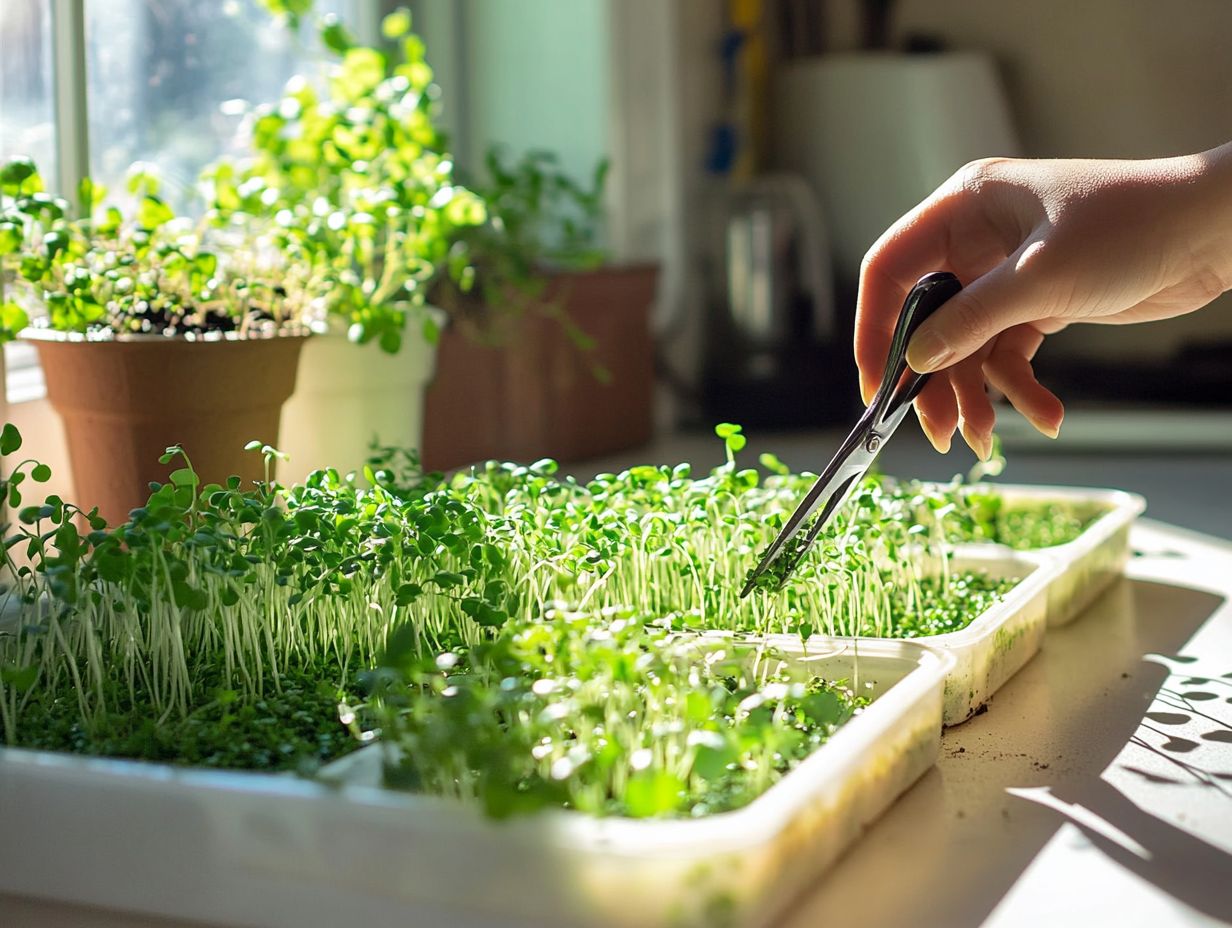
The first set of true leaves, usually the second set of leaves, indicates the microgreens are ready to be harvested.
This is typically around 2-3 weeks after planting, depending on the growth stages of the specific variety.
Can I harvest all the microgreens at once, or should I only take what I need?
You can harvest either way, but it’s best to only take what you need. Microgreens will continue to grow and produce more leaves.
Harvesting only what you need ensures a longer supply.
What tools do I need to harvest microgreens correctly?
You will need a pair of sharp scissors or a clean knife, a clean cutting board or surface, and a clean food-grade container for the harvested microgreens.
How do I actually harvest the microgreens?
Using your scissors or knife, cut the microgreens just above the soil level.
Make sure to only take the top cut, leaving the roots and lower stem intact.
Give the microgreens a gentle shake to remove any loose soil or debris.
What is the best way to store harvested microgreens?
Microgreens are young plants packed with flavor and nutrition. To keep them fresh, store them in a sealed plastic bag or container with a paper towel to soak up excess moisture.
Place them in the refrigerator and enjoy them within a week for the best taste. Don t wait too long maximize their freshness!

