How to Have Fun with Microgreen Growing?
Microgreens are those tiny, nutrient-packed plants that deliver a burst of flavor and can effortlessly be cultivated right at home.
This article delves into the myriad benefits of growing microgreens, highlighting their impressive nutritional value and the significant cost savings they offer. You’ll find everything you need to kickstart your microgreen adventure, from essential supplies to seed selection.
It also provides a detailed step-by-step guide on how to grow microgreens and care for your greens, alongside creative recipes, such as Buddha Bowl, and engaging activities for the entire family. Embark on this delightful journey into the vibrant world of microgreens!
Contents
Key Takeaways:
- Discover the nutritional and cost benefits of growing microgreens, a quick and easy way to add fresh nutrients to your diet.
- Get started with microgreen growing by gathering supplies and choosing the right seeds for your space and preferences.
- Explore fun and creative ways to enjoy microgreens, from incorporating them into recipes to involving kids in the growing process.
What are Microgreens?
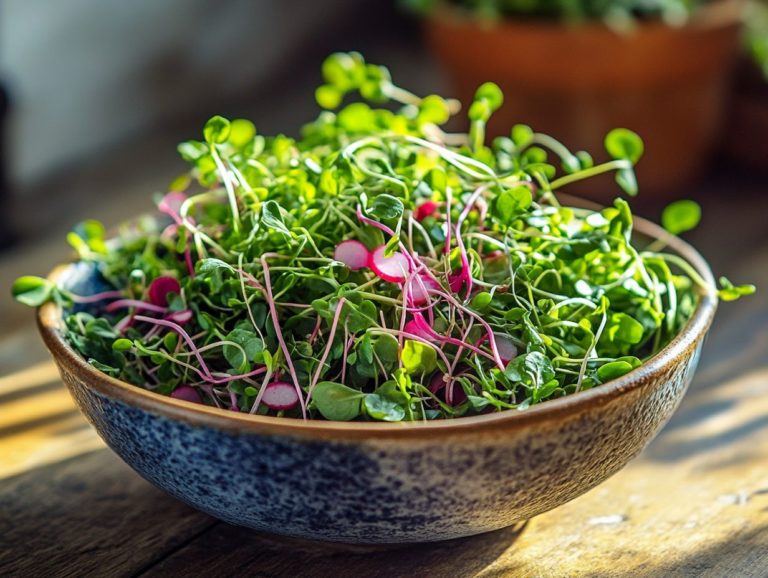
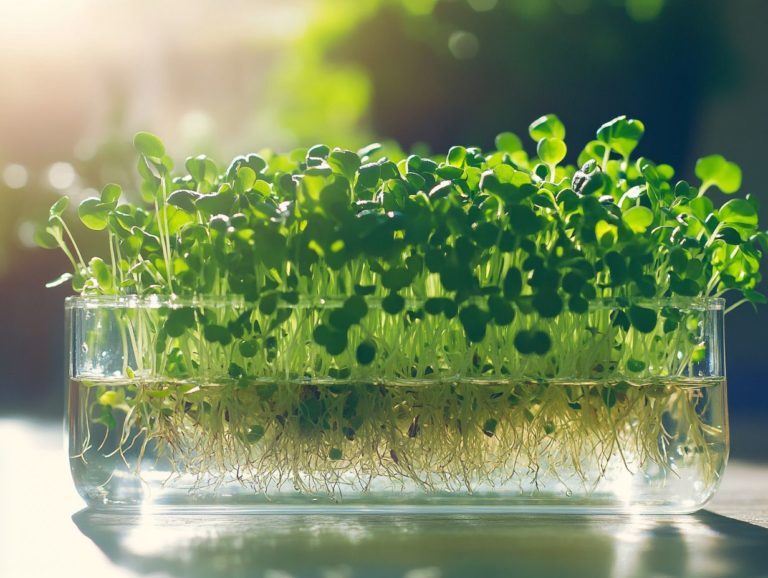
Microgreens are young, edible plants harvested right after the first true leaves emerge, flaunting a lively array of flavors and colors. You might recognize popular varieties like broccoli, kale, radish, and arugula. These nutrient-packed greens are brimming with vitamins, minerals, and antioxidants, making them a delightful addition to your culinary creations. Plus, growing microgreens at home is a breeze, requiring minimal space and effort.
These little wonders can sprout from various seeds like beets, basil, and mustard greens, each bringing its own unique taste and texture to the table. Rich in essential nutrients like vitamins C, E, and K, along with minerals such as iron and magnesium, microgreens don’t just taste great; they also make a significant impact on your overall health.
Research reveals that certain varieties, like pea shoots and sunflower greens, can pack up to 40 times more nutrients than their fully grown counterparts. This makes them a fantastic choice for anyone eager to elevate their dietary intake. Whether you sprinkle them on salads, blend them into smoothies, or use them as a garnish, these greens offer a refreshing burst alongside impressive health benefits.
Benefits of Growing Microgreens
Growing microgreens presents an array of health benefits that you simply can’t overlook. These tiny powerhouses are packed with high levels of antioxidants, essential vitamins, and minerals, all of which play a crucial role in preventing chronic diseases and even possess cancer-fighting properties.
Incorporating them into your diet is not just a culinary choice; it s an essential step towards embracing a balanced vegan diet that can significantly contribute to your overall health.
Nutritional Value and Cost Savings
The nutritional value of microgreens is truly remarkable. They boast concentrated levels of vitamins, minerals, and antioxidants that often exceed those found in mature vegetables. This means you can enhance your meals without straining your budget a win-win for home gardeners seeking both health benefits and cost savings.
Unlike their larger counterparts, microgreens deliver more nutrients in smaller servings, making them an efficient choice for elevating your overall dietary intake. Take broccoli microgreens, for instance; they are rich in a compound known for its cancer-fighting properties. Meanwhile, radish microgreens can aid digestion, thanks to their impressive fiber content. To get started with growing your own microgreens, it’s essential to understand the right tools and supplies. Check out this guide on understanding microgreen growing supplies for more information.
But the advantages don’t stop at health. By growing these tiny greens at home, you can significantly reduce your grocery bills. Cultivating your own microgreens not only grants you access to fresh produce year-round but also diminishes your reliance on store-bought options. To enhance your growing experience, check out this guide on how to optimize your microgreen setup. This ultimately fosters a sustainable lifestyle that is both economically savvy and nutritionally rewarding.
Don t wait! Start your microgreen garden today for a burst of health and flavor!
Getting Started with Microgreen Growing
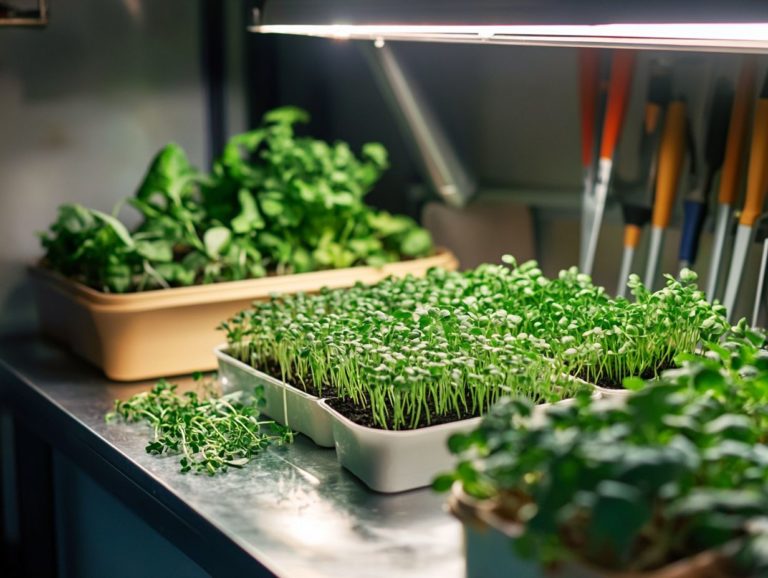
Starting your journey in microgreen cultivation is easy and invites you to enjoy the pleasures of indoor gardening. With just a few simple supplies like a glass container, a growing pad, and sprouting seeds it s perfect for beginners eager to grow their own microgreens at home.
This straightforward process allows you to engage with nature while enjoying fresh, home-grown nutrients, essential for a healthy diet. For those interested in maximizing their yield, learning how to use hydroponics for microgreens can be incredibly beneficial.
Supplies and Equipment
To successfully grow microgreens, you ll want a microgreens kit that includes all the essential supplies: a glass container, a growing pad, organic potting soil, and a selection of seeds based on your taste. This combination ensures a rewarding indoor gardening experience.
Each component plays a vital role. The glass container’s transparency allows for optimal light exposure, which is key for photosynthesis the process plants use to create food from sunlight. The growing pad offers a clean base for your seeds, promoting germination without the mess of traditional soil. Organic potting soil enhances nutrient availability, fostering robust growth.
Choosing high-quality seeds is crucial; varieties like arugula or radish bring unique flavors and health benefits, making this hobby enjoyable and delicious. For those new to this, a detailed guide on how to start a microgreen garden for beginners can provide valuable insights. With these supplies at hand, you’re ready to dive into the vibrant world of microgreens.
Pick the Perfect Seeds for Your Microgreens
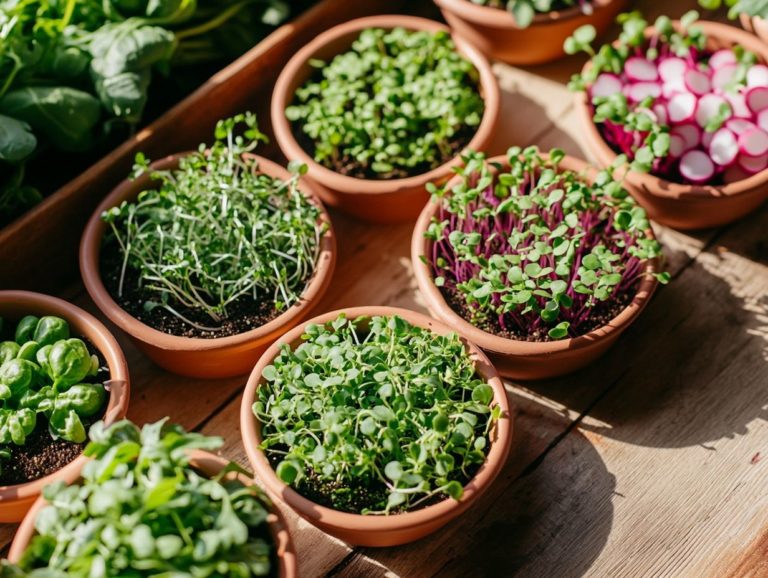
Choosing the right seeds is essential for your microgreen cultivation journey. Popular options like broccoli sprouts, kale, radish, and arugula offer unique flavors and health benefits that can elevate any meal.
These miniature greens are not just flavorful; they boast impressive nutritional profiles, making them a favorite among health enthusiasts. For instance, broccoli sprouts are rich in sulforaphane, known for its cancer-fighting properties, while kale microgreens provide a great source of vitamins A, C, and K. If you’re interested in growing these nutritious greens, here’s how to start microgreens from seed. Radish microgreens add a zesty kick to salads and sandwiches, while arugula provides a delightful peppery undertone that enhances various dishes.
When selecting your seeds, consider your taste preferences and dietary restrictions. This thoughtful approach ensures a rewarding growing experience, as each seed type offers a unique chance to boost flavor and nutrition in your meals.
Step-by-Step Guide to Growing Microgreens
This step-by-step guide to growing microgreens presents a clear process tailored for you. It begins with soaking the seeds to promote optimal germination.
Next, you’ll plant and nurture your microgreens, carefully attending to their needs. Finally, you’ll harvest them at their peak, ensuring you enjoy maximum flavor and health benefits.
Preparing the Soil
Preparing the soil is an essential step in cultivating microgreens. Using nutrient-rich organic potting soil ensures your greens receive the vital nutrients needed for optimal growth and flavor.
Selecting the right mix is crucial; aim for a blend of peat moss, vermiculite, and compost to create a well-aerated environment that fosters healthy root development. Check the pH level of your organic potting soil, aiming for a range between 6.0 and 7.0 to optimize nutrient availability, while ensuring good drainage to prevent root rot.
Incorporating organic amendments like worm castings or bat guano further enriches the soil, giving your microgreens the best start. This preparation can significantly impact both yield and flavor profiles, leading to a bountiful and satisfying harvest.
Get your supplies and start growing microgreens today for a fresh and healthy addition to your meals!
Planting and Caring for Microgreens
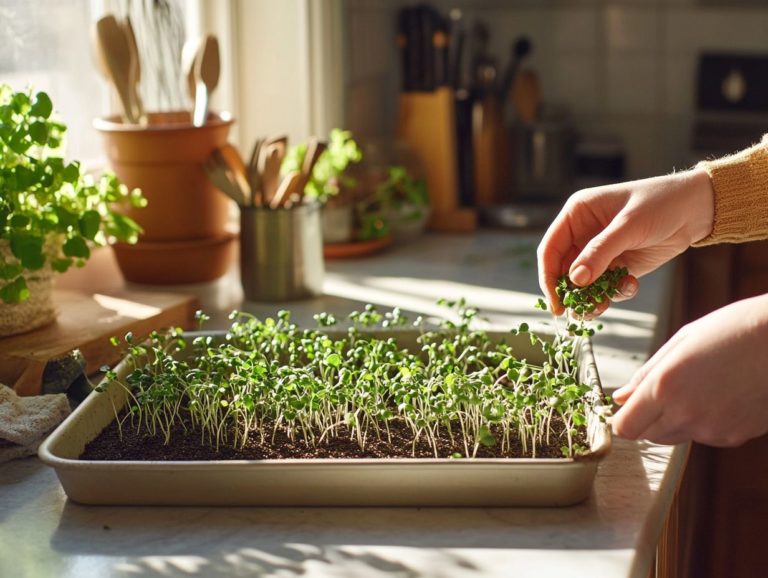
Properly planting and caring for microgreens involves carefully planting seeds in prepared soil. Ensure they receive consistent watering and ample window light to promote healthy growth and vibrant flavors that contribute to flavorful side dishes.
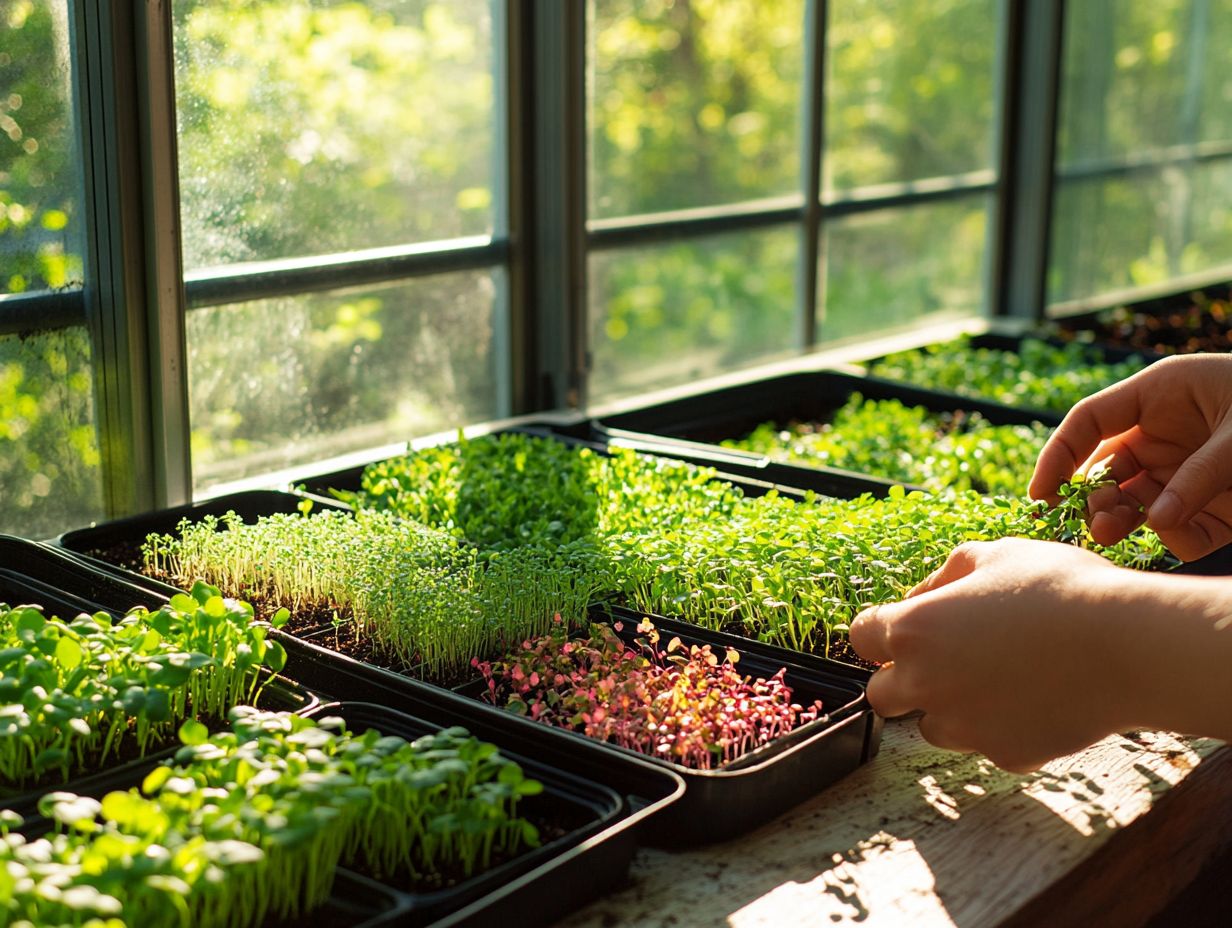
It’s essential to maintain optimal moisture levels without over-saturating the soil. Excessive moisture can lead to problems like mold or root rot. Positioning your microgreens near a south-facing window can maximize sunlight exposure, fostering robust growth during their brief lifecycle. Additionally, learning how to use a grow tent for microgreens can enhance your growing experience.
Using a spray bottle for gentle watering is effective, allowing you to distribute moisture evenly without disturbing those delicate seedlings. Regular ventilation and vigilant monitoring for pests or diseases are crucial for nurturing a flourishing microgreen garden. To enhance your growing techniques, consider exploring how to use hydroponics for microgreens, ensuring they thrive in both flavor and nutrition.
Ways to Have Fun with Microgreen Growing
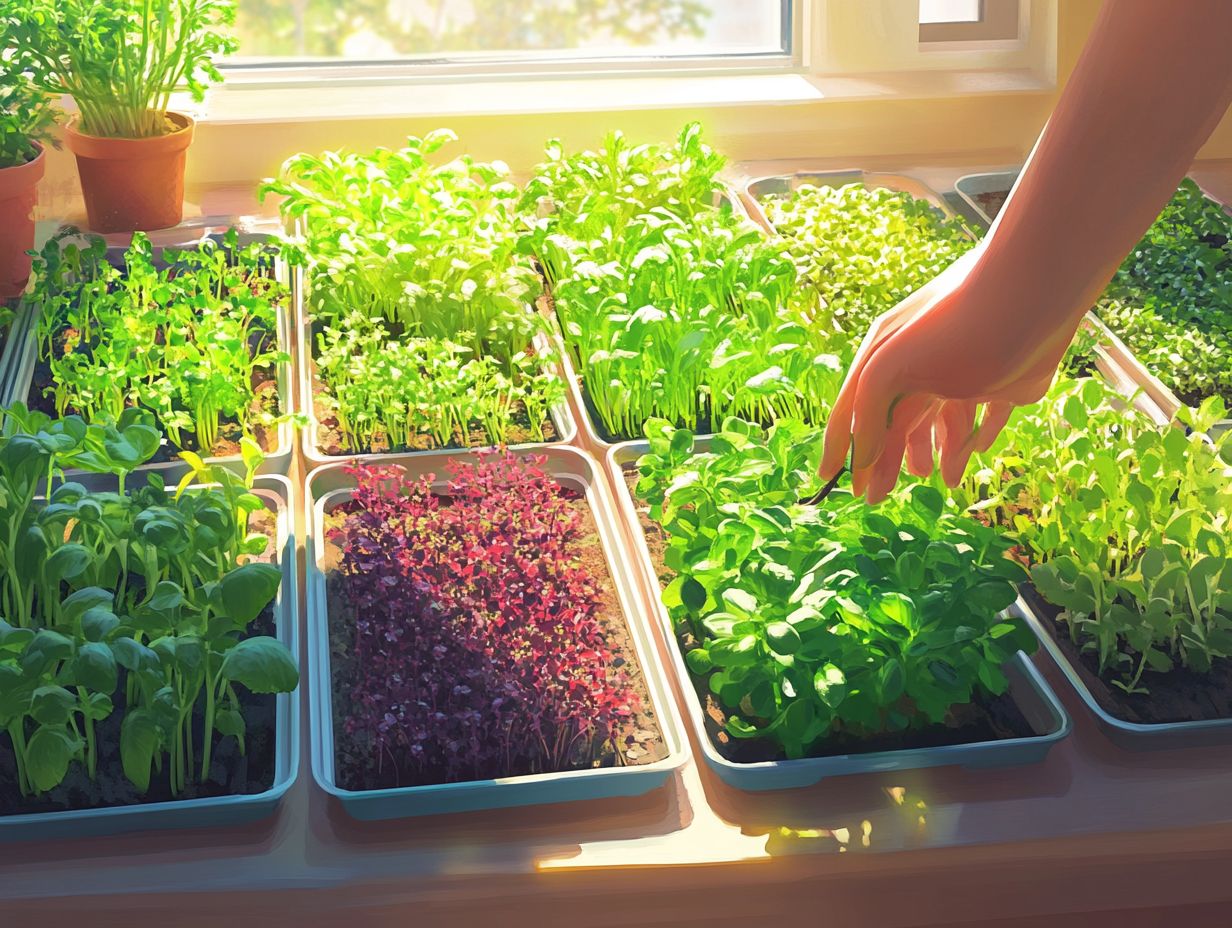
Discover fun ways to make growing microgreens exciting! Experiment with creative recipes that incorporate these nutritious greens or engage in delightful activities for children that spark their interest in gardening.
Each approach enriches your skills and fosters a deeper connection with the vibrant world of microgreens.
Creative Recipes and Uses for Microgreens
Incorporating microgreens into your meals opens up a world of creative recipes and flavorful side dishes. Transform everything from vibrant Buddha Bowls to fresh salads while enhancing both taste and nutrition.
These vibrant, tiny greens are not just a garnish; they are packed with nutrients and unique flavors that elevate everyday dishes and provide health benefits supporting a balanced diet. For example, when you add peppery arugula microgreens to creamy avocado toast, you’re crafting a gourmet experience. After harvesting, you can explore what to do with microgreens to maximize their potential.
Consider adding bright beet microgreens in a citrus-infused quinoa salad; they enhance visual appeal and offer a delightful earthy sweetness that makes your meal sing. To further boost your harvest, learn how to maximize yields from microgreens. Experimenting with various microgreens, like radish or pea shoots, can reveal exciting flavor combinations that spark your culinary creativity.
Fun Activities for Kids
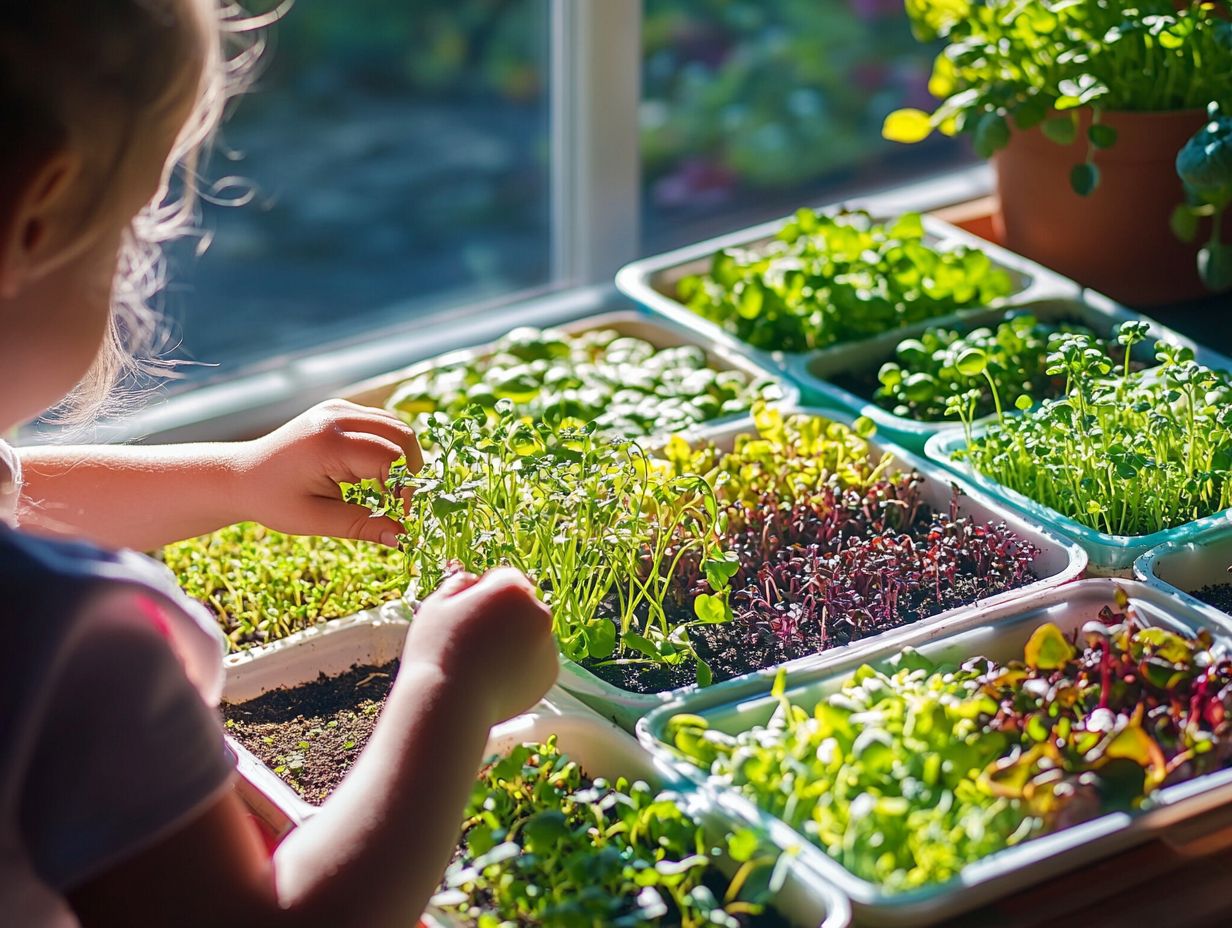
Engaging kids in enjoyable activities centered around microgreen growing ignites their interest in gardening and provides an enriching educational experience highlighting nutrition and the significance of plants.
Involve them in the entire process from seed selection to harvesting. This enables them to absorb invaluable lessons about responsibility and environmental stewardship. They can experiment with different seed types, nurturing their curiosity as they observe how factors like light and water impact growth. For more detailed insights, check out the best ways to grow and store microgreens.
Creating labels for their mini gardens enhances their creativity while deepening their understanding of each plant’s role. Incorporating games, such as who can grow the tallest microgreen, transforms learning into an enjoyable adventure.
These activities contribute to a comprehensive understanding of sustainable gardening.
Frequently Asked Questions
1. How do I get started with microgreen growing?
Gather your essentials: potting soil, seeds, containers, and water. You can buy these supplies online or at a local gardening store. Follow the instructions on the seed package to properly plant and care for your microgreens.
2. What are some fun ways to incorporate microgreens into my meals?
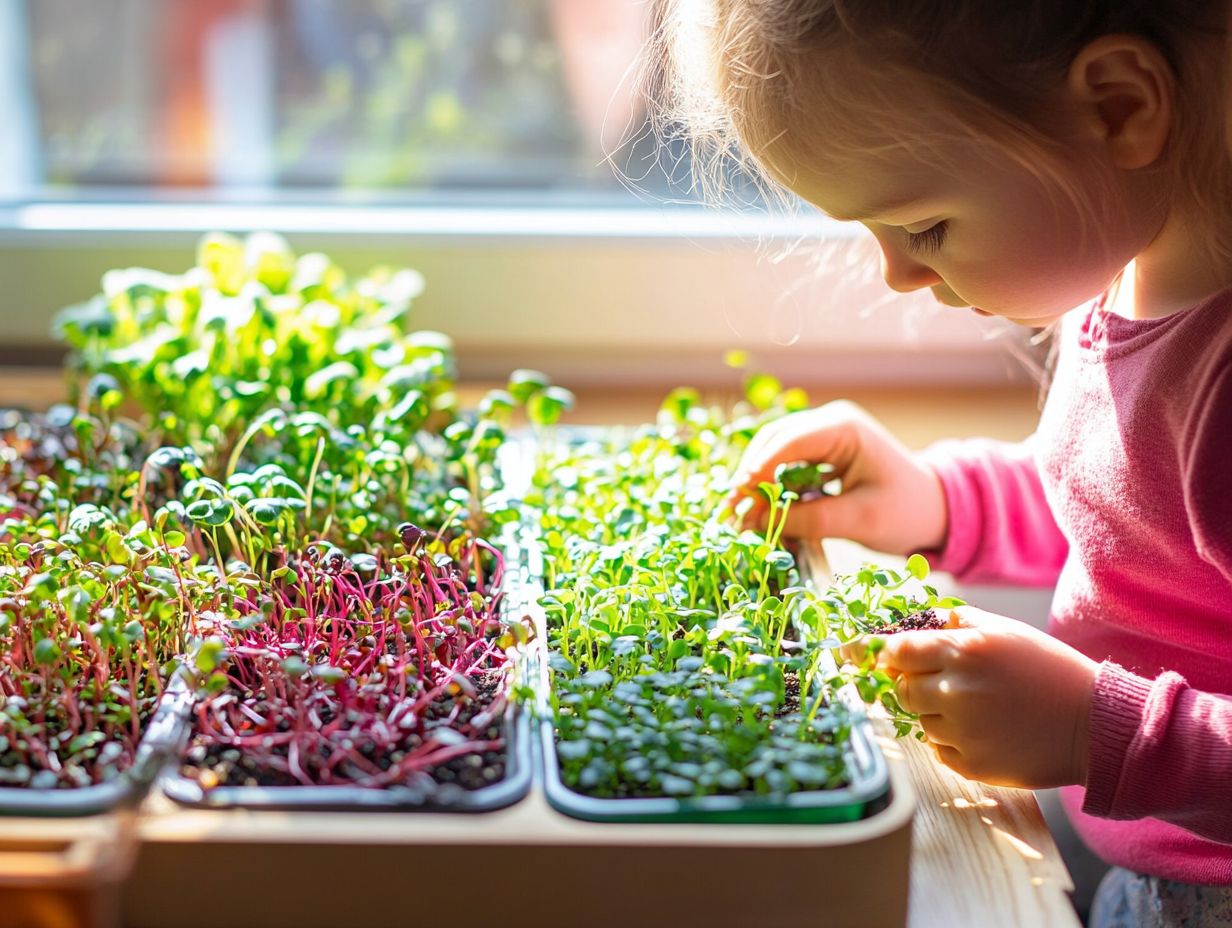
Microgreens are very flexible and can enhance many dishes. They are perfect for salads, sandwiches, smoothies, and even as toppings for pizza or pasta!
Get creative and try different flavor combinations to make your meals exciting and healthy.
3. How often should I water my microgreens?
Microgreens need to be watered daily. The amount of water depends on the type of microgreen and the growing conditions.
Keep the soil moist but not too wet. A good rule of thumb is to water until you see droplets forming on the soil’s surface.
4. Can I grow microgreens indoors?
Yes! You can also grow microgreens indoors, which is perfect for those with limited outdoor space or who live in colder areas.
Place your microgreens near a sunny window or use grow lights for the best results!
5. How long does it take for microgreens to grow?
The time it takes for microgreens to grow varies by seed type and conditions.
Most microgreens will be ready to harvest in 1-2 weeks, though some may take up to 3-4 weeks. Check the seed package for the best guidance.
6. Can I grow microgreens year-round?
Absolutely! One of the great things about microgreens is that you can grow them year-round, no matter the season.
Since they can be grown indoors, you can enjoy fresh microgreens even during the colder months. It’s a fun and accessible hobby for everyone!

