What Are the Best Microgreen Varieties for Beginners?
Microgreens are those delightful little powerhouses of nutrition that can elevate any dish with their vibrant flavors and textures. They’re incredibly easy to grow, making them a fantastic choice for both novice and seasoned gardeners alike, and they come packed with a multitude of health benefits.
In this article, you’ll explore the diverse types of microgreens, uncover their impressive nutritional value, and learn about the significant cost savings they can provide. You ll find guidance on selecting the right varieties, gathering essential supplies, and following a straightforward step-by-step growing process.
You ll also get troubleshooting tips for common challenges that might arise.
Dive into the exciting world of microgreens and transform your meals today!
Contents
Key Takeaways:
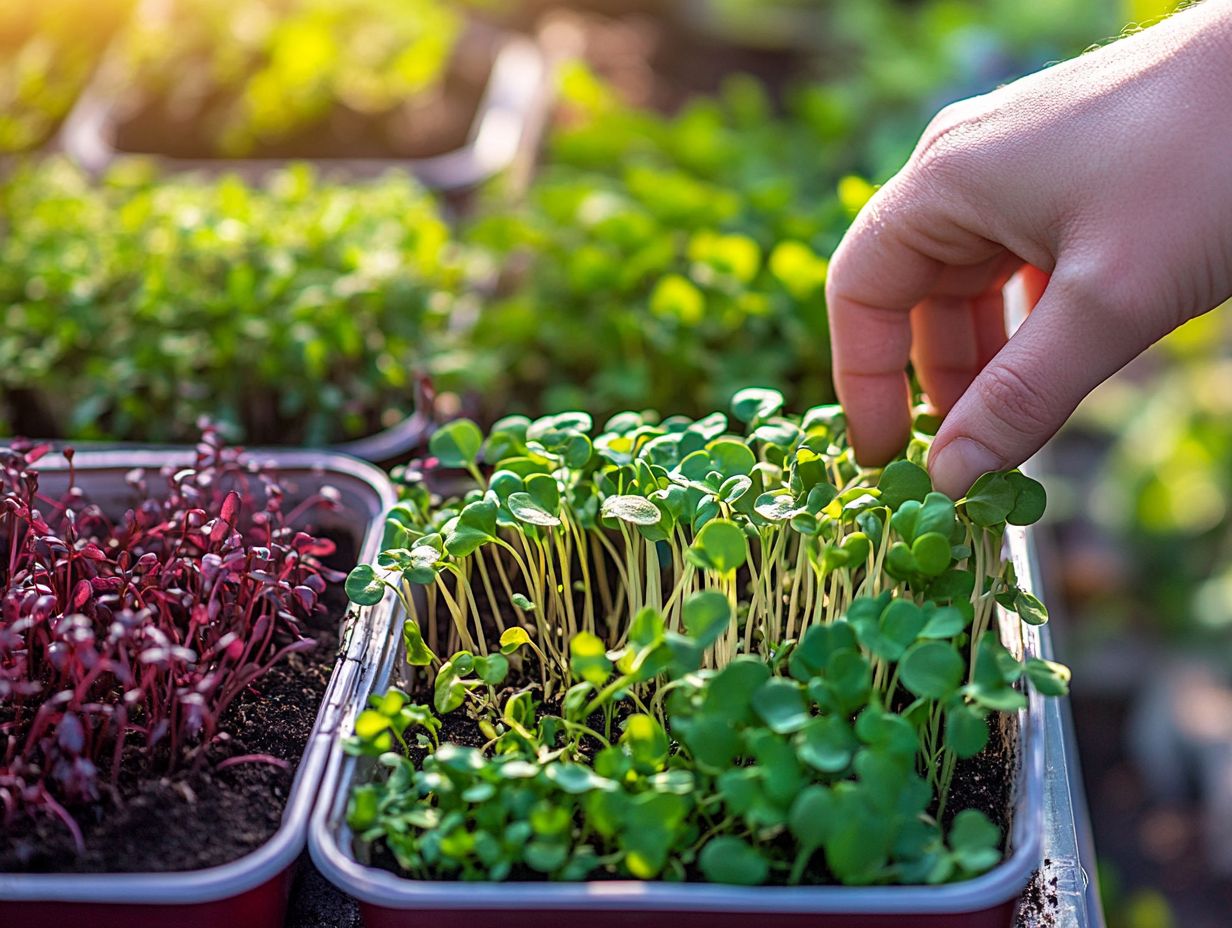
- Microgreens are young, edible plants that are nutrient-dense and easy to grow.
- Consider taste and grow time when choosing varieties like arugula and sunflower.
- Basic supplies needed include seeds, soil, and trays; follow a simple guide for success.
What Are Microgreens?
Microgreens are your ticket to a burst of flavor and vibrant colors that can truly elevate any dish. These young, edible plants are harvested just after the first true leaves appear and are typically grown from the seeds of Brassica family vegetables and herbs, like broccoli, cabbage, and kale.
Their high nutritional value is turning heads in the world of home gardening and growing food in cities, thanks to their many health benefits and the ease with which they can be cultivated. Packed with vitamins, minerals, and antioxidants, microgreens offer a sustainable solution for fresh produce in urban environments.
What sets microgreens apart from sprouts is their growing process: they flourish in soil and are harvested at a later stage, resulting in a more developed flavor and texture. You ll start by densely sowing seeds in trays, giving them the attention they need regarding light, moisture, and temperature. This careful nurturing fosters a rapid growth cycle, typically lasting between 7 to 21 days.
Not only does this method maximize space, but it also enhances the nutritional profile, making microgreens a go-to for chefs and health enthusiasts alike.
As urban farms increasingly pop up, these greens offer a fantastic way to incorporate fresh produce into city diets, proving that even the smallest spaces can yield significant benefits.
Benefits of Growing Microgreens
Growing microgreens at home presents a wealth of benefits that extend far beyond simply enhancing the flavor of your dishes. These tiny greens are brimming with health benefits and promote sustainable living through efficient food production.
By integrating these nutrient-dense plants into your gardening routine, you re not only securing a fresh supply of produce but also engaging in a fulfilling practice that bolsters your health and wellness.
Whether you re a seasoned gardener or just dipping your toes into the world of gardening, the simplicity and rapid growth of microgreens make them an ideal choice for anyone eager to elevate their diet and enrich their living space.
Start your microgreens journey today and enjoy fresh, flavorful produce right from your home!
Nutritional Value and Cost Savings
Microgreens deliver impressive nutritional value. They also offer significant cost savings compared to store-bought fresh produce.
Many microgreens have higher levels of vitamins and minerals than mature plants. You can boost your health benefits while reducing your grocery bill.
Among the popular varieties, arugula stands out with its peppery flavor and abundant vitamins A, C, and K. Meanwhile, kale serves up a concentrated source of antioxidants and essential nutrients that promote overall health.
Watercress, known for being nutritious, provides impressive amounts of calcium, magnesium, and iron. These nutrients support everything from bone health to better circulation.
Cultivating these vibrant greens in your indoor space or backyard gives you access to fresh, nutrient-rich food. Start growing today for fresh, nutrient-packed food right at your fingertips!
The initial investment in seeds and growing supplies quickly pays off as you reduce your reliance on pricey organic produce. Growing your own microgreens encourages healthier eating habits and is fun!
Choosing the Right Microgreen Varieties
Choosing the right microgreen varieties is essential for elevating your home gardening experience. It profoundly influences flavor, appearance, and nutritional value.
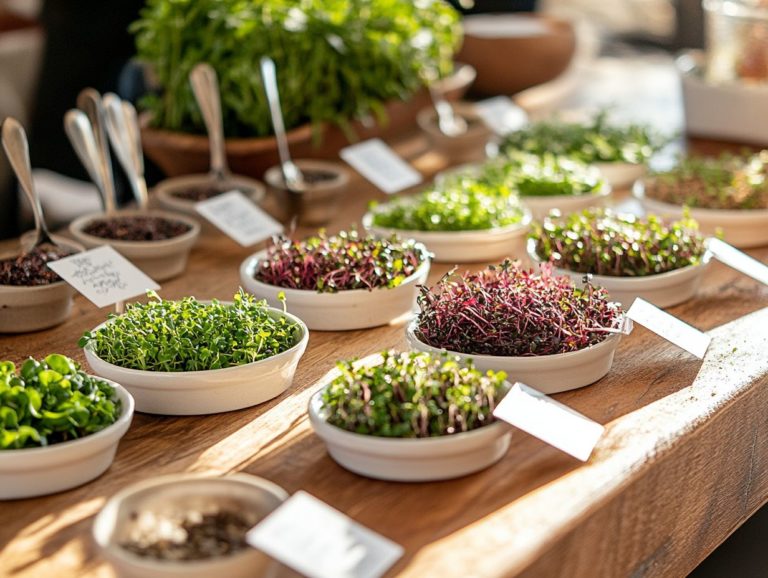
With an abundance of options like radish, onion, and salad microgreens at your disposal, grasping the unique characteristics of each variety enables you to make informed choices.
Consider factors like growing conditions and personal taste. This will enhance your enjoyment of the process and allow you to embrace sustainable living by effectively cultivating your own nutrient-rich greens.
Factors to Consider
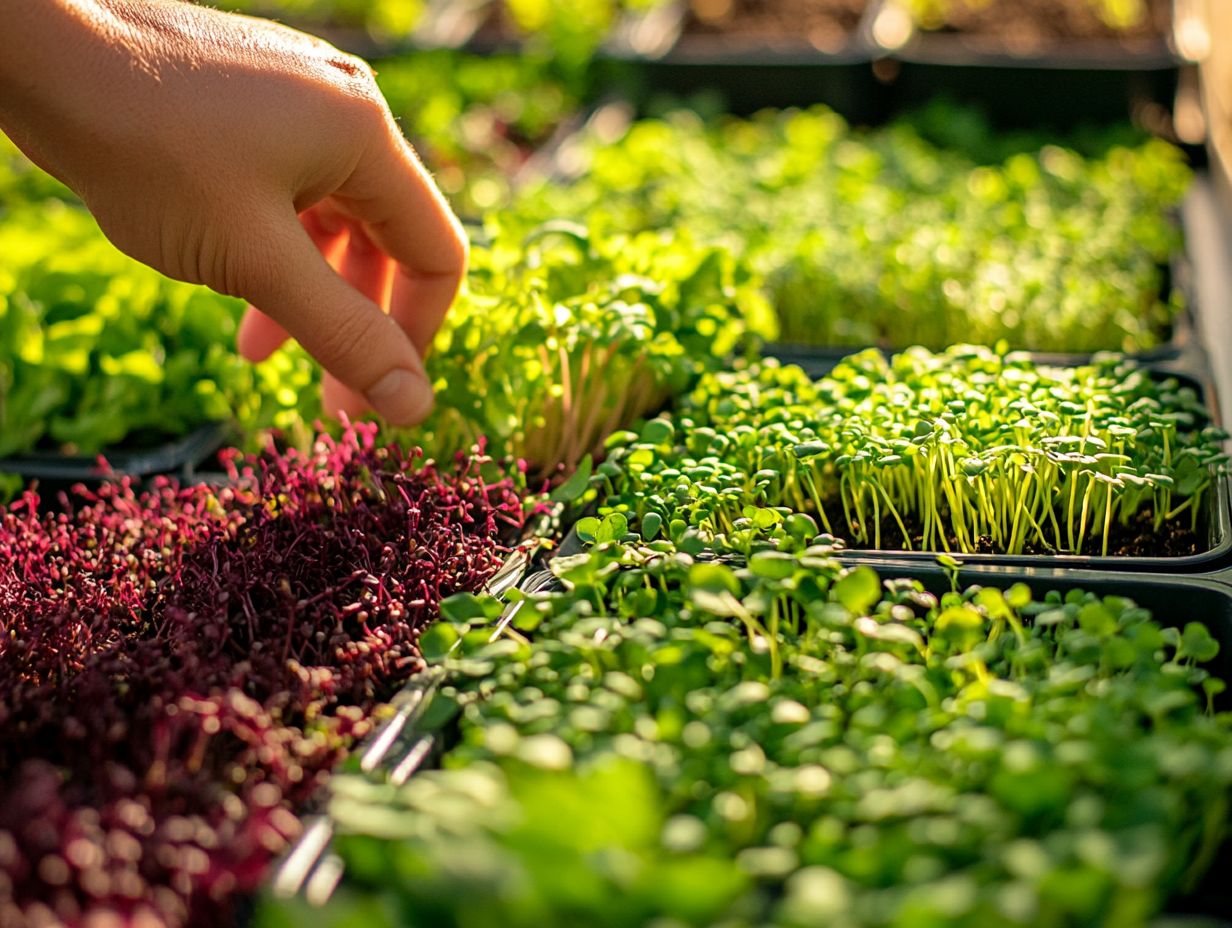
When choosing microgreen varieties, you must consider several key factors to ensure optimal growth. Important aspects include light requirements, soil medium, and the nutrient richness of your selected species.
Understanding the specific needs of each variety like the amount of sunlight and type of soil they thrive in will significantly enhance your chances for a successful harvest.
For instance, some species flourish in direct sunlight, while others prefer partial shade. Inadequate lighting can hinder growth and affect the flavor profile of your greens.
The choice of soil medium also plays a pivotal role. Organic mixes can offer essential nutrients and proper drainage, promoting robust root development.
Opting for nutrient-dense microgreens like kale or radish can elevate the overall quality of your harvest and provide substantial health benefits. By being mindful of these factors, you support a thriving garden and enrich the culinary experiences of everyone who enjoys your fresh produce.
Best Microgreen Varieties for Beginners
For anyone venturing into the world of home gardening, choosing beginner-friendly microgreen varieties can transform the growing experience into something enjoyable and successful. These varieties also offer delightful culinary and health benefits, inspired by top chefs on Instagram.
Consider varieties like broccoli, kale, and arugula. These are not only straightforward to cultivate, but they also boast impressive nutritional value, making them perfect picks for novice gardeners.
With a few simple growing tips and minimal requirements, these microgreens can flourish in a range of settings. You ll be able to savor fresh produce straight from your own home.
Top Picks and How to Grow Them
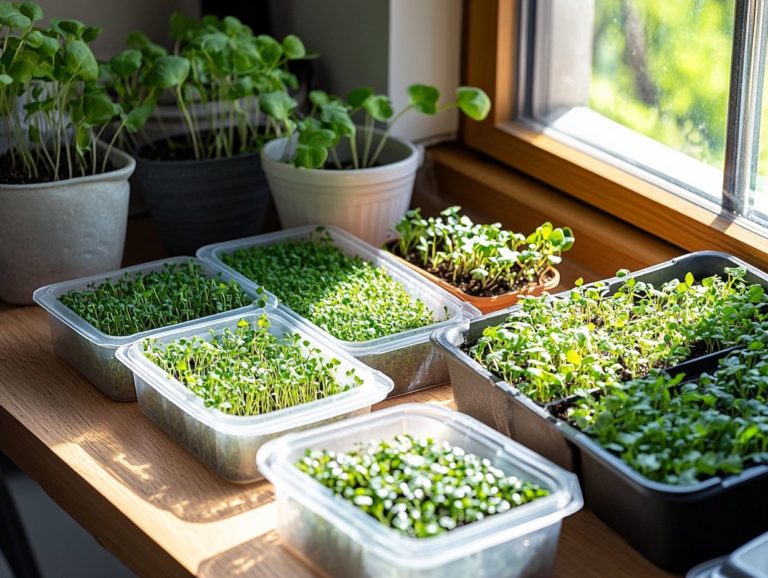
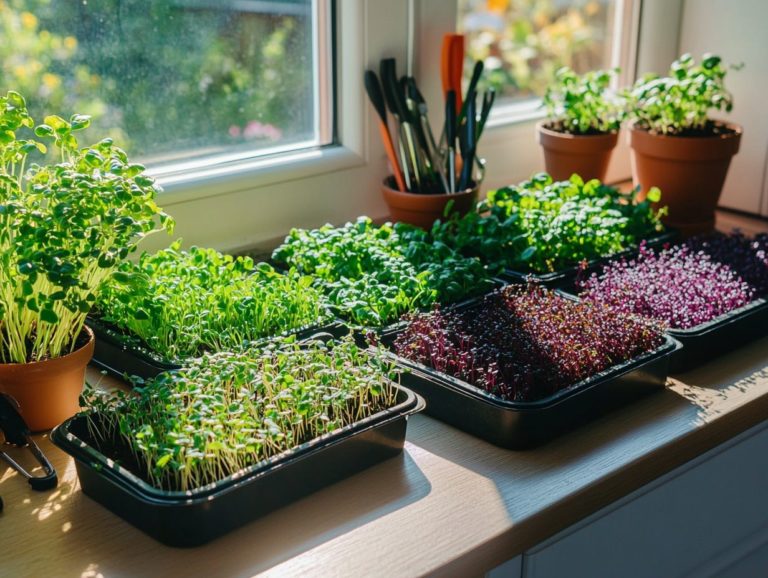
Some top picks for beginner microgreens include broccoli, arugula, and radish. Each offers unique flavors and easy growing tips, perfect for any home gardening setup.
Growing these microgreens not only enhances your dishes but also provides fresh, sustainable produce whether indoors or outdoors.
Start with broccoli microgreens. They have a mild, slightly peppery flavor and are packed with nutrients. These greens thrive in well-draining soil and need about 5-7 days of care.
Arugula has a strong, peppery taste, adding a zesty kick to salads and sandwiches. For best results, sow them densely in trays and keep them moist.
Radish microgreens are crunchy with a spicy bite, growing quickly, often ready in just 5 days.
These microgreens not only enhance your dishes but also add vibrant colors and flavors. When choosing a growing medium, pick one that retains moisture while allowing for good drainage to support healthy growth.
Supplies and Equipment for Growing Microgreens
Investing in the right supplies is crucial for growing microgreens at home. This ensures you have a steady source of fresh produce.
Key essentials include seed trays, a high-quality soil medium, and suitable lighting for healthy growth. With the proper tools, you can streamline the growing process and enjoy the health benefits of home-grown greens.
Essential Tools and Materials
The essential tools for cultivating microgreens include seed trays, quality soil, and a light source. These elements create an ideal environment for plant growth.
Consider using germination domes to keep moisture and humidity, especially in the early stages. A sharp pair of scissors for harvesting and a spray bottle for watering will increase your efficiency!
Many home gardening enthusiasts recommend brands like peat-free soil for sustainability and LED grow lights for energy efficiency.
By equipping yourself with recommended tools and quality materials, you can enhance your growing experience and enjoy bountiful yields of nutritious microgreens at home.
Step-by-Step Guide to Growing Microgreens
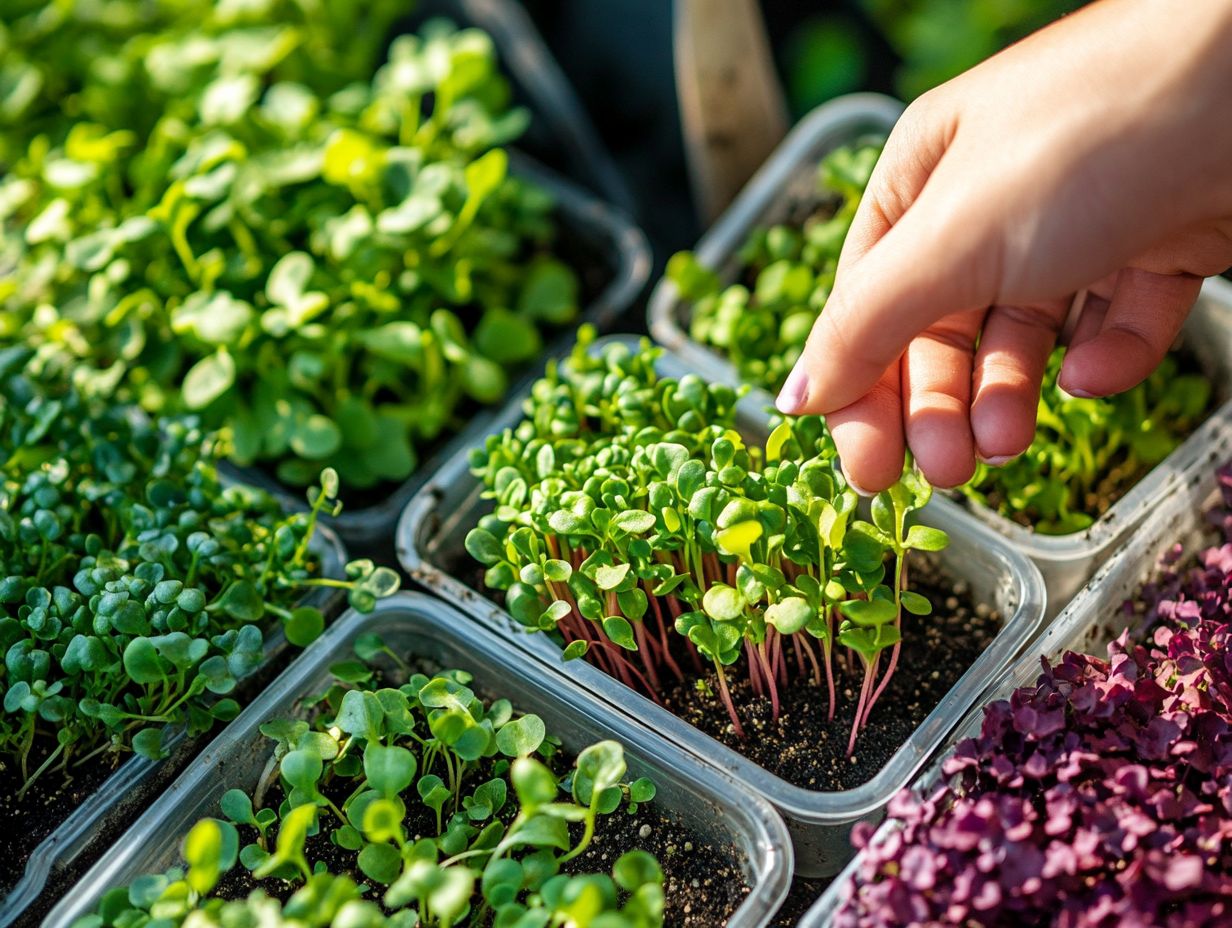
This step-by-step guide will take you from seed to harvest, ensuring even beginners can thrive in their home gardening efforts.
The journey begins with:
- Selecting the ideal seeds
- Preparing your soil medium
- Sowing the seeds carefully
Pay attention to light, water, and temperature as you nurture your microgreens. Soon, you’ll enjoy the rewards of fresh, nutrient-rich produce from your own home!
From Seed to Harvest
The journey from seed to harvest in growing microgreens is an art that blends essential techniques. These techniques ensure a bountiful yield for both novice and seasoned gardeners.
Begin by soaking your seeds to kickstart the process. Then, prepare your soil medium. Once that s set, sprinkle the seeds evenly across the surface, and keep the moisture levels just right throughout the germination phase.
With attentive care for light and watering, you ll soon enjoy the rewards of your microgreens, enhancing your kitchen’s fresh produce supply.
Daily monitoring is crucial; ensure the soil remains consistently moist, but avoid waterlogging. After about a week, provide adequate sunlight or use grow lights to nurture healthy growth, keeping those seedlings tall and vibrant. If overcrowding occurs, don t hesitate to thin them out it promotes better airflow and overall health.
When your microgreens reach a delightful 2 to 3 inches in height, they re ready for harvest. Armed with sharp scissors, snip them just above the soil line. This careful technique retains the roots, giving you the option for potential regrowth if you choose.
Enjoy your freshly harvested greens in delicious salads, sandwiches, or smoothies, elevating your culinary creations.
Troubleshooting Common Issues
Troubleshooting common issues in growing microgreens is an essential skill you should develop to ensure a healthy and productive crop. Challenges like pests, diseases, and stunted growth can often be tackled through proper care and a keen understanding of specific symptoms.
Honing your ability to identify and address these challenges can create a thriving home gardening environment that produces nutritious microgreens all year round.
How to Address Pests and Diseases
Addressing pests and diseases in your microgreens is vital for preserving the health and yield of your crop. Regular inspections for signs of pest infestations or disease symptoms are crucial to act quickly before problems worsen. You will often encounter common pests like aphids, mold, and damping off, a fungal disease that can kill seedlings.
By using organic remedies and adhering to best growing practices, you can safeguard your plants and secure a successful harvest.
Incorporating strategies such as crop rotation and proper spacing significantly reduces the likelihood of pest problems and diseases. Introducing beneficial insects like ladybugs can help control aphid populations naturally, sparing you the need for chemical treatments.
Maintaining optimal humidity levels and ensuring adequate airflow are crucial for preventing mold. When issues do arise, consider organic solutions like neem oil or diatomaceous earth; these can effectively manage outbreaks while remaining safe for your edible crops. By understanding the specific threats to your microgreens and employing proactive measures, you can preserve the integrity and vitality of your harvest.
Frequently Asked Questions
What Are the Best Microgreen Varieties for Beginners?
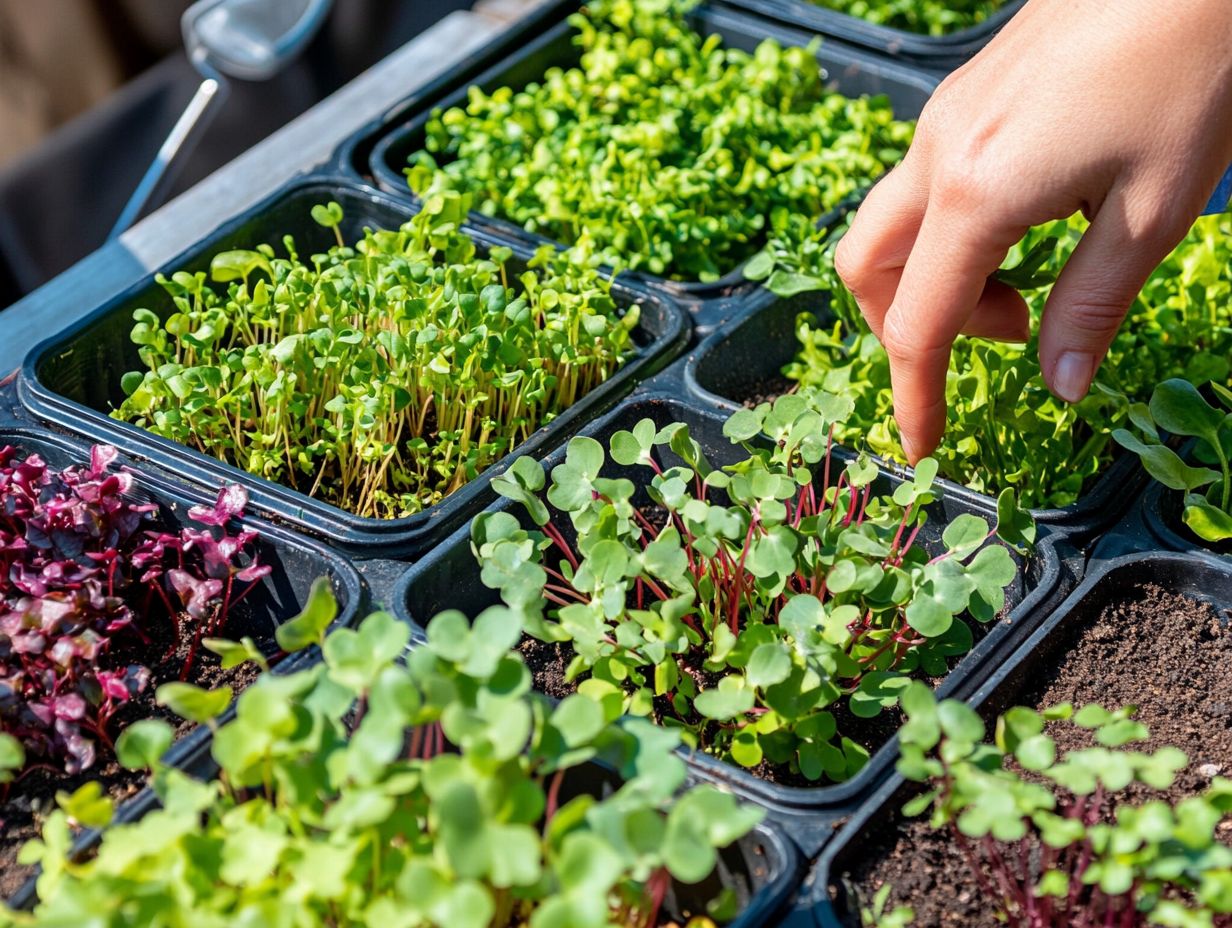
The best microgreen varieties for beginners include broccoli, radish, sunflower, pea shoots, kale, and arugula.
What are the benefits of growing microgreens?
Microgreens are packed with nutrients, easy to grow, and add a burst of flavor and color to dishes. They are also a great way to introduce more vegetables into your diet.
What type of container should I use for growing microgreens?
You can use a shallow tray or a container with drainage holes for growing microgreens. It’s important to ensure the container is clean and can hold enough soil for the seeds to grow.
How long does it take for microgreens to grow?
Most microgreens will be ready to harvest within 7-14 days. Some varieties, like sunflower and pea shoots, may take a little longer.
Can I grow microgreens indoors?
Yes, microgreens can be grown indoors as long as they have access to sunlight or a grow light and proper ventilation. They can also be grown outdoors, depending on the climate and season.
Do I need special soil to grow microgreens?
Want to grow your own fresh microgreens at home? It s easier than you think! You can use potting soil, compost, or a mix of both.
Just make sure the soil isn’t too compact and allows water to flow through easily. This helps your microgreens thrive!


