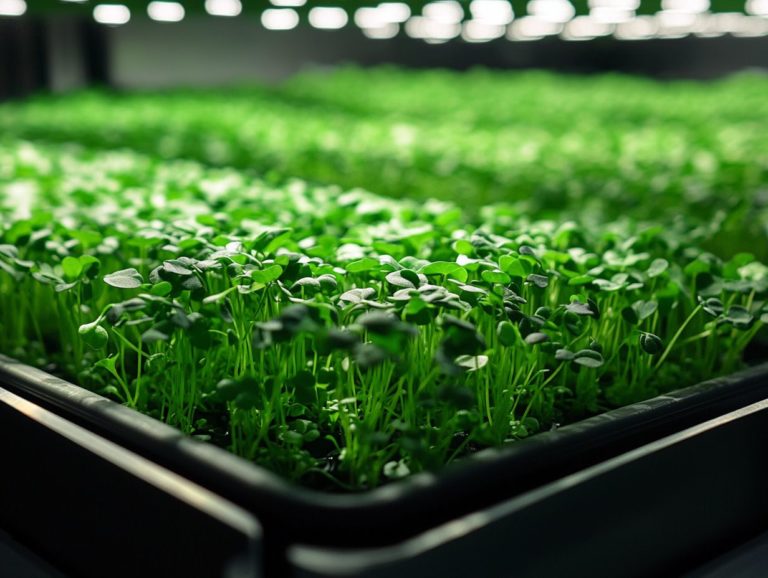
What Containers Can I Use for Microgreens?
Growing microgreens at home is not just rewarding; it s a truly delightful way to make your meals more exciting. These little greens are bursting with flavor and nutrients. They are an ideal addition to your salads, sandwiches, and garnishes, especially when using eco-friendly containers for freshness.
This guide will take you through the essentials of cultivating microgreens. You’ll learn what they are and the incredible benefits they offer. We will also cover sustainable methods that are good for the environment and packaging specifications. You’ll learn how to pick the right container and soil, as well as the best planting techniques and care tips.
It will all culminate in best practices for harvesting and incorporating your homegrown greens into your meals.
Get ready to dive in! It’s easy to enjoy fresh microgreens all year round!
Contents
- Key Takeaways:
- The Basics of Growing Microgreens
- Choosing the Right Container
- Preparing the Container for Planting
- Planting and Caring for Microgreens
- Harvesting and Using Microgreens
- Frequently Asked Questions
- What containers are suitable for growing microgreens?
- Can I use any type of soil for growing microgreens?
- Do I need drainage holes in my microgreens container?
- Are there any specific containers that are better for growing microgreens?
- Can I use glass containers for growing microgreens?
- How often do I need to water my microgreens?
Key Takeaways:
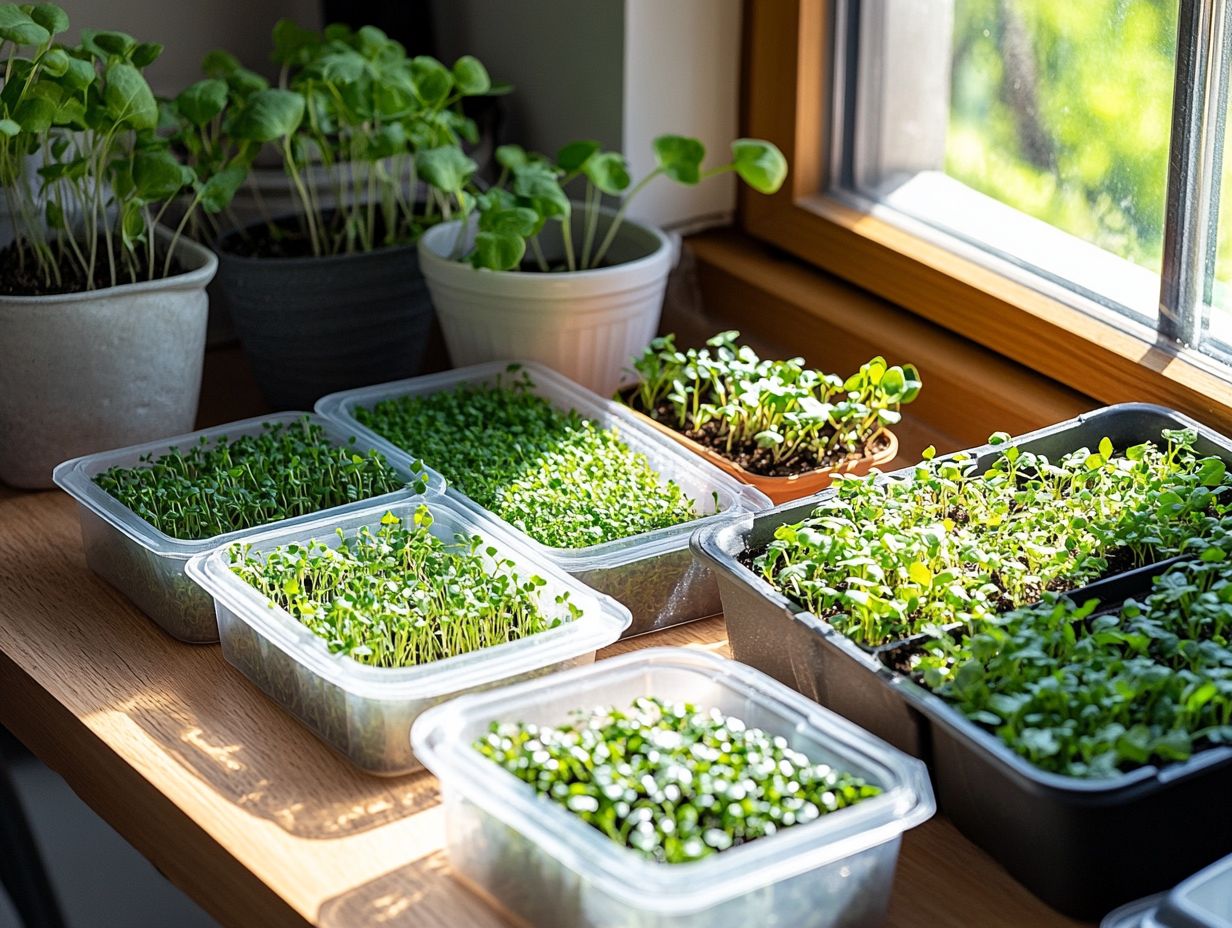
- Choose the right container based on size, drainage, and material to ensure successful growth of microgreens.
- Prepare your container by cleaning and sterilizing it, and selecting the appropriate soil for optimal growth.
- Harvest microgreens at the right time and explore various ways to use them in your cooking for added flavor and nutrition.
The Basics of Growing Microgreens
Growing microgreens requires understanding their distinctive traits and cultivation techniques. Their surging popularity in the food industry, particularly among consumers in Calgary, is noteworthy. These nutrient-dense plants offer a sustainable source of fresh produce and meet the growing demand for local agricultural products.
Grasping the fundamentals of microgreens can significantly elevate your gardening experience. This is especially true if you re thinking about adding them to your diet or incorporating them into your local business offerings.
What are Microgreens?
Microgreens are young, edible plants harvested just after the first true leaves appear. They are teeming with bold flavors and a wealth of nutritional benefits.
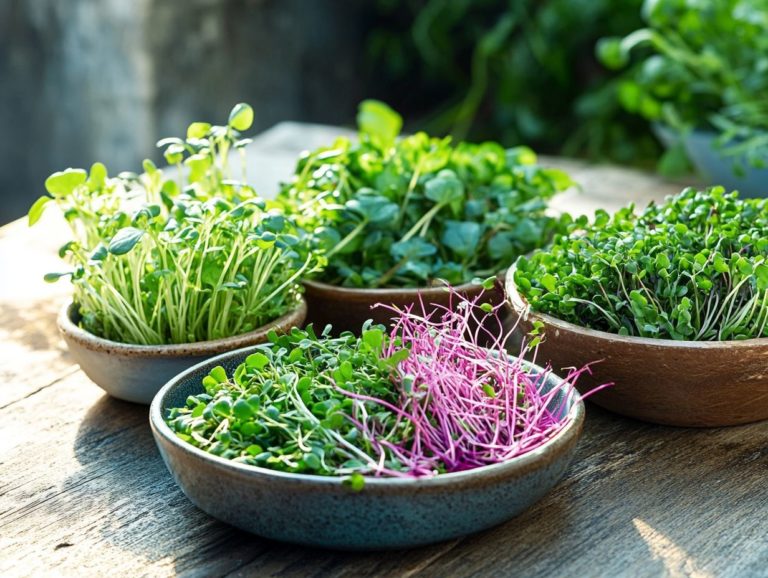
These tiny greens come in a stunning array, featuring varieties like arugula, basil, and radish. Each brings its unique taste to your cooking. For example, arugula delivers a spicy kick, while sweet basil infuses a refreshing aroma that elevates your sauces and salads.
As you explore new textures and flavors, the versatility of microgreens becomes apparent. They enhance gourmet dishes, smoothies, and sandwiches alike. Rich in vitamins A, C, and E, along with antioxidants, these miniature powerhouses not only improve your dining experience but also support your overall health. They are a cherished ingredient in both home kitchens and professional culinary settings.
Benefits of Growing Microgreens
Growing microgreens presents numerous benefits, from their impressive health perks to their remarkable ability to elevate flavors in various dishes. It’s no wonder they ve become a favorite among consumers and local markets alike.
These tiny powerhouses are brimming with essential vitamins, minerals, and antioxidants. They can significantly bolster your overall health by strengthening your immune system and combating inflammation. The advantages don t stop there; microgreens also play a vital role in sustainable agriculture. They can be cultivated in compact spaces with minimal resources, effectively reducing the environmental footprint of food production.
Their vibrant colors and diverse flavors are sure to captivate your culinary senses, sparking creativity in your kitchen endeavors. As more consumers seek health-conscious and environmentally friendly options, the trend of incorporating microgreens into diets is thriving, offering a delicious pathway to wellness.
Choosing the Right Container
Choosing the right container for cultivating microgreens is crucial for fostering proper growth and achieving the best possible results. With a variety of options available like biodegradable clamshells and eco-friendly containers you can find the perfect fit tailored to your specific needs.
What microgreens are you excited to try growing? Start growing your microgreens today and taste the difference in your meals!
Considerations for Container Selection
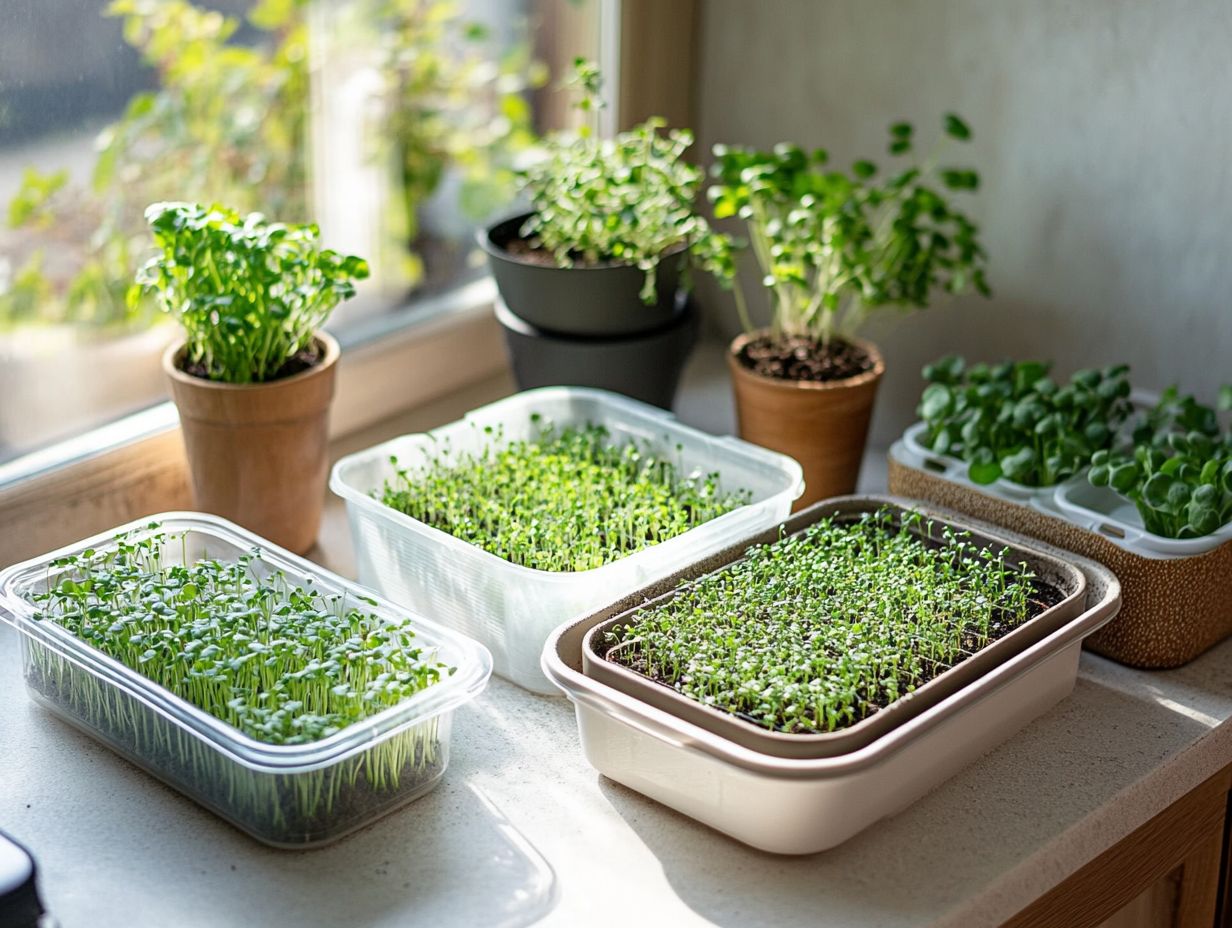
When selecting a container for microgreens, consider key factors like drainage holes, material strength, and size. These factors create the perfect environment for growth.
Containers with adequate drainage holes are essential. They allow excess water to escape, preventing root rot and promoting healthier plants.
The choice of material is significant too. Plastic containers are lightweight, while wooden or biodegradable options are more eco-friendly.
Size matters as well. Different microgreens have varying space requirements. Smaller varieties like radishes need less depth than larger ones like sunflowers.
Thoughtful container selection enhances your growing experience and improves your yield quality.
Popular Container Options
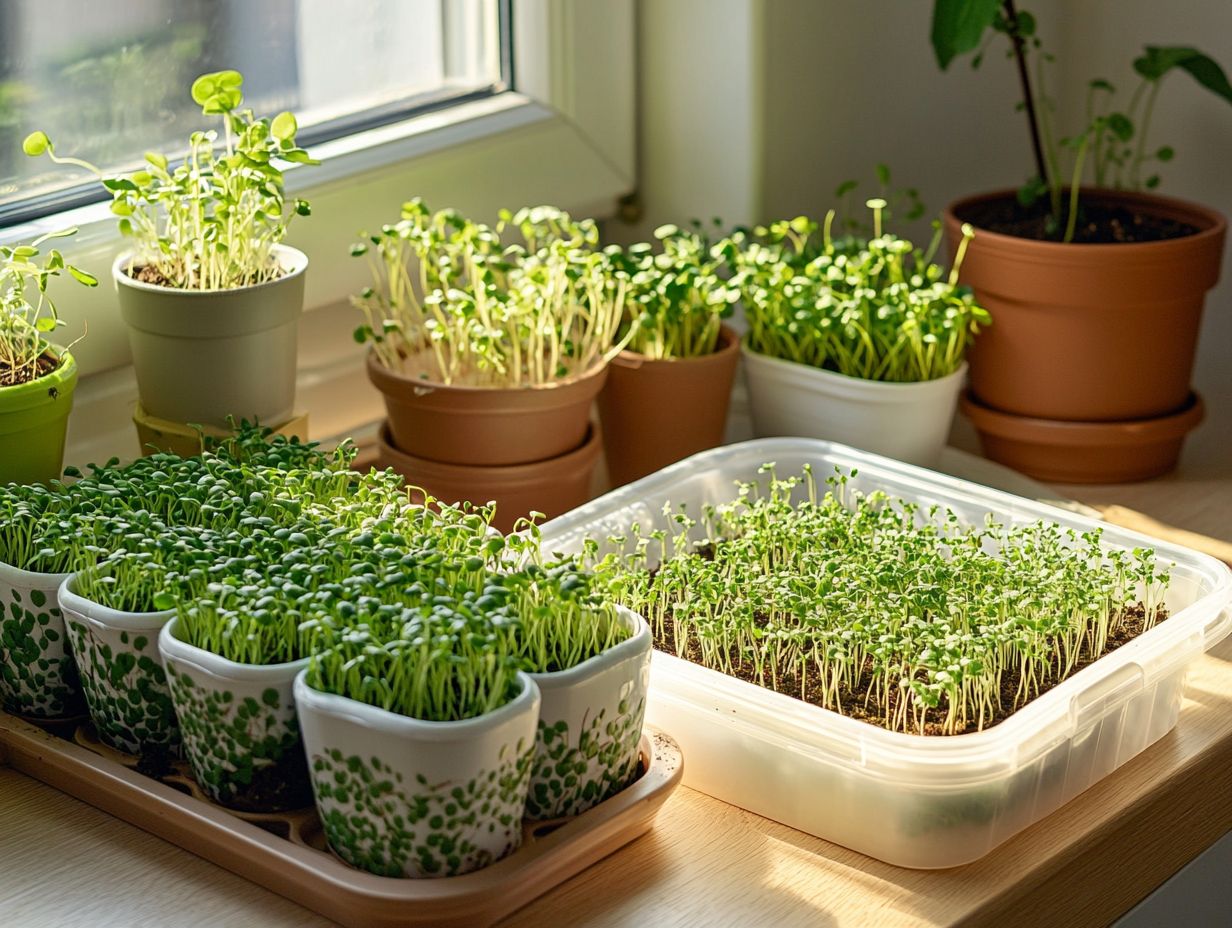
Many popular container options exist for growing microgreens. These include biodegradable clamshell containers and eco-friendly packaging solutions.
These containers reduce plastic waste. They support environmental health by breaking down naturally over time.
As a consumer, you likely seek practical alternatives that are mindful of your ecological footprint. This demand has led to options like compostable trays and recycled paper pots.
Many brands focus on recyclable materials. This significantly reduces landfill waste and conserves resources.
By choosing sustainable containers, you create an optimal growth environment for your microgreens and align with a health-conscious, eco-friendly community.
Preparing the Container for Planting
Preparing your container for planting microgreens requires careful attention. Begin with a thorough cleaning and sterilization process.
This establishes a pristine environment that fosters healthy growth. Use an appropriate soil mix, like coir, along with a reliable water source.
A good drainage system is also vital. This careful preparation sets the stage for thriving microgreens.
Cleaning and Sterilizing the Container
Cleaning and sterilizing your containers are essential. These steps ensure both food safety and a disease-free environment.
Use effective cleaning agents to eliminate harmful bacteria and pathogens. Start by scrubbing containers with hot, soapy water.
Pay close attention to residues that encourage microbial growth. Rinse thoroughly and soak in a diluted bleach solution or hydrogen peroxide for extra disinfection.
This thorough process maintains high hygiene standards. Ensure containers are completely dry before use to prevent mold and mildew.
Choosing the Right Soil
Choosing the right soil is essential for your microgreens. Options like coir and specialized seed starting mixes offer the right balance for vibrant growth.
The appropriate medium influences germination rates and overall plant health. For instance, coir, from coconut husks, provides excellent aeration and moisture retention.
Seed starting mixes often blend peat moss with perlite or vermiculite. This creates a light structure that encourages root development.
Balance between drainage and water-holding capacities is crucial. A well-balanced soil allows roots to breathe and receive hydration during early growth.
Planting and Caring for Microgreens
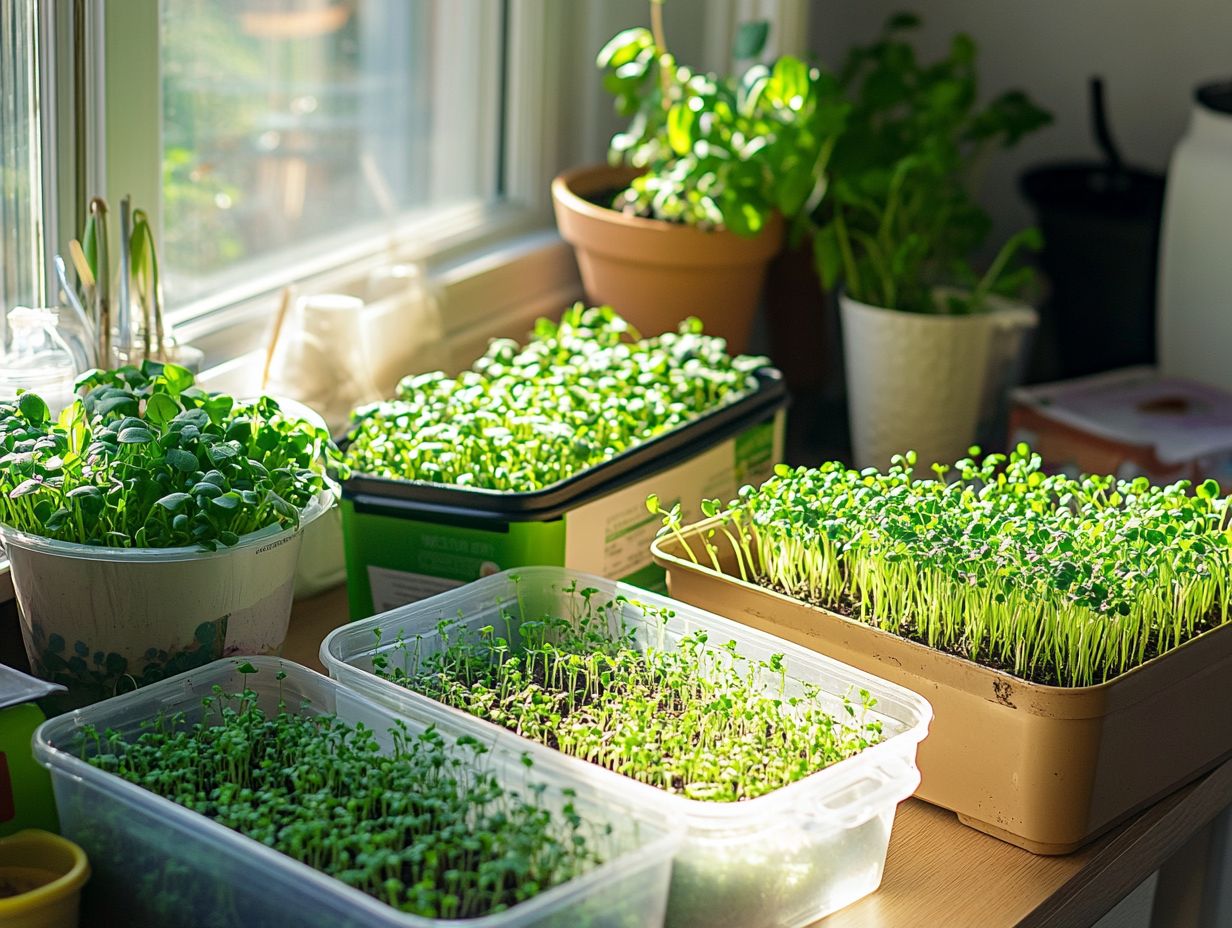
Employing proper planting techniques and providing ongoing care is essential for achieving successful microgreen production. Ensure that every phase from seed selection to growth is nurtured with adequate water and, if needed, grow lights.
Planting Techniques
Effective planting techniques for microgreens focus on seed spacing, depth, and coverage for optimal growth and yield.
Understand the specific needs of each microgreen variety. Leafy greens like arugula or radish thrive when seeds are spaced about one inch apart, promoting excellent air circulation. In contrast, delicate varieties such as basil or parsley flourish with closer spacing around half an inch, which helps them develop robust flavors. Additionally, knowing what soil is best for microgreens can further enhance their growth.
Aim to sow seeds at a shallow level, typically between 1/8 to 1/4 inch. This ensures they make contact with the soil while still getting the light they need. Lightly covering the seeds with soil enhances moisture retention, giving them the best chance to germinate and grow into a lush, nutritious harvest.
Caring for Microgreens
To keep your microgreens thriving, make sure they get plenty of sufficient water, the right light conditions, and essential nutrients the substances plants need to grow, like vitamins and minerals.
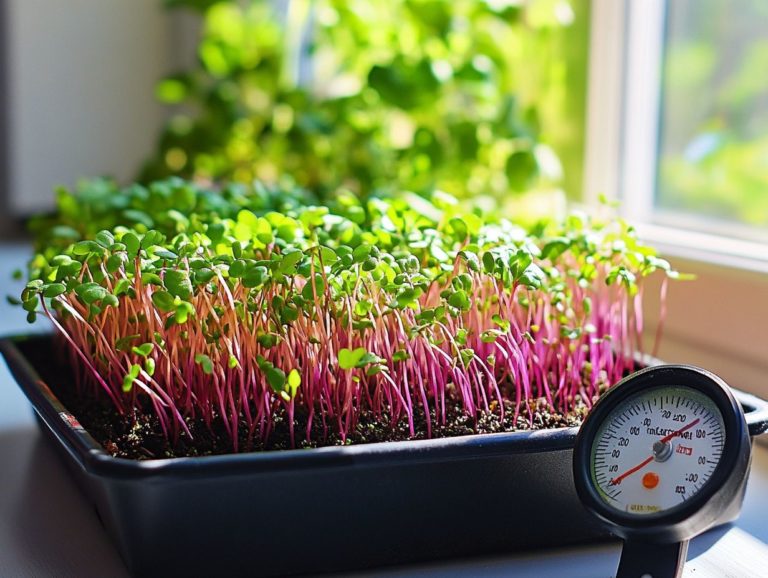
Achieving the ideal moisture level is crucial. Overwatering can lead to mold, while allowing them to dry out can stifle growth. Ensure that light exposure mimics natural sunlight aim for about 12 to 16 hours each day to keep those greens vibrant!
Using organic fertilizers significantly enhances the development of these tiny plants, giving them the richness they need to thrive.
By paying attention to these key elements, you can cultivate healthy microgreens that flourish and deliver impressive health benefits when consumed.
Harvesting and Using Microgreens
Harvesting microgreens at the optimal moment is essential for achieving maximum freshness and flavor! This meticulous timing enhances their culinary appeal and positions them as a valuable ingredient for various dishes and a sought-after product for local markets.
When to Harvest Microgreens
Timing is everything when it comes to harvesting microgreens. Pick them just before they fully mature to lock in their flavors and nutrients.
To savor the best taste and health benefits, keep a close eye on their growth stages. Most varieties hit their peak between 7 to 21 days after germination, when they re at their most vibrant and nutrient-rich. For example, if you harvest basil microgreens around 14 days, you ll enjoy their delightful aroma and sweet flavor. Meanwhile, mustard microgreens reach their robust flavor perfection at about 10 days.
Harvesting at the right time boosts their flavor and antioxidant levels! It s no wonder these little powerhouses are beloved by health-conscious eaters and chefs alike.
Ways to Use Microgreens in Cooking
Microgreens can easily improve your cooking, serving as vibrant garnishes, nutritious additions to salads, and robust flavor enhancers in your dishes.
These tiny greens are packed with essential nutrients and bold flavors. They elevate classic recipes like soups and sandwiches, adding both texture and visual appeal. With unique tastes ranging from peppery radish to sweet basil microgreens enhance dishes across various cuisines. Many chefs leverage their beauty to create stunning plating designs, turning even simple meals into culinary masterpieces.
You can also blend them into pesto or stir them into omelets, showcasing their impressive versatility in the kitchen. Whether you’re crafting a sophisticated dining experience or whipping up a casual weekday meal, incorporating microgreens can transform an ordinary dish into something truly extraordinary! To get started, check out what seeds can I use for microgreens?
Frequently Asked Questions
What containers are suitable for growing microgreens?
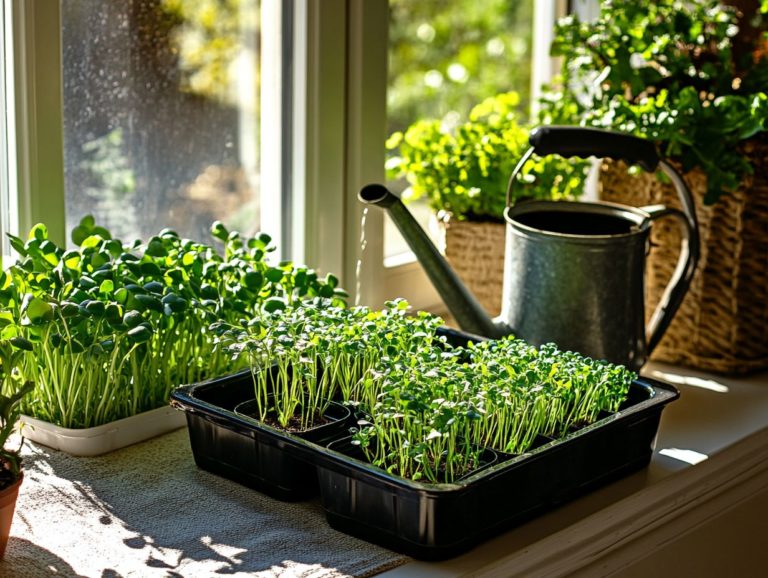
You can use several containers for growing microgreens, including plastic trays, shallow pots, seedling trays, and even recycled items like egg cartons or takeout containers.
Can I use any type of soil for growing microgreens?
Yes, you can use any quality potting mix or seed starting mix for growing microgreens. Avoid using garden soil or soil from your yard, as they may contain pests or diseases.
Do I need drainage holes in my microgreens container?
Yes, drainage holes are essential for healthy microgreens. They allow excess moisture to drain out and prevent root rot. If your chosen container doesn t have drainage holes, you can create some yourself using a drill or nail.
Are there any specific containers that are better for growing microgreens?
Yes, shallow containers are generally better for growing microgreens as they promote better air circulation and prevent water from pooling. Containers with clear lids are also ideal as they create a greenhouse-like environment for your microgreens to thrive in.
Can I use glass containers for growing microgreens?
While glass containers can be used for growing microgreens, they are not recommended due to the lack of drainage holes, which can lead to moisture buildup and mold. It s best to use plastic or ceramic containers with drainage holes.
How often do I need to water my microgreens?
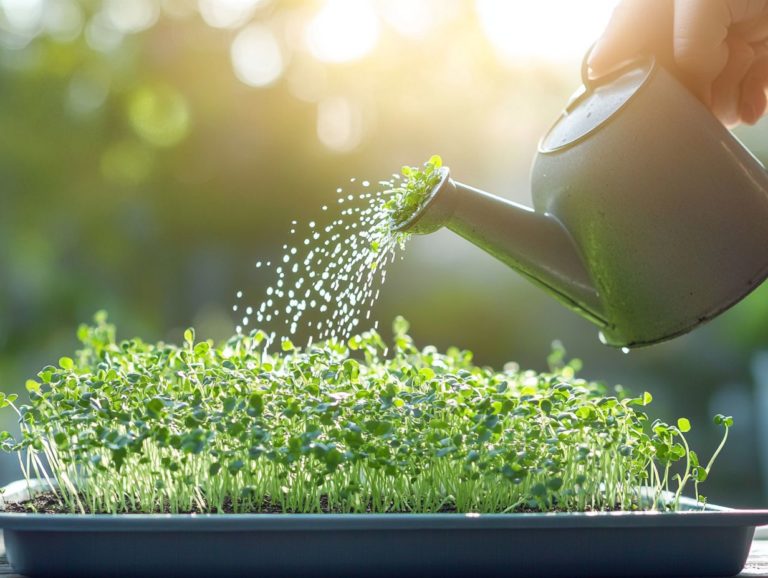
Microgreens should be watered once or twice a day, depending on the weather. It s important to keep the soil moist but not waterlogged. If your microgreens are growing in a dry or hot environment, you may need to water them more frequently.
Try growing your own microgreens today and experiment with them in your cooking!

