Essential Tips for Growing Microgreens at Home
Microgreens are delightful little powerhouses of flavor and nutrition that can elevate your dishes to new heights. By growing them at home through container gardening, you enhance your culinary creations while enjoying notable cost savings and nutritional benefits.
This article equips you with everything necessary to cultivate these vibrant greens. You ll find guidance on selecting the right seeds and essential supplies, along with a detailed step-by-step guide on planting and harvesting.
You’ll also find solutions to common challenges and discover inventive ways to incorporate healthy microgreens into your meals.
Get ready to transform your kitchen with vibrant flavors!
Contents
Key Takeaways:
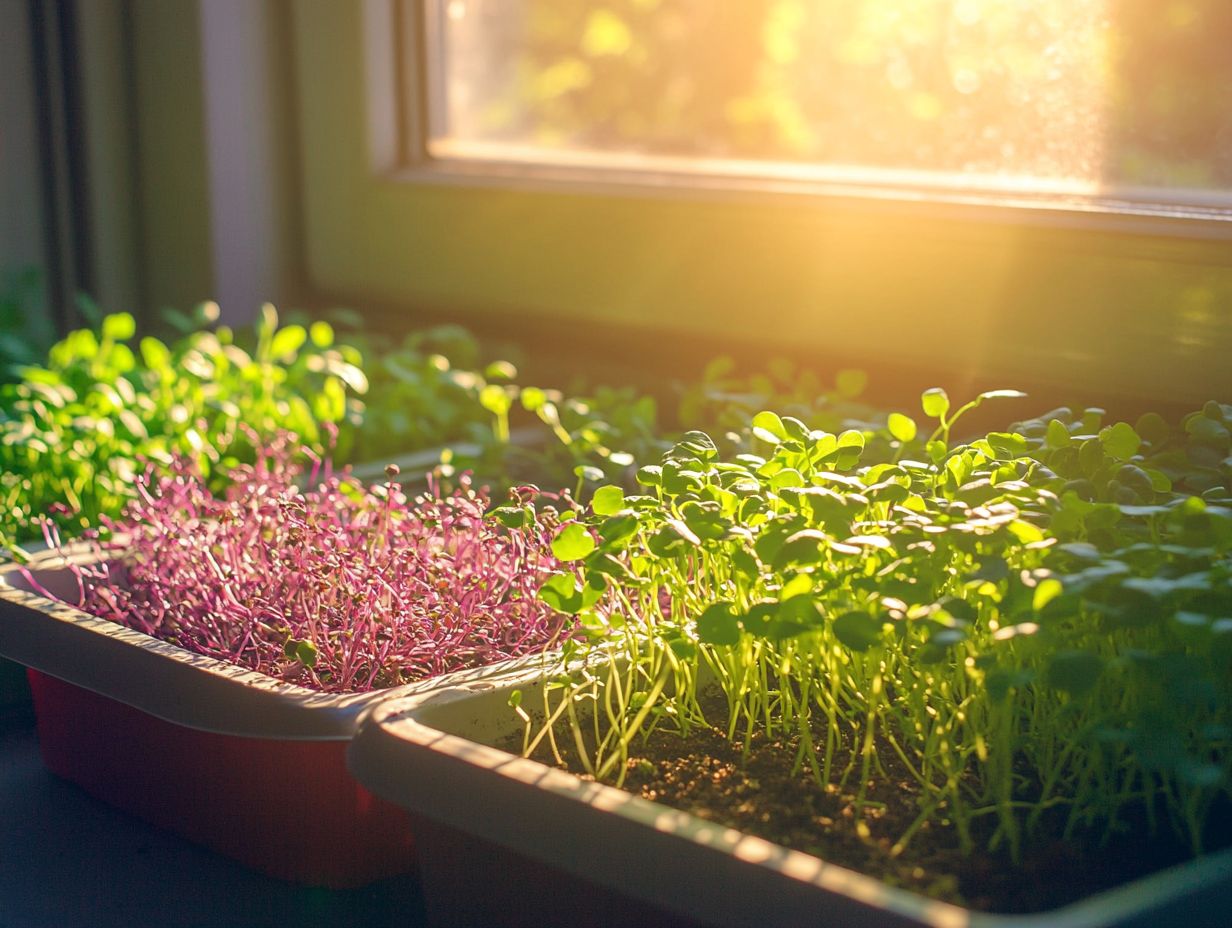
- Grow full of nutrients microgreens at home to save money and enhance your meals with vibrant flavors.
- Choose the right supplies and start growing today!
- Use microgreens in unique and delicious ways, like adding them to salads, sandwiches, smoothies, and more!
What are Microgreens?
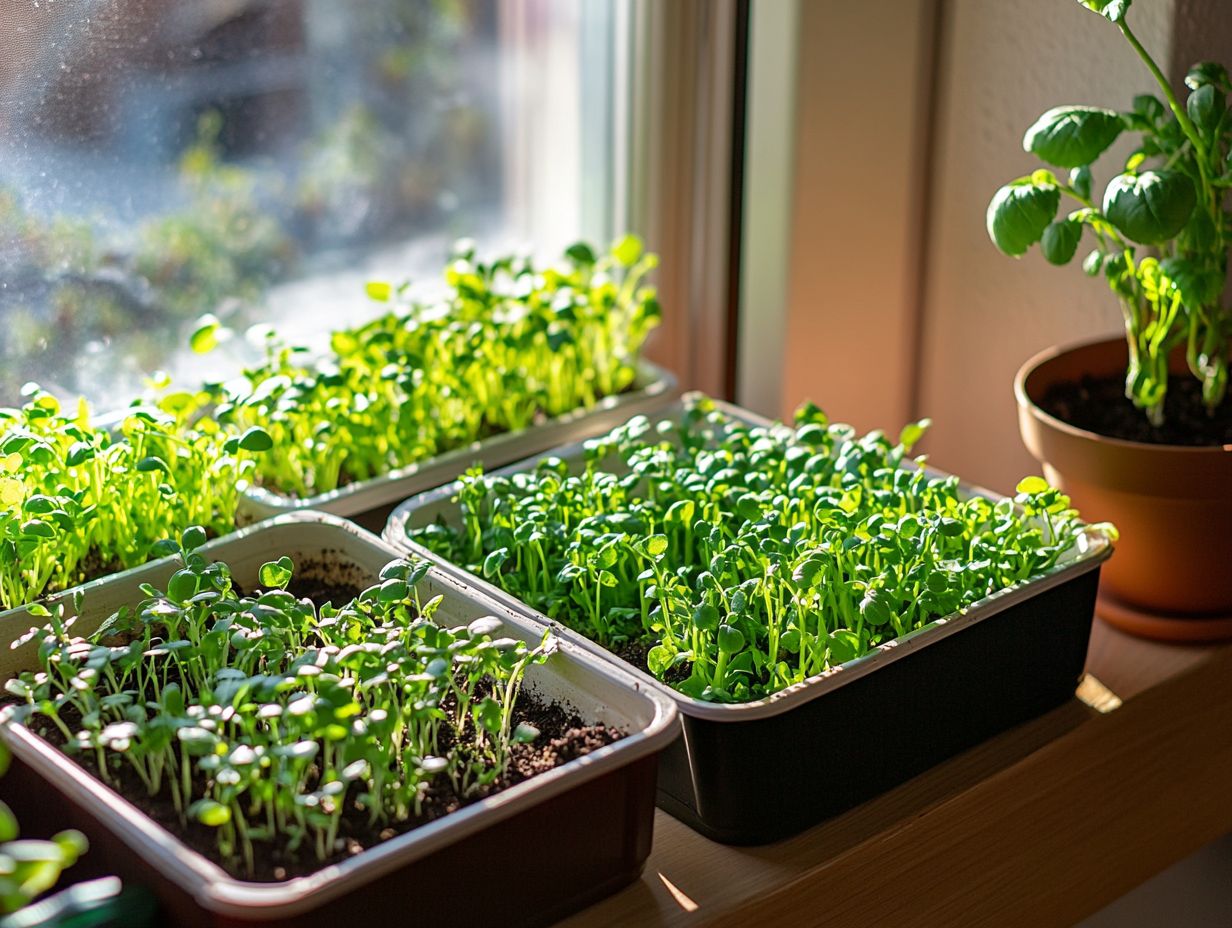
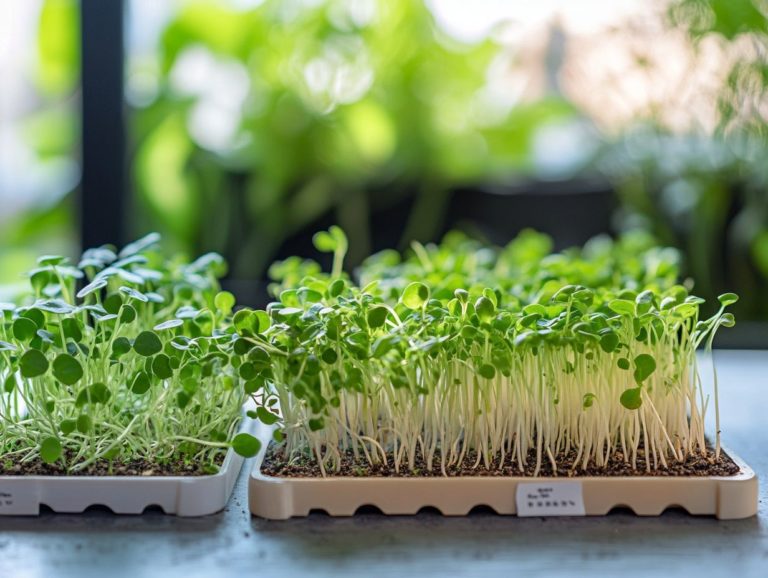
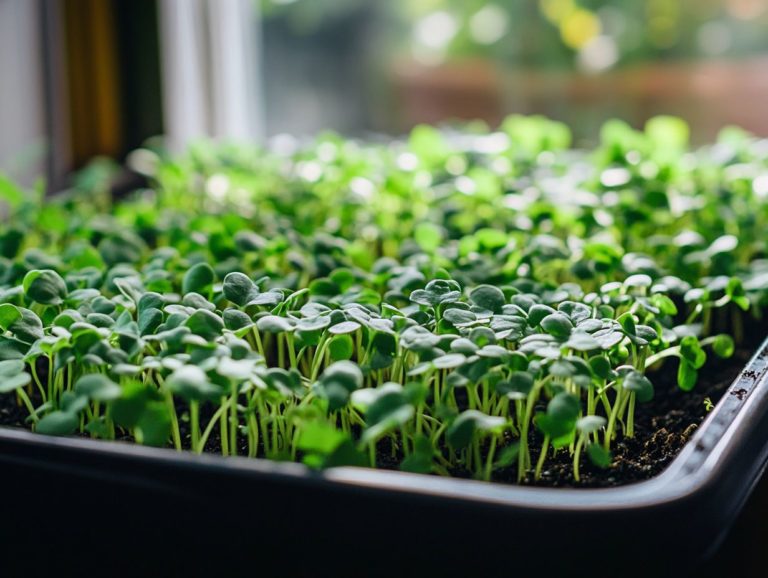
Microgreens are young plants harvested at an early growth stage, typically within 7 to 21 days after germination. You ll find a delightful variety of these edible greens, including popular choices like broccoli sprouts, arugula, cilantro, radish, and kale.
These tiny greens add vibrant flavors and diverse textures to your plate, while also packing a significant nutritional punch. They are brimming with vitamins, antioxidants, and omega-3 fatty acids, making them essential for a healthy diet.
Cultivating microgreens can be a rewarding endeavor for anyone keen on indoor gardening. This allows you to elevate your meals with fresh, healthful additions perfect for dishes like Buddha Bowls.
These miniature plants contribute significantly to your overall wellness. They offer essential nutrients that support a healthy immune system and may even play a role in cancer prevention due to their high levels of antioxidants.
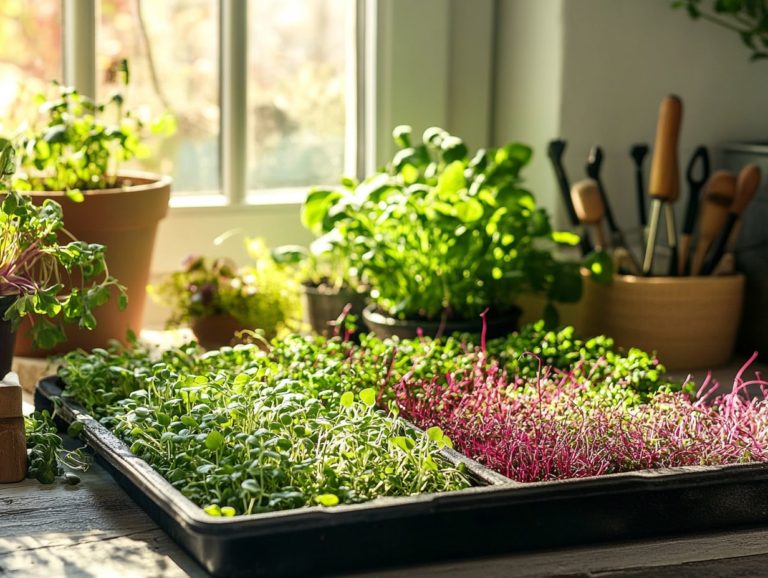
If you re involved in the culinary arts, microgreens can serve as an elegant garnish, brightening up salads, sandwiches, and even smoothies.
Each type boasts specific benefits; for example, broccoli microgreens are rich in sulforaphane, a natural compound that may help fight cancer. Meanwhile, cilantro is celebrated for its detoxifying effects.
Incorporating a variety of microgreens into your daily meals not only enhances flavor but also boosts your intake of vitamins A, C, and K. This makes them a powerful ally in any health-conscious diet.
Benefits of Growing Microgreens at Home
Growing microgreens at home presents an array of benefits, from remarkable health advantages to tangible economic savings. This makes it a fulfilling pursuit for any indoor gardening enthusiast.
These nutrient-dense greens, including broccoli sprouts and radish microgreens, are rich in dietary fiber and antioxidants. They enhance overall health, aid in weight management, and promote gut health they’re good for gut health!
Engaging in this rewarding endeavor allows you to enjoy fresh, vibrant greens while reaping the myriad health benefits they offer.
Nutritional Value and Cost Savings
Microgreens are not just incredibly nutrient-rich; they also offer substantial cost savings when grown at home. This makes them an ideal choice for health-conscious individuals.
Packed with vitamins, antioxidants, and essential nutrients, these tiny greens significantly enhance your diet’s nutritional profile while being far more affordable than store-bought counterparts.
Many types of microgreens boast concentrations of vitamins and minerals that far exceed their mature versions. For instance, studies reveal that red cabbage microgreens contain higher levels of vitamins C and K compared to full-grown cabbage, showcasing their impressive health benefits.
Cultivating microgreens doesn’t just enrich your diet; it also leads to significant reductions in grocery expenses over time. By investing a modest amount in seeds, soil, and pots, you can avoid the top 5 mistakes in growing microgreens and reap a bountiful harvest of fresh greens, ensuring both financial savings and nutritional advantages in your everyday meals.
Getting Started: Supplies and Setup
Embarking on the journey of growing microgreens at home entails gathering a few essential supplies and crafting a thoughtful setup. This setup will promote successful seed sprouting and growth of organic seeds. You’ll want to select a suitable growing medium, source organic seeds, and choose containers that enhance your indoor gardening experience. Establish the ideal environment for your microgreens to thrive.
Get ready to grow a colorful variety of tasty, nutrient-packed microgreens right in your kitchen or living space. To ensure successful growth, learn how to choose the right soil for microgreen growth. This will elevate your culinary creations and enrich your diet.
Essential Tools and Materials
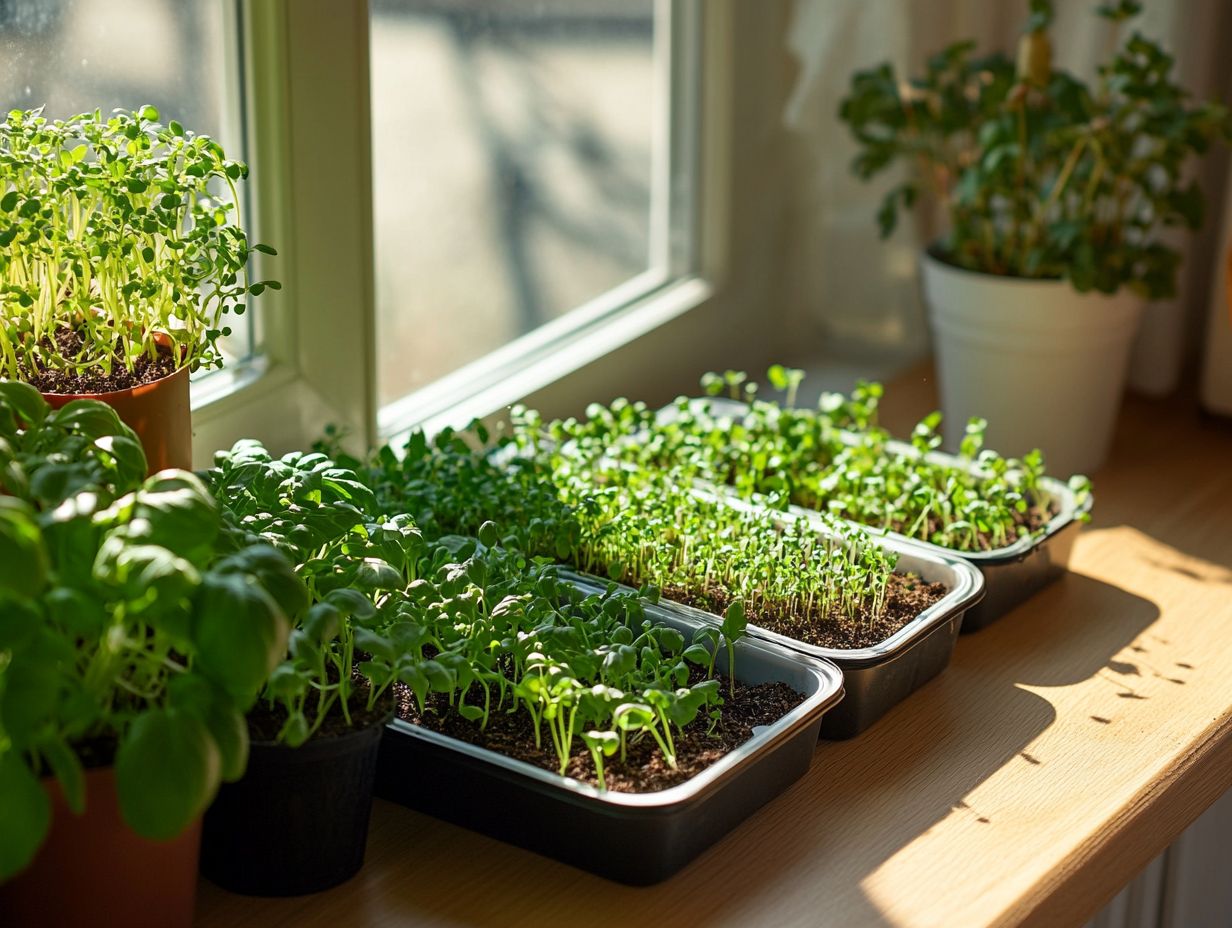
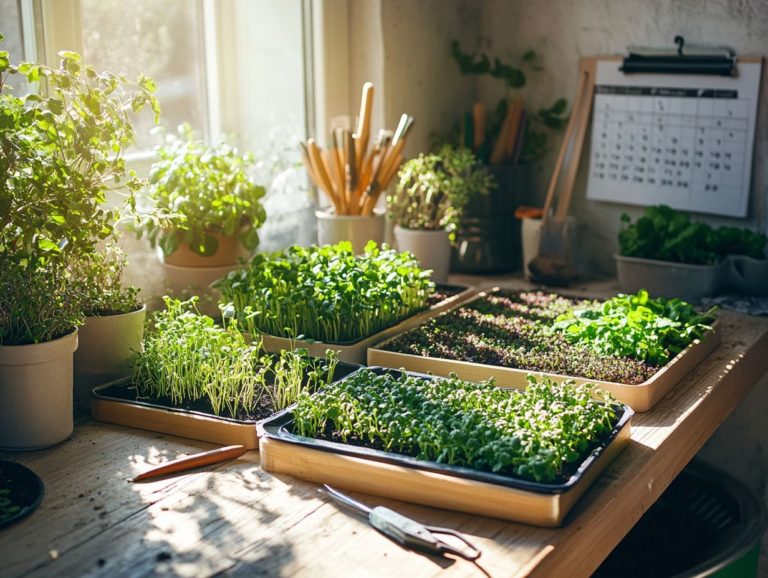
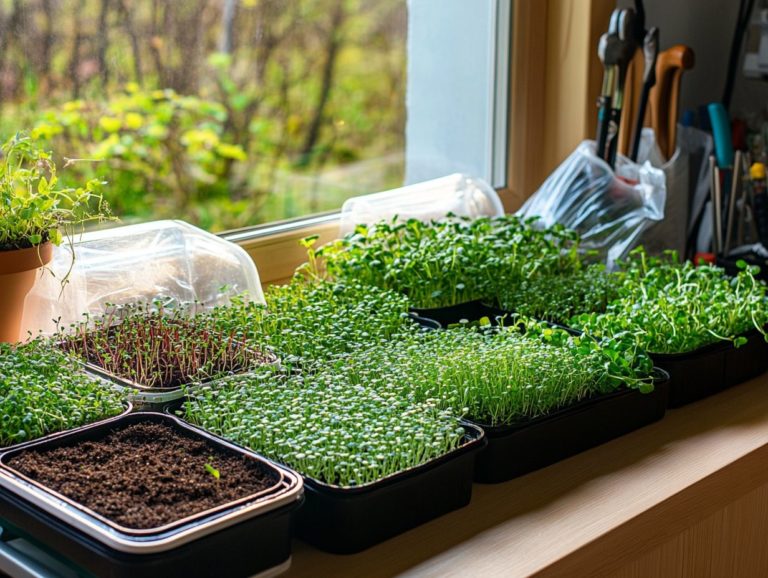
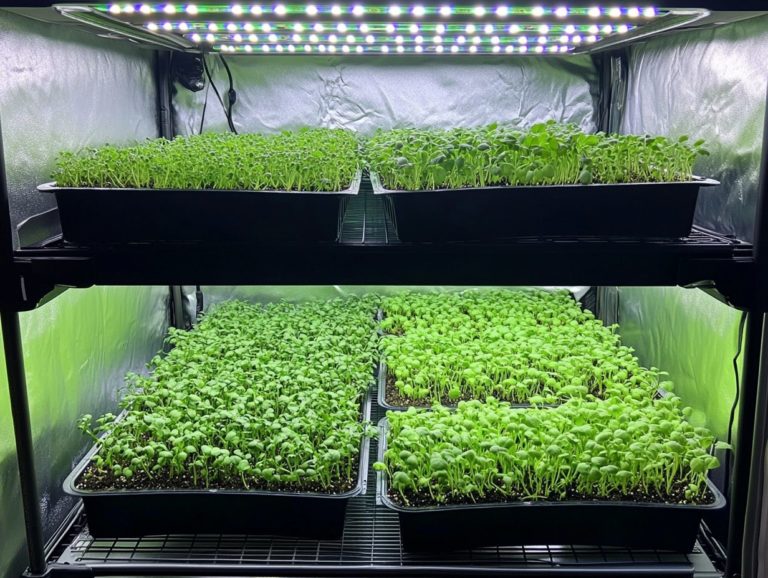
To successfully grow microgreens, you ll need several essential tools and materials. These ensure your planting and watering processes are both efficient and effective. From seed trays and watering cans to light sources that optimize sunlight exposure, having the right equipment is crucial for maximizing growth and yield.
These items facilitate the initial setup and play a vital role in the ongoing care of your greens. Quality seed trays enhance drainage and seed distribution. A high-quality soil mix provides the essential nutrients your plants require. A reliable watering method is also important. Using a spray bottle or a gentle watering can helps maintain that perfect moisture level without over-saturation. Additionally, understanding the perfect light conditions for microgreens is crucial for optimal growth.
When natural light is in short supply, especially during winter months or in dimly lit spaces, grow lights can save the day. Each of these tools plays a significant role in the health and vitality of your microgreens, including the right watering techniques for thriving microgreens, making them critical to your gardening success.
Choosing the Right Seeds
Choosing the right seeds is an important step in your microgreens growing journey. The variety you select can significantly impact flavor profiles, nutritional content, and growing conditions.
By opting for organic seeds, you not only grow healthier plants but also open yourself up to a rich tapestry of flavors. Whether you lean towards the zesty kick of radish, broccoli, or the subtle, delicate taste of arugula, the options are truly diverse and enticing.
Types of Seeds and Growing Conditions
You can choose from a variety of seeds for growing microgreens, each with its own unique set of growing conditions. These factors can significantly influence sprouting and growth rates. For example, broccoli sprouts thrive under moderate sunlight exposure, while kale prefers low light. It s essential to consider the specific needs of each variety.
Take radish seeds, for instance; they germinate quickly and do best in well-drained soil with consistent moisture levels to prevent them from drying out too soon. This is essential in your step-by-step guide to growing microgreens without soil. In contrast, sunflower seeds enjoy brighter light and slightly drier conditions, helping their robust seedlings flourish without becoming leggy.
These differences underscore how factors like light quality, watering frequency, and temperature can dramatically affect the overall health of your microgreens. By understanding the unique requirements of each seed variety, you not only elevate your growing experience but also ensure a vibrant, nutrient-rich yield. If you’re looking for effective methods, check out this guide on how to grow microgreens in a small space.
Step-by-Step Guide to Growing Microgreens
This step-by-step guide to growing microgreens will lead you through the entire seed sprouting process. You will possess the knowledge to cultivate these nutrient-packed greens from seed to harvest.
By diligently following each stage of growth and watering daily while providing sufficient light, you’ll be able to savor fresh microgreens within just a few weeks.
You ll also learn how to identify the perfect harvest time for the varieties you choose to grow.
Planting, Watering, and Harvesting
Planting, watering, and harvesting are three important actions in the microgreens growing process that significantly influence the quality and yield of your greens. Proper planting techniques ensure good seed contact with the growing medium. Consistent watering is vital for maintaining moisture levels. Knowing when to harvest your microgreens can make them burst with flavor and enhance their nutritional value, contributing to a diet rich in potassium, iron, and magnesium.
To enhance your planting process, choose a high-quality seed tray or container that provides adequate drainage. This allows excess water to escape while retaining enough moisture for germination. Utilizing a sieved, nutrient-rich soil mix is also recommended, as it aids in healthy root development. For more detailed instructions, refer to this step-by-step guide to sowing microgreens.
When it comes to watering, take a gentle approach. Using a spray bottle or a fine mist head ensures you won t over-saturate the soil or displace your seeds. Watch the soil’s surface for dryness; this will guide your watering schedule. Maintaining consistent moisture will promote robust growth.
Timing your harvest is important. Microgreens should be harvested just above the soil line once they develop their first true leaves. This maximizes both flavor and health benefits. Regular tasting can be a delightful way to gauge their readiness.
Troubleshooting Common Issues
Troubleshooting common issues is crucial for your success in microgreens growing. Various pests and diseases can disrupt growth and impact your overall yield.
By honing your ability to identify problems early whether they arise from inadequate light conditions or pest infestations you can take proactive measures to safeguard your microgreens. This knowledge empowers you to ensure a thriving harvest that meets your expectations.
Dealing with Pests and Diseases
Dealing with pests and diseases is vital for maintaining healthy microgreens. These challenges can rapidly escalate and impact your crop yield. Employ organic methods to combat pests like using neem oil or introducing beneficial insects. This helps protect your microgreens without resorting to harmful chemicals.
Monitor your crops regularly for signs of infestations or diseases, such as wilting leaves or mold growth. Common pests like aphids and spider mites can be effectively managed by introducing ladybugs or lacewings to your growing area. Ensuring proper air circulation and avoiding excessive moisture will help prevent fungal infections.
Consider companion planting as an organic strategy; certain plants can deter pests or enhance the growth of your microgreens. Regularly adjust soil pH and nutrient levels to contribute to robust plants, making them less susceptible to stress and disease.
Creative Ways to Use Microgreens
Microgreens offer a delightful way to elevate your meals and recipes, enhancing both flavor and nutrition while adding a visual flair to your dishes.
Whether you re tossing them into salads, layering them in sandwiches, blending them into smoothies, or using them as elegant garnishes, these tiny greens are versatile ingredients that can transform your culinary creations.
Embrace their potential and watch your dishes flourish.
Incorporating Microgreens into Meals and Recipes
Incorporating microgreens into your meals and recipes not only elevates the flavor profiles of your dishes but also enriches their nutritional content. Whether you re sprinkling them over roasted veggies or blending them into smoothies, these nutrient-dense greens have the power to transform ordinary meals into delicious meals.
Take, for example, the peppery arugula microgreens; they pair exquisitely with poached eggs and sliced avocado on toast, creating a delightful breakfast option that’s hard to resist. To enhance your microgreens, learn How to Use Hydroponics for Microgreens. Sweet pea shoots can be thrown in for an instant flavor boost, beautifully complementing sautéed garlic and ginger.
When you re crafting a vibrant salad, consider mixing radish microgreens with citrus fruits like oranges or grapefruit. Their spicy kick offers a perfect counterbalance to the sweetness, making each bite a revelation.
Basil microgreens can elevate your classic pesto sauce, infusing it with concentrated herbal notes that shine in pasta dishes or as a topping for grilled chicken.
These applications show how versatile microgreens are, making them a critical ingredient in any health-conscious kitchen.
Your Microgreens Questions Answered!
What are microgreens and why are they beneficial?
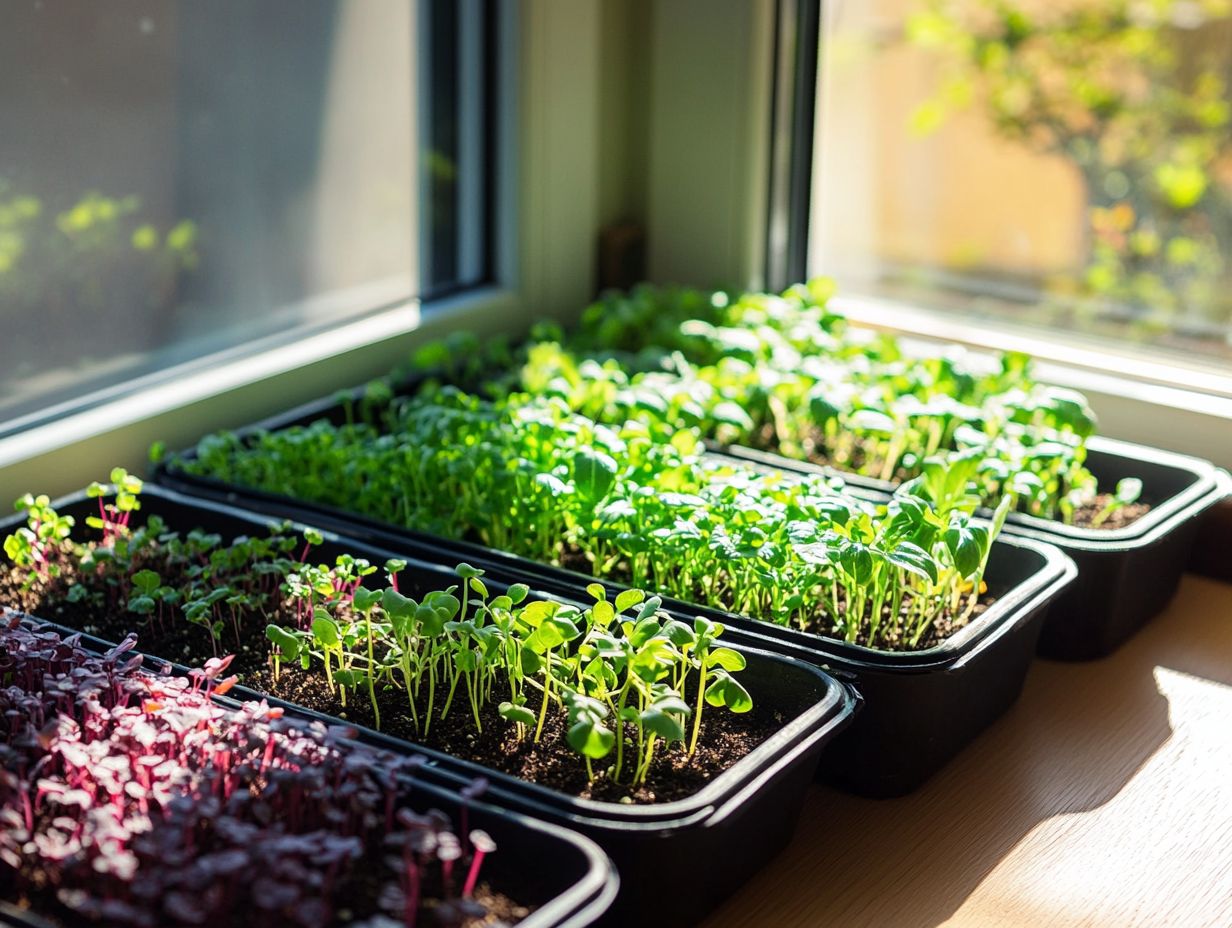
Microgreens are young vegetable greens that are harvested after the first set of true leaves appear. They are packed with nutrients and can be grown at home easily, making them a convenient and healthy addition to your diet.
What are some essential tips for growing microgreens at home?
First, make sure to use clean containers and soil. Next, provide proper lighting and moisture for your microgreens. Finally, monitor their growth and harvest them at the right time.
Can I use any type of soil to grow microgreens?
No, not all soil is suitable for growing microgreens. It is important to use a light and well-draining soil mix that is free of chemicals and pesticides.
How much light do microgreens need?
Microgreens need at least 4-6 hours of direct sunlight or 12-14 hours of artificial light each day. You can also rotate the tray of microgreens to ensure even exposure to light.
Do microgreens need to be fertilized?
Not necessarily. If you are using a high-quality potting mix, it should have enough nutrients for the microgreens to grow. However, you can use a diluted organic fertilizer if you see signs of nutrient deficiency.
Can I reuse the soil after harvesting microgreens?
Yes, you can reuse the soil after harvesting microgreens. However, make sure to remove any leftover roots and replenish the soil with nutrients before planting new seeds.
Ready to try growing microgreens at home?

