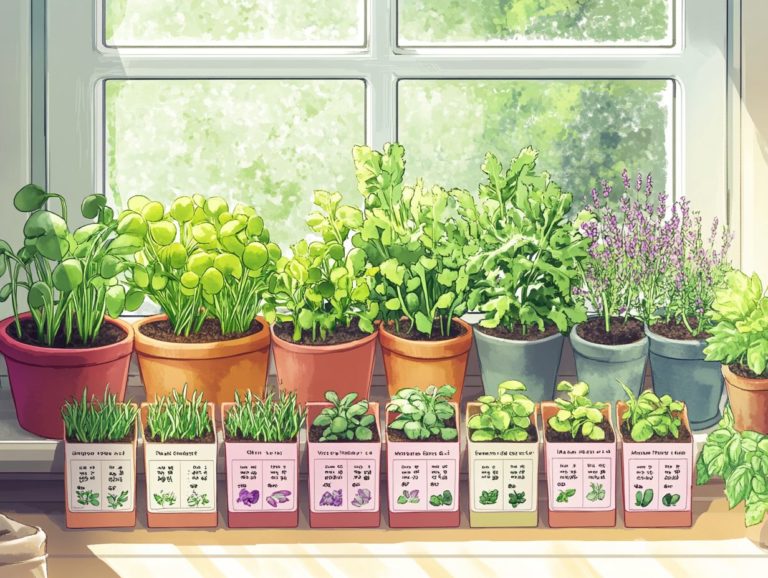
How to Create a Microgreen Grow Kit
Microgreens are petite, nutrient-dense microgreens that offer an unexpectedly uncomplicated growing experience right in your own kitchen.
Uncover the myriad benefits of cultivating your own microgreens, ranging from impressive health benefits to notable cost savings.
You ll want to familiarize yourself with selecting the ideal supplies for your microgreen kit, preparing your glass or ceramic container and soil, and mastering the art of planting and caring for your greens.
Delve into best practices for harvesting, along with delightful ways to integrate these vibrant greens into your healthy meals.
Embrace the rewarding journey of growing microgreens indoors!
Contents
- Key Takeaways:
- Benefits of Growing Your Own Microgreens
- Choosing the Right Supplies for Your Grow Kit
- Step-by-Step Guide to Creating a Microgreen Grow Kit
- Harvesting and Using Your Microgreens
- Frequently Asked Questions
- What materials do I need to create a microgreen grow kit?
- How do I choose the right container for my microgreen grow kit?
- What type of potting soil should I use for my microgreen grow kit?
- How do I plant microgreen seeds in my grow kit?
- What type of light source is best for growing microgreens?
- How often should I water my microgreens in the grow kit?
Key Takeaways:
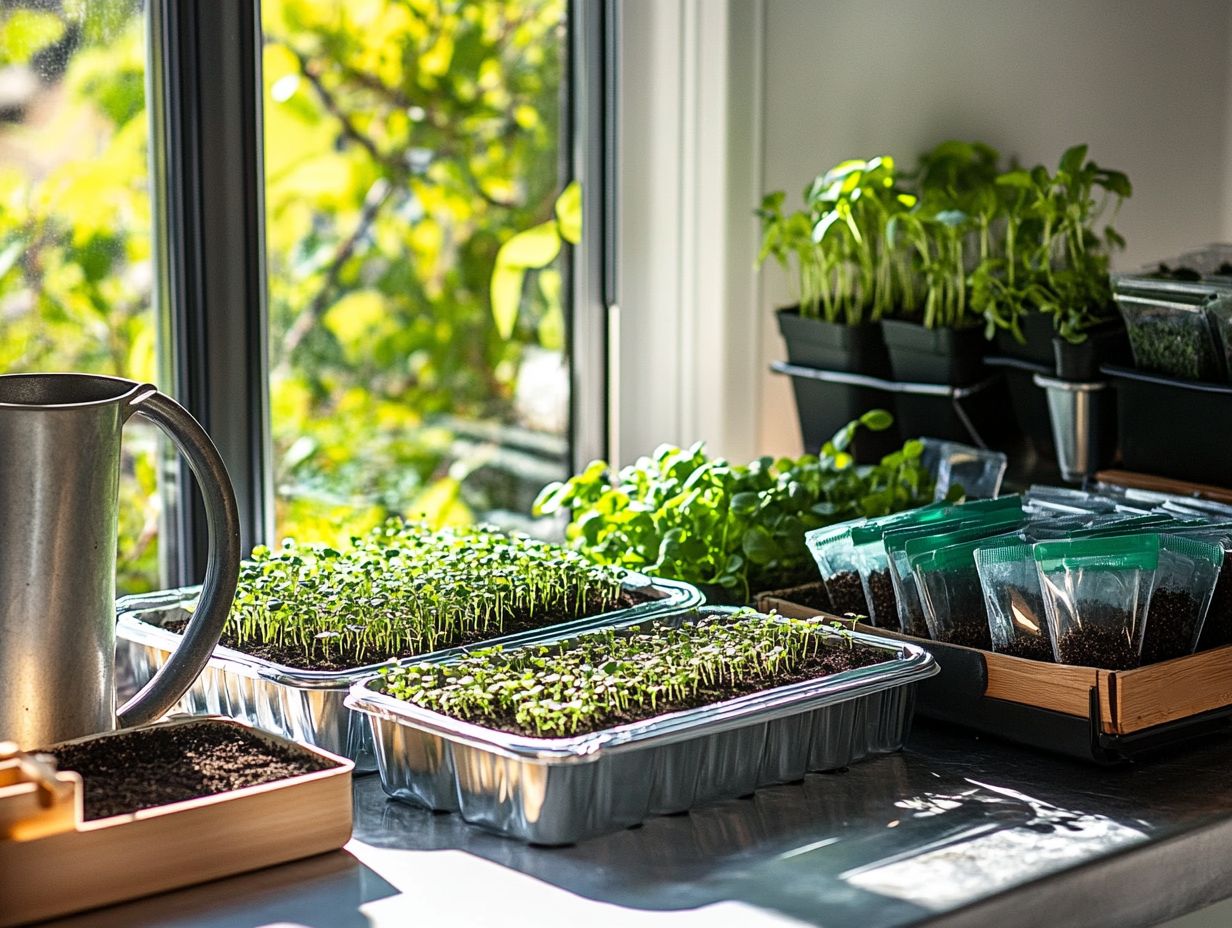
- Grow your own microgreens for health and cost benefits, and to have a fresh supply of nutrient-rich greens at your fingertips.
- Pick the perfect supplies for your growing adventure, including essential materials and tools, to ensure successful microgreen growth.
- Follow a step-by-step guide to creating your microgreen grow kit, from preparing the container and soil to harvesting and using the microgreens in delicious meals.
What are Microgreens?
Microgreens are young, edible plants that deliver an extraordinary burst of flavor and nutrients, often harvested right after their first true leaves emerge, such as broccoli sprouts and sunflower sprouts.
These vibrant leaves come in a delightful array of types, including broccoli sprouts, arugula, and radish, making them a versatile choice for your salads, sandwiches, wraps, and Buddha Bowls.
Their charm lies not only in their bold flavor profiles but also in their impressive nutritional benefits, packed with high in vitamins, antioxidants, and minerals that support your overall health.
The journey of these mini-greens unfolds from germination to maturity, typically taking anywhere from 7 to 21 days, depending on the variety.
It all starts with microgreen seeds being sown in soil or hydroponic systems growing plants in nutrient-rich water instead of soil allowing them to sprout in just a few days.
As they grow, they gather essential nutrients, with many microgreen varieties showcasing higher concentrations than their mature counterparts.
From the peppery bite of mustard greens to the delicate sweetness of pea shoots, the diversity among microgreens is truly remarkable.
Each type offers its unique flavor profile and texture, inviting your culinary creativity while enhancing the nutritional value of your meals, making them easy to grow.
Benefits of Growing Your Own Microgreens
Cultivating your own microgreens presents a multitude of benefits that encompass both health and financial savings, making it an irresistible option for those invested in sustainable gardening.
These nutrient-packed microgreens not only boost your health with increased antioxidants but also offer significant savings compared to store-bought alternatives, allowing you to relish fresh, flavorful greens right in your own kitchen.
You can grow varieties like broccoli sprouts and sunflower sprouts, enriching your meals with cancer-fighting microgreens and essential nutrients, elevating your culinary experience.
Health and Cost Benefits
The health and cost benefits of growing your own microgreens are impressive.
These tiny greens are not only a breeze to cultivate, but they also offer a rich source of vitamins and nutrients, making them nutritious snacks that can significantly enhance your overall well-being.
By growing your own varieties, like broccoli sprouts and cilantro, you ensure a steady supply of fresh microgreens, organic produce that delivers a remarkable nutritional boost without straining your budget.
Microgreens are particularly beneficial for weight management and are high in antioxidants, allowing you to savor your meals while still adhering to a balanced diet.
Many varieties, such as a delightful blend of radish and sunflower sprouts, serve as prebiotic foods that support gut health by nourishing beneficial bacteria.
Ultimately, the cost-effectiveness of growing microgreens indoors not only saves you money compared to store-bought options but also guarantees unparalleled freshness and flavor.
This makes them an ideal choice for those who prioritize their health without compromising on taste.
Don’t miss out on the incredible health boost these tiny greens offer!
Ready to grow your own microgreens? Start your microgreens journey today and enjoy fresh greens from your kitchen!
Choosing the Right Supplies for Your Grow Kit
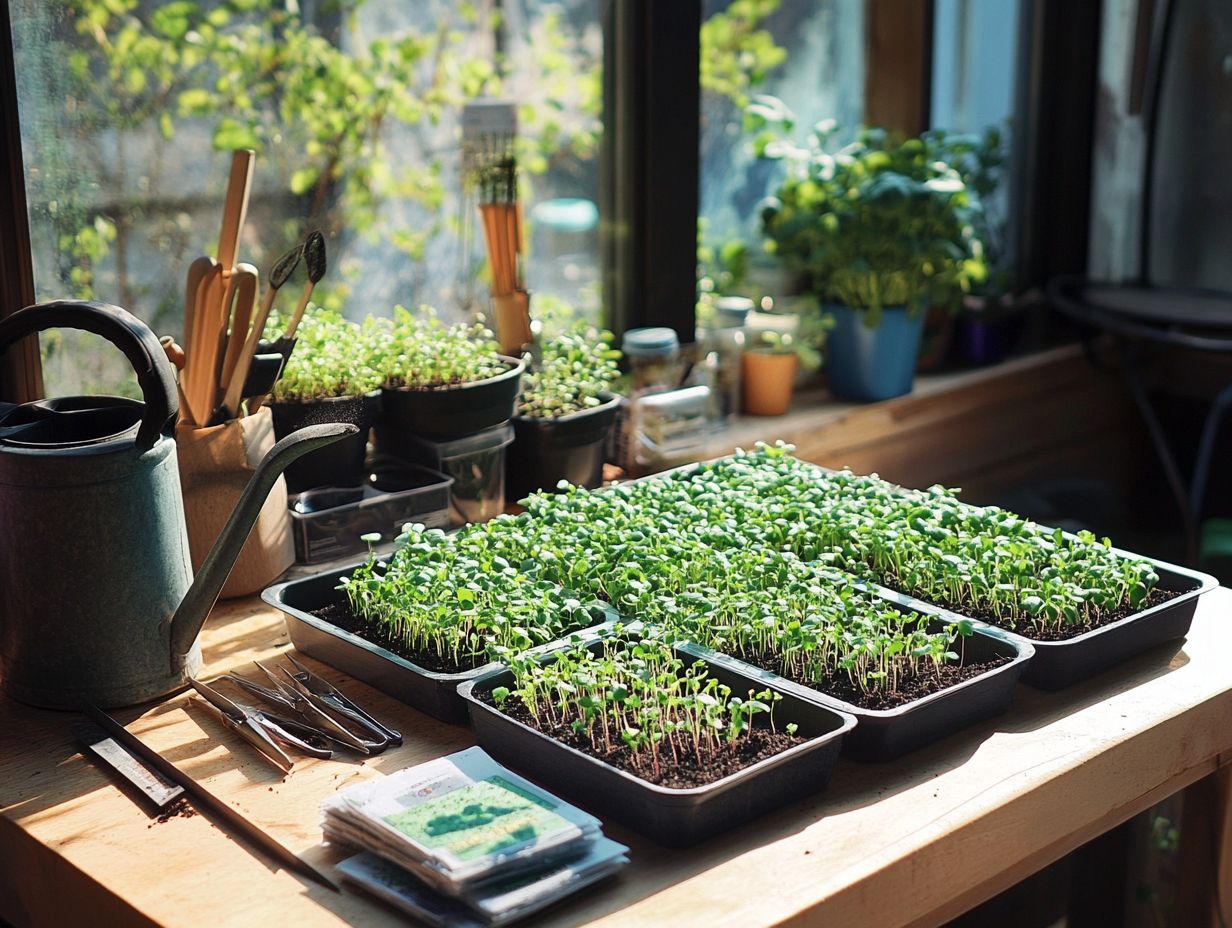
Selecting the right supplies for your microgreen grow kit is crucial. This decision shapes your indoor gardening experience.
You’ll need a high-quality microgreen kit that includes essential materials like organic seed starting mixes, a suitable growing medium such as coconut coir, and sprouting seeds tailored to your chosen microgreen varieties.
Choose a suitable glass or ceramic container along with a cover to keep moisture in, which creates ideal conditions for nurturing your nutrient-rich microgreens.
Essential Materials and Tools
To grow microgreens effectively, you need the right materials and tools. A grow mat ensures drainage, while a glass container is ideal for growth.
You’ll also want kitchen scissors for harvesting and a seed tray with drainage holes to prevent root rot. Remember to water daily with a spray bottle for gentle hydration.
Using LED grow lights mimics sunlight and promotes healthy growth, especially when natural light is limited. Don’t forget a humidity dome to trap moisture and support germination.
These tools make growing microgreens both accessible and incredibly rewarding.
Step-by-Step Guide to Creating a Microgreen Grow Kit
Get ready to craft your own microgreen grow kit it’s fun and rewarding! This straightforward guide ensures you have all the essentials to cultivate nutrient-dense wonders at home.
By preparing your supplies and understanding the sprouting process, you can grow a flourishing indoor garden filled with fresh microgreens.
How to Prepare Your Container and Soil
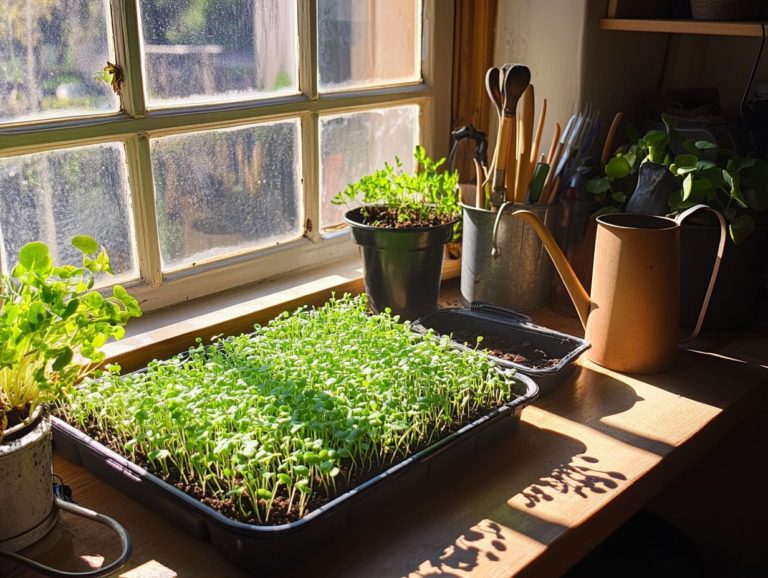
Preparing the container and soil for your microgreens is vital for successful germination and growth. Choose a shallow container, ideally 2-3 inches deep, for proper drainage and moisture retention.
Start with a suitable growing medium. Coconut coir is an excellent choice, retaining moisture while providing essential nutrients. Wash the container thoroughly to eliminate residues that could impede growth.
For enhanced moisture retention, mix in a tablespoon of perlite to improve aeration and drainage, ensuring optimal conditions for your indoor plants.
Once you ve prepared the soil, gently compress it to eliminate air pockets and water it until it s evenly moist.
Now that you have everything set up, it s time to start growing! Enjoy your fresh, nutrient-packed microgreens!
Planting and Caring for Your Microgreens: A Step-by-Step Guide
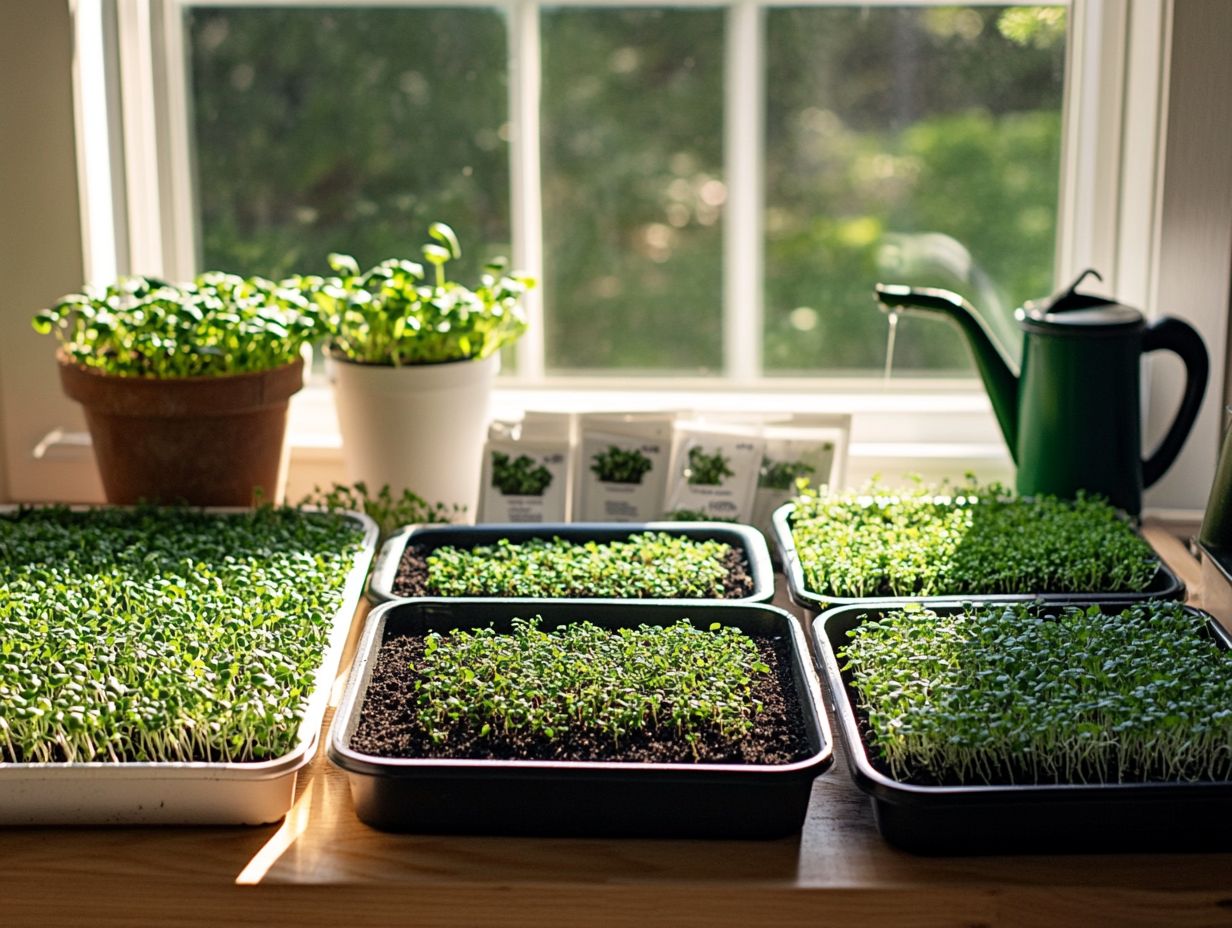
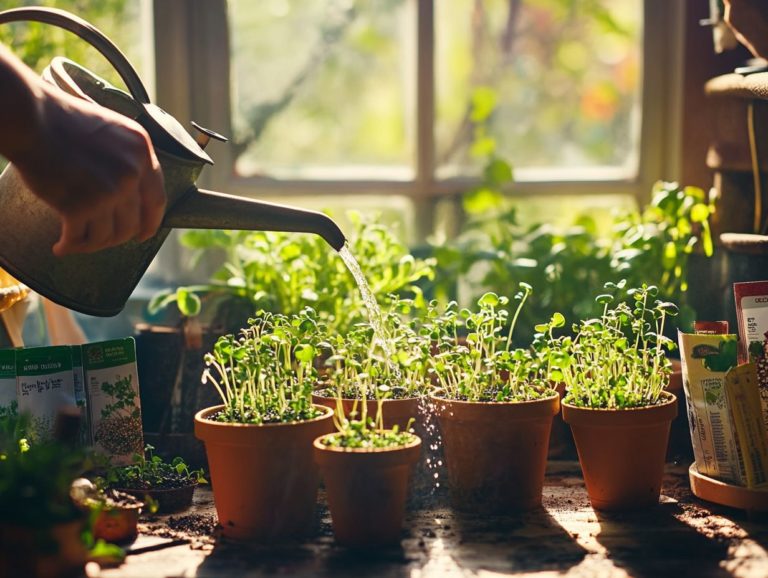
Planting and caring for your microgreens is easy when you follow a few essential steps. First, soak your seeds overnight to help them sprout. Then, evenly distribute them across your growing medium. Water them daily and provide indirect light for healthy growth.
After planting, gently mist the seeds to keep the soil moist without drowning them. Cover your planting tray to create a humid environment; this little trick helps your seedlings sprout with ease.
Once germination occurs, usually within a week, remove the cover and place the tray in a spot with ample indirect sunlight for 12-16 hours each day. Keep the soil consistently damp but not waterlogged; check moisture levels daily to maintain that perfect balance. Rotate the trays occasionally to promote even growth. In just two to three weeks, you’ll be ready to harvest your vibrant microgreens, known for being nutrient-dense. For more tips on how to maximize your space, refer to this guide on how to grow microgreens in a small space.
Harvesting and Using Your Microgreens
Harvesting your microgreens is the exciting culmination of your indoor gardening journey! You’ve worked hard, and now it’s time to enjoy the healthy meals you’ve created.
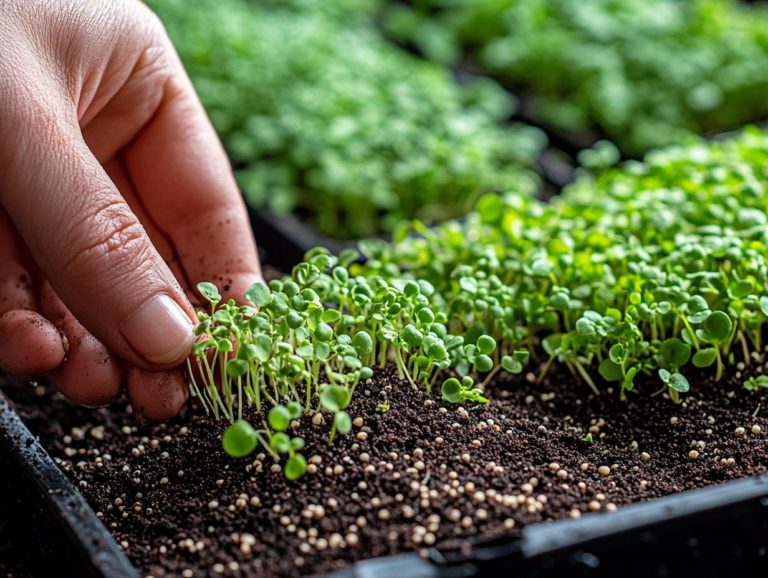
Understanding the right moment to harvest is crucial. Most microgreens are ready for trimming once they have developed a pair of true leaves and reached a height of 1 to 3 inches, depending on the variety. Embrace this moment you ve earned it!
When and How to Harvest
Knowing when and how to harvest your microgreens is essential for maximizing their flavor and nutritional benefits. Most varieties are ready for harvest in about 7 to 21 days after planting, depending on the type. Grab your kitchen scissors and cut just above the soil line for a clean harvest while allowing any remaining seedlings to continue growing.
For the best results, harvest them in the morning when they re most hydrated for the best flavor and crispness. This way, your microgreens will look and taste amazing on your plate!
Once you ve cut them, gently shake off any excess soil and rinse under cool water to remove debris. To prolong their freshness, store your harvested microgreens in a breathable container lined with a damp paper towel. Placing them in the refrigerator right after harvesting keeps them crisp and ready for your next culinary masterpiece, whether it s a fresh salad or a gourmet sandwich!
Creative Ways to Incorporate Microgreens into Your Diet
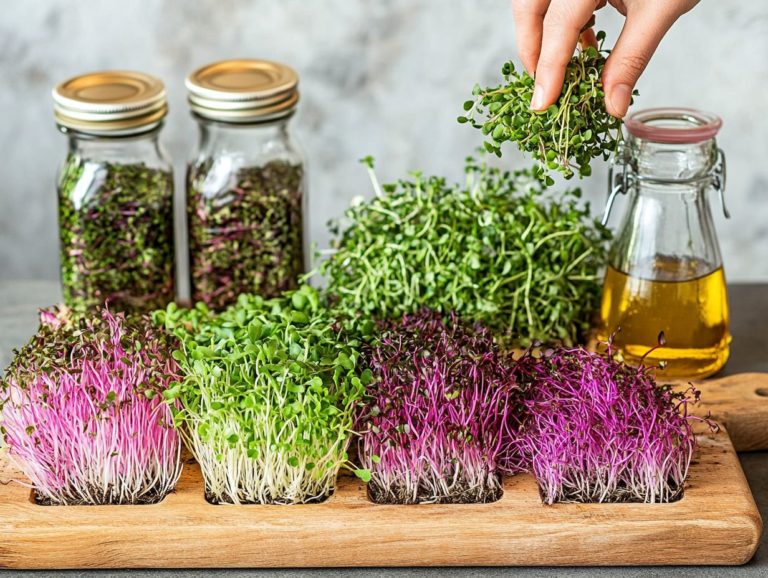
Get creative with microgreens! They can transform your meals, adding crunch and color to everything from salads to Buddha Bowls. These vibrant microgreens not only bring a delightful crispness but also pack a powerful nutritional punch, making them an ideal addition to your healthy meals.
Think about topping off a luscious avocado toast or elevating a simple omelet with these tiny powerhouses. The versatility of microgreens is truly astonishing! Picture sprinkling some spicy radish microgreens on a homemade pizza or blending sweet pea shoots into a refreshing smoothie for that extra kick of flavor and nutrients.
Whether you toss them into a savory stir-fry or use them as a garnish for gourmet dishes, these miniature greens do more than just enhance visual appeal; they elevate the overall taste profile too. By exploring various varieties such as basil, cilantro, or arugula, you can create unique combinations that ensure every meal bursts with freshness and creativity.
Frequently Asked Questions
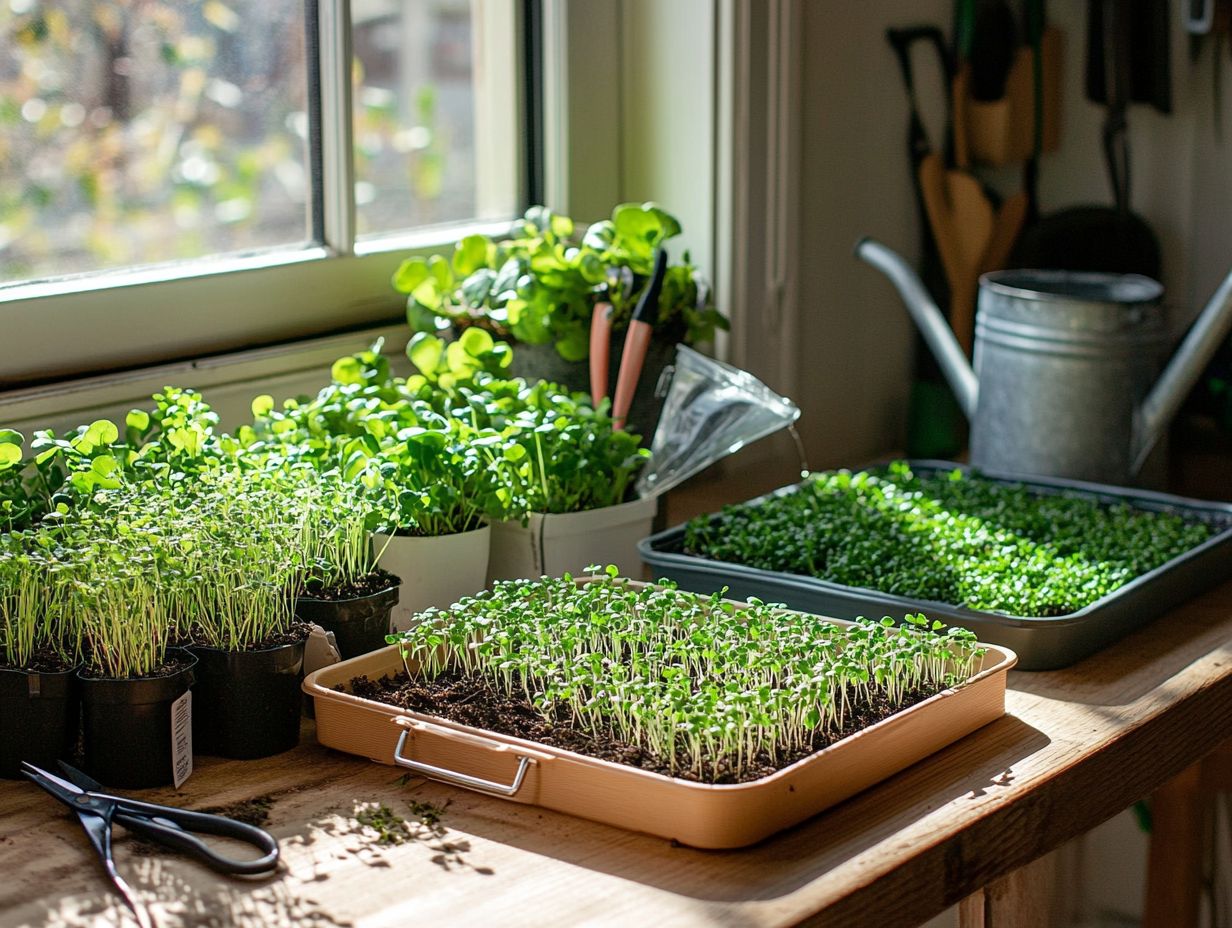
What materials do I need to create a microgreen grow kit?
To set up your microgreen grow kit, gather a container, potting soil, microgreen seeds, and a light source. You can also use trays, a spray bottle, and a cover if you want to create a humid environment for your seeds.
How do I choose the right container for my microgreen grow kit?
You can use any container that has drainage holes. It should be shallow enough for the microgreens to thrive. Great options include plastic trays, ceramic dishes, or even repurposed items like egg cartons or yogurt cups.
What type of potting soil should I use for my microgreen grow kit?
Using a sterile potting soil mix is crucial to keep unwanted bacteria and pests at bay. You can create your own by mixing equal parts of vermiculite, perlite, and peat moss.
How do I plant microgreen seeds in my grow kit?
First, fill the container with potting soil and press it down lightly to create a flat surface. Spread the microgreen seeds evenly, press them in gently, cover with a thin layer of soil, and mist with water.
Keep the soil moist but avoid overwatering. Monitor it daily and adjust as needed.
What type of light source is best for growing microgreens?
Microgreens need at least 6 hours of sunlight each day, or 12 hours under a grow light. Fluorescent or LED grow lights are perfect as they provide the full spectrum of light essential for growth.
How often should I water my microgreens in the grow kit?
Water your microgreens daily. Mist them lightly to prevent overwatering; the soil should remain damp but not soggy.
If the soil feels dry, bottom water by placing the container in a shallow tray of water for a few minutes.

