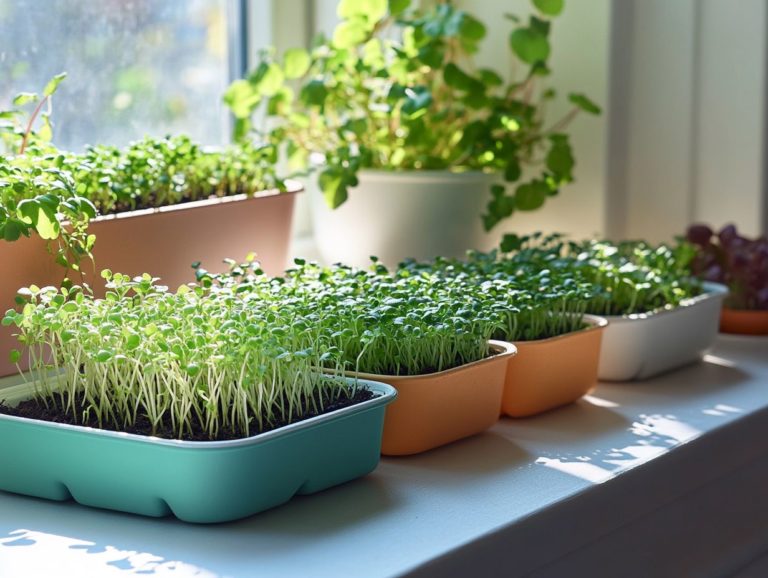
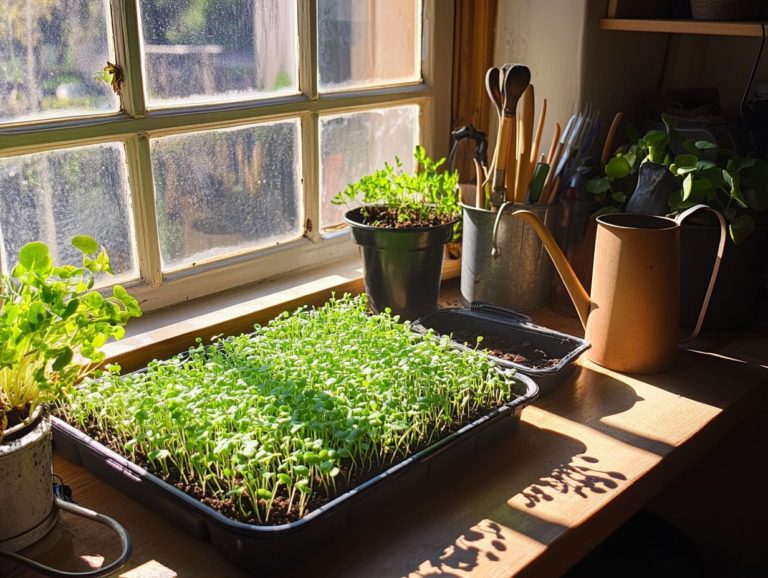
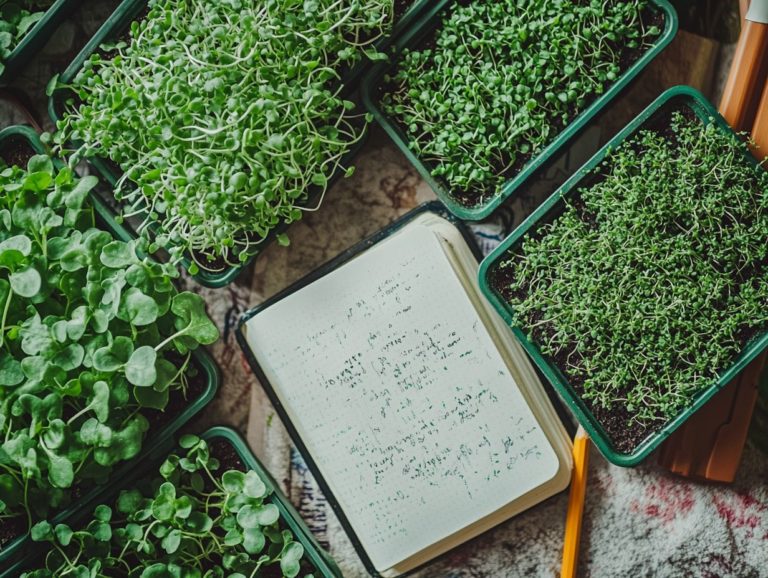
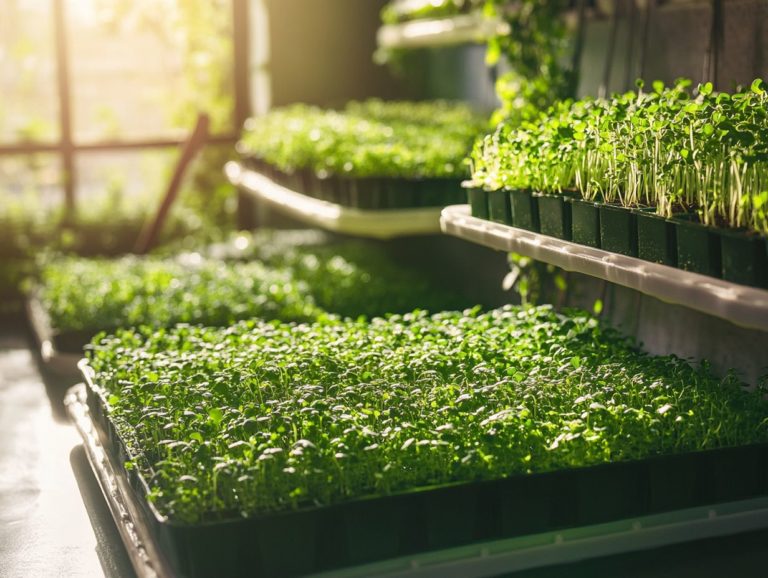
How to Grow Microgreens in Shelves
Microgreens are tiny powerhouses of flavor and nutrition, providing a delightful enhancement to any dish you create.
By growing them on shelves, you can maximize your space and yield, making this approach ideal for both seasoned gardeners and enthusiastic newcomers.
Delve into the myriad benefits of microgreens, gather the essential supplies, and follow a comprehensive step-by-step guide to planting and nurturing your greens.
Uncover inventive ways to incorporate these vibrant plants into your culinary repertoire and troubleshoot any challenges that may arise along the way.
Get ready to boost your meals with the exquisite addition of homegrown microgreens!
Contents
- Key Takeaways:
- Supplies and Materials Needed
- Step-by-Step Guide to Growing Microgreens
- Harvesting and Using Microgreens
- Troubleshooting Common Issues
- Frequently Asked Questions
- What are microgreens and why are they popular to grow in shelves?
- What types of shelves are best for growing microgreens?
- What supplies do I need to grow microgreens in shelves?
- How do I plant the microgreen seeds in shelves?
- How do I care for my microgreens while they are growing in shelves?
- What are some common problems I may encounter while growing microgreens in shelves?
Key Takeaways:
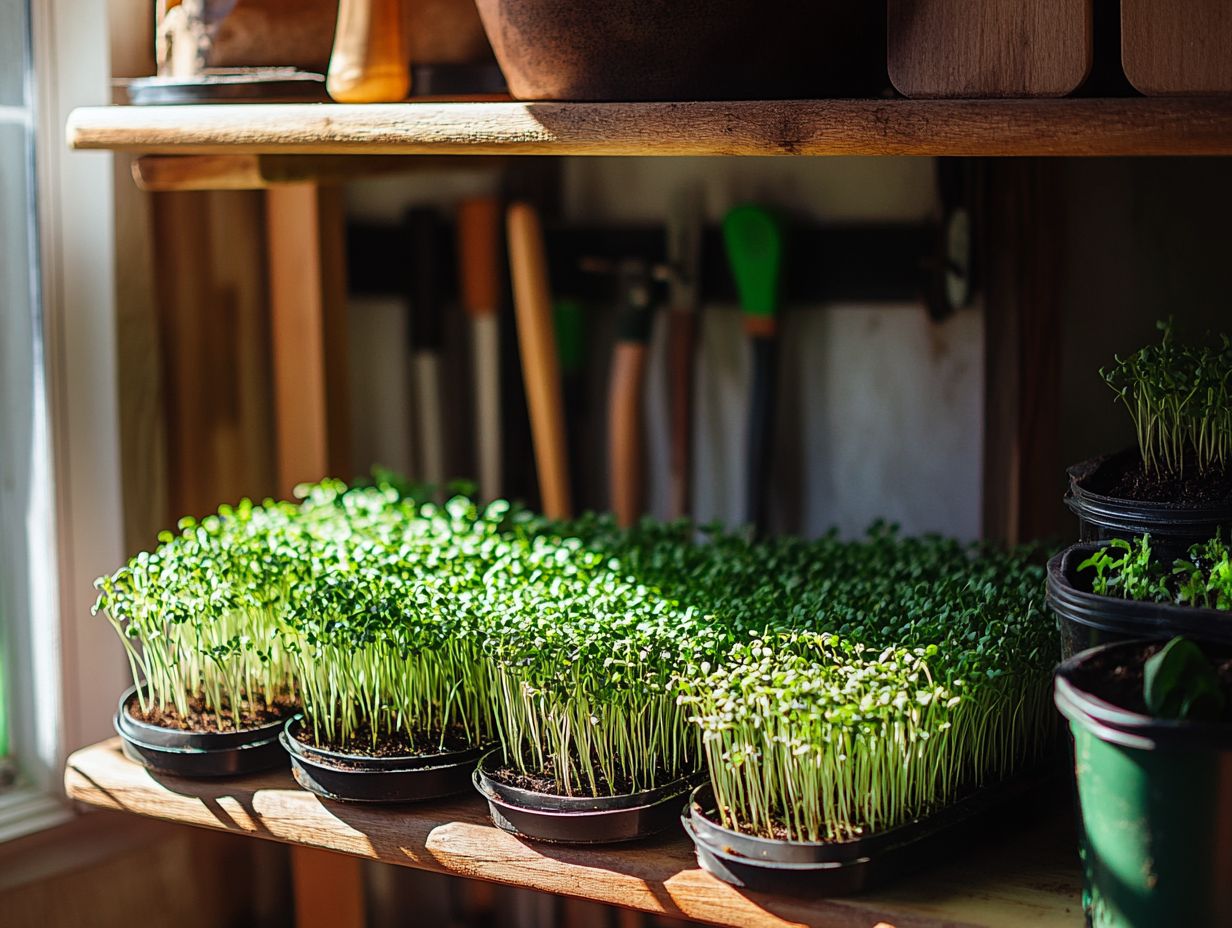
- Microgreens are full of nutrients, flavorful, and easy to grow on shelves.
- Essential supplies include seeds, trays, and growing medium; choose sturdy shelves with good drainage.
- Follow the step-by-step guide to plant, care for, and harvest microgreens for a fresh and versatile addition to your meals.
What are Microgreens?
Microgreens are the young, edible plants you can harvest just after their first true leaves pop up. These tiny greens, sourced from a variety of vegetables and herbs like broccoli, are bursting with flavor and nutrients, making them a go-to choice for both home gardening and culinary adventures.
You ll often find them thriving in seed trays filled with various growing mediums, offering a simple way to enhance your vegetable intake with healthy, nutrient-dense options.
What sets microgreens apart is their vibrant colors and an impressive array of flavors, ranging from spicy to sweet. Some popular varieties include radish, kale, and basil, each bringing its own unique taste profile and nutritional perks to your table.
Their appeal has skyrocketed in modern diets, thanks to their remarkable nutrient density, which often outshines that of their fully grown counterparts.
Packed with vitamins A, C, E, and K, microgreens are a health powerhouse that perfectly complements salads, sandwiches, and smoothies. Their quick growth cycle and minimal space requirements make them an ideal choice for those eager to indulge in fresh produce year-round, aligning perfectly with the Dietary Guidelines for Americans.
Benefits of Growing Microgreens on Shelves
Growing microgreens on shelves presents a wealth of advantages, especially for those who immerse themselves in indoor gardening. This approach not only maximizes your available space but also ensures that air circulation remains optimal a crucial factor for the growth and health of your plants.
Microgreens enhance your vegetable diet with essential nutrients, making them a superb option for the health-conscious individual.
By utilizing vertical shelving, you achieve better organization of various microgreen types. This organization gives you the power to cultivate a rich array of flavors and nutrient profiles. If you’re interested in maximizing your space, check out this guide on how to grow microgreens in a small space. Enhanced airflow contributes to healthier plants by reducing the risk of mold and disease, which can often arise in tighter spaces.
The accessibility of each shelf simplifies maintenance, allowing you to water and harvest with ease, without the hassle of excessive bending or stretching. This transforms your indoor gardening experience into something truly enjoyable and efficient.
Supplies and Materials Needed
To successfully cultivate microgreens, you’ll need a selection of quality supplies and materials. Begin with high-quality seed trays that ensure proper drainage and air circulation.
Next, choose an appropriate growing medium the material that supports the seeds as they grow, like coconut coir or rockwool, to provide the best environment for your plants. It’s also crucial to equip yourself with the right gardening tools and to grasp the fundamentals of plant nutrition. For those looking to maximize their efforts, understanding techniques for growing microgreens year-round is essential, as both are vital for nurturing robust and healthy microgreens.
Essential Tools and Equipment
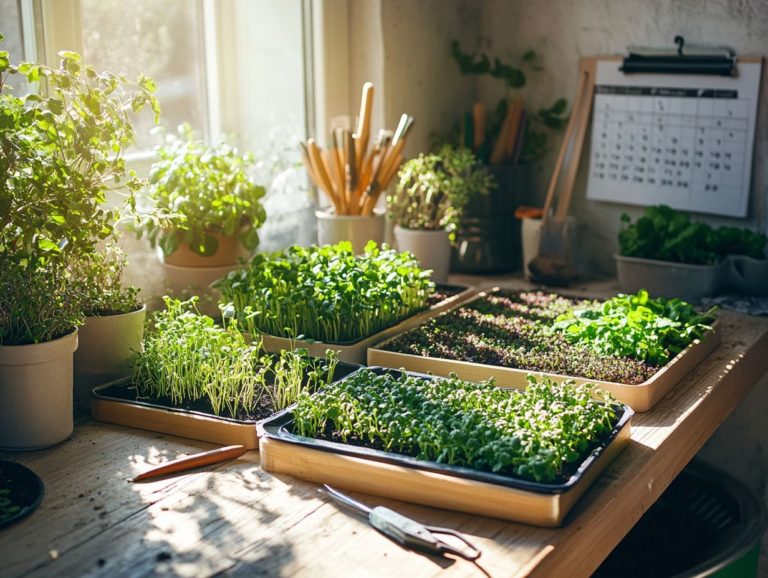
Essential tools and equipment for growing microgreens include a range of gardening tools tailored for plant care, along with LED lights that provide the necessary illumination for optimal growth. These tools enable you to maintain soil moisture and ensure that your microgreens have access to the right nutrients. This fosters healthier plant development.
In your indoor gardening journey, LED lights are essential. They mimic natural sunlight and allow you to cultivate microgreens year-round, no matter the weather outside. For those interested in innovative growing methods, learning How to Use Hydroponics for Microgreens can be beneficial. Specialized trays, a spray bottle for fine misting, and high-quality potting soil further simplify the care of these delicate plants.
A simple pH meter can also prove invaluable in monitoring soil acidity, which can greatly affect nutrient availability. By employing these specific tools effectively, you can create an ideal environment that promotes rapid growth and ensures sustainable practices in your microgreen cultivation efforts.
Choosing the Right Shelves
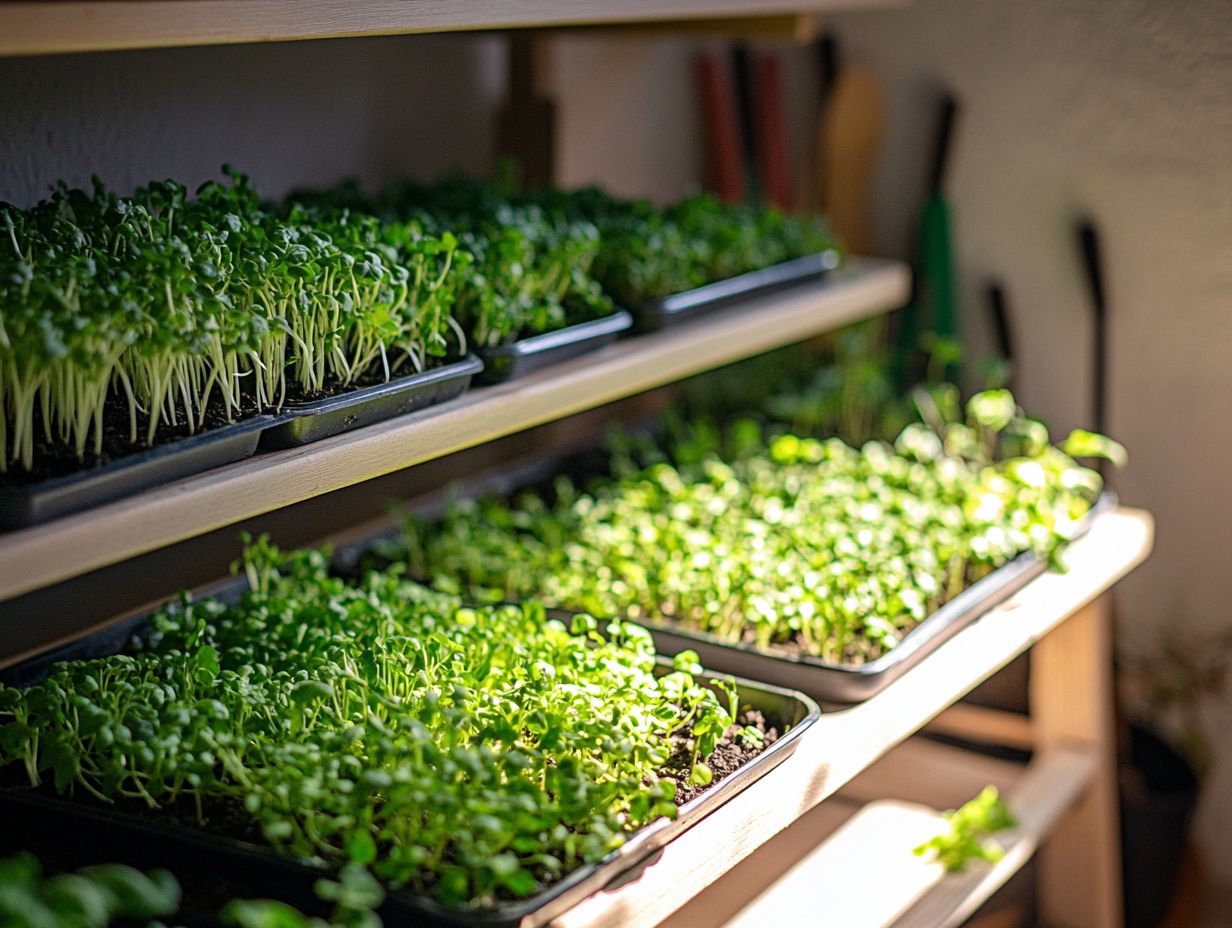
Choosing the right shelves for your microgreens garden setup is essential for achieving success in indoor gardening. You need shelves that are sturdy enough to support the weight of your seed trays while allowing for adequate air circulation to promote healthy plant growth.
Pay attention to the height and spacing of the shelves to maximize your growing area. When selecting shelves, consider their weight capacity; some designs might buckle under the pressure of multiple trays filled with soil and seedlings. For a successful start, refer to this step-by-step guide to sowing microgreens.
Opt for a height that allows you easy access to all your plants, making maintenance a breeze. Proper spacing between the shelves will prevent overcrowding, ensuring that each plant receives sufficient light and airflow.
This attention to detail creates a more organized setup and fosters an environment where your microgreens can truly thrive, ultimately leading to a more abundant harvest.
Step-by-Step Guide to Growing Microgreens
The journey to growing microgreens starts with a thorough understanding of the germination process, which is the process of seeds sprouting. This foundational knowledge is essential for successful plant growth.
By embracing this DIY microgreens approach, you can cultivate your own nutrient-rich greens right at home. This secures a consistent supply for a vibrant, healthy diet.
Preparation and Planting
Preparation and planting are essential steps in your journey to successfully cultivate microgreens. Begin by selecting the right growing medium. Ensure it retains sufficient moisture for optimal germination.
Fill your seed trays with this medium and distribute the seeds evenly to promote healthy growth. Taking the time to choose a suitable substrate be it soil, coco coir, or hydroponic mats can greatly affect the health and yield of your microgreens.
Keep a close eye on soil moisture levels. Both overwatering and underwatering can lead to disappointing germination rates and stunted growth. Use a spray bottle or a gentle watering technique to maintain that delicate balance.
Place your trays in an environment with the right light and temperature to support robust plant development. This ultimately leads to vibrant, flavorful greens ready for harvest. Using LED lights can help achieve optimal lighting conditions.
Caring for Microgreens
Caring for microgreens demands your immediate attention for success! Keep an eye on soil moisture and ensure they receive enough light exposure.
These nutrient-dense plants thrive with the right care during their growth stage, allowing them to develop fully and deliver all the health benefits they promise. Mastering proper watering techniques is essential.
These young plants prefer slightly moist soil, but be cautious overwatering can lead to root rot. Aim for perfect light conditions, typically 12 to 16 hours of bright, indirect sunlight, to encourage healthy growth without overwhelming them.
Incorporating a balanced nutrient management plan can elevate their development even further, ensuring your microgreens absorb the essential vitamins and minerals they re celebrated for. By focusing on these key aspects, you can cultivate microgreens that are bursting with flavor and packed with nutritional value.
Start your microgreens garden today and experience the joy of fresh, home-grown greens!
Harvesting and Using Microgreens
Harvesting microgreens marks an exhilarating phase in your growing journey. You can elevate your vegetable diet with these vibrant, flavorful greens.
Timing is essential. Aim to harvest just before they start to flower for peak taste and nutrient density.
When and How to Harvest
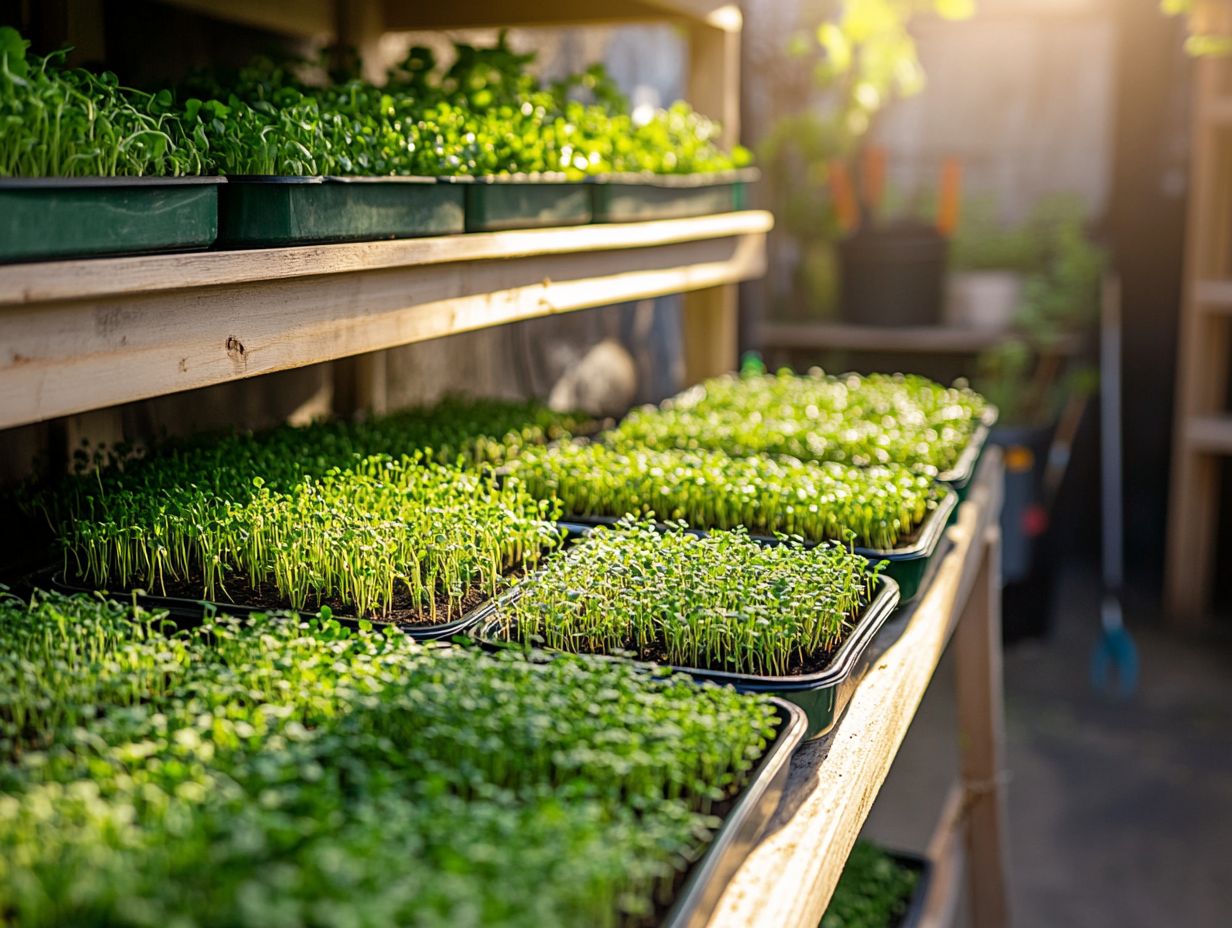
Timing is everything when harvesting microgreens. Capture the maximum flavor and nutritional value from these plants rich in nutrients.
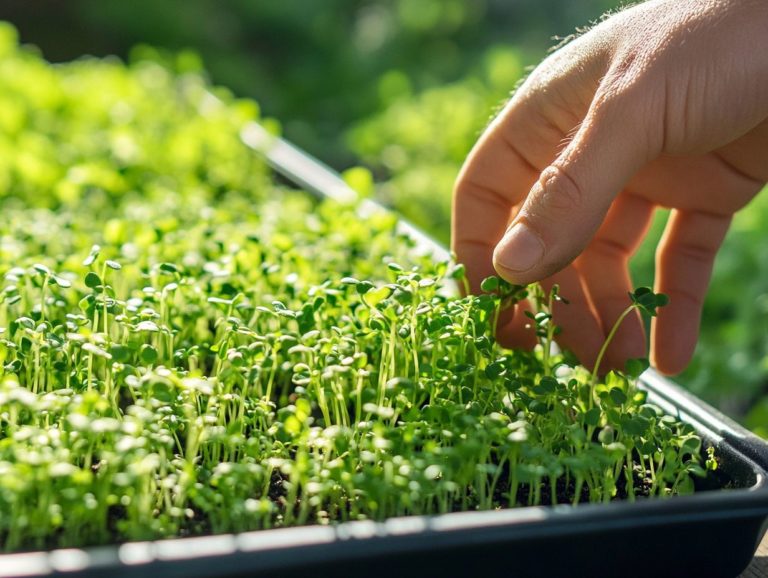
Harvest them when they reach about 1 to 3 inches in height. This way, you can effortlessly integrate them into your vegetable diet.
Look for vibrant colors and healthy leaves. These are your indicators of peak nutrition.
Use sharp scissors to cut the stems just above the soil line. This technique minimizes damage and encourages regrowth if you re planning multiple harvests.
The intense flavors of microgreens like arugula or broccoli can elevate your meals. They make a fantastic addition to salads, sandwiches, and garnishes.
Creative Ways to Use Microgreens in Cooking
Microgreens are more than mere garnishes; they can enhance flavor and nutrition in various dishes. Add these plants rich in nutrients to salads, sandwiches, and smoothies.
Consider their role in sauces like pesto; these vibrant greens can transform a classic recipe. Toss them into stir-fries for a delightful crunch and a health boost.
For a gourmet touch, microgreens can brighten up appetizers. They are eye-catching additions to charcuterie boards or refreshing toppings for creamy soups.
Incorporating microgreens into your daily meals enhances visual appeal and supports your wellness journey. They are essential in the modern kitchen!
Troubleshooting Common Issues
Troubleshooting common issues in microgreen cultivation helps foster robust plant growth. Identify problems early, such as insufficient soil moisture or inadequate lighting.
Identifying and Solving Problems
Addressing issues in microgreen growth can elevate your gardening success. Common challenges include proper watering too much or too little can disrupt moisture and nutrient deficiencies that hinder growth.
Pests like aphids and fungus gnats can stunt development. A simple homemade insecticidal soap can effectively tackle these pests without harmful chemicals.
Mold or mildew may develop from excessive humidity. Ensure ample air circulation around your plants and monitor your watering practices closely.
By addressing these challenges proactively, you can cultivate a thriving microgarden that produces vibrant and nutritious greens.
Frequently Asked Questions
What are microgreens and why are they popular to grow in shelves?
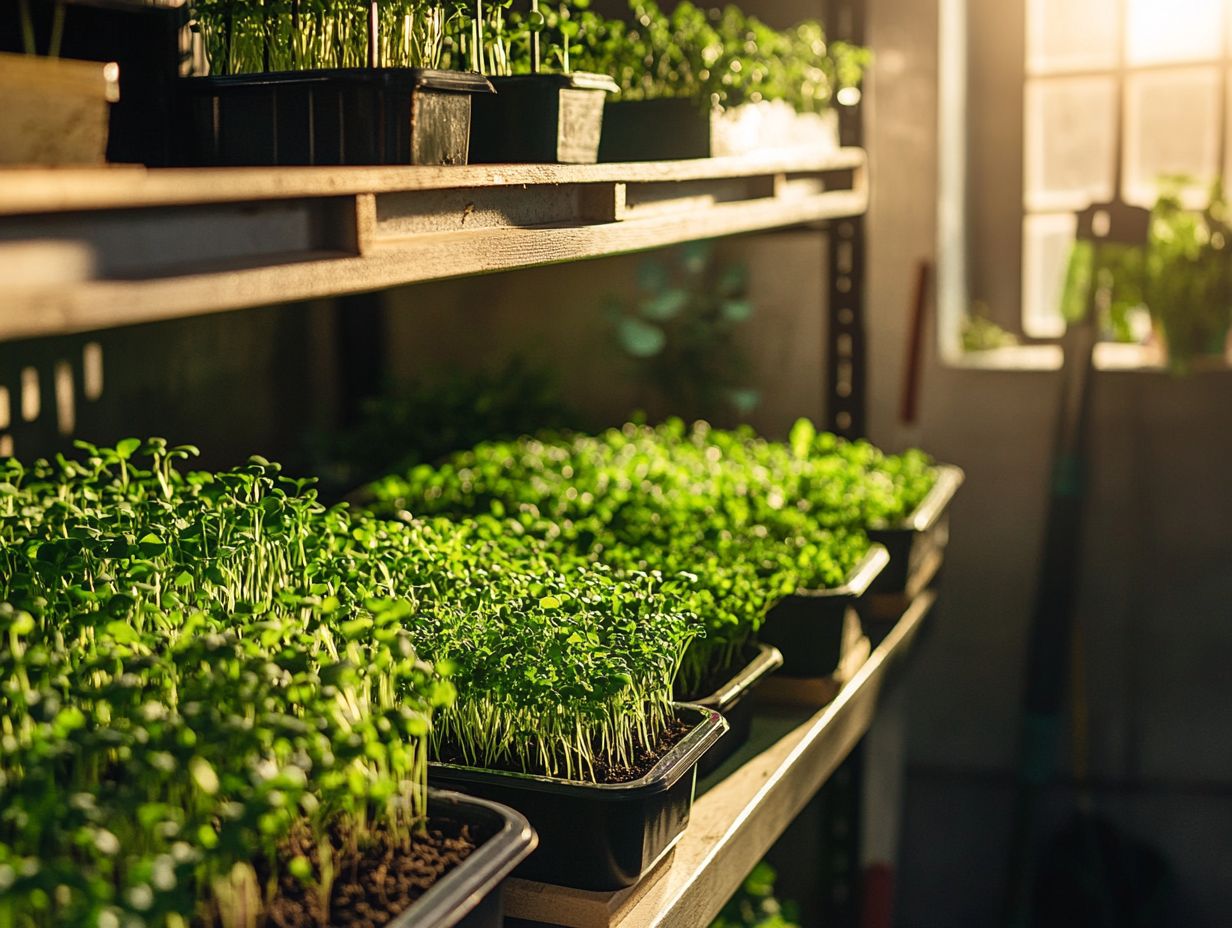
Microgreens are young vegetable greens. They re gaining popularity because they are easy to grow and require little space.
They can also provide a continuous supply of fresh greens.
What types of shelves are best for growing microgreens?
You can use any shelving unit. Just ensure it allows good airflow and has enough room for your plants.
Metal or wire shelves are often preferred for their durability and support for the weight of the growing trays.
What supplies do I need to grow microgreens in shelves?
To grow microgreens, gather trays, special soil, seeds, water, and a light source.
Consider using a grow light or natural sunlight to ensure proper growth.
How do I plant the microgreen seeds in shelves?
Fill your tray with special soil and moisten it.
Sprinkle seeds evenly, press gently, cover lightly with soil, mist, and keep it moist.
How do I care for my microgreens while they are growing in shelves?
Keep the soil moist but not soggy.
Provide 12-16 hours of light daily and use a fan for airflow to prevent mold.
What are some common problems I may encounter while growing microgreens in shelves?
Watch for issues like overwatering or pests.
Regular monitoring will help prevent problems and ensure healthy growth.
Harvest your microgreens when they reach about 1-3 inches for the best flavor!

