How to Grow Microgreens in Your Kitchen
Microgreens are small but mighty plants brimming with nutrients. They can transform your meals and enhance your well-being, making them essential for anyone wanting to grow them.
Cultivating them at home is straightforward and immensely gratifying.
Discover the health benefits of these powerhouses. They can boost your wellness during winter and are easy to grow at home! Learn how to select the ideal varieties for your palate, and determine the essential supplies you’ll need to begin your journey.
With a clear, step-by-step guide for growing, harvesting, and integrating microgreens into your diet, you ll find it effortless to savor their vibrant flavors and health advantages straight from your kitchen.
Contents
Key Takeaways:
- Discover the benefits of growing microgreens in your kitchen, including their high nutritional value and convenience.
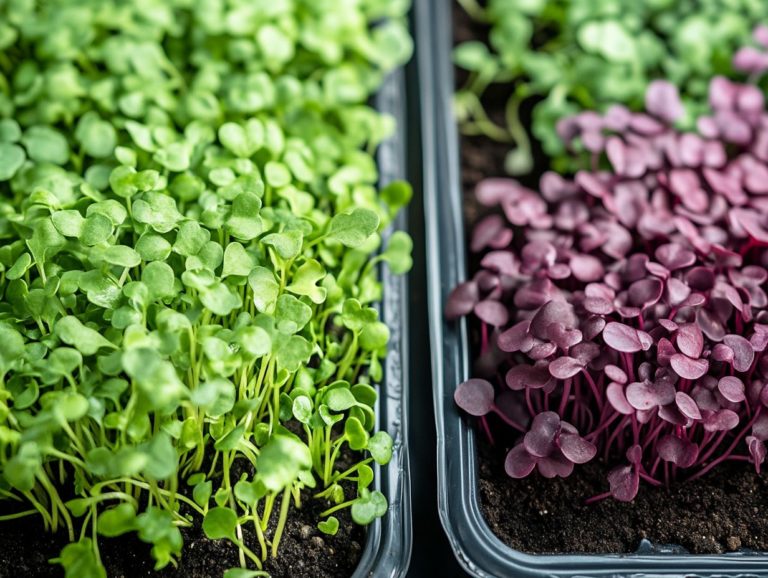
- Choose from a variety of popular microgreens based on their specific health benefits and flavor profiles, including broccoli sprouts, arugula, kale, radish, cilantro, chia, buckwheat, fenugreek, and basil.
- Follow a simple step-by-step guide to successfully grow microgreens in your kitchen, from preparing the growing medium to harvesting and incorporating them into your meals.
What are Microgreens?
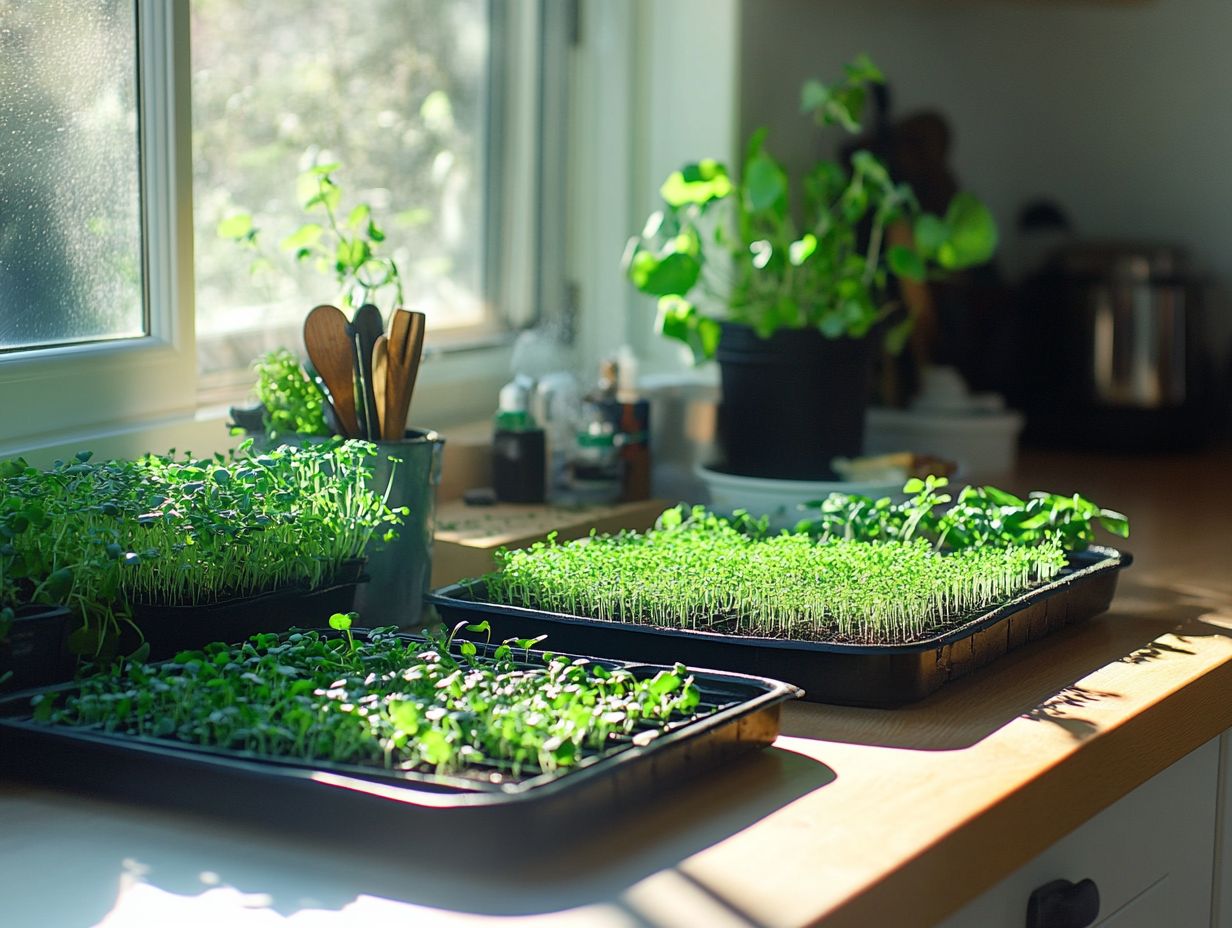
Microgreens are young edible plants that you can harvest shortly after germination. They encompass a delightful array of species such as broccoli sprouts, arugula, kale, radish, cilantro, chia, buckwheat, fenugreek, and basil.
These tiny greens pack a big punch of flavor and are remarkably easy to cultivate at home, especially when using a DIY microgreens kit. Not only do they offer a wealth of nutrients that can significantly enhance your health, but they also elevate your culinary experience.
With their vibrant colors and diverse flavors, microgreens are a fantastic addition to any indoor gardening endeavor, transforming your meals with nutrient-rich greens and fresh living foods.
Benefits of Growing Microgreens
Growing microgreens at home brings many health benefits that enhance your wellness, especially during winter when fresh produce is a rare find. Microgreens are packed with vitamins and antioxidants. These nutrients can help lower the risk of chronic diseases like heart disease and diabetes.
Research suggests that microgreens contain a higher concentration of nutrients compared to their fully grown counterparts, making them a powerful addition to any vibrant salad or nourishing Buddha Bowl.
Beyond elevating the flavor and visual appeal of your dishes, microgreens offer an impressive selection of essential nutrients, including vitamins A, C, E, and K, along with important minerals like calcium and magnesium. Their abundant polyphenols help combat oxidative stress, reducing inflammation and supporting your overall cardiovascular health.
By incorporating these tiny greens into your daily meals, you may also assist in digestion and foster a healthy gut microbiome, which is crucial for effective weight management and reducing risks associated with metabolic syndrome.
With their versatility and concentrated nutritional profiles, microgreens can easily become a cornerstone of your proactive approach to staying healthy.
Choosing the Right Microgreens to Grow
Selecting the right microgreens to grow is crucial for maximizing flavor and health benefits, as certain varieties are significantly easier to cultivate than others.
Consider popular options like broccoli, arugula, kale, radish, and cilantro each brings unique flavors and health advantages to your table.
By choosing microgreen seeds that align with your taste preferences and the specific conditions of your indoor gardening space, you can elevate your experience in nurturing these vibrant, nutrient-rich greens. Additionally, learning how to use grow lights for microgreens can enhance your growing success.
Popular Varieties and Their Nutritional Value
Popular microgreens like broccoli, arugula, kale, radish, and cilantro bring a burst of color and flavor to your dishes and pack a serious nutritional punch. For instance, broccoli microgreens are loaded with vitamins and antioxidants, offering remarkable health benefits, including sulforaphane, known for its cancer-fighting properties.
Arugula, with its delightful peppery kick, does wonders for heart health, making it an ideal addition to salads and meals.
Incorporating these vibrant mini greens into your daily cooking can significantly enhance your nutrient intake with minimal effort. Kale microgreens are another excellent choice, brimming with vitamins A, C, and K, essential for maintaining healthy skin and bolstering your immune system.
Radish microgreens bring a satisfying crunch while aiding digestion, making them perfect for elevating sandwiches and wraps.
Cilantro microgreens not only add a unique flavor profile but also provide anti-inflammatory benefits, making them a versatile garnish for everything from soups to salsas.
Each variety enhances your culinary presentations and invites a nourishing touch to your diet. They serve as a foundation for numerous microgreens recipes.
Supplies and Equipment Needed for Growing Microgreens
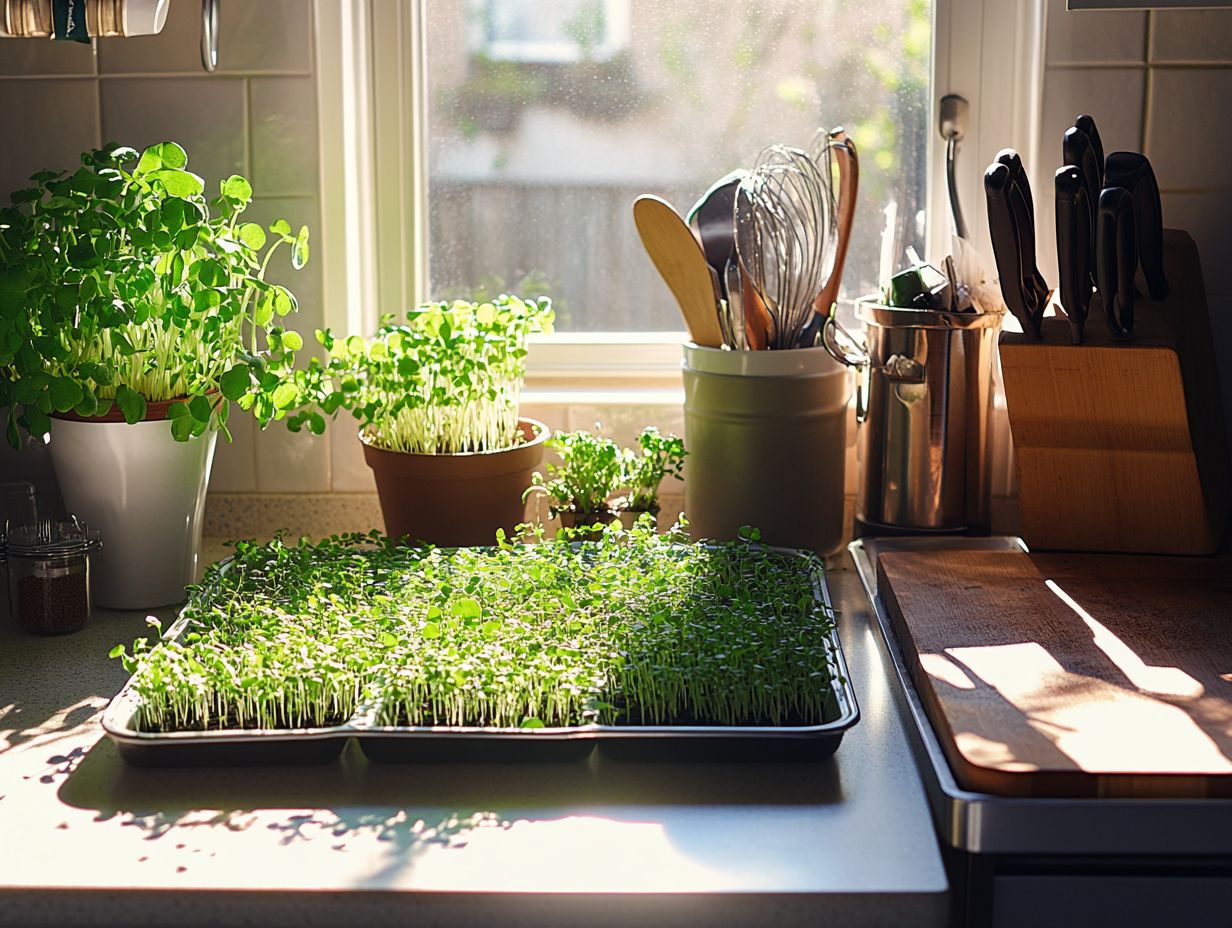
Ready to grow your own microgreens at home? You need the right supplies and equipment, including pots for microgreens and a suitable growing medium this is the material that promotes the best conditions for growth.
A DIY microgreens kit can make this journey easier, offering everything from sprouting seeds to essential tools needed for indoor gardening. With these supplies, you can ensure that your microgreens flourish into vibrant, healthful additions to your meals. Additionally, learning How to Use Hydroponics for Microgreens can be especially beneficial, even in limited space or low-light environments.
Essential Tools and Materials
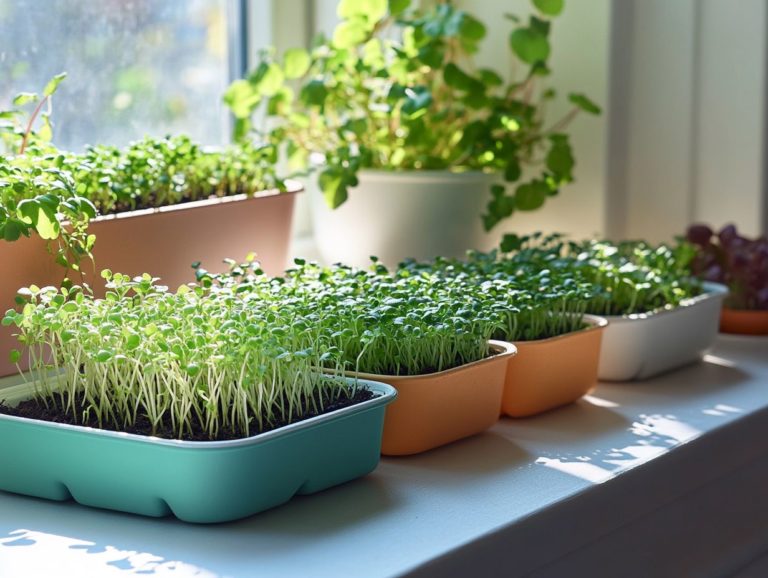
Having the right tools and materials is crucial for your success in indoor gardening, especially when cultivating microgreens. Gather essential items like pots designed for microgreens, available in various sizes and materials, along with a suitable growing medium that supports drainage and nutrient absorption.
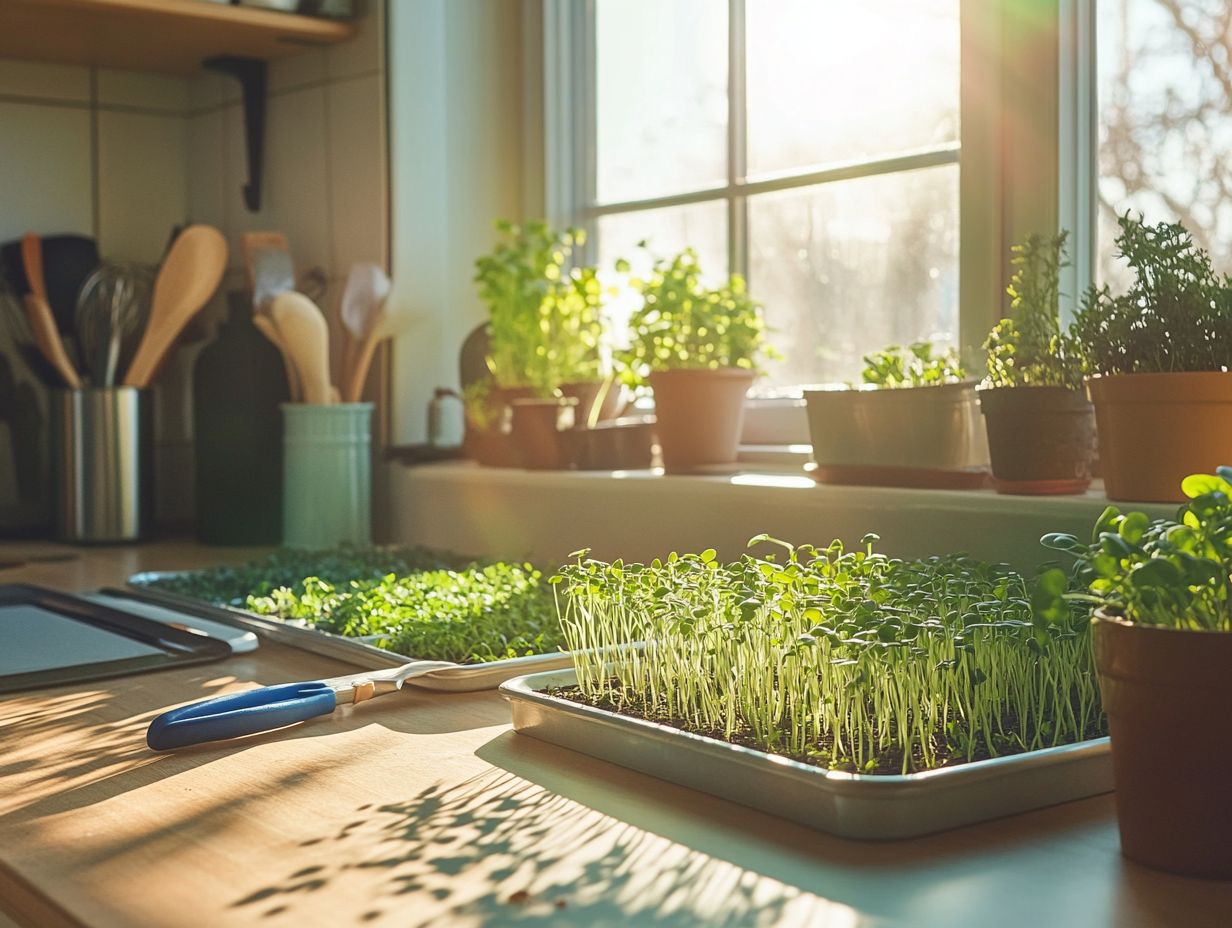
Tools such as spray bottles for watering and scissors for harvesting can enhance your efficiency and enjoyment throughout the process.
Opting for biodegradable pots boosts sustainability and allows roots to breathe, promoting healthier growth. A lightweight soil mix rich in organic matter is often your best bet for optimal germination and nutrient uptake.
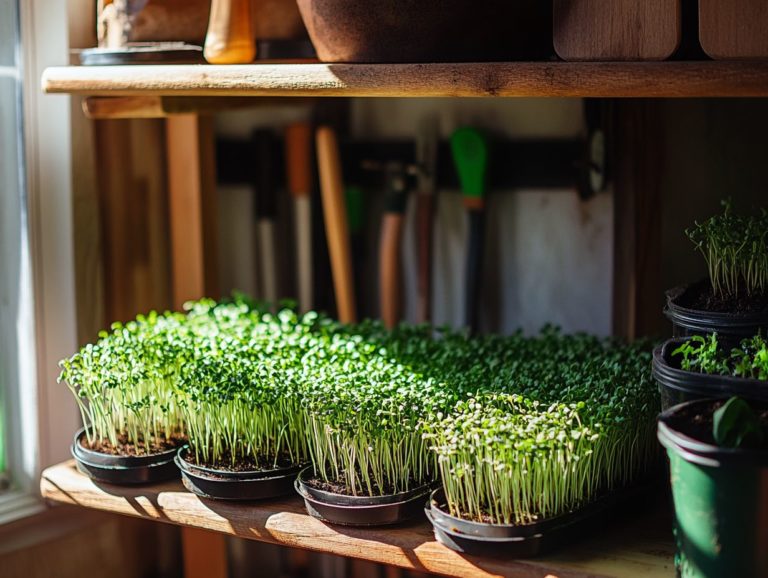
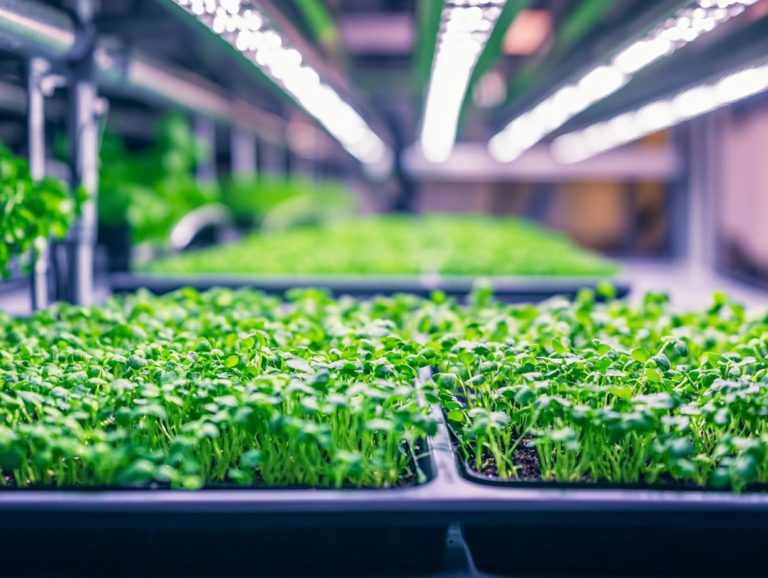
Grow lights are a game-changer, providing consistent illumination regardless of the natural sunlight available crucial for those delicate greens.
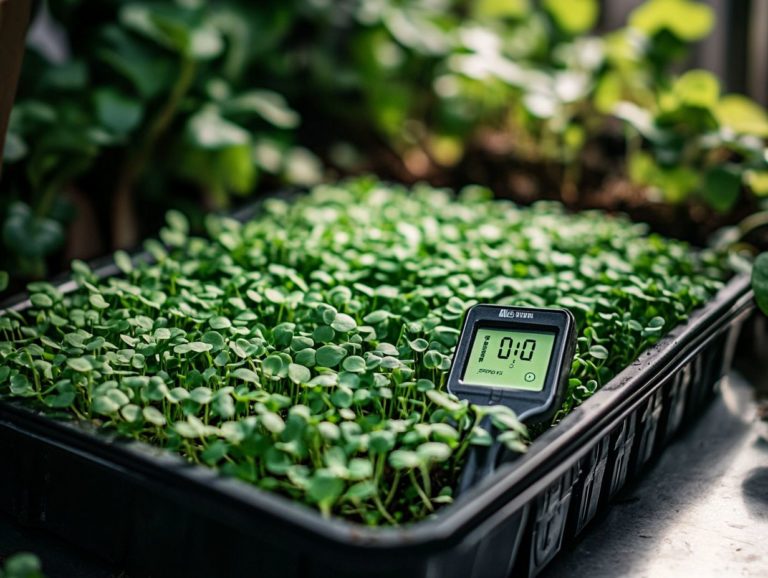
Don t forget to use a moisture meter to keep your soil just right. Each of these materials and tools works together to create a thriving environment for your microgreens, transforming your indoor gardening experience into something both productive and deeply fulfilling.
Step-by-Step Guide to Growing Microgreens
To successfully grow microgreens, follow this detailed guide that walks you through the entire journey, from selecting the perfect microgreen seeds to harvesting your flavorful greens.
Start by choosing the right pots designed for microgreens and select a growing medium that suits indoor gardening needs, ensuring excellent drainage and nutrient availability.
This clear guide makes growing vibrant, nutrient-rich microgreens easier and significantly enhances your chances of success with a step-by-step guide to sowing microgreens.
Preparing the Growing Medium
Preparing the growing medium is a crucial step in ensuring optimal growth conditions for your microgreens. It directly impacts their nutrition and overall health. A suitable growing medium should strike the perfect balance between moisture retention and drainage. This balance creates a healthy environment that supports both germination and growth.
Choose organic potting soil or specialized mixes designed for indoor gardening for the best results. These options provide an excellent foundation for your microgreens, especially when using techniques for growing microgreens year-round.
Coconut coir (a natural fiber from coconut husks) and vermiculite (a lightweight material that helps with drainage) are exceptional choices. They promote robust root development due to their lightweight nature and superior aeration properties. When selecting a medium, consider incorporating additives like perlite (which improves drainage) or sand to enhance drainage further.
To optimize germination conditions, maintaining the right temperature and humidity levels is essential. Covering your trays with a cover that helps keep the air moist can create a mini-greenhouse effect, fostering an ideal environment. Regularly check the moisture levels by feeling the substrate; it should remain damp but not waterlogged.
Careful attention will help your microgreens thrive and deliver the nutritious results you seek.
Planting and Caring for Microgreens
Planting and caring for microgreens requires specific techniques to ensure successful germination and growth. Start by evenly distributing your chosen sprouting seeds over the prepared growing medium. Gently cover them with soil to foster a conducive environment. Regularly monitor moisture levels and provide adequate light in your indoor gardening space, as these elements are essential for nurturing healthy microgreens.
To enhance your seed distribution, use a seed spreader for even coverage. This minimizes competition among seedlings. When watering, take a gentle approach; misting the soil lightly is preferable to soaking it, as this prevents seed displacement. Your goal should be consistent moisture without waterlogging.
Light requirements are just as crucial. Microgreens flourish under grow lights or direct sunlight for 12-16 hours a day. Ensuring the right spectrum of light will promote brisk growth and vibrant colors, setting the stage for a bountiful harvesting phase. To learn more about this, check out the benefits of indoor microgreen growing.
Harvesting and Using Your Microgreens
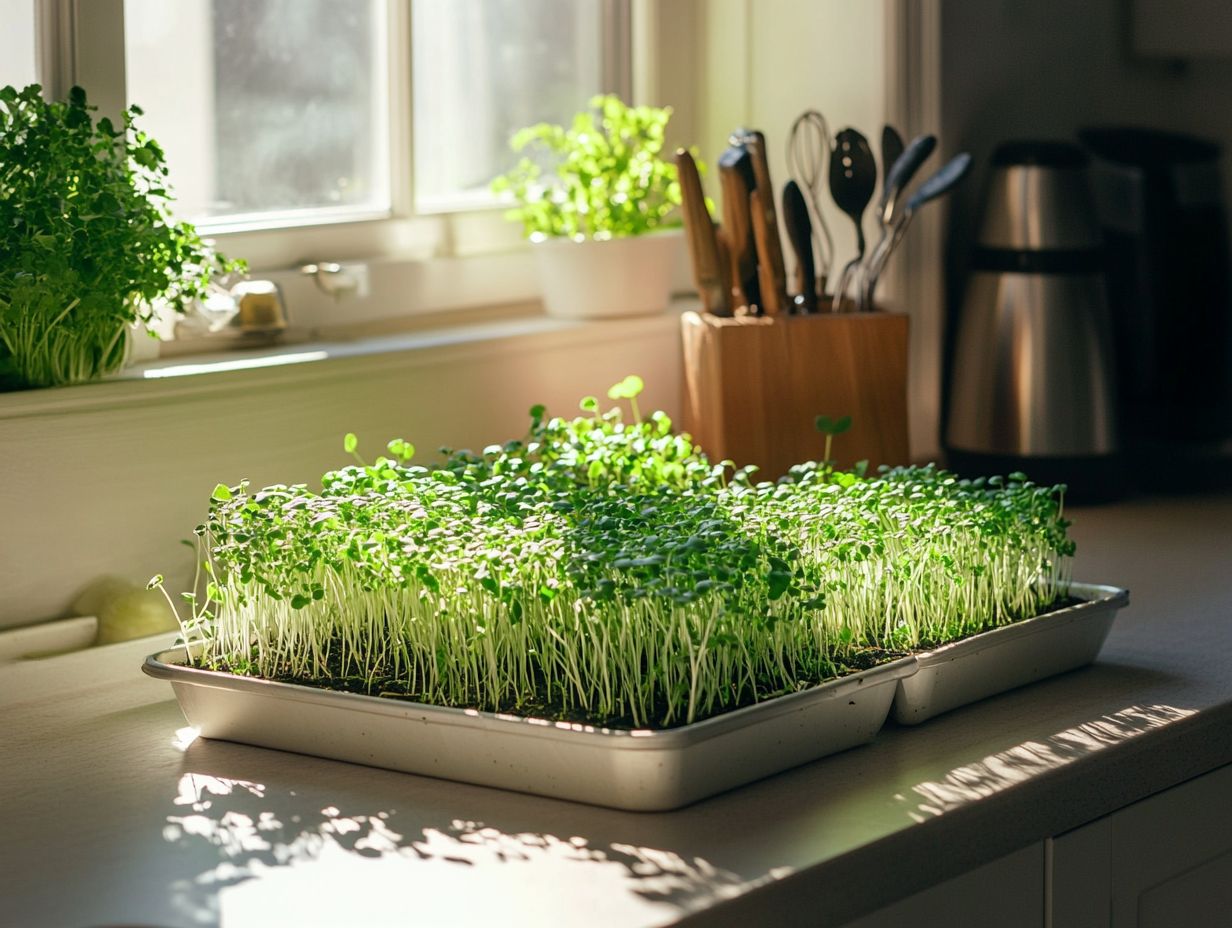
Harvesting microgreens at the perfect moment is crucial for unlocking their full flavor and nutritional potential. There are many delightful ways to incorporate these greens into your diet after harvesting.
Generally, microgreens are ready for picking when they stand at about 1-3 inches tall. They make a fresh and flavorful enhancement to dishes such as healthful salads and Buddha Bowls. By exploring a variety of microgreens recipes, including how to maximize yields from microgreens, you can elevate your meals while fully enjoying the vibrant flavors and nutrients these greens bring to the table.
When and How to Harvest
Knowing when and how to harvest microgreens is essential for enhancing their flavor and health benefits. Improper harvesting can seriously compromise their nutritional value. Typically, microgreens are ready for harvest when they ve developed a pair of true leaves, usually between 7 to 21 days after germination, depending on the variety.
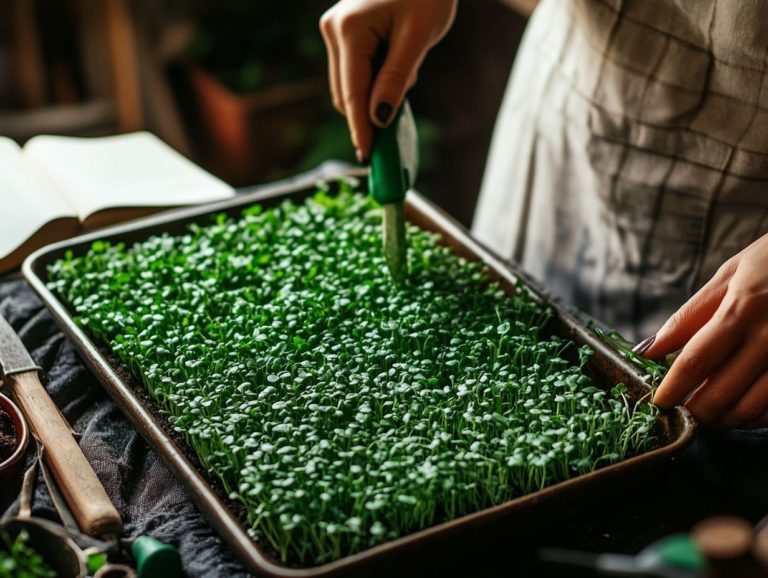
To harvest, simply use clean scissors to snip the greens just above the soil line. This ensures you don’t disturb the roots too much.
Each type of microgreen has its unique signs of readiness. For example, basils are often at their peak taste around 14 days, while radish microgreens can be delightful as early as 7 days. By honing in on the optimal timing, you can enhance their vibrant flavors while preserving the essential nutrients that may start to fade with age.
Practice careful harvesting techniques, like cutting in the early morning when moisture levels are higher. This can result in a more robust flavor profile while preventing wilting. This thoughtful approach guarantees that you enjoy your microgreens at their freshest and most nutritious state.
Try these greens in your next meal and share how it turned out!
Ways to Incorporate Microgreens into Your Diet
Incorporating microgreens into your diet is a delightful way to elevate flavor, nutrition, and presentation across a range of meals. These tiny greens effortlessly enhance healthy salads, sandwiches, and wraps. They also make vibrant garnishes for soups and entrees. You can even get creative with microgreens in smoothies, pestos, and grain bowls, showcasing their versatility in your cooking.
Beyond their delightful crunch and vibrant colors, microgreens are packed with vitamins and antioxidants, providing a remarkable nutritional boost to your everyday dishes. For instance, consider a fresh tomato and basil salad. The addition of spicy radish microgreens doesn’t just elevate the flavor; it adds stunning visual appeal that’s hard to resist. If you’re interested in growing your own, check out this guide on how to start a microgreen garden for beginners.
Imagine starting your day with creamy avocado toast, enhanced by a sprinkle of microgreens. Layer them into a classic omelet for a brunch treat that transforms ordinary into extraordinary. Adding these tiny greens to stir-fries or grain bowls will turn your simple dish into something gourmet!
Watch this video for more tips on using microgreens!
Frequently Asked Questions
What are microgreens and why should I grow them in my kitchen?
Microgreens are the young, edible seedlings of herbs, vegetables, and other plants. They are packed with nutrients and add a burst of flavor and color to dishes. Growing them in your kitchen is a convenient and cost-effective way to have fresh, healthy greens at your fingertips.
What supplies do I need to grow microgreens in my kitchen?
You will need a shallow container, potting mix, seeds, water, and a light source. Any container with drainage holes will work; specialized microgreen trays or recycled containers like egg cartons or takeout containers are great options. For detailed instructions, check out this guide on how to grow microgreens in a small space.
How do I plant microgreens?
Fill your container with a thin layer of potting mix and moisten it. Sprinkle a generous amount of seeds on top, ensuring they are evenly spread. Cover the seeds with a thin layer of potting mix and mist with water. Keep the soil moist but not waterlogged, and place the container in a warm, well-lit area.
How long does it take for microgreens to grow?
The time for microgreens to grow varies depending on the seed type and growing conditions. On average, they take 1-2 weeks to grow. You can harvest them when the first set of true leaves appears, usually around 1-3 inches tall.
Can I grow microgreens without natural sunlight?
Yes, you can grow microgreens without natural sunlight. Artificial light sources like grow lights or fluorescent lights provide the necessary light. Keep the lights on for 12-16 hours a day and adjust the height to prevent the plants from getting too tall.
How do I harvest and store microgreens?
To harvest microgreens, use a sharp pair of scissors or a knife to cut them just above the soil level. Rinse them with water and gently pat dry. Store them in an airtight container in the refrigerator for up to a week. It s best to harvest and use them as needed for the freshest flavor and nutrients.
Ready to try incorporating microgreens into your meals? Share your recipes or ideas with us!

