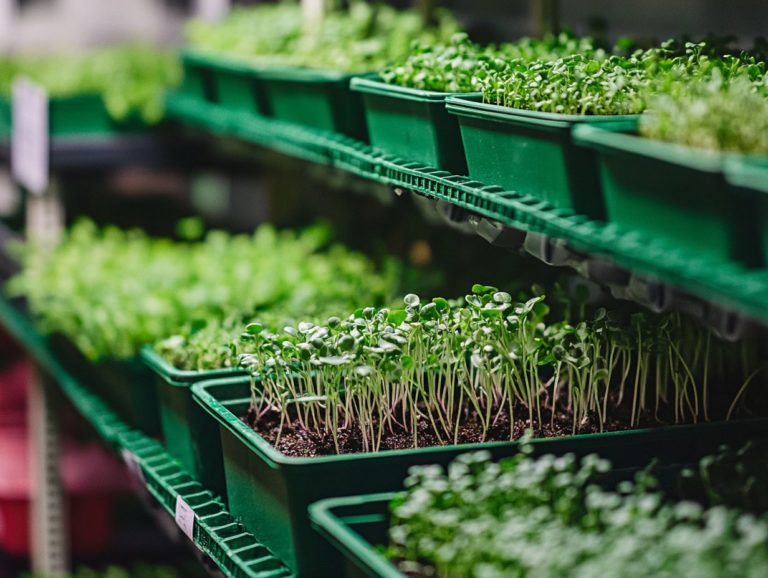
How to Start Microgreens from Seed
Microgreens are delightful, nutrient-rich greens that have taken the culinary world by storm. They bring vibrant flavor and eye-catching color to your dishes. Growing them at home is simple and immensely rewarding.
This guide provides everything you need to embark on your microgreens journey. You ll learn about their benefits, nutritional value, how to choose the right seeds, and essential supplies like planting trays and quality growing medium. Discover expert tips for caring for your greens, troubleshooting common challenges, and maximizing your harvest.
Excited to grow your own microgreens? Let s jump right in!
Contents
Key Takeaways:
- Discover the many benefits of growing microgreens, including their high nutritional value and convenience in cooking.
- Ensure you have all the necessary supplies and equipment, such as essential tools and quality seeds.
- Follow step-by-step instructions for preparing, planting, and caring for your microgreens, and learn how to deal with common issues like pests and diseases.
What are Microgreens?
Microgreens are young, edible plants harvested just after their first true leaves develop. These vibrant greens are brimming with flavor and remarkable nutritional benefits.
They sprout rapidly within 7 to 21 days, making them an excellent choice for home gardening enthusiasts. While arugula and broccoli are often highlighted, don t overlook other varieties like sunflower, pea shoots, and beet greens. Each brings unique taste and texture to your meals.
The culinary significance of these tiny powerhouses is impressive. They not only add color and complexity to your dishes but also pack a punch with antioxidants substances that help protect your cells from damage and vitamins. Incorporating microgreens into your diet enhances the visual appeal of your meals while supporting your overall health. Nutrition-conscious consumers and professional chefs alike appreciate the culinary uses of microgreens.
Benefits of Growing Microgreens
Growing microgreens in your home garden provides a wealth of benefits, from superior nutrition to culinary versatility. It s all wrapped up in the joy of hands-on gardening.
These tiny powerhouses often boast higher concentrations of essential minerals like potassium and iron, along with vitamins such as vitamin C, vitamin K, and vitamin E than their more mature counterparts. By incorporating microgreens into your meals, you can elevate your dishes with essential nutrients while enjoying the satisfaction of nurturing fresh greens from your kitchen windowsill.
Cultivating these little gems can greatly enhance your gardening experience, inviting you to engage with nature and deepen your understanding of the germination process and the critical role of sunlight exposure in growing microgreens.
Nutritional Value and Convenience
Microgreens offer exceptional nutritional value, serving as a concentrated source of essential minerals and vitamins that are vital for maintaining a balanced diet. They are an excellent addition to a 2,000-calorie diet. With their impressive nutrient density, these tiny greens deliver health benefits that can significantly elevate your overall wellness.
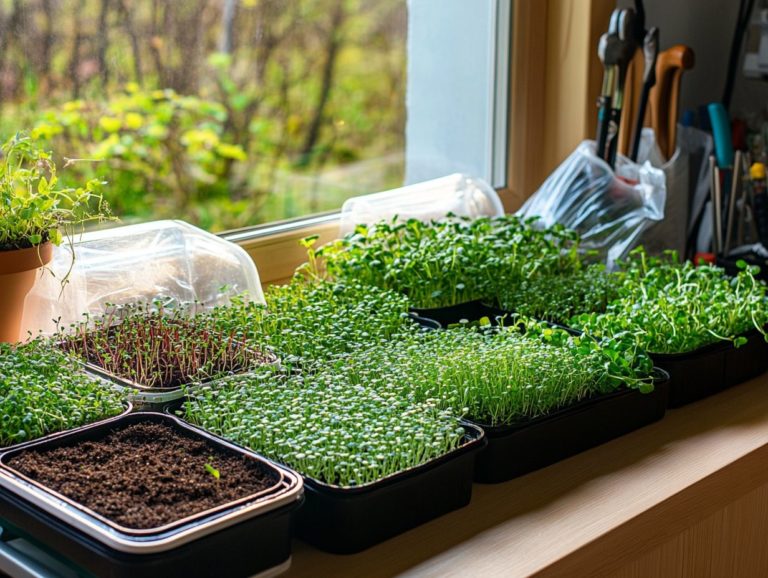
Their convenience is compelling; they require minimal space and thrive easily in small planting trays on your kitchen windowsill. Varieties like kale, spinach, mustard, and cilantro bring rich flavors, making them a delightful addition to various culinary applications, from salads to garnishes.
Beyond their versatility, microgreens are loaded with plant compounds that may benefit your health and antioxidants that help combat free radicals in your body. For example, red cabbage microgreens are high in vitamin C, supporting immune function, while broccoli microgreens are rich in sulforaphane, celebrated for its cancer-fighting properties.
Integrating these greens into your daily meals is effortless. Simply sprinkle them over omelets, blend them into s smoothies, or use them as a topping for sandwiches. They enhance the flavors of your dishes and play a remarkable role in helping you achieve your daily nutritional goals.
Supplies and Equipment Needed
To successfully grow microgreens, gather a few essential supplies that will elevate your experience and streamline the process. You’ll need high-quality planting trays and measuring cups.
Start with suitable planting trays. These trays provide the best environment for your seeds, setting the stage for their success. You will need measuring cups for precise management of water and nutrients during germination.
Don’t overlook the importance of proper water drainage. This is crucial for preventing overwatering, which can lead to mold and disease in your growing space. Don’t miss out on composting either it enriches your soil and boosts your microgreens!
Essential Tools and Materials
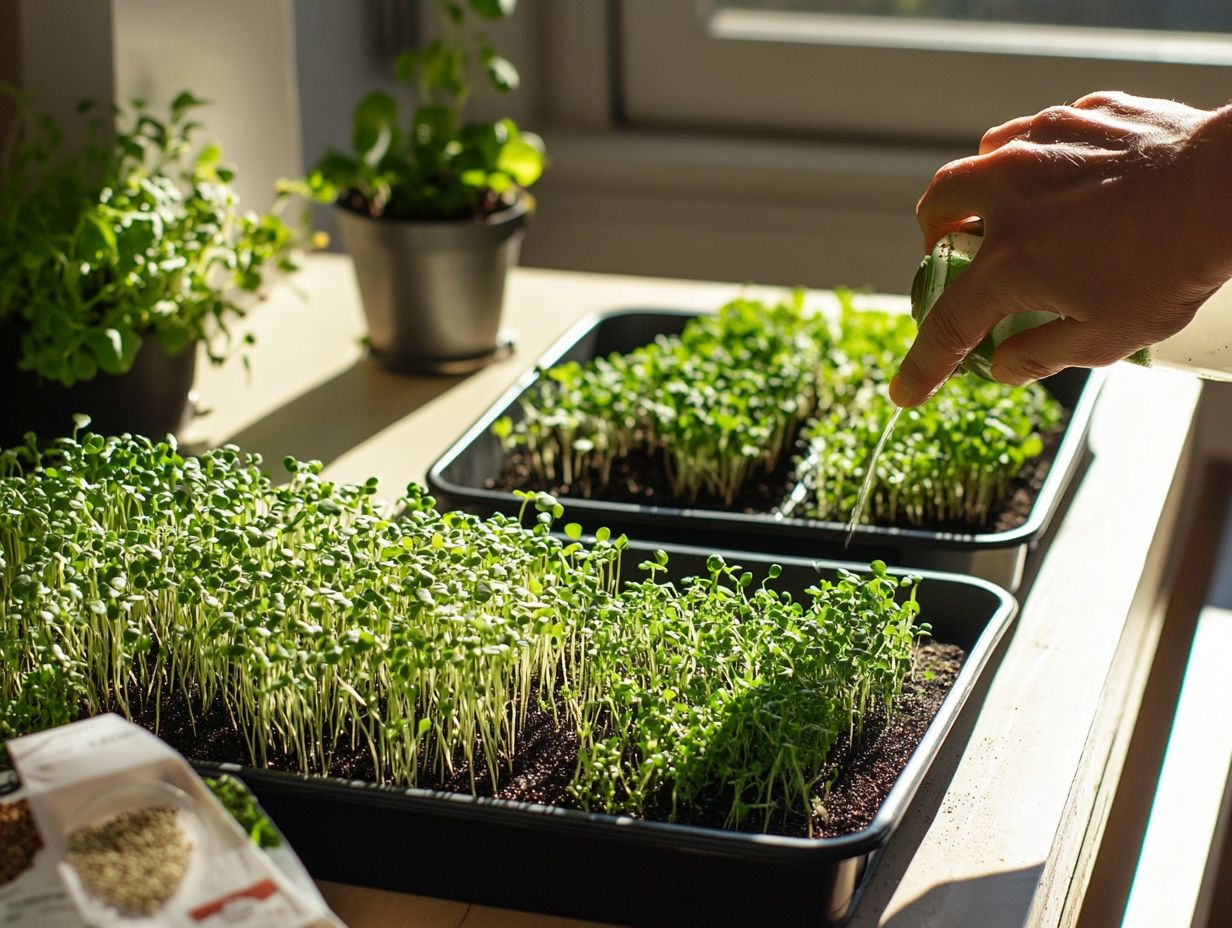
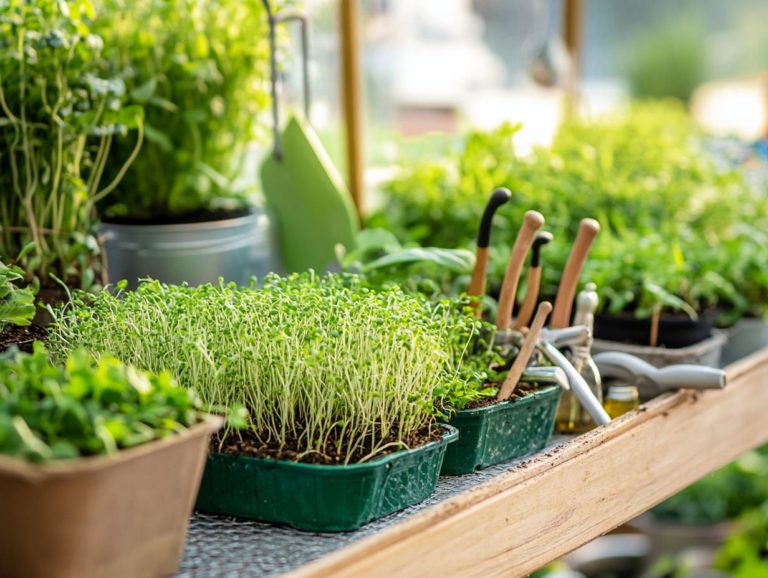
To grow microgreens, you’ll also want to gather some essential tools and materials. These include high-quality planting trays, a suitable growing medium, and measuring cups for precise measurements.
A good growing medium supports root development and moisture retention while allowing for adequate drainage. Proper planting trays help you manage space effectively, especially if you’re cultivating microgreens on your kitchen windowsill. Measuring cups ensure you deliver the right amount of water and nutrients throughout the growth cycle key for achieving vibrant and healthy microgreens.
These essentials also include seeds specifically designed for microgreens, which boast optimal germination rates and delightful flavors. A gentle misting spray bottle is handy for evenly hydrating the growing medium without risking over-saturation, ensuring proper drainage and preventing mold growth.
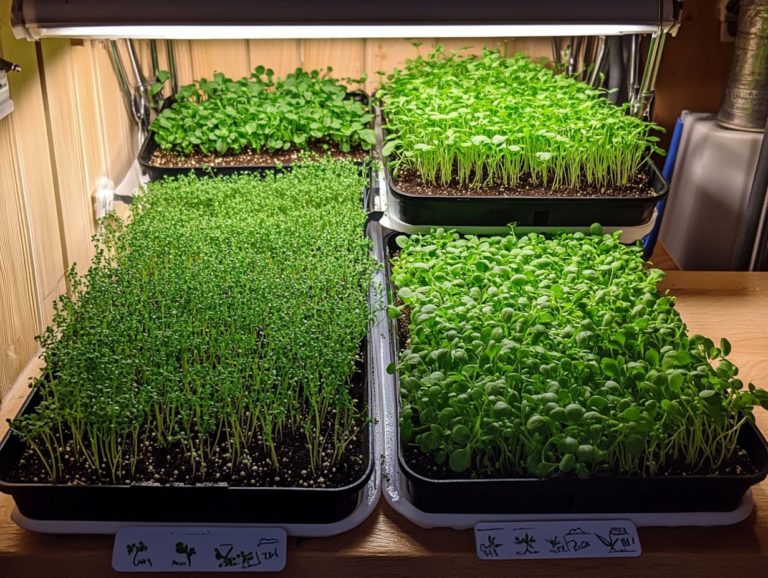
If your environment lacks light, consider using grow lights to encourage robust growth. A humidity dome can create the ideal microclimate, boosting seedling resilience during their early stages. Together, these tools and materials form a supportive ecosystem for nurturing thriving microgreens.
Choosing the Right Seeds
Selecting the right microgreen seeds is crucial for enhancing your gardening experience. Each variety offers unique flavors, textures, and impressive nutritional benefits.
Consider popular choices like arugula, broccoli, mustard, spinach, radish, kale, basil, and cilantro. Each brings distinct benefits to your culinary endeavors.
When choosing your seeds, keep in mind germination time, flavor preferences, and health benefits. This thoughtful approach helps you cultivate a diverse and delightful microgreen garden.
By opting for the right varieties like arugula, broccoli, and radish, you can not only enhance your meals but also enjoy the myriad health benefits these nutrient-dense plants offer.
Best Varieties for Growing Microgreens
The best varieties for growing microgreens include nutrient-packed options like arugula, broccoli, mustard, spinach, radish, kale, basil, and cilantro. These choices deliver a burst of flavor and come with numerous health benefits, perfect for enhancing your meals.
Each variety has its unique growth requirements and flavor profiles, so it’s essential to select those that align with your culinary preferences and gardening conditions. Take arugula, for example; it brings a peppery zest that can elevate your salads.
Broccoli microgreens boast a robust nutritional profile, rich in vitamins C and K. If you’re looking for a bold kick, mustard microgreens are perfect for livening up sandwiches or wraps, while spinach microgreens offer a subtle sweetness that works wonders in smoothies.
Radish microgreens, with their crisp texture and spicy notes, make excellent garnishes. Kale microgreens are a powerhouse of nutrients, ideal for anyone seeking a superfood boost. Basil and cilantro add aromatic freshness, making them perfect for Italian and Mexican dishes.
When choosing microgreens, consider the flavors that resonate with your culinary creations. Pay attention to the light and water requirements of each variety to achieve the best results in your home garden.
Ready to start your microgreen garden? Gather your supplies and choose your seeds today!
Preparing and Planting the Seeds
Preparing and planting microgreen seeds involves a few essential steps. These include seed soaking to ensure optimal growth and a fruitful harvest.
- Soak the seeds in water for several hours. This jumpstarts germination and boosts quick sprouting.
- Fill your planting trays with a good growing medium. Make sure it has good drainage to prevent mold growth.
- Sow the seeds evenly across the medium in your trays. Cover them lightly and keep them moist until they germinate, setting the stage for your microgreen garden.
Step-by-Step Instructions
Follow these step-by-step instructions to prepare and plant your microgreen seeds effectively. Begin with soaking the seeds, as this crucial step activates germination and helps them absorb moisture before hitting the soil.
Select planting trays filled with a nutrient-rich growing medium that promotes good drainage. This is vital to prevent overwatering and root rot.
Once your medium is ready, distribute the soaked seeds evenly over its surface and cover them lightly. A gentle mist of water will kickstart germination.
Position your trays in a well-lit area. Microgreens thrive best under indirect sunlight or grow lights. For a detailed approach, refer to our step-by-step guide to sowing microgreens. Temperature matters too; keep the environment warm but not hot, ideally around 70-75 F for optimal germination.
Check the moisture level daily. Keep your medium damp, but avoid overwatering. This balance is key to nurturing healthy seedlings. As the seeds sprout, thin them out if they become overcrowded. This promotes healthy growth and ensures each plant has space to develop a robust root system, essential for vegetables like arugula, broccoli, mustard, spinach, radish, kale, basil, and cilantro.
Pay close attention at every stage to boost your yield and health of your plants!
Caring for Your Microgreens
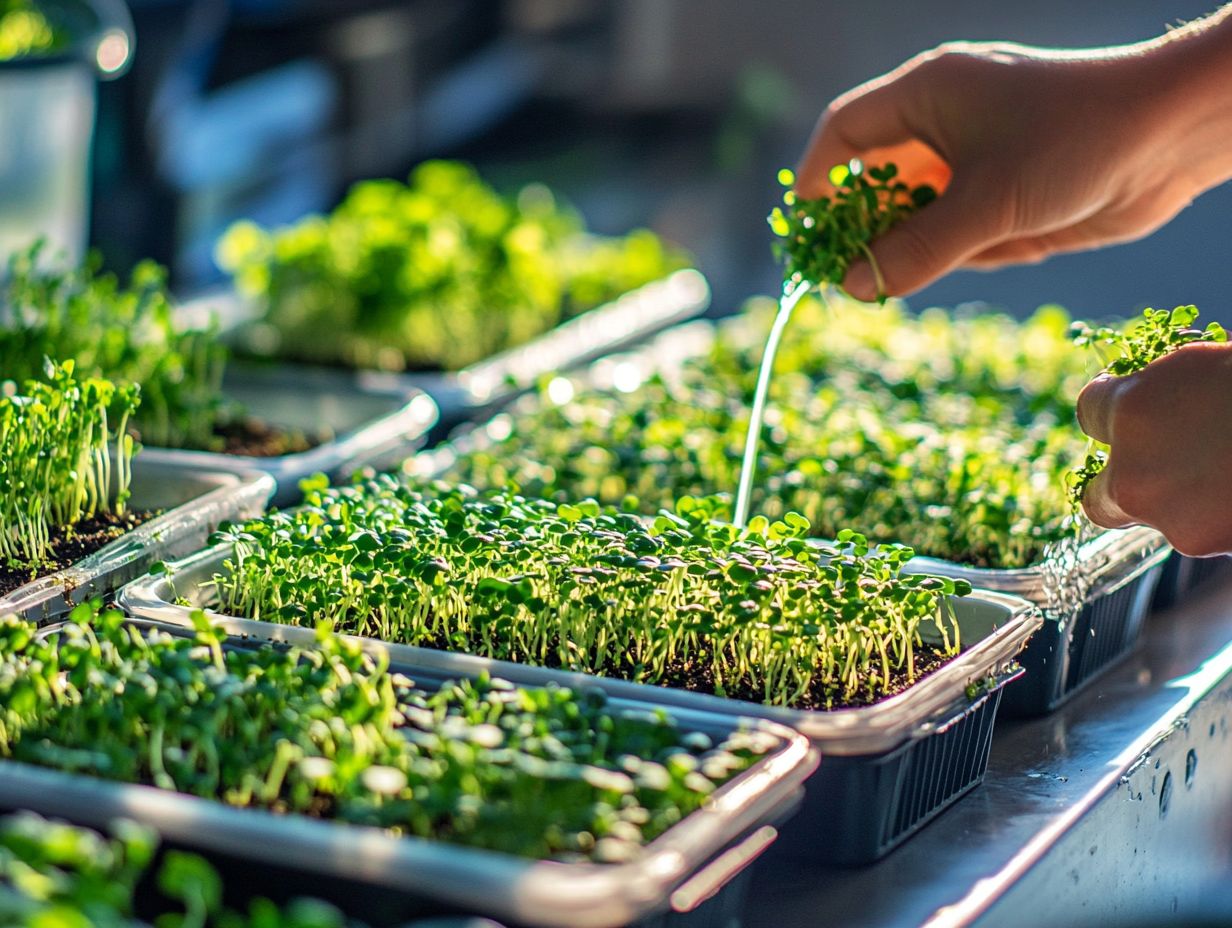
Caring for your microgreens requires a careful balance of watering, lighting, and nurturing as they grow. This enhances your overall gardening experience.
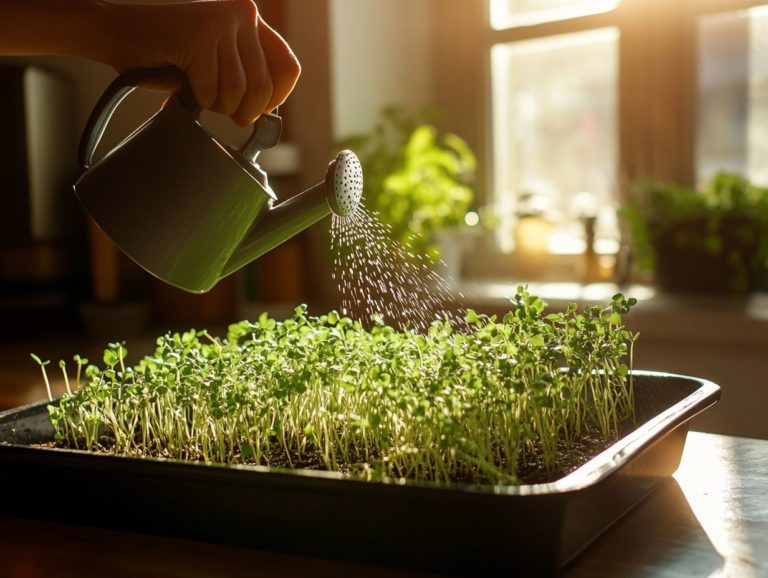
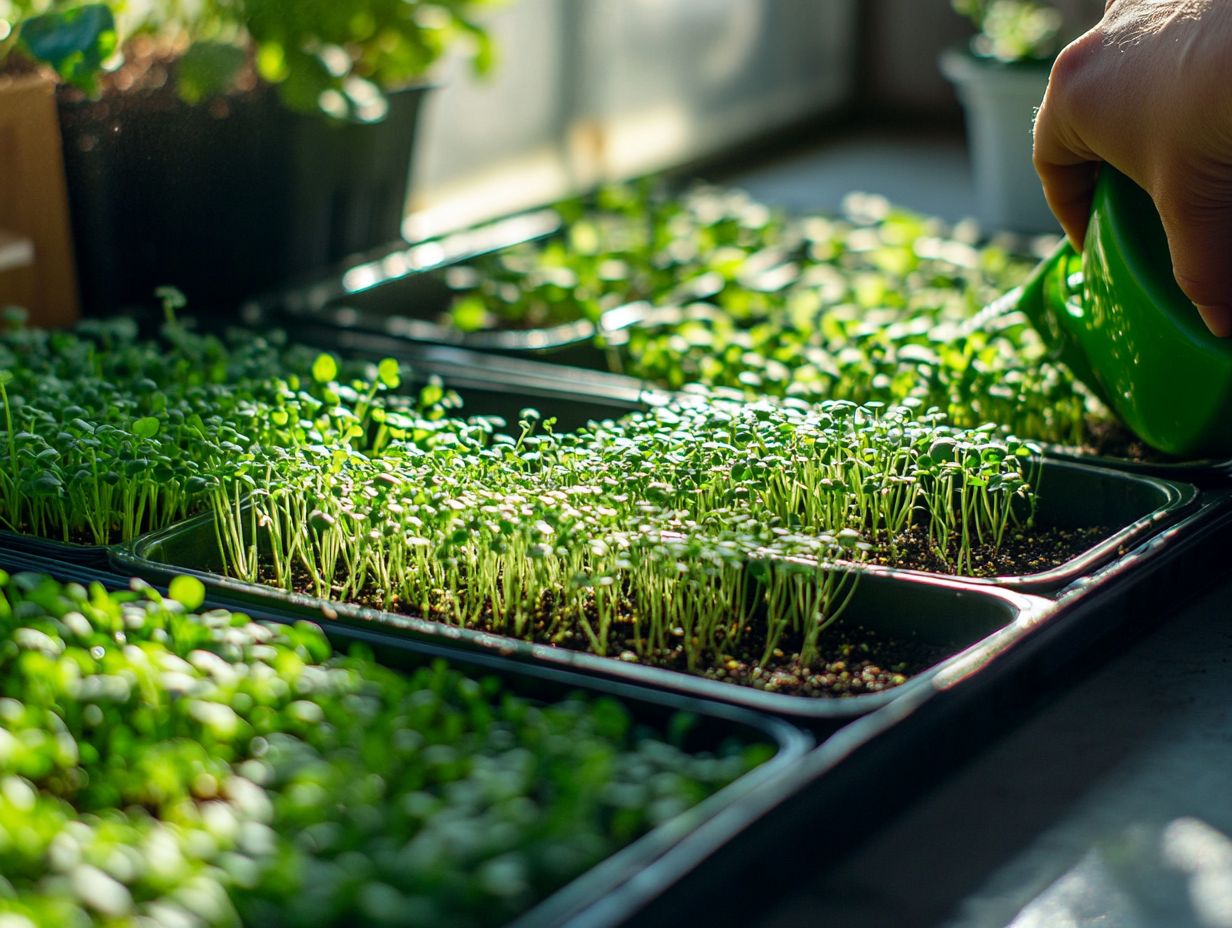
Regular watering is essential to maintain a moist growing medium without over-saturating it. This approach helps prevent disease and encourages robust sprout development, making growing microgreens more effective.
Adequate sunlight exposure is crucial. Many varieties thrive beautifully on a kitchen windowsill or under grow lights when natural light is lacking.
As your microgreens near the harvesting stage, keep a close eye on their growth. Adjust your care accordingly to ensure exceptional flavor and optimal nutritional value, contributing to their nutrient-dense profile.
Watering, Lighting, and Harvesting Tips
Proper watering, lighting, and harvesting techniques are essential for cultivating healthy microgreens that boast exceptional flavor and nutrient density. This makes them a valuable addition to any home garden.
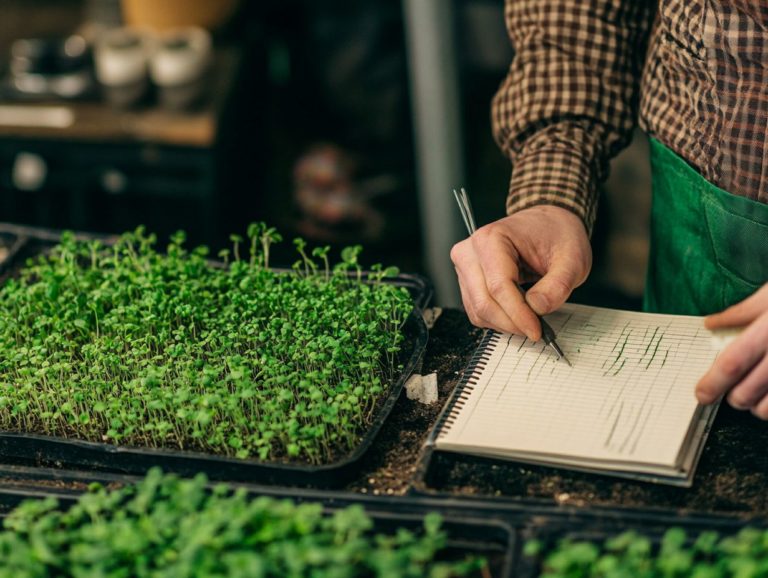
To achieve this, pay close attention to each aspect of care. Check the moisture level daily to prevent the soil from drying out or becoming oversaturated. Both can hinder growth and affect the health benefits of your microgreens.
Lighting is just as vital. Without adequate direct sunlight or the use of LED grow lights, your plants may become leggy and weak, reducing their overall vitality.
Timing is everything in the harvesting process. Wait until the true leaves, or first leaves, are prominent. This ensures optimal taste and maintains the integrity of the seedlings for potential regrowth.
By understanding and applying these practices, you can enjoy a flourishing microgreen garden. Start your microgreen garden today and enjoy fresh, flavorful greens right from your home!
Common Problems and Solutions
When cultivating microgreens, it is vital to recognize common challenges like pests and diseases that can impede healthy growth and reduce your yields. These challenges can affect the culinary use of your microgreens. Prioritizing proper water drainage is key; overwatering can lead to mold and root rot, both of which are detrimental to your plants.
If you face pests like aphids or fungus gnats, consider employing natural pest control methods or organic solutions to manage infestations effectively. This ensures that the health benefits of your microgreens remain intact. Integrating composting into your routine can enrich your growing medium, foster healthier plants, and lower the chances of disease.
Beat Pests and Keep Your Microgreens Healthy!
Maintaining a healthy microgreen garden requires attention to pests and diseases, as these nuisances can significantly hinder growth and yield. Common pests, like aphids, can be effectively managed using natural remedies such as neem oil or insecticidal soap.
Diseases typically stem from overly wet conditions, so ensuring proper water drainage is vital to prevent root rot and mold. By implementing composting practices, you can enrich the soil with helpful tiny organisms, enhancing plant resilience and fortifying defenses against pests and diseases.
Regular monitoring is essential for a thriving garden! Watch your plants for any signs of distress like unusual discoloration or stunted growth to maintain the nutritional value of your microgreens. Staying vigilant and rotating your crops can disrupt pest life cycles, helping to minimize infestations and support a healthier home garden.
Practicing companion planting creates a balanced ecosystem, attracting beneficial insects that prey on harmful pests while enhancing the variety of your growing microgreens. Ultimately, creating a thriving environment begins with quality soil. Incorporating organic compost not only improves drainage but also enriches nutrient content, fostering robust growth of microgreens and enhancing resistance to adversities.
Frequently Asked Questions
What are microgreens and why should I grow them?
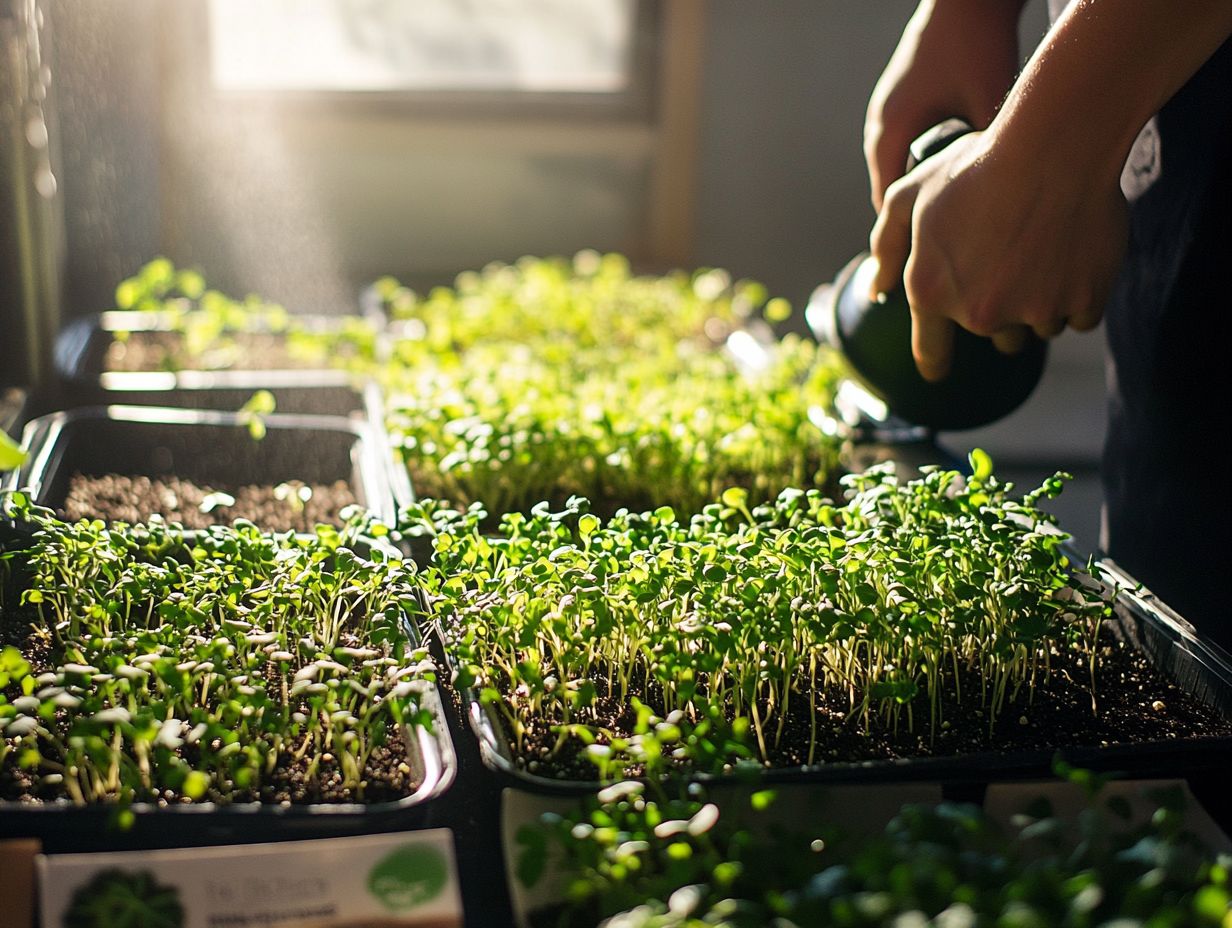
Microgreens are tiny plants that include varieties like broccoli, arugula, and radish. They are harvested as seedlings, usually within 7-14 days after germination. These plants are packed with nutrients and are known to have higher concentrations of vitamins and minerals compared to their mature counterparts. Growing microgreens at home is a fantastic way to add fresh and nutritious greens to your diet.
How do I choose the right seeds for my microgreens?
When starting microgreens, it is important to choose high-quality microgreen seeds that are specifically labeled for microgreen production to ensure optimal growth. These seeds are typically untreated and have a higher germination rate, making them ideal for growing microgreens. Popular microgreen seed varieties include:
- Broccoli
- Radish
- Alfalfa
What materials do I need to start microgreens from seed?
To start microgreens from seed, you will need:
- A tray or container with drainage holes
- A growing medium such as potting soil or coco coir
- A spray bottle for watering
- Your chosen microgreen seeds
You may also need a grow light if you do not have access to natural sunlight, which is essential for the growth of your microgreens.
How do I plant microgreens from seed?
Start by filling your tray or container with 1-2 inches of moistened growing medium. Sprinkle the seeds evenly over the surface, making sure they are not too close together. Lightly cover the seeds with a thin layer of soil, and then mist the top with water. Keep the soil moist but not waterlogged and place it in a warm and well-lit area to optimize the germination process.
Start your microgreen garden today!
How long does it take for microgreens to sprout?
The sprouting time for microgreens varies by seed type, like kale or spinach. On average, you can expect them to sprout in 2-3 days, so get ready to enjoy their health benefits!
Some seeds may take up to a week to sprout. Once they do, remove the cover and keep watering and providing light to ensure healthy growth.
When and how do I harvest my tiny edible plants?
Your microgreens will be ready to harvest in 7-14 days after sprouting, depending on the variety. Use scissors to cut them just above the soil line to maintain the seedlings for potential regrowth.
Rinse the microgreens gently with water and pat them dry. Now they re ready for your favorite dishes!
Store harvested microgreens in the fridge for up to a week. This way, you’ll always have fresh greens on hand for your meals.

