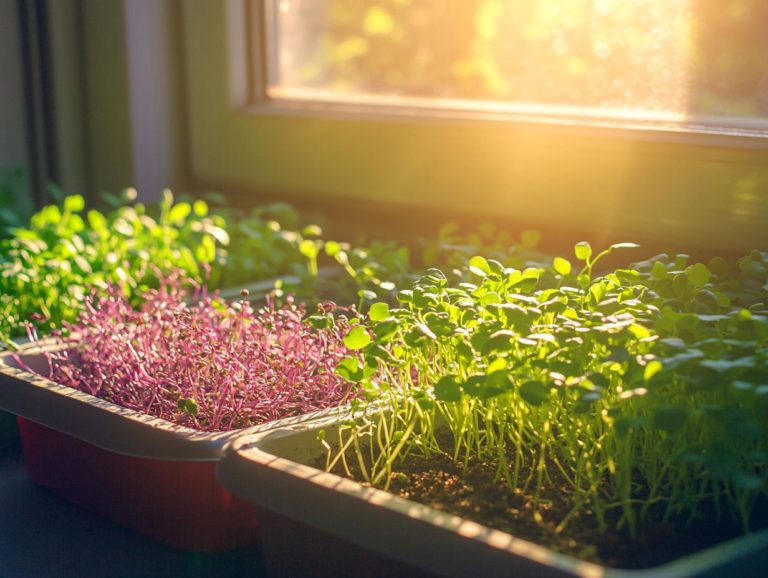
Understanding Microgreen Growth Cycles
Microgreens are tiny, nutrient-rich plants that have taken the culinary world by storm, offering a range of health benefits.
Explore what microgreens are, the different varieties available, and how you can effortlessly grow them right in your own home. This guide equips you with the essentials for creating your growing space along with a detailed, step-by-step process for nurturing these flavorful greens.
Delve into their growth cycles, discover best practices for harvesting, and uncover creative ways to incorporate them into your meals. Get ready to supercharge your cooking and gardening skills!
Contents
Key Takeaways:
- Discover how young, nutrient-packed microgreens can transform your meals!
- Essential supplies like seeds, containers, and soil are crucial for growing microgreens at home.
- Understanding the growth cycle of microgreens, including stages and factors affecting growth, helps ensure a successful harvest.
What are Microgreens?
Microgreens are young, edible plants harvested at the first leaves that appear after germination. They have captured the admiration of home gardeners and chefs alike, thanks to their vibrant flavors and remarkable health benefits.
These petite greens, including favorites like arugula, broccoli, and sunflower shoots, are brimming with nutrients. They bring a delightful touch to salads, sandwiches, and various dishes, elevating them to a coveted ingredient in both culinary arts and urban farming.
Definition and Types
Microgreens are young plants harvested just after their cotyledon leaves have developed. You’ll find an impressive variety among them, each boasting its own unique flavors and nutritional benefits.
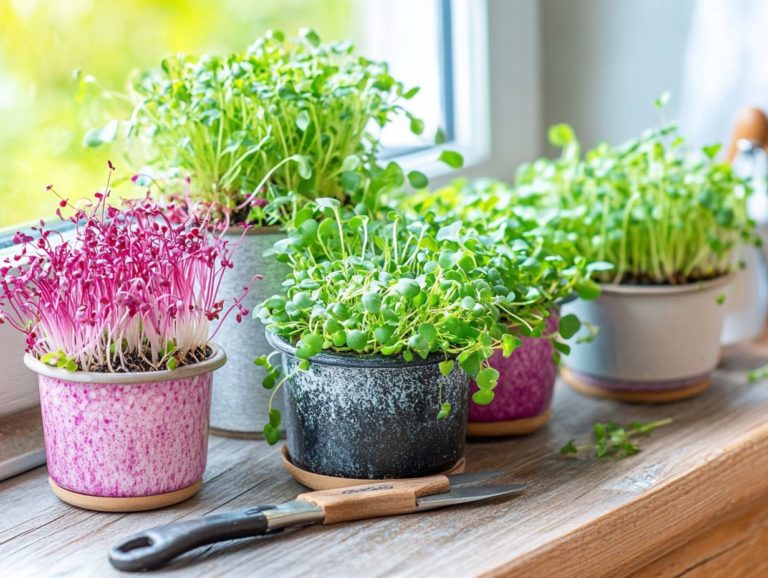
These petite greens think mustard, radishes, and peas not only enhance the visual appeal of your dishes but also enrich them with distinctive tastes and textures. Mustard microgreens offer a zesty, peppery flavor that packs a punch in salads and sandwiches, while radish microgreens deliver a delightful spiciness akin to their mature counterparts. In contrast, pea microgreens contribute a sweet, fresh taste that can beautifully lighten heavier dishes.
What sets microgreens apart from sprouts, which are grown in water and consumed without leaves, or baby greens, which are harvested at a later stage, is their impressive nutrient density. To grow them successfully, it’s essential to understand the best conditions for microgreens. They often contain higher concentrations of vitamins and minerals, making them an exceptional addition to any health-conscious diet.
Growing Microgreens at Home
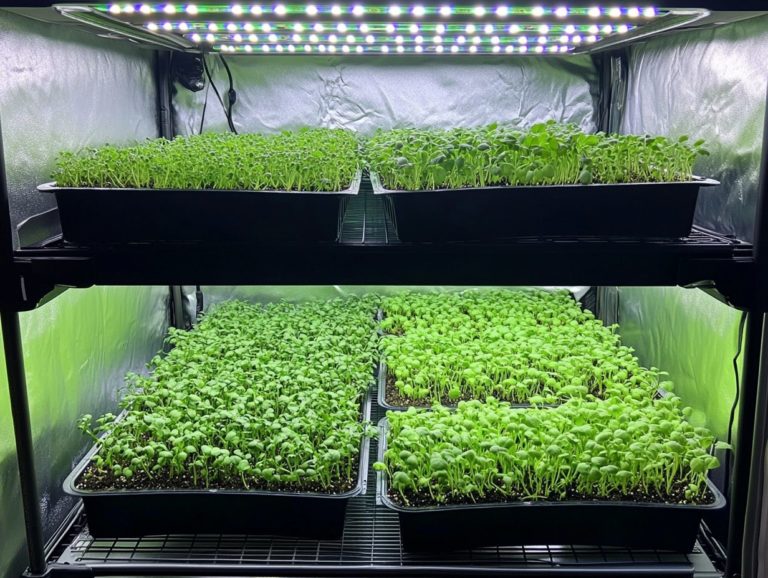
Growing microgreens at home is not only accessible but also an incredibly rewarding venture. It’s perfect for urban farming enthusiasts eager to cultivate nutrient-dense greens right in their kitchens or grow rooms.
Gathering essential supplies is your first step. You’ll want to collect microgreen seeds, appropriate growing media whether that’s soil or a hydroponic system, and containers for planting. Each of these components plays a vital role in nurturing a thriving microgreen garden that flourishes under natural or artificial light. To optimize your efforts, it’s also helpful to understand microgreen growth cycles.
Supplies and Setup
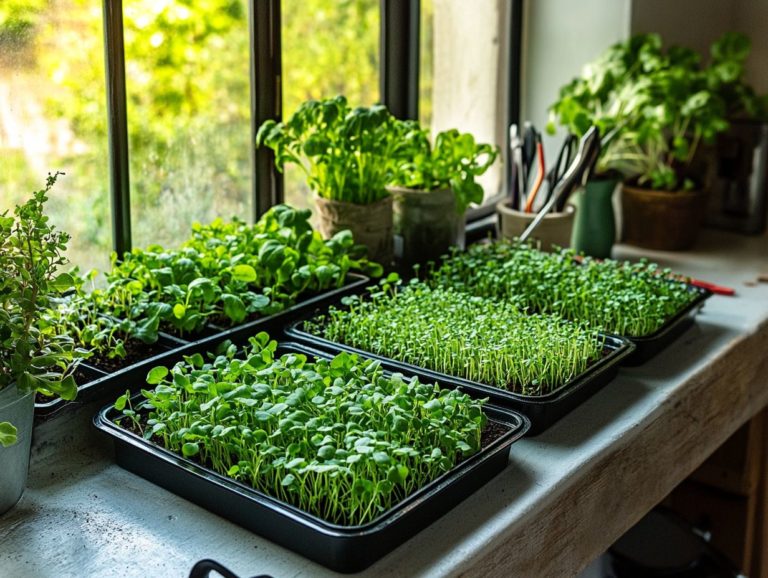
To successfully grow microgreens at home, you need to gather the right supplies, including microgreen seeds, suitable containers, and optimal growing media that suit both soil-based and hydroponic setups.
Choosing the appropriate growing medium is vital, as it directly impacts the growth rate and flavor profile of your microgreens. For soil systems, consider using an organic potting mix, which offers essential nutrients and excellent drainage perfect for varieties like radish or sunflower microgreens. On the other hand, if you opt for hydroponic systems, go for inert media such as coconut coir, rock wool, or grow mats. These options provide support for your plants while allowing nutrient-rich water to circulate freely.
When selecting your microgreen seeds, aim for organic or non-GMO varieties to ensure a healthy yield. Additionally, creating an environment with adequate light, humidity, and temperature will enhance germination and promote strong growth, setting you up for a fruitful harvest. After your harvest, it’s important to focus on understanding microgreen post-harvest care to maximize freshness.
Step-by-Step Guide to Growing Microgreens
Growing microgreens is a simple yet rewarding process. It starts with choosing the right seeds and following care instructions for high germination rates and exceptional harvests.
First, you’ll want to select seeds that are celebrated for their flavor and nutrient density think arugula, radish, or basil. After you’ve made your selection, prepare an appropriate growing medium. This can be soil or a hydroponic system, which is a method of growing plants without soil, using nutrient-rich water instead.
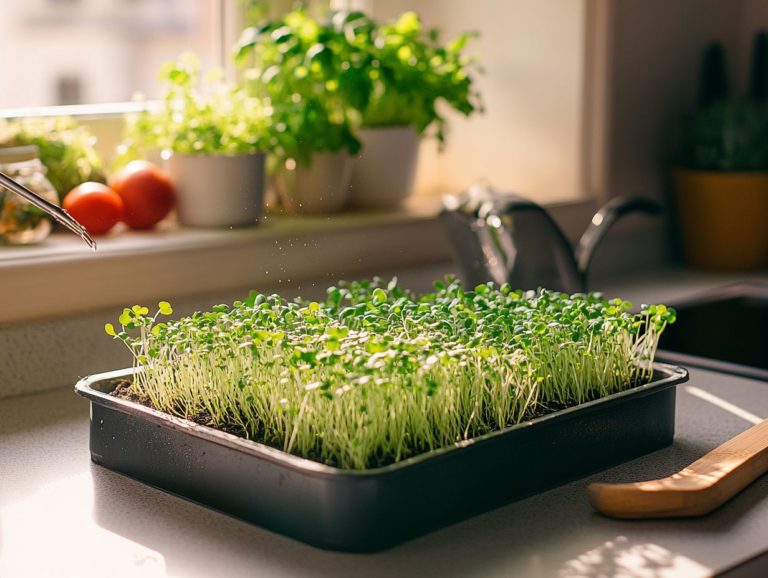
When it s time to plant, make sure you sow the seeds at the recommended depth and space them appropriately. Post-planting, it s essential to create optimal conditions for germination, which includes maintaining consistent moisture and placing your tray in a spot with plenty of light.
As your seedlings begin to flourish, keep a close eye on watering. Ideally, check them every few days to strike the perfect balance between preventing dryness and avoiding over-saturation. In addition to watering, provide about 12 to 16 hours of light daily to promote robust growth.
Finally, knowing when to harvest typically during the ideal harvest phase when the first true leaves emerge will ensure peak flavor and maximize the nutritional benefits of your microgreens.
Understanding Microgreen Growth Cycles
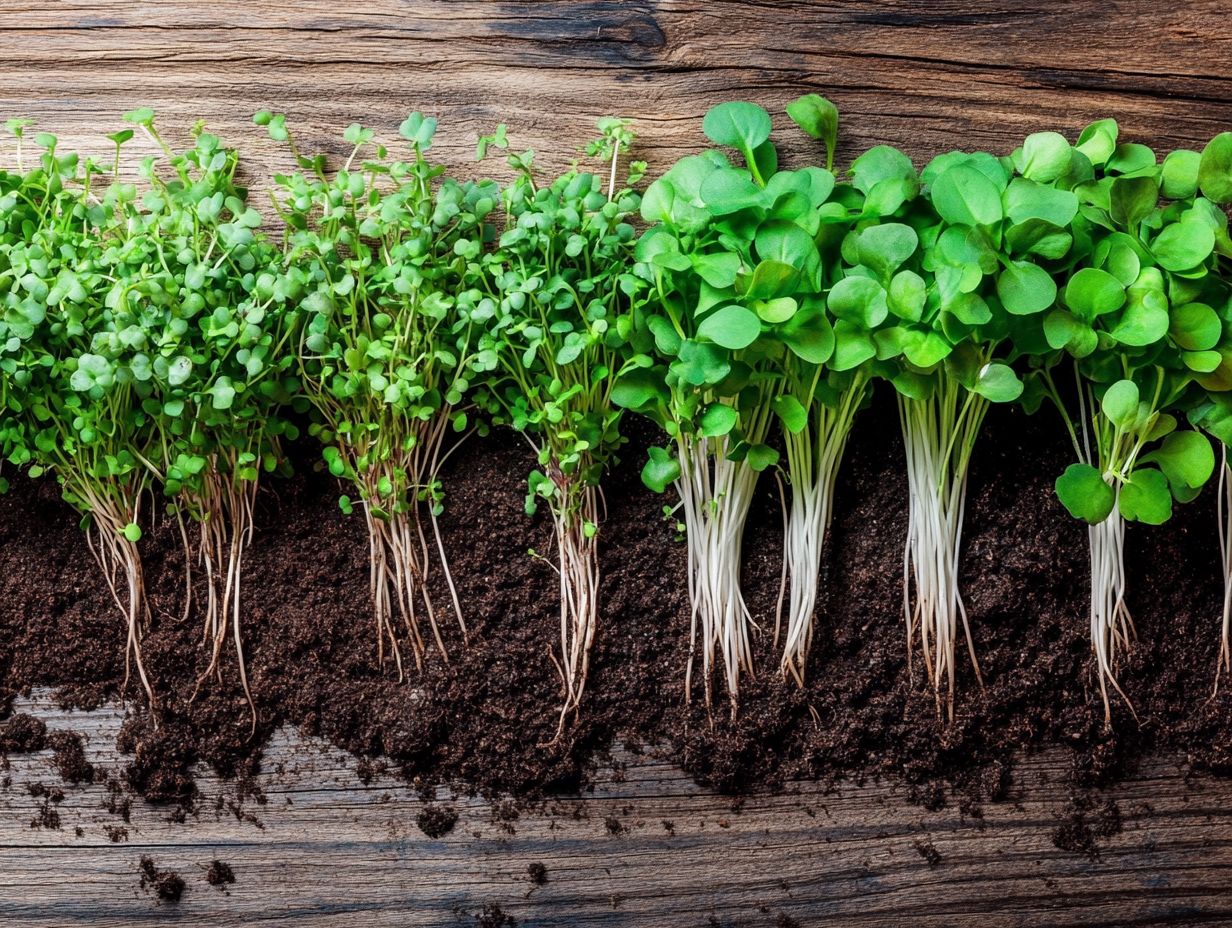
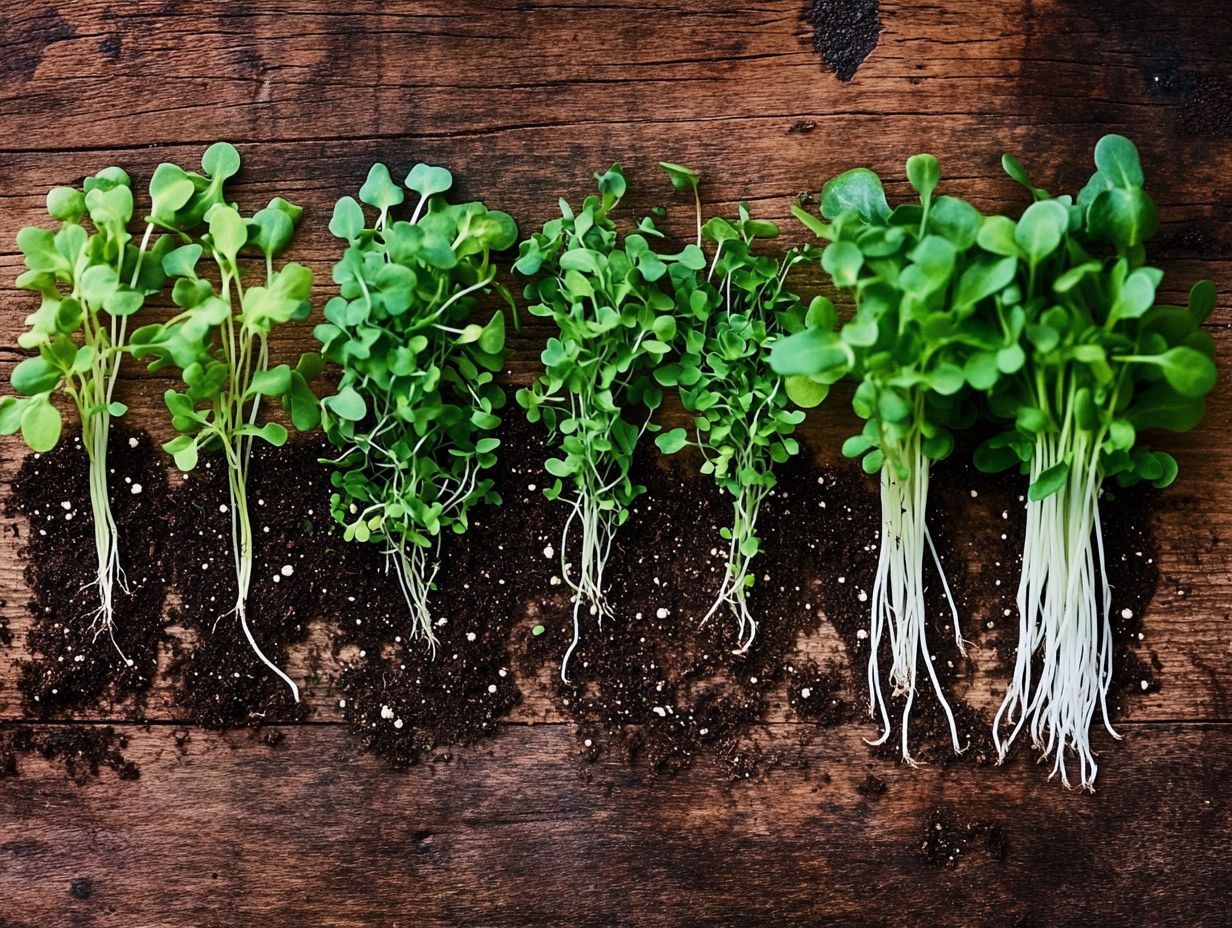
Grasping the growth cycles of microgreens is essential for your successful cultivation. This journey includes key stages, starting with the cotyledon stage, where those delicate little leaves first make their appearance.
You’ll also navigate the transition to true leaves, all while recognizing the significance of optimal germination time for each variety. For a deeper dive, check out understanding the timing of microgreen harvest. Understanding these elements will elevate your microgreen-growing experience.
Stages of Growth
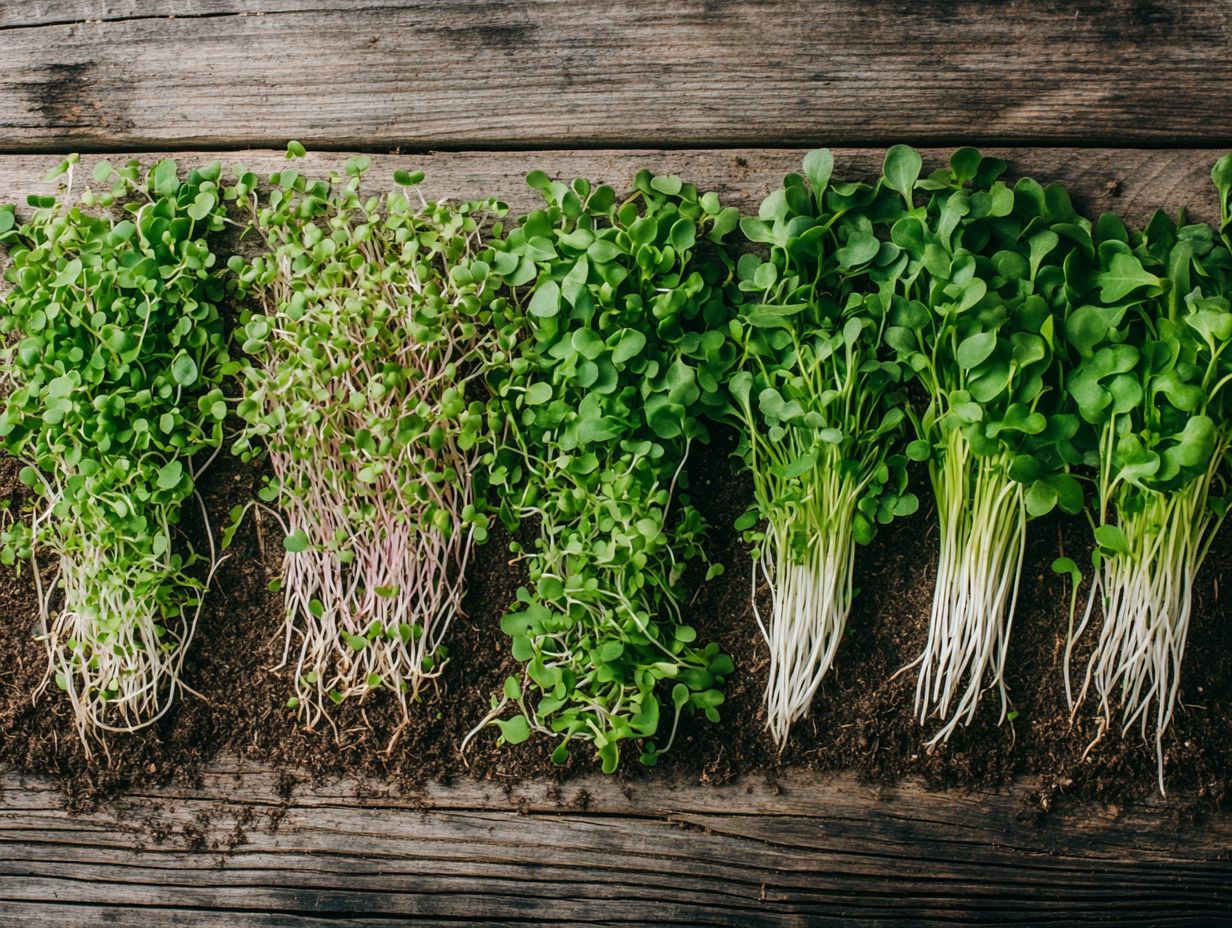
The growth cycle of microgreens unfolds in distinct stages, beginning with the cotyledon stage, where those first tender leaves make their debut. This initial phase typically spans about 7 to 14 days, varying by variety. During this time, these tiny plants need your careful attention to light, moisture, and temperature.
As the microgreens develop their first set of leaves, known as cotyledons, it’s crucial for you to ensure they receive adequate light to encourage healthy, vibrant growth. The next stage, marked by the emergence of true leaves, indicates that the plants are poised to absorb more nutrients and thrive. To further enhance your understanding, explore understanding the growth patterns of microgreen varieties.
Overall, this entire growth process takes around 14 to 21 days. By understanding microgreen growth phases and the specific needs of each variety at these stages, you can achieve a robust yield. Proper care during these phases not only fosters strong growth but also enhances the flavor profile of the microgreens, making them a treasured addition to any culinary masterpiece.
Factors Affecting Growth
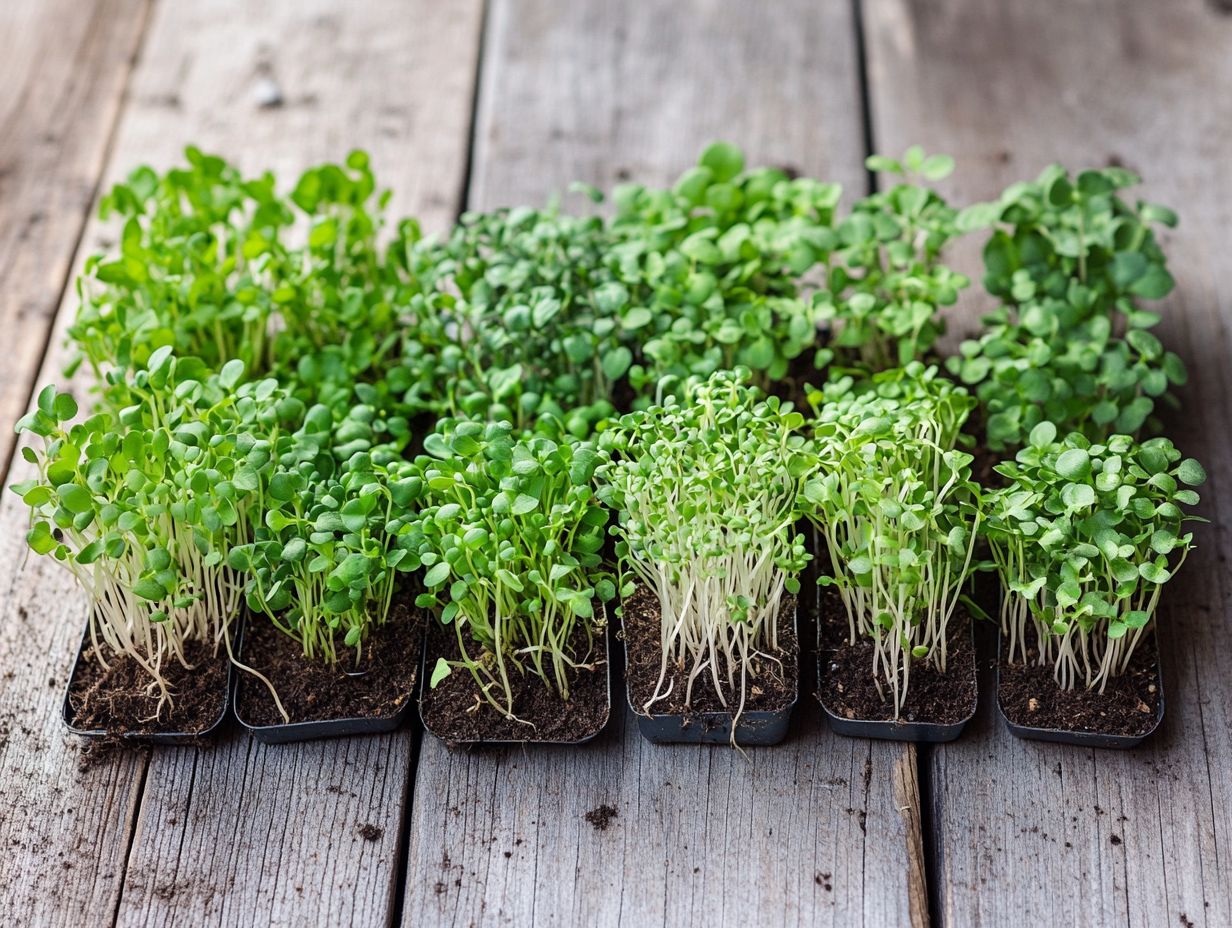
Several critical factors influence the growth of microgreens, such as the germination rate, growing conditions like temperature, and the quality of light whether it’s natural light or artificial light.
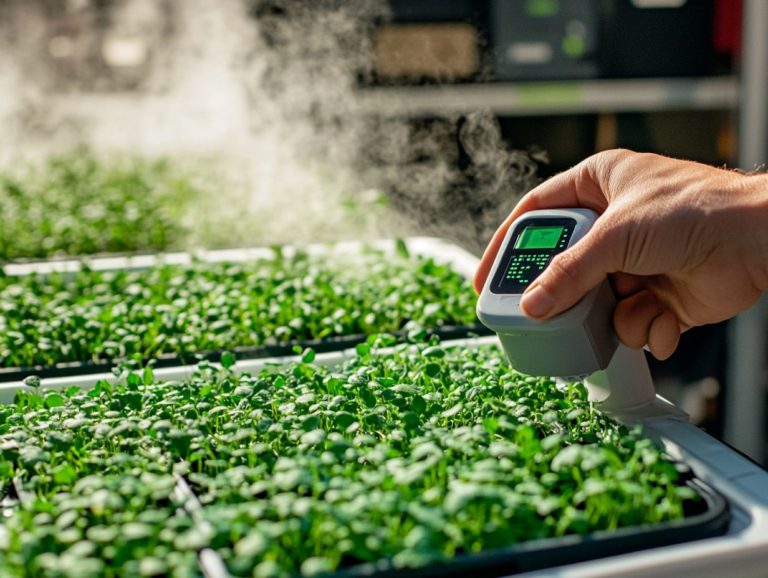
Understanding these elements is essential for anyone looking to cultivate healthy, flavorful microgreens. Light exposure is particularly crucial, as these tiny plants flourish best with around 12 to 16 hours of light each day. You should also pay attention to humidity levels, ideally keeping them between 40-60%, since too much moisture can lead to pesky issues like mold. For a deeper dive into this topic, check out our guide on understanding microgreen growth rates.
The ideal temperature range is 65-75 F for most varieties. However, some microgreens, like basil, thrive in slightly warmer conditions, while others, such as arugula, prefer a cooler environment. By regularly adjusting these conditions based on the specific type you’re growing, you can enhance both yield and flavor, ensuring a vibrant harvest that’s sure to impress. To maximize your harvest’s freshness, it’s also helpful to understand microgreen shelf life.
Harvesting and Using Microgreens
Harvesting microgreens at just the right moment not only guarantees optimal flavor and texture but also amplifies their health benefits. This timing transforms them into a versatile ingredient that elevates a myriad of culinary uses, ranging from refreshing microgreens salads to innovative garnishes that enhance gourmet dishes.
Don t wait! Start growing your own microgreens today for a burst of flavor and nutrition in your meals!
Best Practices for Harvesting
To enjoy the best flavor and nutritional value from your microgreens, harvesting them requires a thoughtful approach. Timing your harvest just right and employing proper techniques is essential.
These greens typically reach their peak taste and nutritional content between 7 to 21 days after germination, depending on the variety. For detailed guidance, refer to understanding microgreen harvest timing. Observe their growth closely and keep an eye out for vibrant colors and well-developed leaves that signal they are ready for harvest.
When the moment arrives, use sharp scissors or a blade for clean cuts near the base. This minimizes damage to the roots and nearby plants. After cutting, proper storage is crucial to maintain freshness. To ensure the best results, it’s important to understand microgreen seed germination. Place your microgreens in a breathable container in the refrigerator to preserve their crisp texture and flavor for as long as possible.
Creative Ways to Use Microgreens in Cooking
Each variety has its own ideal harvest time and flavor profile, ranging from the mild flavor of cilantro to the intense flavor of mustard.
To help you on your journey, we ve created a comprehensive resource that covers everything from growing media to the best varieties of microgreens like amaranth and arugula.
For the best results, follow these care instructions to ensure your microgreens thrive. This includes proper watering frequency and maintaining good conditions for how well the seeds sprout.
Microgreens burst with flavor and add vibrant color to your dishes! Whether you re crafting a microgreens salad or using them as inventive garnishes, they can elevate any dish to new heights.
These petite greens are not just visually appealing; they re nutrient powerhouses that can seamlessly enhance your breakfast bowls, sandwiches, or even soups. For example, basil microgreens can introduce a fresh dimension to classic pesto, while radish microgreens add a spicy twist to your tacos.
Consider pairing pea shoots with seafood dishes, as their sweet, tender nature harmonizes beautifully with the brininess of the ocean. With countless possibilities, integrating microgreens can transform your everyday meals into gourmet experiences.
Frequently Asked Questions
What are microgreens?
Microgreens are small, edible plants harvested at the first set of leaves. They are packed with nutrients and often used as garnishes in dishes.
What is the growth cycle of microgreens?
The growth cycle of microgreens typically lasts between 10-14 days, depending on the variety. They go through stages of germination, growth, and harvest.
How do microgreens grow?
Microgreens grow from seeds planted in a shallow container filled with a growing medium, like soil or coconut coir. They are usually grown indoors with adequate sunlight and moisture.
What factors affect the growth of microgreens?
Factors like temperature, light exposure, moisture, and air circulation can affect the growth of microgreens. Maintaining optimal growing conditions is important for healthy and robust growth.
How do you know when microgreens are ready to harvest?
Microgreens are ready to harvest when they have developed their first set of true leaves. This is typically around 10-14 days after planting. Cut them just above the soil medium.
Can microgreens be regrown after harvest?
Some varieties, like sunflower shoots and broccoli, can be re-harvested after the initial harvest. However, their nutrient content may be reduced after the first harvest. It is recommended to start with microgreen seeds for each new cycle of growth.
Ready to grow your own microgreens?

