5 Creative Ways to Store Microgreens at Home
Transform your living space now with vibrant microgreens while reaping the benefits of fresh greens. This article delves into five innovative ways for you to grow and store these nutrient-rich plants right at home.
From chic mason jar herb gardens to functional vertical wall setups, you ll find unique storage solutions that not only enhance your decor but also elevate your culinary endeavors. Uncover the essentials of growing, storing, and incorporating microgreens into your daily cooking, and transform your home into a vibrant green oasis!
Contents
- Your Quick Takeaways:
- 1. Mason Jar Herb Garden
- 2. Hanging Basket Garden
- 3. Vertical Garden Wall
- 4. Repurposed Shoe Organizer
- 5. Window Sill Planter
- What Are Microgreens and Why Should You Grow Them at Home?
- Frequently Asked Questions
- What are microgreens and why should I store them at home?
- What are some creative ways to store microgreens at home?
- Can I store different types of microgreens together?
- How long can I store microgreens at home?
- What are some tips for storing microgreens at home?
- Are there any creative ways to use stored microgreens at home?
Your Quick Takeaways:
- Create a stylish and functional herb garden using mason jars.
- Maximize space by hanging a vertical garden basket for your microgreens and consider factors that affect freshness.
- Upcycle a shoe organizer into a convenient microgreen storage solution.
1. Mason Jar Herb Garden
Creating a Mason Jar Herb Garden is an innovative approach to storing microgreens while infusing your kitchen with a touch of greenery. Imagine having fresh, nutrient-rich microgreens like broccoli, kale, and pea shoots right at your fingertips. This method preserves valuable counter space and offers a practical solution for keeping your microgreens fresh for an extended period.
By using Mason Jars for storage, you can effectively manage moisture levels, ensuring that these delicate greens stay crisp and flavorful. To maintain their vibrant texture, it s essential to handle them with care lifting them by the stem rather than the leaves helps prevent bruising.
Exploring the remarkable nutritional benefits of popular microgreens, such as the high vitamin C content in broccoli and the rich antioxidants found in kale, can dramatically enhance your meals and overall well-being. Incorporating these versatile greens into your recipes elevates flavors and significantly boosts your health.
2. Hanging Basket Garden
A Hanging Basket Garden offers a visually stunning way to grow microgreens, combining aesthetics with practicality. It maximizes space and promotes optimal airflow, effectively preventing the buildup of ethylene gas that could compromise the freshness of your greens.
By taking advantage of vertical space, you can create a vibrant display while efficiently growing fast-growing varieties like arugula and radishes. These microgreens, celebrated for their quick growth and peppery flavors, are perfect for your small-scale gardening endeavors.
To keep your microgreens fresh, it s crucial to monitor water levels with precision; overwatering can invite mold, while under-watering can stunt their growth. Striking a careful balance and practicing regular harvesting will ensure your leaves remain tender and flavorful, providing you with a continuous supply of fresh greens.
3. Vertical Garden Wall
A Vertical Garden Wall enables you to grow a variety of microgreens with remarkable efficiency, keeping the right amount of water while simultaneously enhancing your home decor with its stunning visual appeal.
This innovative growing technique is particularly advantageous for nurturing delicate varieties like sunflower shoots and vibrant spinach. When you embrace vertical gardening for microgreens, opt for containers that facilitate excellent drainage and air circulation, such as felt pockets or stackable planters.
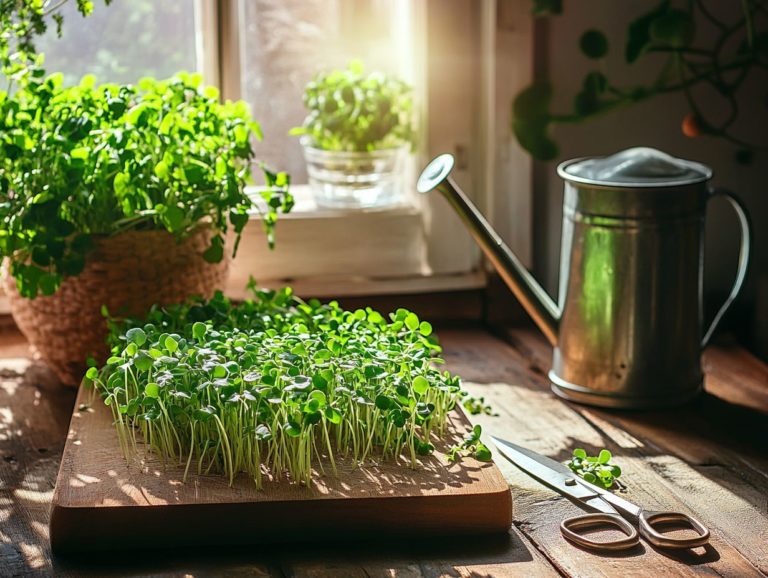
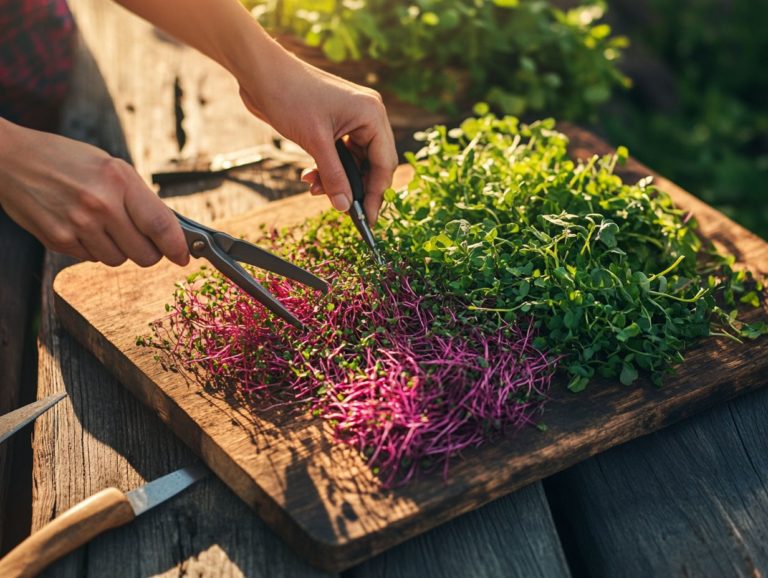
To maximize yield and freshness, cut your microgreens just above the soil line with sharp, clean scissors, preferably in the early morning when they are fully hydrated. By rotating the containers periodically, you can guarantee even sunlight exposure, fostering robust growth. With these straightforward steps, you can effortlessly enjoy a bountiful harvest from your vertical garden.
4. Repurposed Shoe Organizer
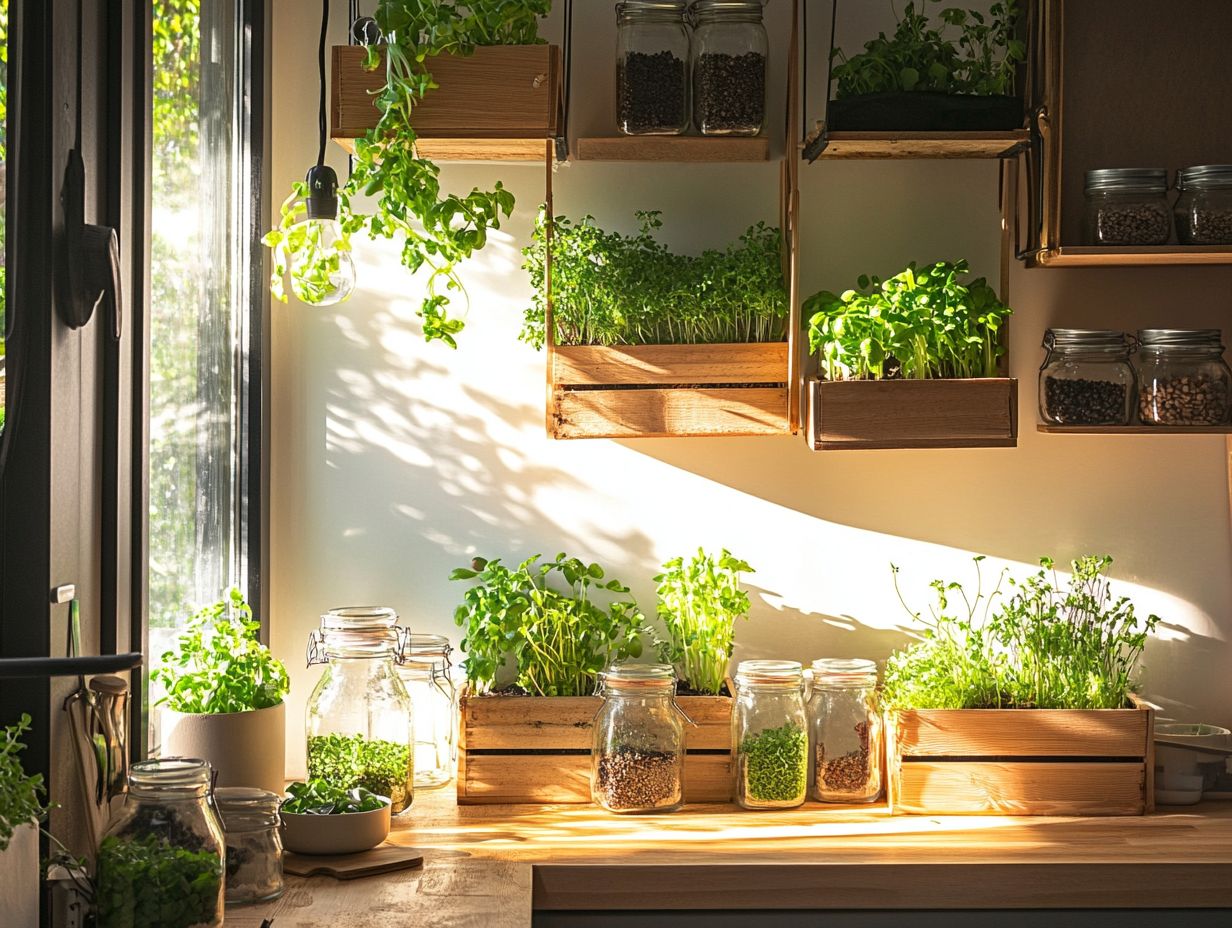
A repurposed shoe organizer is a great way to grow microgreens. It turns ordinary pockets into ideal containers for these nutrient-packed plants.
This method enables effective vertical gardening. It also ensures that each microgreen gets essential light and airflow, promoting healthier growth.
Select plastic containers with adequate drainage holes to prevent waterlogging, which can stifle root development.
Varieties like sunflower, radish, and pea shoots thrive remarkably well in this setup. They take full advantage of the depth and moisture retention the pockets offer.
To enjoy the freshest taste, harvest them at their flavor peak and store them in a cool, dark place to extend their shelf life and enhance their taste.
5. Window Sill Planter
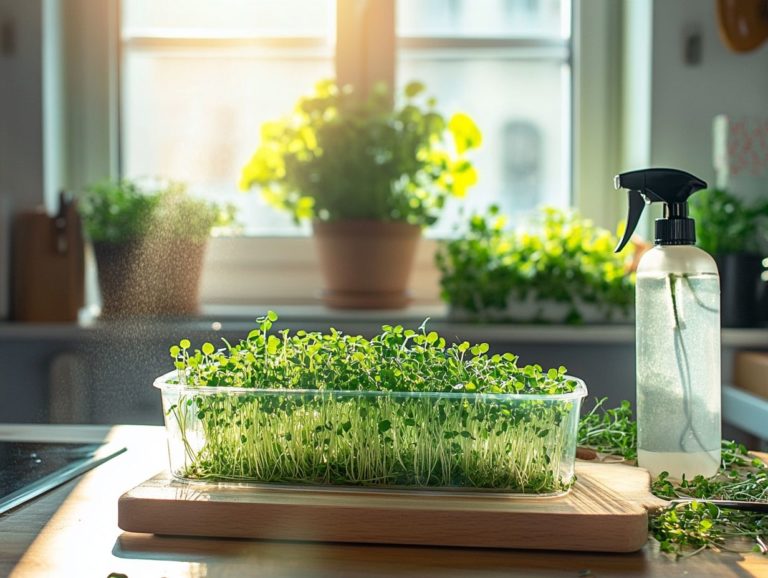
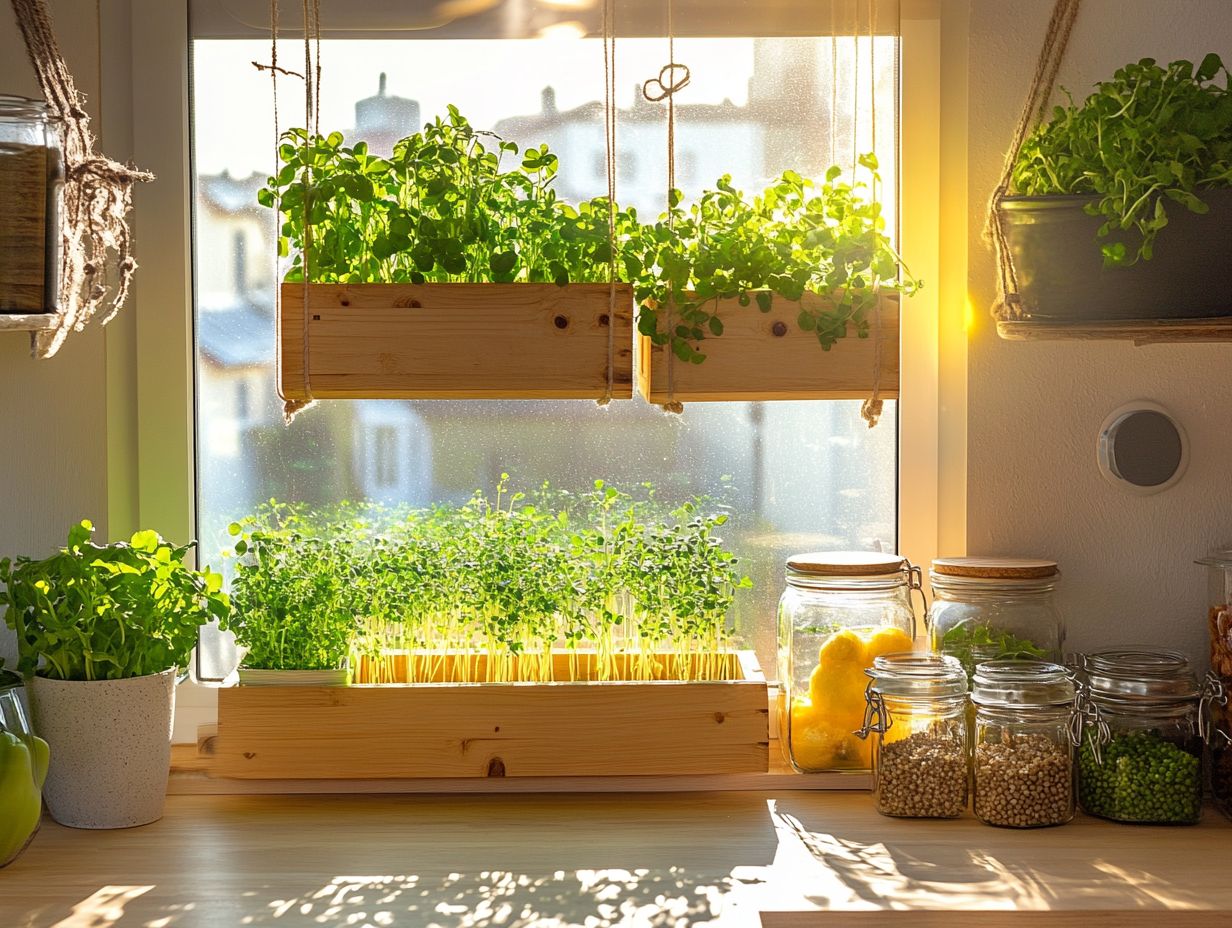
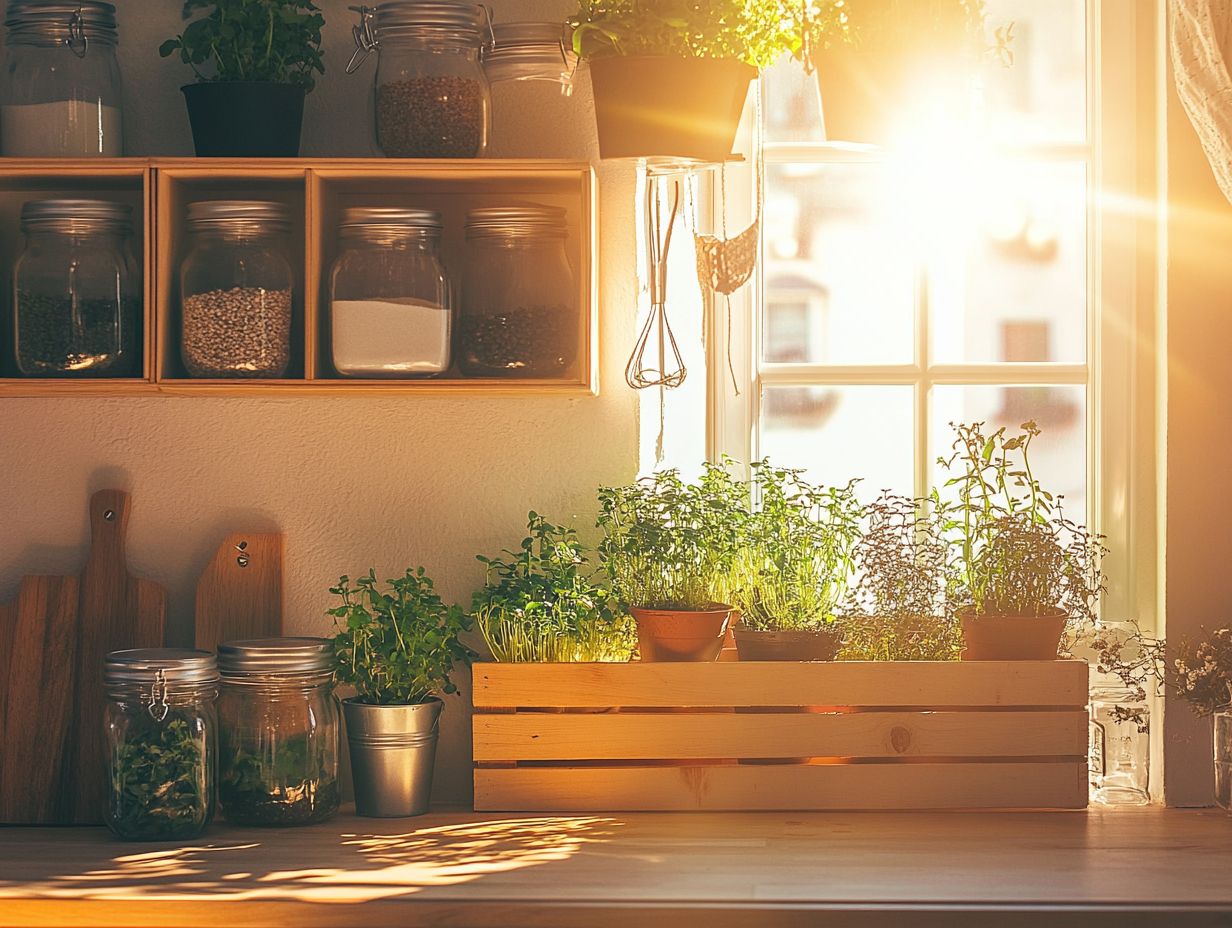
A Window Sill Planter harnesses natural sunlight for growing microgreens, ensuring they receive the light they crave.
Positioning your planter in a spot that gets at least four to six hours of direct sunlight each day can significantly elevate growth potential.
Remember to rotate the planter occasionally. This guarantees even exposure to sunlight, preventing the microgreens from leaning toward one side.
Moisture management is equally vital. Opt for a well-draining soil mix to avoid waterlogging, which could lead to root rot.
To combat condensation that could create a damp environment, consider placing a small fan nearby. Gentle air circulation maintains a healthy balance of humidity and airflow.
What Are Microgreens and Why Should You Grow Them at Home?
Microgreens are young, edible plants packed with nutrients. They are perfect for adding flavor and health benefits to meals.
These colorful greens enhance the flavors of your dishes while boosting your immunity and digestive health. Incorporating them into your home garden elevates your culinary experience.
Growing microgreens at home is not just smart; it saves you money while providing fresh produce.
Varieties like kale, pea shoots, and radishes stand out, each offering distinct flavors and health benefits. Cultivating these tiny powerhouses provides a sense of accomplishment and reconnects you with nature.
What Are the Best Types of Microgreens to Grow at Home?
Some of the finest microgreens to grow at home are nutrient-rich varieties like broccoli, kale, sunflower shoots, and arugula. Each brings its own unique flavors and health benefits to your table.
Broccoli microgreens are a breeze to cultivate. They thrive in various conditions and are loaded with vitamins K and C, along with cancer-fighting compounds.
Kale is another resilient choice, packing an impressive nutritional punch with antioxidants that promote overall well-being.
Sunflower shoots add a delightful crunch and nutty flavor to salads, providing protein and healthy fats.
Arugula brings a peppery zing to your dishes while offering essential vitamins.
To achieve the best results, harvest these microgreens just as their first true leaves start to unfurl. This timing ensures peak freshness and flavor that will elevate your meals!
What Are the Benefits of Storing Microgreens at Home?
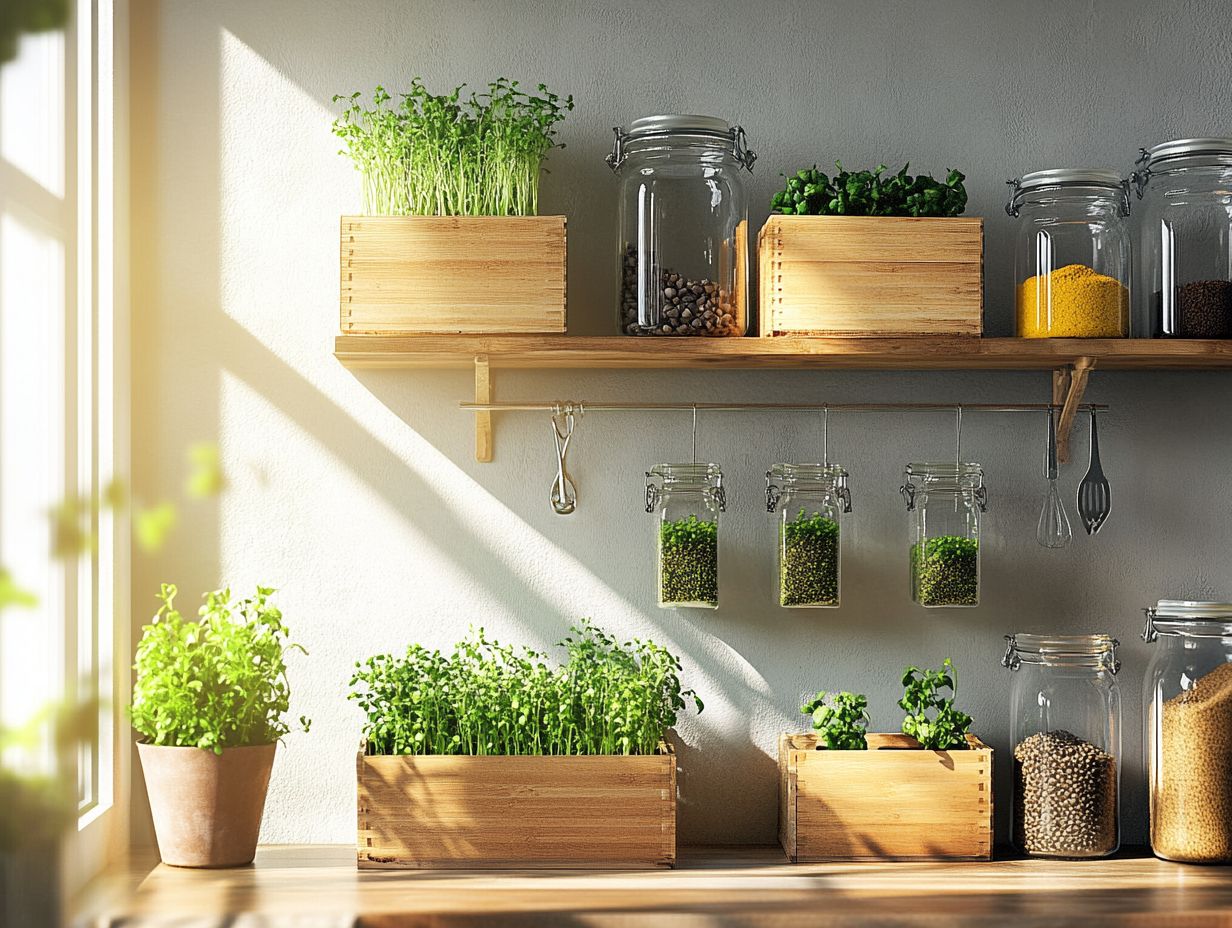
Storing microgreens at home offers many benefits. You can retain their freshness and extend their shelf life, allowing you to enjoy healthy nutrients longer.
Storing microgreens means you always have fresh produce at hand. This leads to significant cost savings over time, as buying store-bought microgreens can add up quickly.
By carving out a small space in your kitchen or pantry, you create a convenient supply that enhances your meals whenever you feel like cooking.
Using effective methods like choosing proper containers with airtight seals and managing moisture by placing a paper towel in with the greens can greatly extend their usability. By considering these strategies and following essential tips for growing microgreens at home, you can elevate both the enjoyment and sustainability of adding microgreens to your daily diet.
How Can You Use Microgreens in Your Cooking?
Microgreens have the power to elevate your culinary creations. They infuse your dishes with a burst of flavor, texture, and essential nutrients.
These tiny greens are brimming with vitamins and antioxidants, making them easy to integrate into a variety of meals. For example, tossing a handful of radish microgreens into your salad adds a peppery kick and enhances the dish’s nutritional profile.
Layering sunflower microgreens in your sandwich brings a delightful crunch and richness. When you use pea shoots as a garnish, you can transform a simple soup into a gourmet experience.
What Are Some Tips for Maintaining a Healthy Microgreen Garden?
To maintain a thriving microgreen garden, grasp essential factors like moisture balance and employ gentle handling techniques. This preserves the freshness and flavor of your greens.
Keep a close eye on your watering schedule. These delicate plants thrive with consistent moisture but can easily fall victim to overwatering.
Position your microgreens in a well-lit spot, where they receive about 12-16 hours of sunlight each day. This is crucial for robust growth.
Be vigilant about pest management to protect your garden from unwanted insects. When it’s time to harvest, use sharp scissors and gently snip your microgreens just above the soil line.
How Can You Incorporate Microgreens into Your Home Decor?
Incorporating microgreens into your home decor elevates the aesthetic appeal of your living space. They promote a healthy lifestyle by providing easy access to fresh, nutrient-rich greens.
Imagine showcasing them in stylish ceramic pots that beautifully complement your interior design. You can also use wall-mounted planters to create a vertical garden effect, transforming any wall into a vibrant green canvas.
Glass containers brimming with colorful varieties can serve as striking table centerpieces, adding elegance and breathing life into dull corners. The presence of live plants uplifts your mood and enhances air quality.
This exquisite blend of beauty and wellness is a splendid way to achieve a harmonious balance in your home.
Frequently Asked Questions
What are microgreens and why should I store them at home?
Microgreens are tiny edible plants that pack a lot of flavor and nutrition. Storing them at home ensures that you have access to fresh and healthy greens at all times.
What are some creative ways to store microgreens at home?
1. Mason jar method: Use a Mason jar filled with water to keep your microgreens fresh and hydrated.
2. Plastic bag method: Place a paper towel in a plastic bag and store your microgreens in the refrigerator.
3. Refrigerator shelf method: Place a damp cloth or paper towel on a refrigerator shelf and store your microgreens on top.
4. Vertical garden method: Attach small pots or containers to a vertical wall, a space-saving way to grow your microgreens.
5. Seedling tray method: Use seedling trays to grow and store your microgreens, making it easy to harvest and use them when needed.
Can I store different types of microgreens together?
Yes! You can store different types of microgreens together if they have similar storage needs and aren t overcrowded. For instance, lettuce and spinach microgreens can be stored together, but keep broccoli and radish microgreens separate.
How long can I store microgreens at home?
The shelf life of microgreens varies based on their type and how you store them. Generally, they last about 5-7 days when stored properly in the refrigerator.
What are some tips for storing microgreens at home?
- Keep your microgreens in a well-ventilated area to avoid wilting.
- Don’t wash your microgreens until you’re ready to use them; extra water can cause them to spoil faster.
- Regularly check on your microgreens and remove any wilted or spoiled greens.
- If you see condensation in your storage container, remove it or replace it with a dry cloth to reduce moisture.
Are there any creative ways to use stored microgreens at home?
Absolutely! Stored microgreens add a burst of flavor to salads, sandwiches, smoothies, soups, and even as a topping for your favorite dishes. You can also blend them into a pesto or add them to a stir-fry for extra flavor and nutrition.
Try these methods today to keep your microgreens fresh and explore the delicious ways to use them!

