5 Signs Your Microgreens are Ready for Harvest
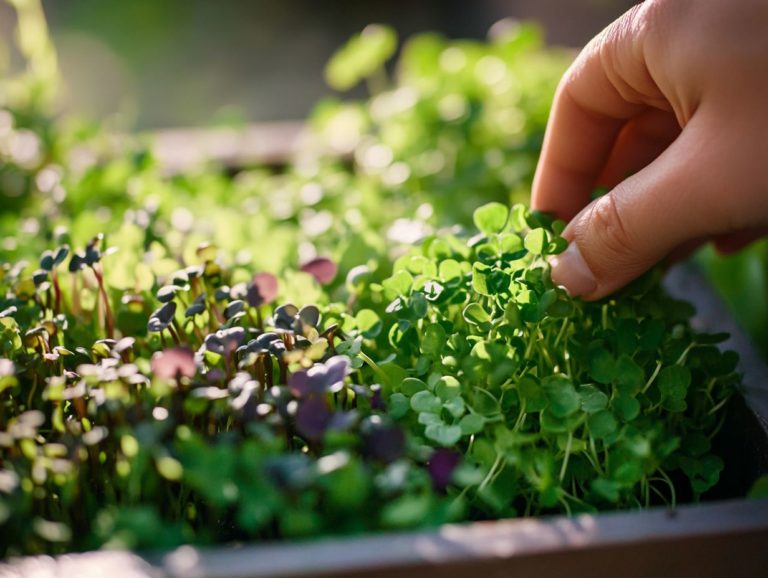
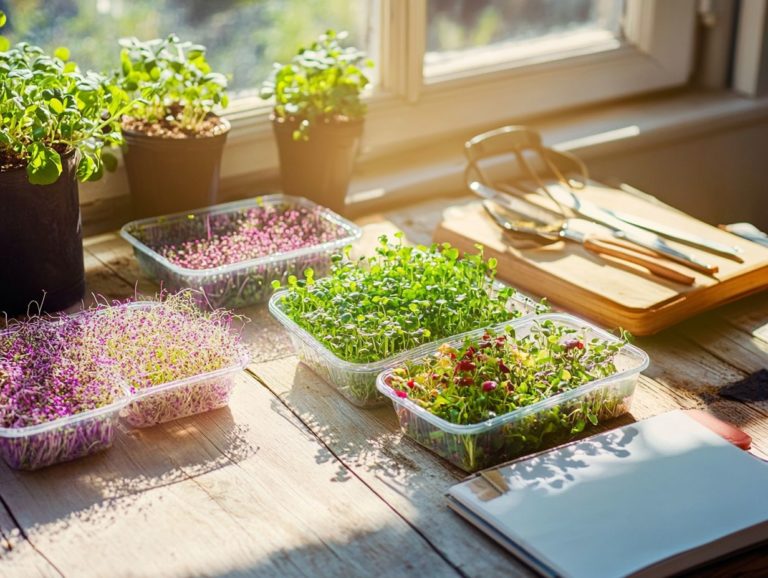
Growing microgreens can be a truly rewarding endeavor, but understanding when to harvest is essential for maximizing flavor and texture.
Here are five key indicators that signal your microgreens are primed for snipping. From the emergence of true leaves to their vibrant colors and enticing aromas, each sign points to the perfect moment for harvest.
You ll also discover best practices for picking, tips to extend shelf life, and common pitfalls to avoid.
Get ready to take your microgreen skills to the next level!
Contents
- Key Takeaways:
- 1. The First Set of True Leaves Have Developed
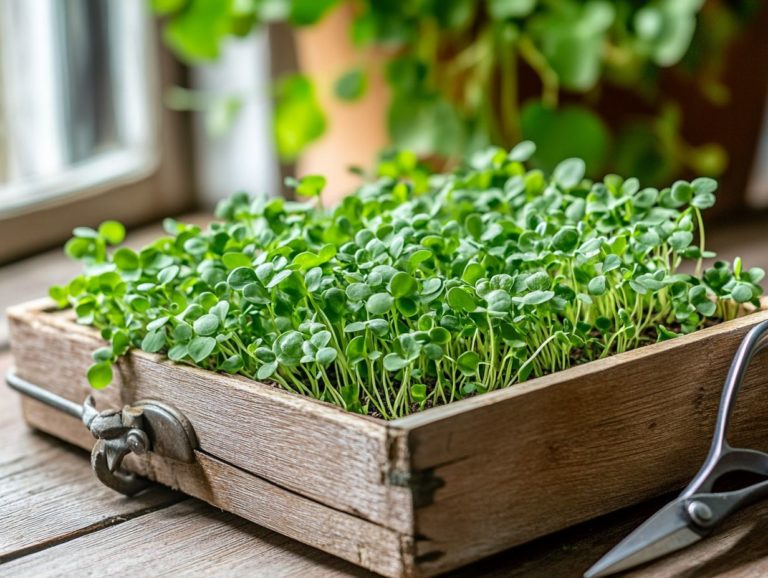
- 2. The Seedlings Are About 2-3 Inches Tall
- 3. The Color of the Leaves Has Darkened
- 4. Aroma and Flavor Are Stronger
- 5. The Microgreens Are Firm and Crisp
- How Long Does It Take for Microgreens to Be Ready for Harvest?
- Frequently Asked Questions
- What are 5 signs that my microgreens are ready for harvest?
- Should I wait for all of my microgreens to reach the 2-3 inch height before harvesting?
- What happens if I wait too long to harvest my microgreens?
- How do I harvest my microgreens?
- Can I store harvested microgreens?
- What can I do with leftover microgreens after harvesting?
Key Takeaways:
- The first set of true leaves is a clear sign of readiness for harvest.
- A height of 2-3 inches and a darkened leaf color indicate that your microgreens are at their prime.
- Strong aroma and flavor are key indicators that your microgreens are ready for harvesting.
1. The First Set of True Leaves Have Developed
The emergence of the first true leaves in your microgreens marks an important stage in their development. This transition from the initial cotyledons the first leaves that appear on seedlings to a more complex leaf structure signifies their readiness for optimal growth conditions.
You’ll start to notice vibrant green colors, which are strong indicators of robust health, as the plants begin to harness essential nutrients like potassium, calcium, iron, and phosphorus to truly flourish.
True leaves, unlike cotyledons, are far more specialized and signal that your plants are entering a crucial growth phase where photosynthesis becomes notably more efficient. Pay attention to specific visual cues, such as deeper green hues and increased leaf size, which indicate healthy growth.
For a quick win, try radish microgreens! Recognized for their distinctive flavor and rapid growth, they thrive when provided with adequate light and nutrient-rich soil. By ensuring these conditions, you not only bolster growth potential but also enhance the flavor and nutritional content, ultimately leading to a thriving crop you can harvest with confidence.
2. The Seedlings Are About 2-3 Inches Tall
When your seedlings hit that sweet spot of 2-3 inches, they’re in prime growth mode, ready for you to reap the benefits of their rich, nutrient-packed goodness. This height suggests they’ve established a robust root system, efficiently soaking up those essential nutrients from the soil.
This growth phase showcases their vitality and aligns closely with their overall nutrient density. Harvesting at this perfect height guarantees a flavor profile and nutrient concentration that are often at their peak.
Several factors influence this growth, including light intensity and water availability. Your microgreens will flourish under strong, yet indirect light, enabling them to grow tall and healthy.
Consistent watering is key; striking the right balance is crucial because too much or too little can stunt their growth or lead to nutrient deficiencies. By carefully monitoring these conditions, you can ensure a bountiful yield rich in the essential vitamins and minerals that make microgreens highly sought after.
3. The Color of the Leaves Has Darkened
The darkening of microgreen leaves serves as a striking visual cue of enhanced health, indicating that these plants are brimming with antioxidants and essential nutrients. This deepening color often signals optimal growth conditions, showcasing the plant’s remarkable ability to absorb nutrients effectively.
The intensity of a microgreen’s leaf color can reveal much about its overall well-being and flavor profile, acting as a testament to the conditions in which it was cultivated. Sunlight exposure and soil quality play pivotal roles in this coloration. For instance, increased sunlight can boost pigment production, resulting in darker, more flavorful leaves. On the flip side, poor soil can impede ability to absorb nutrients, leading to paler plants that may fall short in flavor and essential vitamins.
Ultimately, the vibrancy of microgreens does more than just please the eye; it also indicates their nutritional value. This makes it crucial for growers like you to pay attention to these vital indicators.
4. Aroma and Flavor Are Stronger
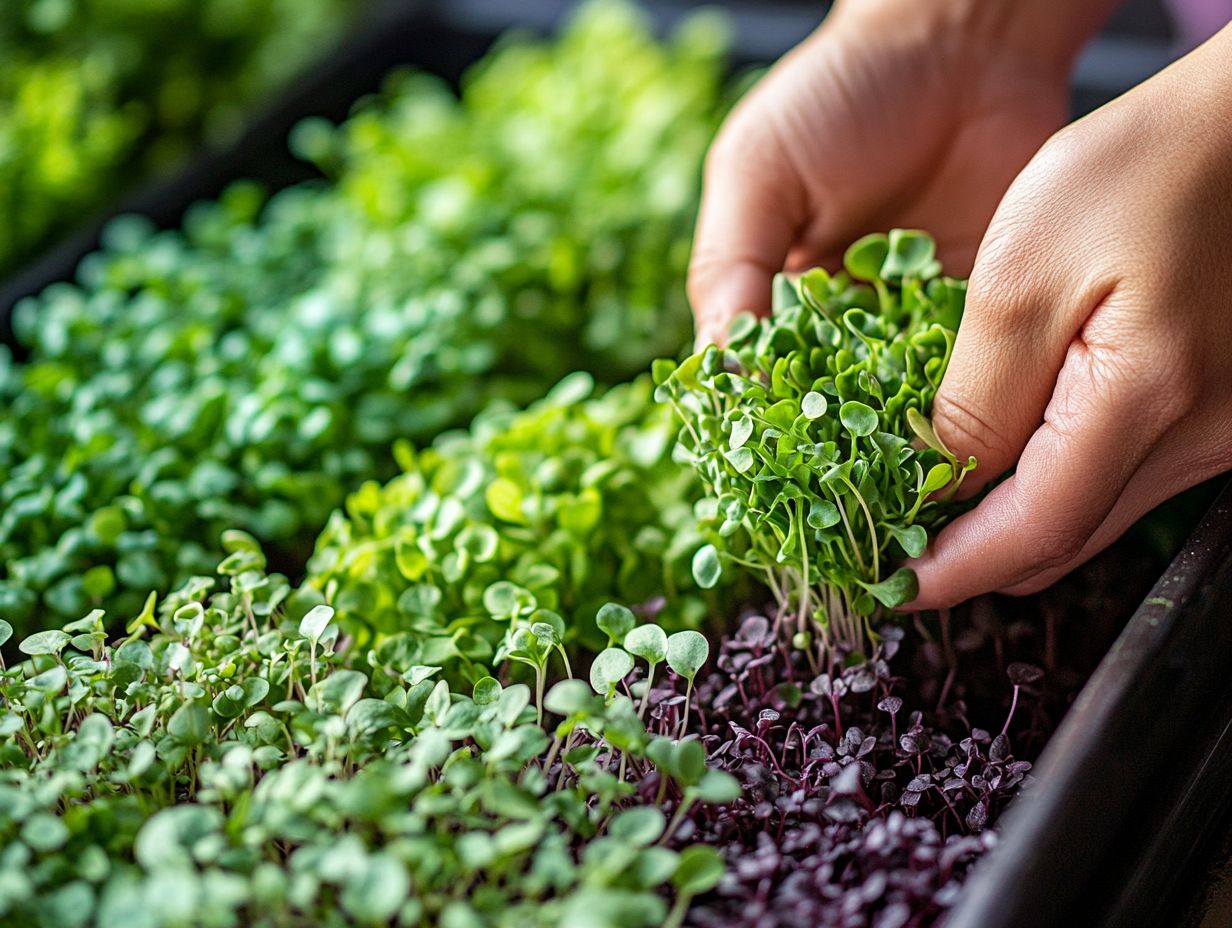
Watch as microgreens mature. Their aroma and flavor become more intense, enhancing your dishes. Varieties like radish microgreens stand out with their peppery taste, elevating your culinary experiences while being rich in nutrients.
The development of these aromas and flavors is influenced by growth stages and environmental factors such as sunlight, temperature, and soil quality. When microgreens receive ample sunlight, they tend to produce more essential oils, adding complexity to their flavor. This is especially true for basil and cilantro varieties, which exude pronounced aromas under optimal conditions.
Stronger flavors elevate the taste of your meals and infuse your recipes with depth and character. Try adding these vibrant greens to your salads, garnishes, or even sandwiches for a burst of flavor that beautifully complements fresh ingredients.
A citrus and radish microgreen salad, for example, can bring a refreshing brightness to your meal. Meanwhile, a luscious pesto crafted with basil microgreens offers an enticing twist on a classic favorite.
5. The Microgreens Are Firm and Crisp
A firm and crisp texture in microgreens is a strong indicator of optimal health and readiness for harvesting. This delightful characteristic enhances their culinary appeal and makes them a preferred choice for salads and other dishes.
The freshness of microgreens directly influences their taste and signifies their nutritional potency. These tiny greens are brimming with vitamins, minerals, and antioxidants.
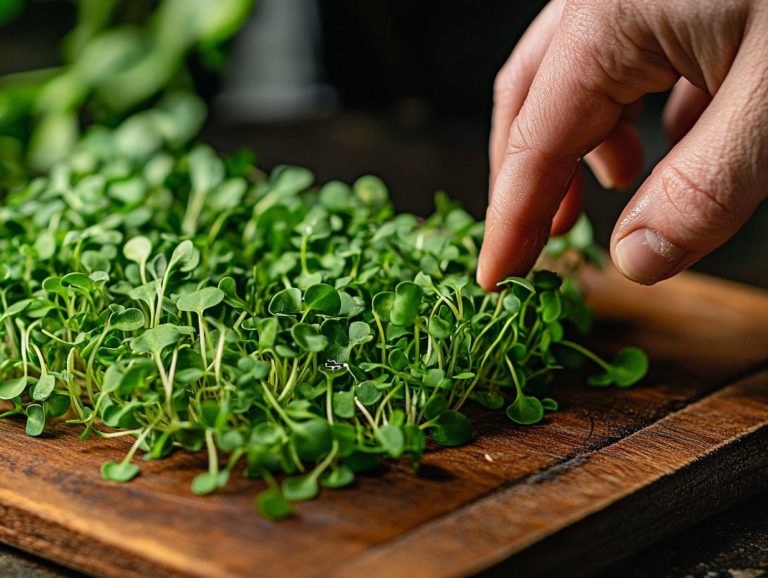
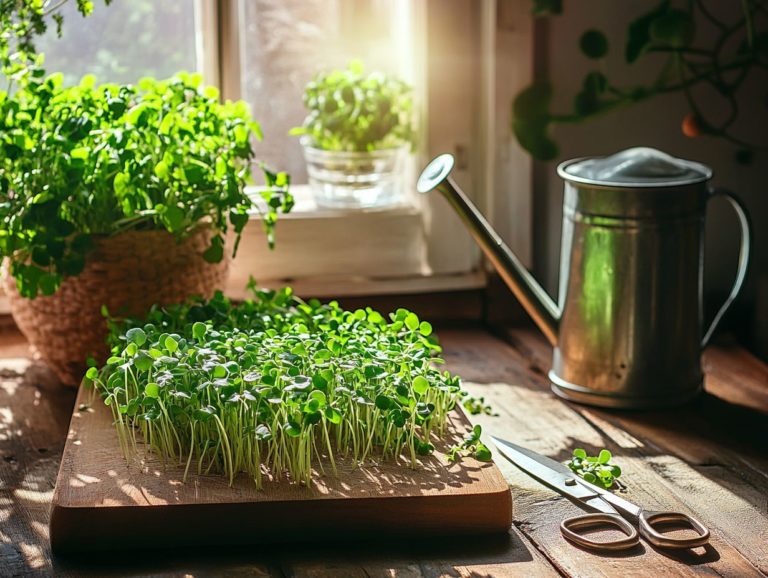
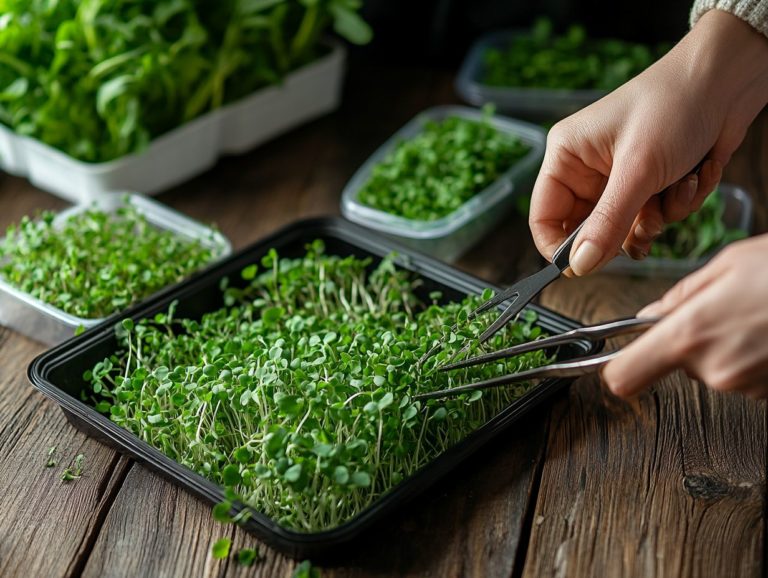
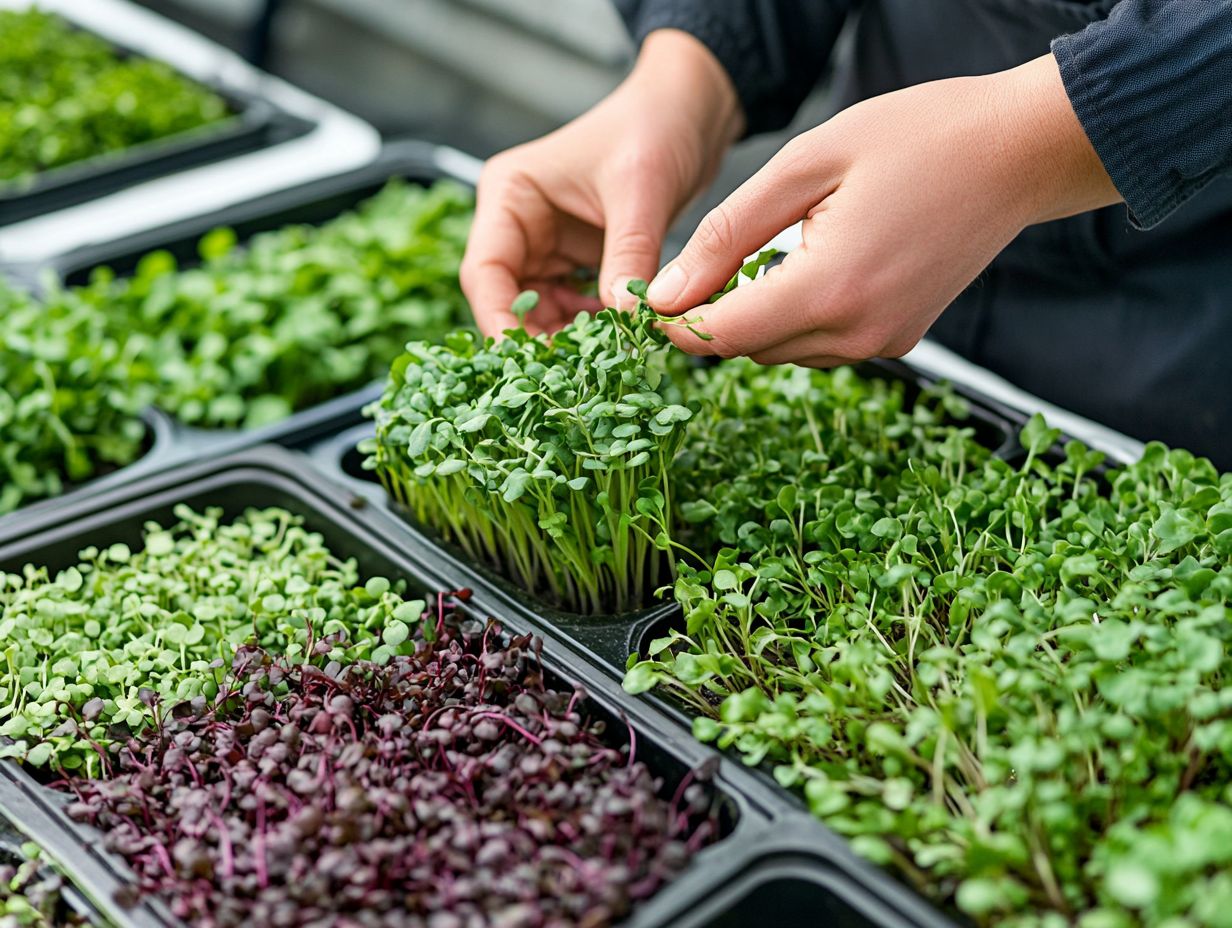
To maintain that desirable texture during harvesting, use sharp scissors or shears, cutting just above the soil line to minimize damage to the delicate stems.
Once harvested, store them properly in a cool, moisture-controlled environment to prolong their crispness. By placing microgreens in breathable containers and keeping them out of direct sunlight, you can preserve their firm texture for an extended period, ultimately enhancing both their flavor and health benefits.
How Long Does It Take for Microgreens to Be Ready for Harvest?
The harvest time for microgreens varies by type and growing conditions, but typically, you can expect them to be ready within 7 to 21 days after sowing. When they grow true leaves and get tall enough, it’s time to enjoy your vibrant, healthy greens. Key factors such as soil quality, light exposure, and watering techniques play crucial roles in how quickly your seedlings mature.
For example, radish and mustard can sprout in as little as 5 to 10 days, while basil and broccoli may take a bit longer, often reaching maturity within 10 to 14 days. Maximizing light exposure through grow lights can speed up growth. Overwatering or poor soil drainage can delay progress significantly. The overall environment, including temperature and humidity, also influences germination and growth rates.
By maintaining optimal growing conditions, you can effectively manipulate the timeline for harvesting these nutrient-dense greens by understanding microgreen harvest timing, ensuring a bountiful and timely yield. Don’t wait too long to enjoy the best flavor!
What Are the Best Practices for Harvesting Microgreens?
Using best practices for harvesting microgreens helps keep them fresh and flavorful. Use sharp tools to cut just above the soil line. Wash the greens immediately to remove soil and contaminants. Proper storage techniques maintain their quality and nutritional value.
After cutting, rinse the microgreens gently in cold water to eliminate dirt. A salad spinner a tool that removes excess water from washed greens is your best friend here, preventing spoilage.
Once cleaned and dried, transfer the microgreens to breathable containers, like clamshells or perforated bags those with small holes for airflow. This creates an optimal storage environment. To extend shelf life, keep them in the refrigerator, ideally between 32 F and 36 F.
By following these post-harvest steps, you ensure that these delicate greens maintain their crispness and vibrant flavors, ready to enhance any dish. For optimal results, consider timing your microgreens correctly. Try these tips today for the best microgreens!
How Can You Tell If Your Microgreens Are Overgrown?
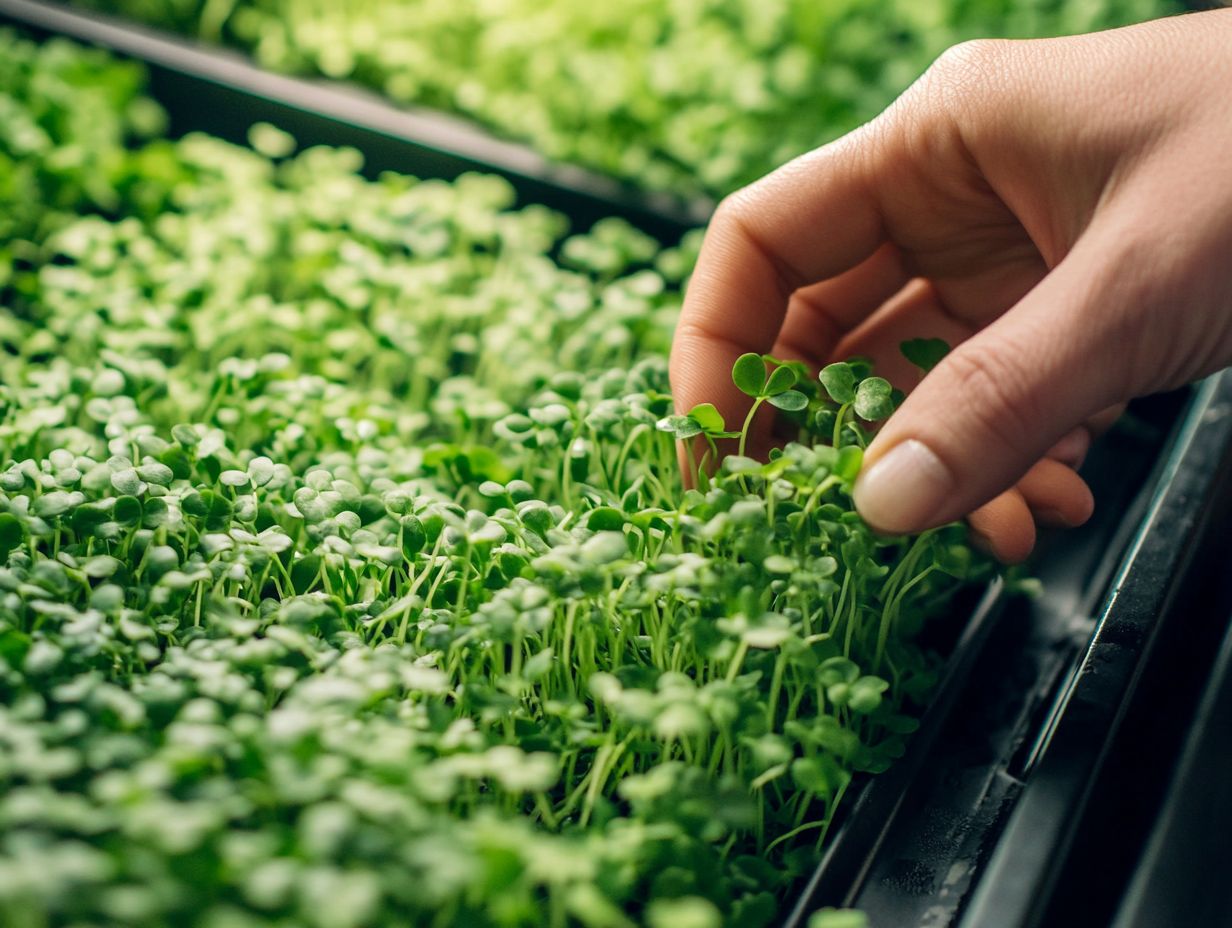
Identifying overgrown microgreens is crucial for quality. Look for elongated stems, yellowing leaves, and a weakened structure. These signs indicate plants are stressed, likely due to inadequate light or overcrowding. Recognizing these cues allows you to act before your greens lose flavor and nutritional value.
Check your growing environment to ensure your microgreens thrive! Insufficient light may cause plants to stretch toward it, leading to leggy growth. Improper watering whether overwatering or underwatering can also increase stress and hinder healthy growth.
Provide adequate light for at least 12-16 hours daily and ensure proper air circulation. Thinning out seedlings can ease overcrowding, allowing remaining plants to flourish. Regularly monitor moisture levels and adjust your watering schedule to produce robust and flavorful microgreens.
What Are the Benefits of Harvesting Microgreens at the Right Time?
Harvesting microgreens at the right moment unlocks their full flavor, nutritional benefits, and health perks. Timing transforms them into a delightful addition to your meals.
Take radish and kale microgreens, for example. They reach peak vitamin C and sulforaphane levels just as they unfurl their first true leaves. These nutrients amplify flavors and deliver health benefits like enhanced immunity and anti-inflammatory effects.
Incorporating these vibrant greens into salads, sandwiches, or as garnishes significantly elevates your meals’ nutritional profile. Harvesting at peak maturity allows you to enjoy an explosion of flavors while reaping essential antioxidants that support your overall well-being and spark culinary creativity.
How Can You Extend the Shelf Life of Harvested Microgreens?
To extend the shelf life of your harvested microgreens, use a proper storage container and ensure they are thoroughly washed and dried before storage. Excess moisture can lead to spoilage, which you want to avoid. Implementing these techniques helps maintain freshness and nutritional quality.
Follow storage guidelines, like placing them in a cool, dark environment. Aim to store microgreens at temperatures between 32 F and 40 F, replicating their natural growing conditions.
Use airtight packaging like resealable plastic bags or containers with tight-fitting lids to protect them from air and humidity. For best results, rinse your microgreens thoroughly, then gently pat them dry with a paper towel or use a salad spinner. This ensures they remain crisp and flavorful for your enjoyment. Try these tips today to keep your microgreens fresh!
What Are Some Common Mistakes to Avoid When Harvesting Microgreens?
Avoiding common mistakes during the harvesting process of microgreens is crucial for maintaining their health benefits and flavor. Cutting the plants incorrectly can harm them, leading to a reduced shelf life. By paying careful attention to the details, you can ensure that your microgreens stay nutrient-packed and visually appealing.
Timing your harvest is equally important. If you wait too long, you risk overly mature greens that lose their delicate taste and texture. Using clean, sharp scissors is essential; anything less can introduce contaminants and create uneven cuts, ultimately compromising quality.
Neglecting proper storage can lead to wilting and a decline in nutritional value. To elevate your harvesting process, consider these best practices:
- Harvest in the morning when moisture levels are at their peak.
- Slice just above the soil line.
- Immediately transfer the cut greens to a cool place.
These practices not only enhance flavor but also help preserve the vibrant colors and essential nutrients of your microgreens.
Frequently Asked Questions
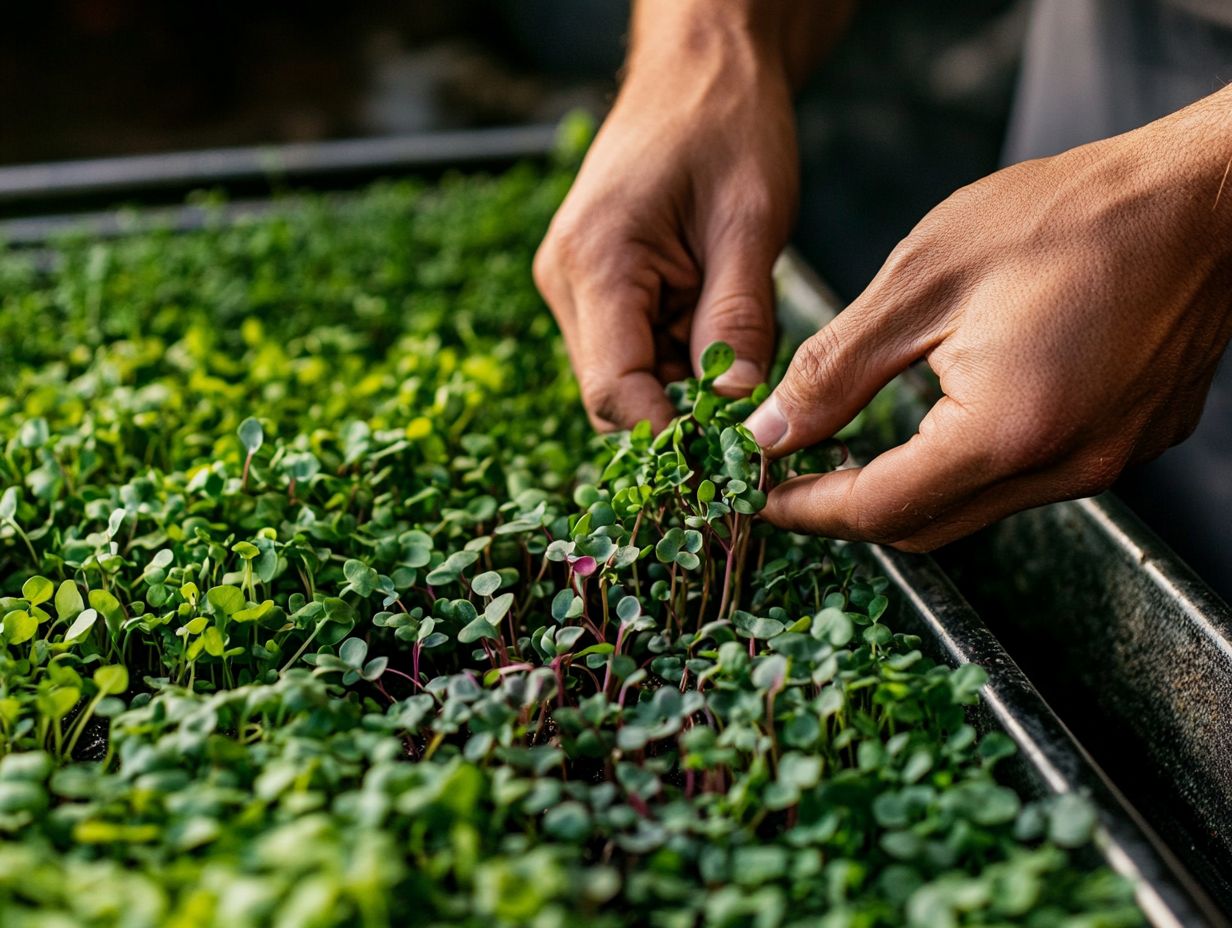
What are 5 signs that my microgreens are ready for harvest?
- Height: When your microgreens reach a height of 2-3 inches, they are usually ready to harvest.
- Color: The leaves should be a vibrant green, indicating peak freshness and flavor.
- Initial leaves: Once your microgreens have developed their initial leaves after the seedling stage, it’s a good sign they are ready for harvest.
- Appearance: A dense and full appearance on top of the soil indicates they are ready to be harvested.
- Aroma: A strong, fresh aroma coming from your microgreens shows they are at their peak flavor and ready for harvest.
Should I wait for all of my microgreens to reach the 2-3 inch height before harvesting?
No, you can harvest your microgreens in stages. Simply cut the tallest ones first and allow the rest to continue growing until they reach the desired height.
What happens if I wait too long to harvest my microgreens?
Don’t wait too long! If you do, your microgreens may turn tough and bitter. It’s best to harvest them when they are at their peak freshness and flavor.
How do I harvest my microgreens?
To harvest your microgreens, use clean scissors to cut them just above the soil line. Make sure to wash and dry them thoroughly before consuming.
Can I store harvested microgreens?
Yes, you can store your harvested microgreens in an airtight container in the refrigerator for up to a week. However, they are best consumed fresh for optimal taste and nutrition.
What can I do with leftover microgreens after harvesting?
Leftover microgreens can be used in a variety of dishes, such as salads, sandwiches, wraps, and smoothies. Try adding them to a refreshing salad or a zesty smoothie to enhance the flavor and appearance of your meals.
Start harvesting your microgreens today for the freshest taste!

