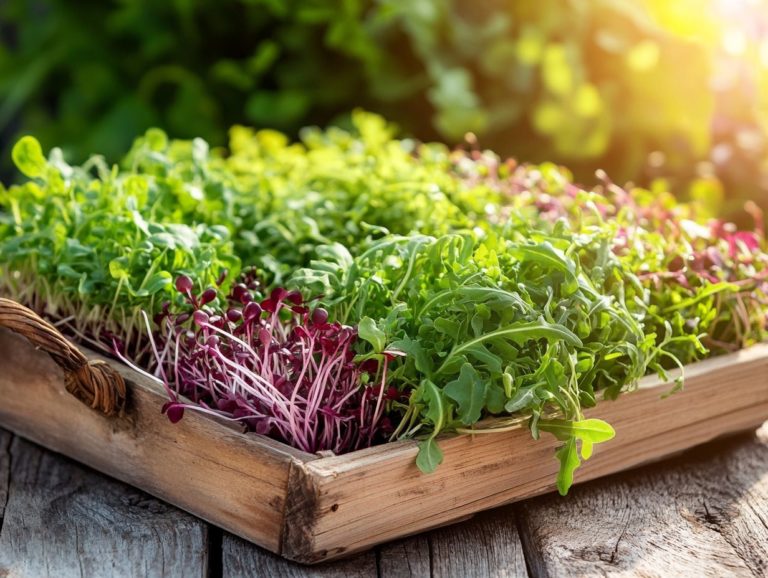
Common Mistakes in Microgreen Harvesting
Microgreens are delightful, tiny powerhouses of nutrients that can elevate your culinary creations and enhance your well-being. However, be mindful of issues like mold and poor germination during growth.
Harvesting them isn t as simple as it may seem. This guide outlines the essential do’s and don’ts of harvesting microgreens, focusing on proper watering techniques and seed selection. We ll also discuss mold prevention to help you maximize your harvest.
Discover the ideal timing for peak nutrient content, effective storage techniques to preserve freshness, and inventive culinary applications for your flavorful bounty. Whether you re a seasoned gardener or new to growing, you ll find valuable insights to enrich your microgreen journey, including tips on light exposure and optimal temperatures!
Contents
- Key Takeaways:
- Harvesting Microgreens: Do’s and Don’ts
- Timing of Harvesting
- Storage and Preservation
- Uses for Harvested Microgreens
- Frequently Asked Questions
- What are some common mistakes in microgreen harvesting?
- Why is harvesting microgreens too early a mistake?
- What happens if microgreens are harvested too late?
- Why is it important to properly clean and sanitize equipment when harvesting microgreens?
- Why should sharp scissors or knives be used for harvesting microgreens?
- How should harvested microgreens be stored?
Key Takeaways:
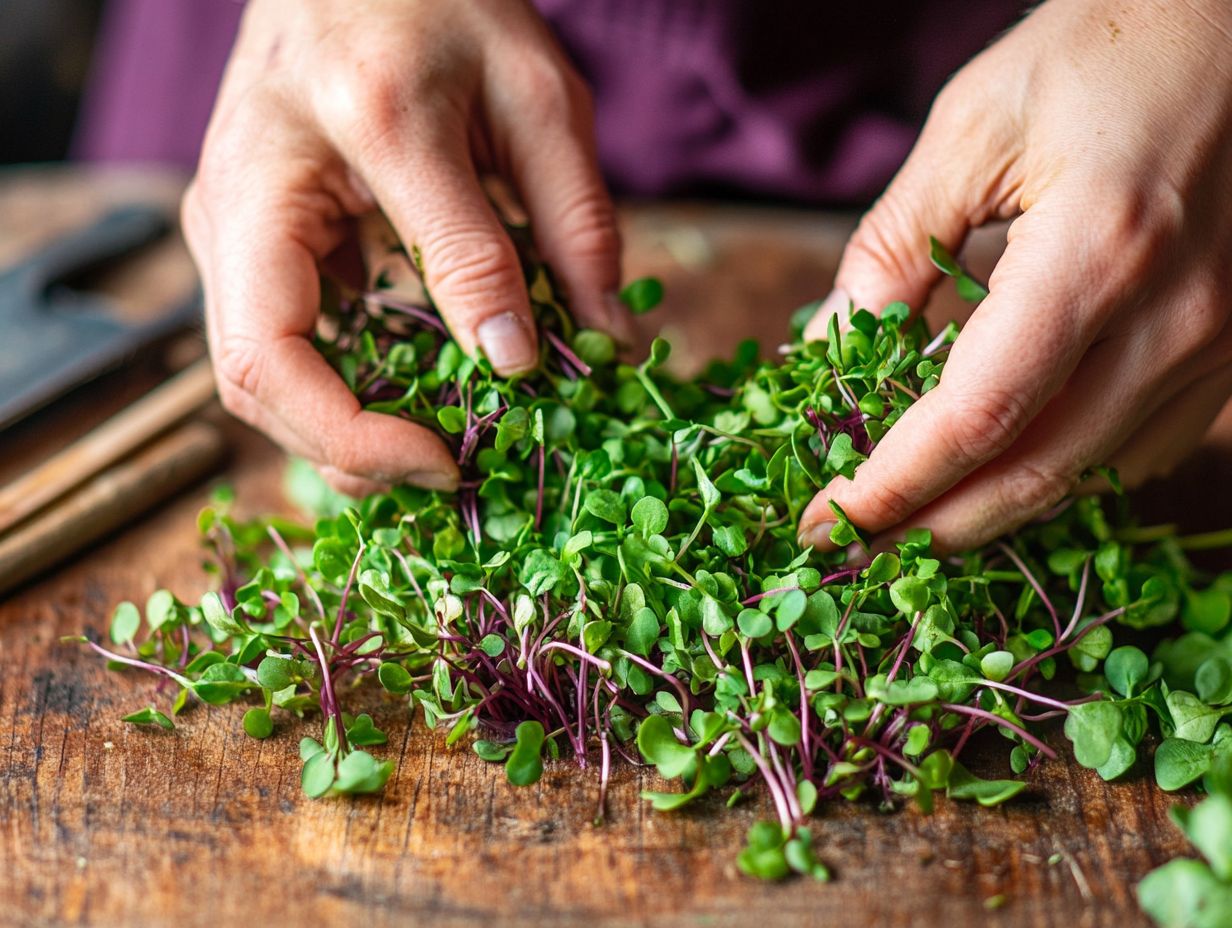
- Harvest microgreens properly using gentle techniques and avoid common mistakes for optimal results.
- Timing is crucial for harvesting to ensure maximum nutrient content.
- Store and preserve microgreens with best practices to maintain their freshness and flavor.
What are Microgreens?
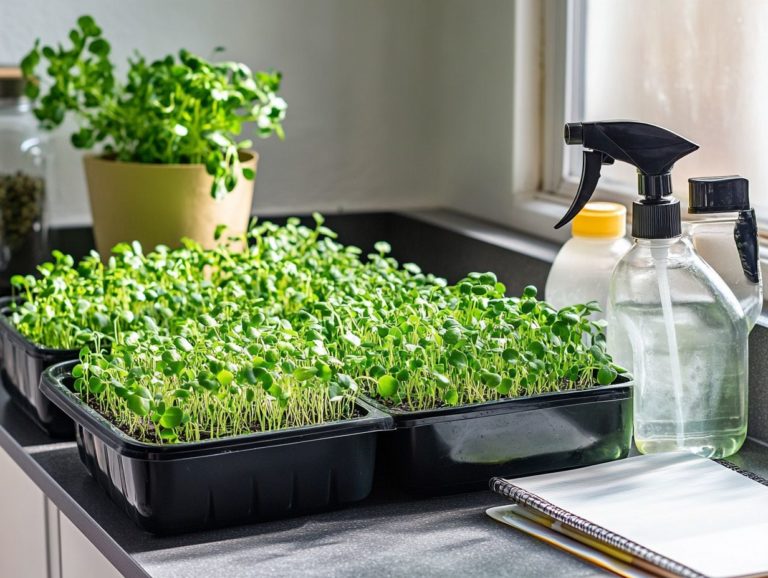
Microgreens are your ticket to a burst of flavor and nutrition in your meals. These young, edible plants are harvested just after the first leaves have developed, and they re popular among chefs and health aficionados. Think radish microgreens or daikon these tiny greens are typically grown in clean trays filled with a growing medium like Coco Coir.
To provide optimal conditions, ensure proper watering and ample light exposure, and use disease-free seeds for successful germination.
What really sets microgreens apart is their impressive nutritional punch. They often boast higher concentrations of vitamins, minerals, and antioxidants compared to their mature counterparts, making them a fantastic addition to your daily diet for a health boost!
If you re considering growing these vibrant greens, selecting the right seeds is essential. Some popular options include:
- Arugula
- Basil
- Sunflower microgreens
To ensure successful growth, maintain a temperature between 60 to 75 degrees Fahrenheit and keep moisture levels consistent to avoid damping-off, which can hinder seed germination rates.
With the right care, these flavorful additions can elevate any dish, enhancing both nutrition and visual appeal.
Harvesting Microgreens: Do’s and Don’ts
Successfully cultivating microgreens hinges on understanding the essential do’s and don’ts, crucial for maintaining quality and securing a bountiful yield.
It’s vital to emphasize proper watering techniques and utilize tools such as the Quick-Cut Greens Harvester and Paperpot trays for an immaculate cut. Adopting these techniques will help you avoid common pitfalls like top mistakes in growing microgreens, such as uneven growth and overcrowded seeds, while maximizing the benefits of your clean trays and minimizing seed expenses.
Proper Techniques for Harvesting
To effectively harvest microgreens, employ proper techniques that ensure adequate lighting and maintain optimal moisture levels. Using bottom watering methods allows roots to absorb water naturally, encouraging deeper root systems.
Aim for 12 to 16 hours of bright, indirect sunlight or use grow lights to promote strong growth. Keeping the soil consistently damp but never waterlogged is crucial; a humidity dome can help retain moisture during the early growth stages.
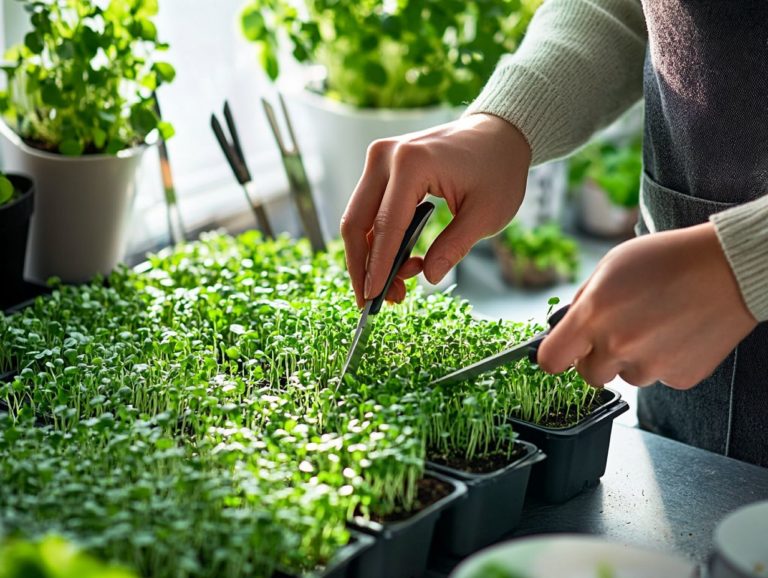
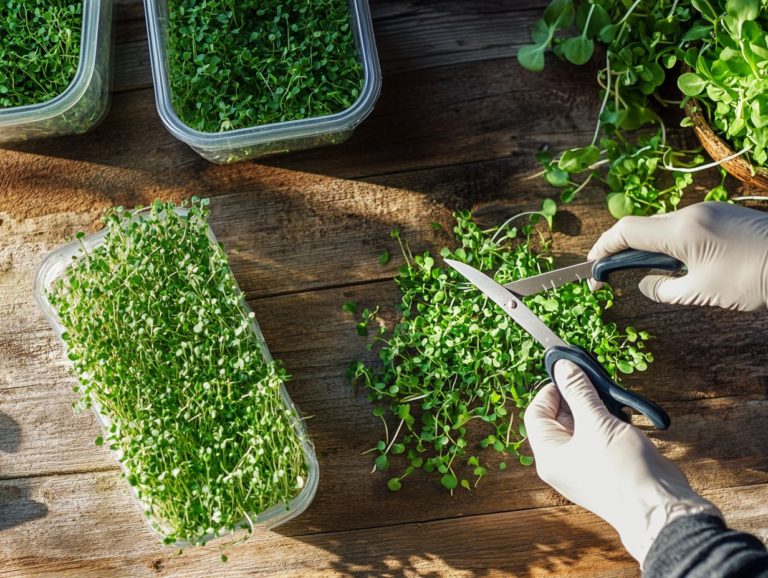
Timing your harvest is equally essential; typically, aim for 7 to 21 days after sowing to ensure your microgreens are packed with nutrients. Use sharp scissors for a clean cut and trays that allow for proper drainage to enhance the efficiency of your harvesting process.
In conclusion, microgreens are a fantastic way to boost the flavor and nutrition of your meals! Start your microgreen journey today, and enjoy the delightful benefits they bring to your cooking!
If you have any experiences to share or questions about growing microgreens, feel free to reach out!
Common Mistakes to Avoid
Common mistakes in growing microgreens can lead to poor germination and issues like mold and overcrowded seeds. These can seriously affect the quality of your harvest.
It s essential to monitor seed density and ensure proper air circulation. Maintaining the best growing conditions will help you avoid these pitfalls.
Inadequate spacing between seeds leads to competition for nutrients and light. Use trays with defined sections to promote healthy plant growth.
Poor air circulation creates a humid environment that encourages mold. Set up fans or position your growing area to improve airflow.
Regular monitoring is key. Keep an eye on moisture levels and check for mold to ensure your greens stay vibrant and robust.
Timing of Harvesting
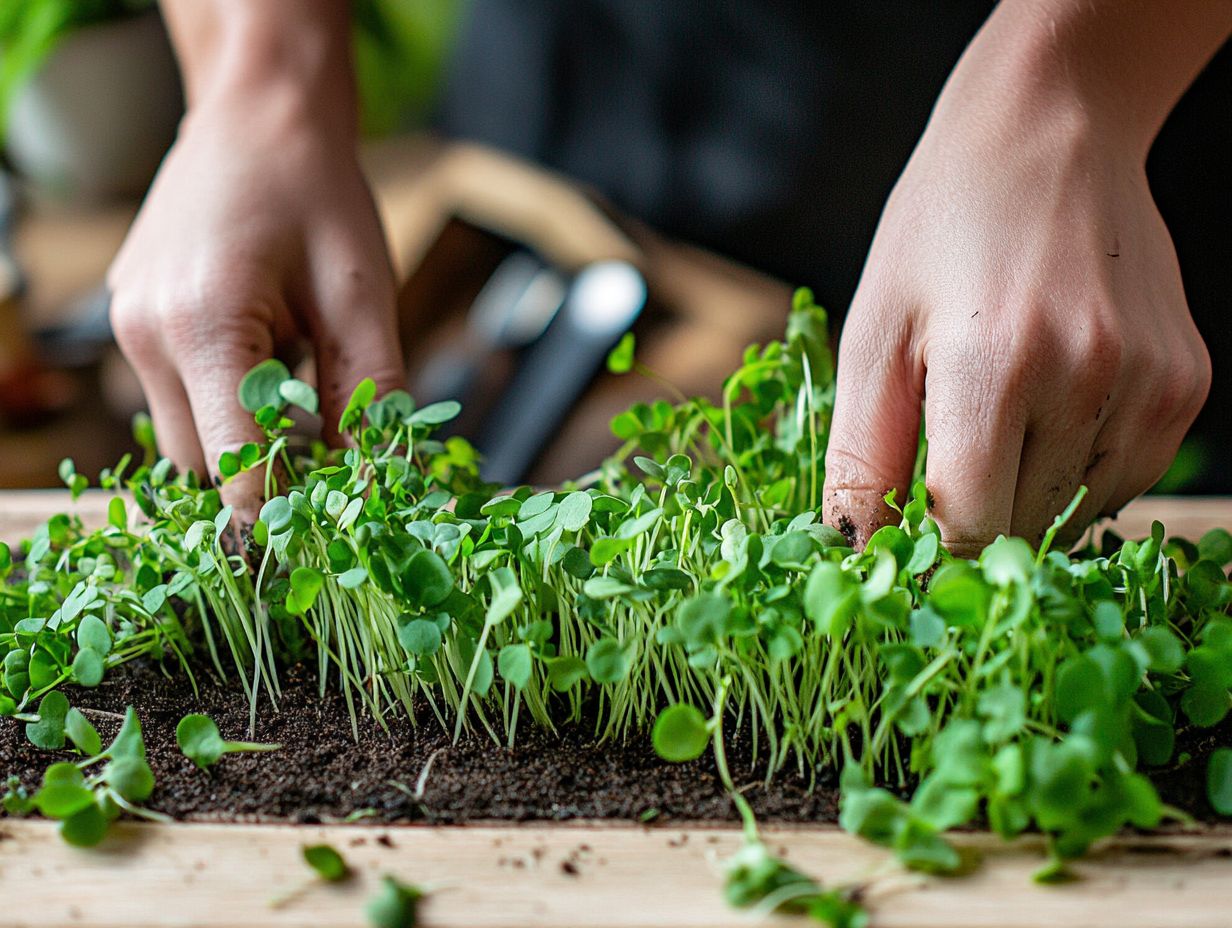
The timing of harvesting microgreens is crucial for the best nutrient content and flavor. Each seed variety has a specific growth cycle that indicates when to harvest.
Carefully monitoring moisture levels and air circulation during growth ensures you pick your microgreens at their peak. This elevates both taste and nutritional benefits.
When to Harvest for Optimal Nutrient Content
To harvest microgreens for the best nutrients, consider the growth stages of different seed varieties. For example, radish and daikon require specific timing for the best nutritional value.
Varieties like radish and arugula typically peak around 7 to 14 days post-germination. Sunflowers may take longer, around 10 to 14 days.
Look for vibrant colors and well-developed leaves. Darker hues often indicate a higher concentration of vitamins and minerals.
If leaves stretch excessively or lose their color, it’s a sign they may be past their prime. Watch these cues to ensure a bountiful and nutritious harvest.
Storage and Preservation
Proper storage techniques are essential for keeping your harvested microgreens fresh. Pay attention to moisture levels and air circulation.
Using clean trays and selecting the right storage containers can extend their shelf life and prevent mold.
Best Practices for Storing Microgreens
The best practices focus on maintaining good air circulation and moisture levels to keep microgreens fresh. This is key to preserving their quality after harvest.
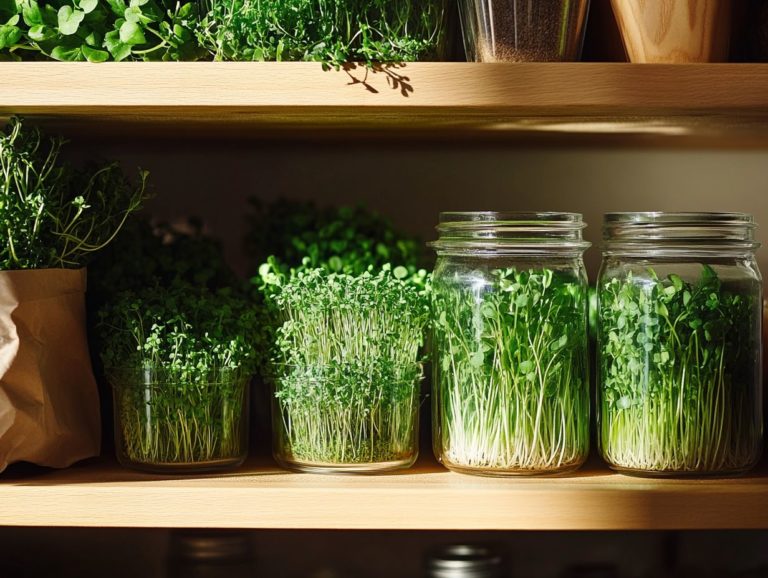
Use breathable bags or containers designed for fresh produce. These allow excess moisture to escape and prevent premature spoilage.
Monitor humidity levels closely. Aim for about 50-70% relative humidity using a simple hygrometer if needed.
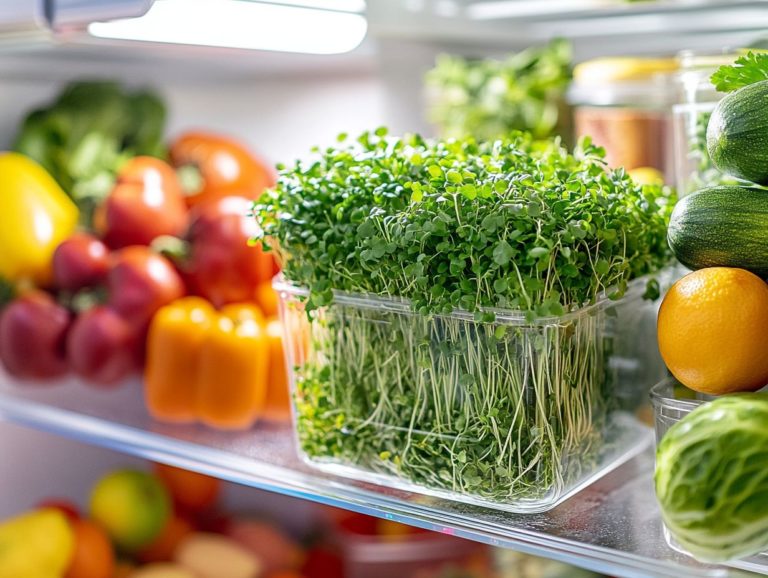
Store them in a cool, dark place, like your refrigerator’s crisper drawer. This significantly contributes to their longevity.
By following these guidelines, you can enjoy the vibrant flavors and nutritional benefits of microgreens for a longer time.
Preserving Freshness and Flavor
To preserve the freshness and flavor of your microgreens after harvesting, it’s essential to implement effective storage techniques that prioritize air circulation and keeping the right amount of moisture. These strategies are vital for maintaining the vibrant taste and nutritional benefits of microgreens, allowing them to truly shine in your culinary creations.
When you think about storing these delicate greens, refrigeration is your best ally. Cooler temperatures can significantly extend their shelf life, ensuring they remain at their peak. Opt for airtight containers, which are containers that keep air out, to regulate humidity levels. This prevents your microgreens from wilting or becoming soggy. Plastic clamshells or specialized microgreen bags are fantastic choices for maintaining ideal conditions.
Layer damp paper towels inside the containers; they absorb excess moisture while creating the perfect environment for your greens. These thoughtful practices, combined with attention to light exposure and using disease-free seeds, not only prolong freshness but also enhance the flavor profile. If you encounter any issues, refer to troubleshooting common microgreen growth issues to ensure your microgreens remain an irresistible addition to salads, garnishes, and a variety of dishes.
Uses for Harvested Microgreens
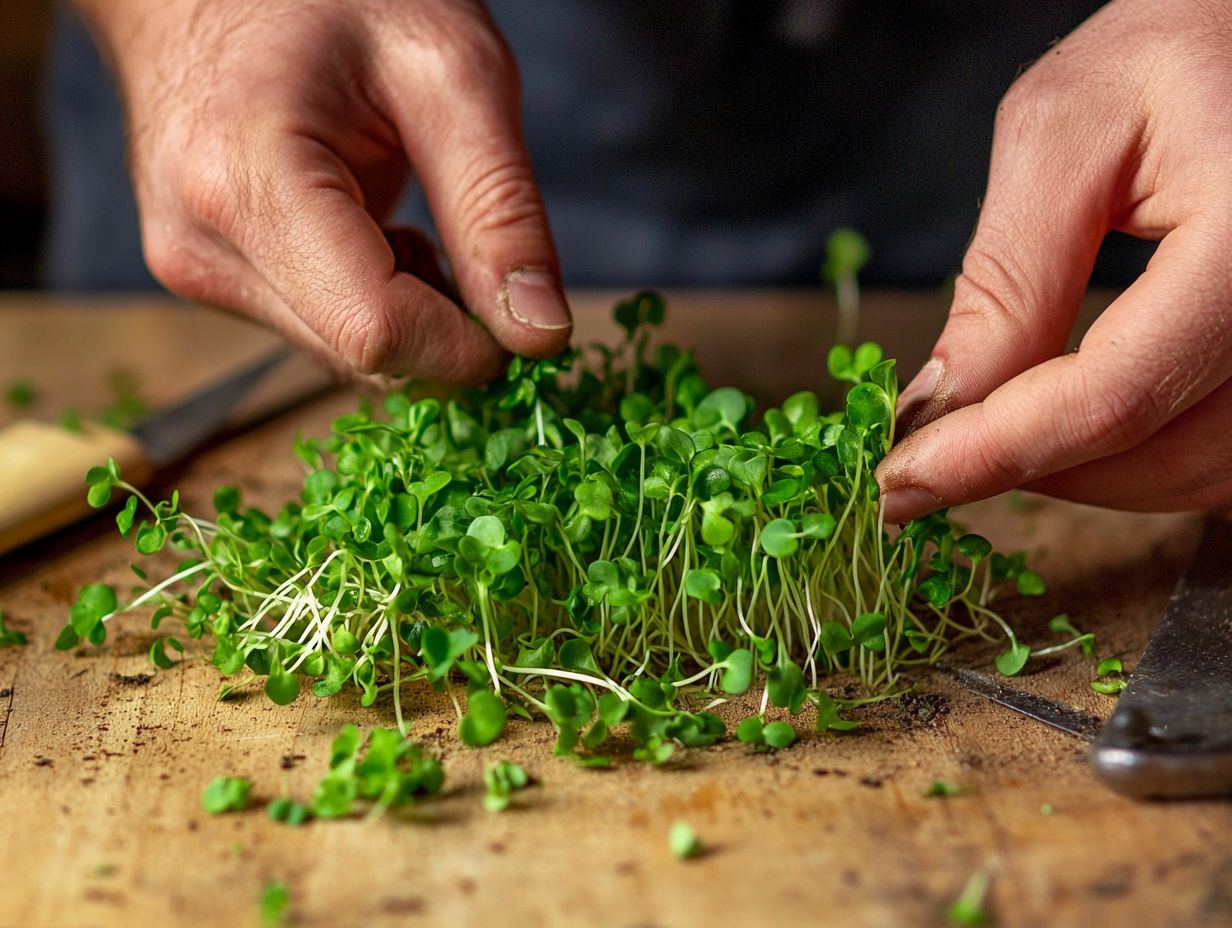
Harvested microgreens present a versatile ingredient that enhances a myriad of culinary creations. Whether you re garnishing a dish or incorporating them as a crucial element in salads and smoothies, these tiny greens showcase a delightful variety of plant species.
Their vibrant flavors and visual charm transform any meal into a feast for the senses, inviting you to explore creative culinary possibilities.
Culinary Applications
Microgreens are taking kitchens by storm! They serve as vibrant garnishes or key ingredients in salads and various dishes, thanks to their intense flavors and impressive health benefits. Whether you’re a chef or a home cook, you ll appreciate how these tiny wonders can elevate both the presentation and nutritional profile of your meals.
These little powerhouses aren t just a feast for the eyes; they also deliver a flavor explosion that can turn ordinary dishes into extraordinary culinary delights. For instance, imagine sprinkling peppery arugula microgreens over grilled meats or blending them into a zesty pesto. Delicate pea shoots add a sweet crunch to your stir-fries and grain bowls, making each bite a celebration of freshness.
Nutrient-rich kale and radish microgreens serve as an excellent base in smoothies, giving you both texture and a healthful boost. By experimenting with various types, like basil or sunflower microgreens, you ll discover unique flavor pairings that beautifully complement a range of cuisines. Dive in and let your creativity flourish!
Other Creative Uses
Beyond traditional culinary applications, unleash your creativity with microgreens in countless ways think blending them into smoothies or incorporating them into health-focused recipes. Not only do they enhance flavor and nutritional content, but they also showcase a variety of plant species. Their versatility truly allows them to shine across diverse culinary contexts.
Consider adding these nutrient-packed gems to health drinks, giving your beverages a vibrant splash of color and a delightful burst of flavor. Imagine sipping on a refreshing green juice that captivates the eye and brims with essential vitamins and minerals from microgreens like kale or pea shoots.
Microgreens also serve as stunning decorative elements in food presentations, effortlessly elevating the aesthetic appeal of your dishes while contributing to their health benefits. Whether you use them as a garnish on a gourmet plate or blend them into a wellness elixir, microgreens are a remarkable choice for health-conscious individuals and creative chefs alike.
Frequently Asked Questions
What are some common mistakes in microgreen harvesting?
Common mistakes in microgreen harvesting include harvesting too early or too late, not properly cleaning and sanitizing equipment, not using sharp scissors or knives, and not properly storing harvested microgreens.
Why is harvesting microgreens too early a mistake?
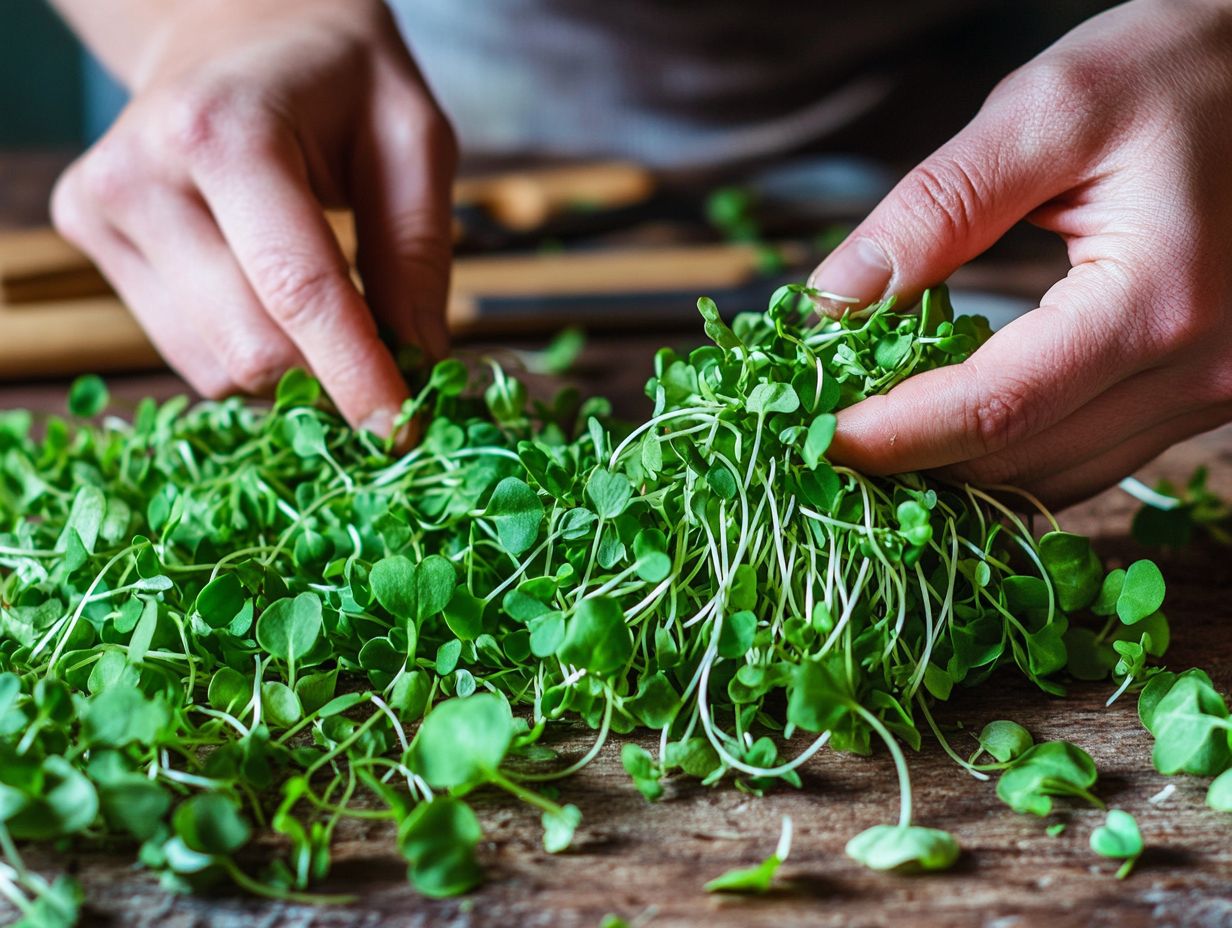
Harvesting microgreens too early leads to immature and bland greens. Wait until they have fully developed their true leaves for the best flavor.
What happens if microgreens are harvested too late?
If microgreens are harvested too late, they become tough and bitter. Harvest them at their peak freshness for the best flavor and texture!
Why is it important to properly clean and sanitize equipment when harvesting microgreens?
Microgreens grow in a controlled environment, making them prone to germs. Cleaning equipment helps stop harmful germs and keeps the microgreens safe.
Why should sharp scissors or knives be used for harvesting microgreens?
Dull or dirty scissors can damage delicate microgreens and introduce harmful germs. Sharp tools ensure clean cuts and maintain quality.
How should harvested microgreens be stored?
Store your harvested microgreens in an airtight container or plastic bag in the fridge to keep them fresh. They ll last for up to a week, but enjoy them as soon as you can for the best taste!

