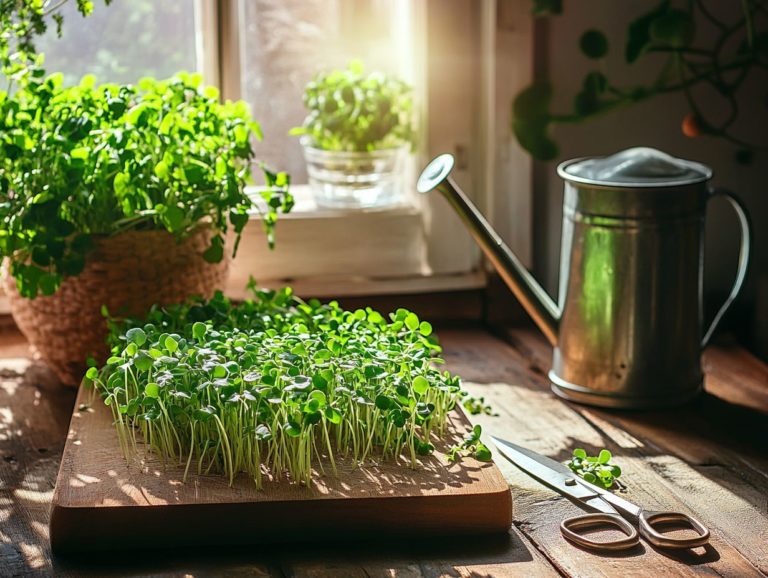
Harvesting Techniques for Different Microgreens
Microgreens are more than just a fashionable garnish on your plate; they deliver a powerful burst of flavor and are brimming with nutrients.
In this exploration, you’ll delve into the art of harvesting common microgreens such as arugula, kale, radish, sunflower, and pea shoots. You’ll uncover essential techniques designed to maximize both yield and flavor, along with insightful tips on the optimal time to harvest and the best methods for storing these delicate greens.
Discover creative ways to use these colorful greens in your meals. Your cooking is about to improve!
Contents
- Key Takeaways:
- Harvesting Techniques for Common Microgreens
- Tips for Maximizing Yield and Flavor
- Creative Uses for Harvested Microgreens
- Frequently Asked Questions
- What are some tips for harvesting microgreens?
- What is the best way to harvest delicate microgreens?
- Can microgreens be harvested more than once?
- What is the difference between harvesting microgreens and sprouts?
- How do you know when microgreens are ready to be harvested?
- What is the best way to store harvested microgreens?
Key Takeaways:
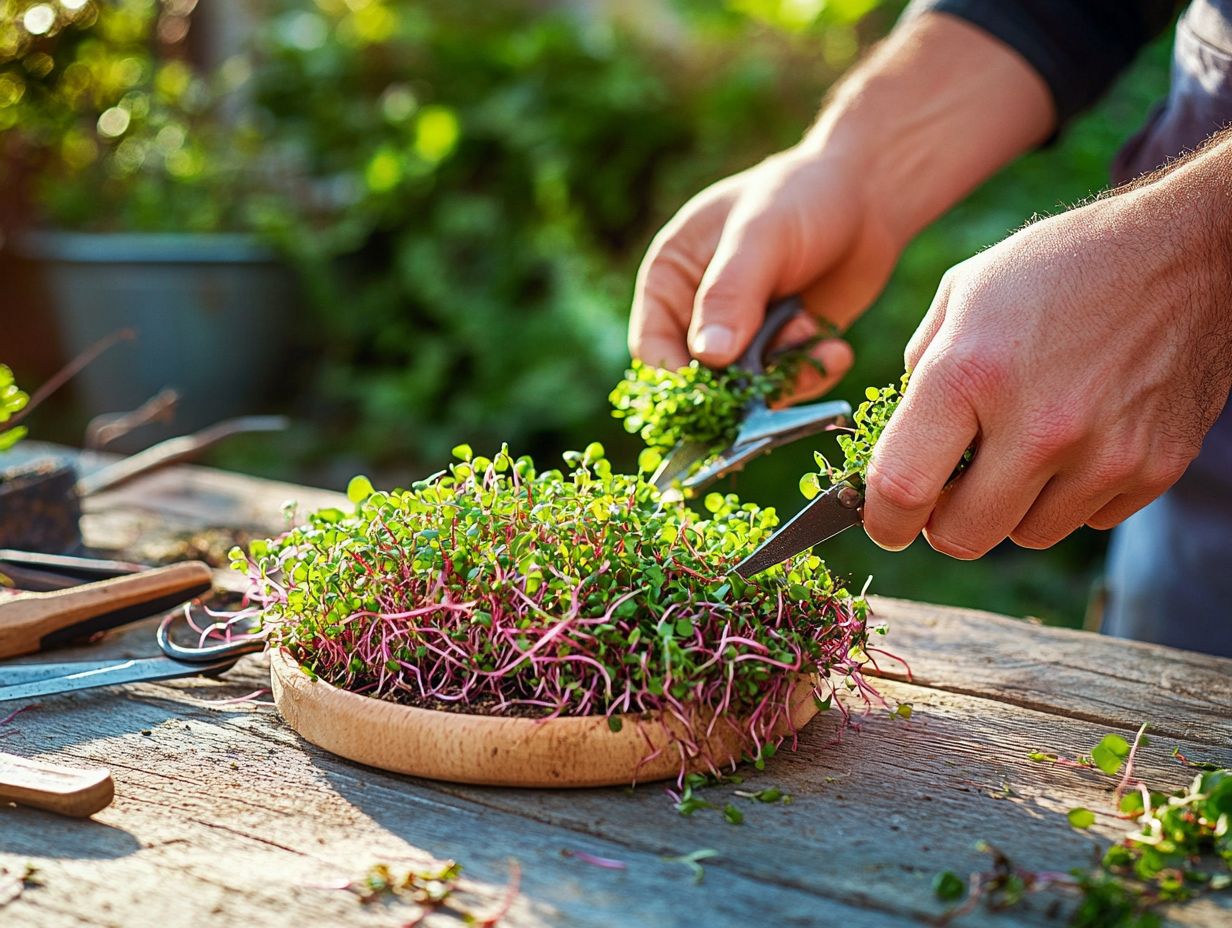
- Harvesting techniques vary for different microgreens, with specific methods recommended for arugula, kale, radish, sunflower, and pea shoots.
- To maximize yield and flavor, it is important to time and harvest microgreens correctly, as well as properly store and handle them.
- In addition to using microgreens as a garnish, get creative with recipe ideas such as incorporating them into salads, sandwiches, and smoothies.
What are Microgreens?
Microgreens are young, edible plants that you can harvest shortly after their first true leaves, or the first leaves that appear after germination, have developed. These nutrient-dense greens are highly sought after by culinary enthusiasts and health-conscious individuals alike, thanks to their vibrant colors and intense flavors.
Grown from a variety of seeds such as Basil Genovese, Cilantro, and Red Cabbage, microgreens offer a remarkable array of nutritional benefits, making them a popular choice for salads, garnishes, and a multitude of other dishes. If you’re interested in starting your own garden, check out this guide on how to grow microgreens for beginners. Their impressive nutrient profile features elevated concentrations of vitamins C, E, and K, along with beneficial antioxidants, which are compounds that help protect your body from damage, making them a fantastic addition to your diet.
These tiny powerhouses typically grow within two to three weeks, providing you with a quick and versatile option for your kitchen. Different varieties like Arugula deliver a delightful peppery bite, while radish microgreens contribute a crisp flavor, and Purple Basil introduces a hint of sweetness and aromatic depth. For those interested in maximizing their yield, exploring innovative methods for hydroponic microgreens can be incredibly beneficial.
Chefs love to incorporate these delicate greens into their creations, using them as colorful garnishes for entrees or mixing them into vibrant salads, thereby enhancing both the visual appeal and nutritional value of your meals.
Harvesting Techniques for Common Microgreens
When it comes to harvesting microgreens, particularly popular varieties like arugula and Red Amaranth, pay close attention to timing and specific visual cues to maximize flavor and minimize plant stress.
By grasping the ideal harvest window, whether early in the morning or late in the evening, you can truly elevate the culinary potential of your greens. Establishments like Greens Bali exemplify these techniques, showcasing understanding microgreen harvest timing to cultivate microgreens that are nothing short of exceptional.
Arugula
Arugula microgreens are truly a delight, known for their peppery flavor and vibrant green hue. As a culinary enthusiast, you ll appreciate how these nutrient-dense greens can elevate your dishes to new heights.
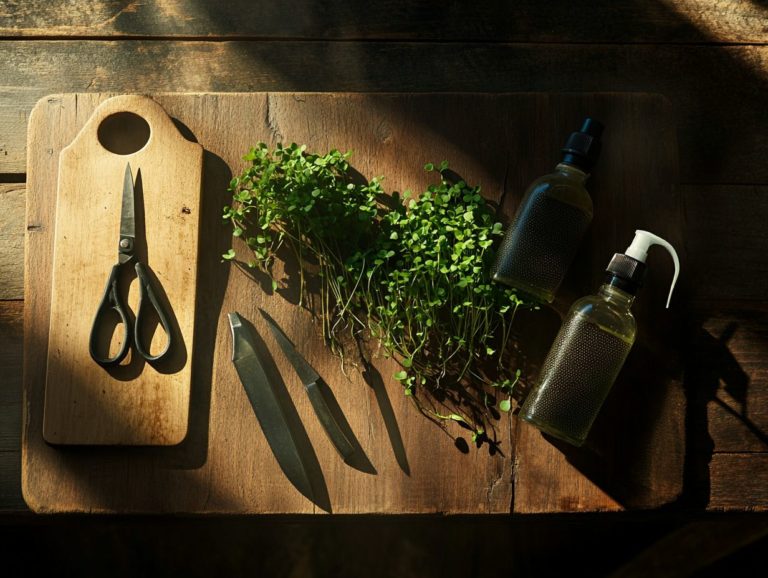
In terms of harvesting, timing is everything. Aim for a window of 10 to 14 days after germination, once they’ve reached a height of about 2-3 inches. At this stage, the leaves are tender and bursting with that distinctive flavor, perfect for enhancing salads, sandwiches, and garnishes. For those interested in maximizing their efforts, consider exploring techniques for growing microgreens year-round. Remember to use a sharp knife for a clean cut just above the soil line; this not only ensures a tidy harvest but also allows any remaining seedlings to keep thriving.
But it s not just about taste; arugula microgreens are nutritional powerhouses. They re rich in vitamins A, C, and K, along with essential minerals, making them not only delicious but also a superb addition to your healthy eating repertoire.
Try growing your own microgreens today!
Kale
Kale microgreens are nutritious and colorful, making them a stunning addition to salads and smoothies. Their tender leaves offer a delightful crunch and a unique peppery flavor that can elevate any meal, whether you use them as a garnish or as a key ingredient in sandwiches and wraps.
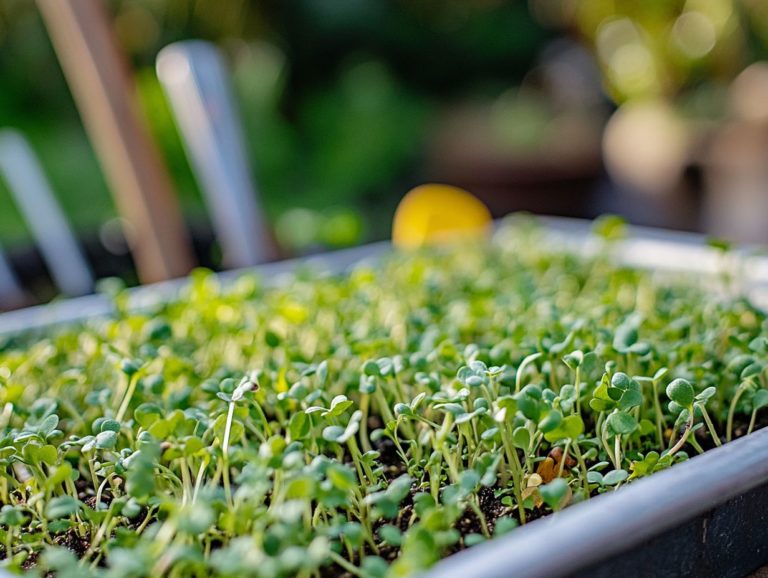
For the best taste, aim to harvest your microgreens when they’re between 1 to 3 inches tall, usually around 7 to 14 days after sowing. Keep an eye on the emergence of the first real leaves; this is a clear sign that they’ve reached their peak flavor. To enhance your growing techniques, consider checking out how to use hydroponics for microgreens.
Packed with vitamins A, C, E, and K as well as essential minerals, kale microgreens provide an impressive boost to your overall health, enhancing immune function and skin vitality.
Their versatility in the kitchen allows you to enrich everything from omelets to pasta, making them a go-to favorite for health-conscious chefs and home cooks alike.
Radish
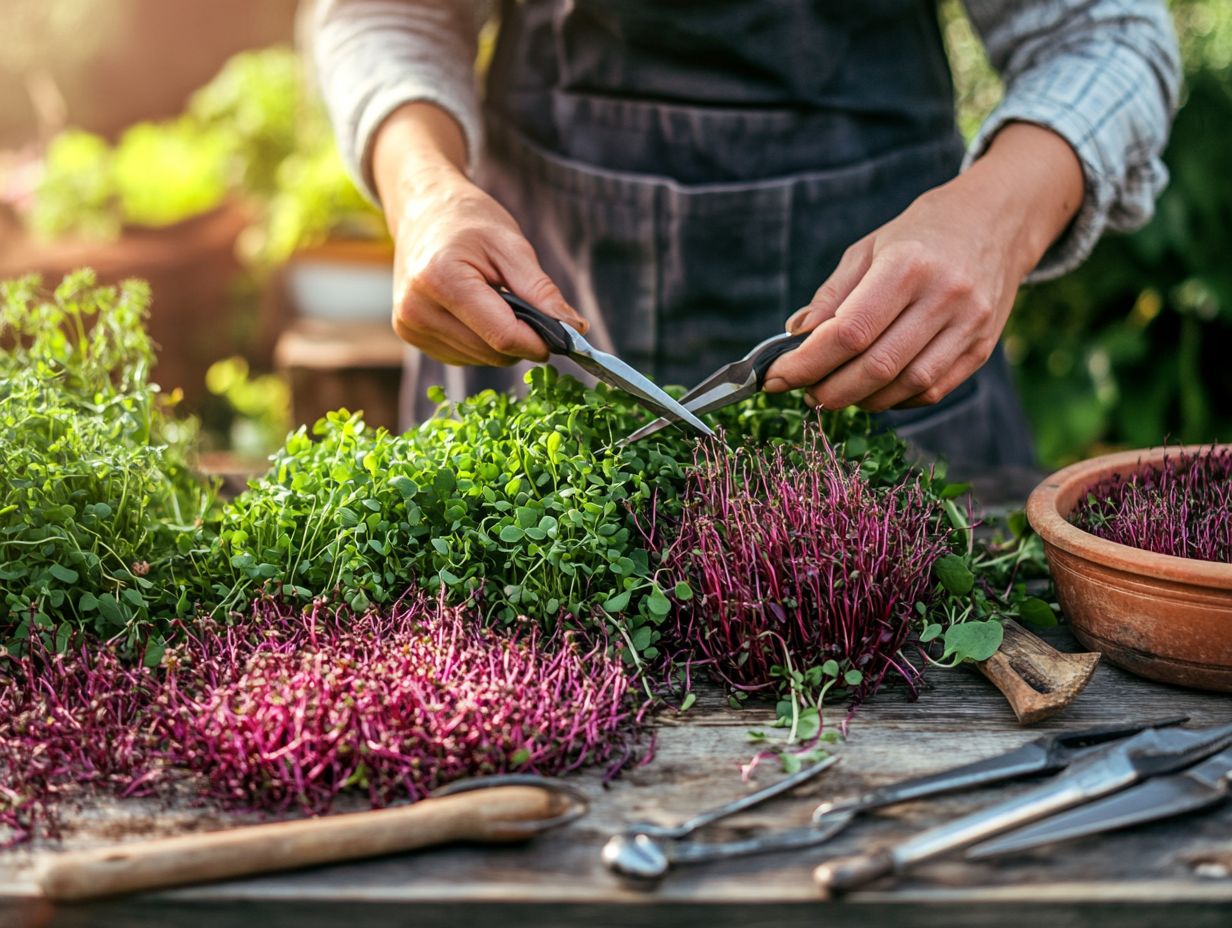
Radish microgreens are celebrated for their delightful crunch and spicy kick, capable of elevating a myriad of dishes while delivering an array of health benefits.
To truly capture their exquisite flavor, harvest these microgreens when they reach about two to three inches in height, typically around 7 to 14 days after germination. Picking them at this prime stage ensures you enjoy their vibrant freshness along with that irresistible spiciness.
When you re ready to incorporate them into your meals, feel free to get creative. These tiny greens can be a fantastic addition to:
- Salads
- Sandwiches
- Garnishing soups
- Tacos
Their culinary versatility is nothing short of impressive, as they pair beautifully with various ingredients like creamy cheeses or citrus-based dressings, enhancing both flavor and visual appeal. Plus, these nutrient-dense greens are high in vitamins and antioxidants, making every dish not just delicious, but also nourishing.
Sunflower
Sunflower microgreens are a delightful choice for your cooking, celebrated for their mild, nutty flavor and high in nutrients.
To achieve the best flavor and texture, harvest these delicate greens around 7 to 14 days after sowing, when they reach approximately 2 to 4 inches in height and showcase their vibrant green leaves. Timing is everything; if you harvest too early, you risk losing their full flavor and nutrient potential, while waiting too long can lead to bitterness. For more tips on optimizing your harvest, check out our guide on how to maximize yields from microgreens.
Packed with vitamins A, C, and E, along with essential fatty acids, sunflower microgreens not only elevate the visual appeal of your dishes but also deliver significant health benefits. Their versatility is unmatched, making them perfect for:
- Adding a satisfying crunch to salads
- Garnishing soups with elegance
- Blending seamlessly into smoothies
By incorporating them into your culinary creations, you’re sure to enhance both flavor and nutrition.
Pea Shoots
Pea shoots are tender microgreens celebrated for their sweet flavor and crisp texture, making them a delightful enhancement to your salads and sandwiches.
These vibrant greens emerge from the young shoots of pea plants, typically reaching their peak flavor during the early growth stages, around 2 to 4 weeks after germination. At this stage, keep an eye on their delicate leaves and tendrils; harvesting too late can lead to a more fibrous texture and diminished taste. To maximize your harvest, it’s beneficial to learn how to rotate crops for microgreens.
Rich in vitamins A, C, and K, pea shoots not only elevate the nutritional value of your dishes but also provide antioxidants that contribute to your overall well-being. Their versatility allows for use in stir-fries, smoothies, and as a stunning garnish, further showcasing the beauty and flavor profile of this delightful green.
Tips for Maximizing Yield and Flavor
To maximize yield and flavor in your microgreens cultivation, focus on several key factors. Pay close attention to plant stress, as it can significantly impact the quality of your greens.
Master proper washing techniques to preserve freshness. Act quickly to maintain the nutritional integrity of your microgreens, ensuring they remain vibrant and packed with flavor.
Timing and Frequency of Harvesting
The timing and frequency of harvesting microgreens are essential for producing flavorful, nutrient-rich greens that impress cooking lovers. Understanding the optimal moment for harvesting significantly enhances taste and texture.
Take pea shoots, for example; typically harvested around 2-3 weeks after planting, they deliver a delightful sweet and tender crunch. On the other hand, mustard greens reach their peak flavor by day 14, adding a zesty kick to your dishes.
It s not just about counting the days; visual cues are equally important. By observing the size and brightness of the leaves, you can determine when they re ready for harvest.
The vibrant green of broccoli microgreens indicates a well-matured crop, enriching the visual appeal of any meal. For those interested in cultivating these nutritious greens, a step-by-step guide to sowing microgreens can help you master the timing and spotting these signs, ultimately transforming your cooking!
Proper Storage and Handling
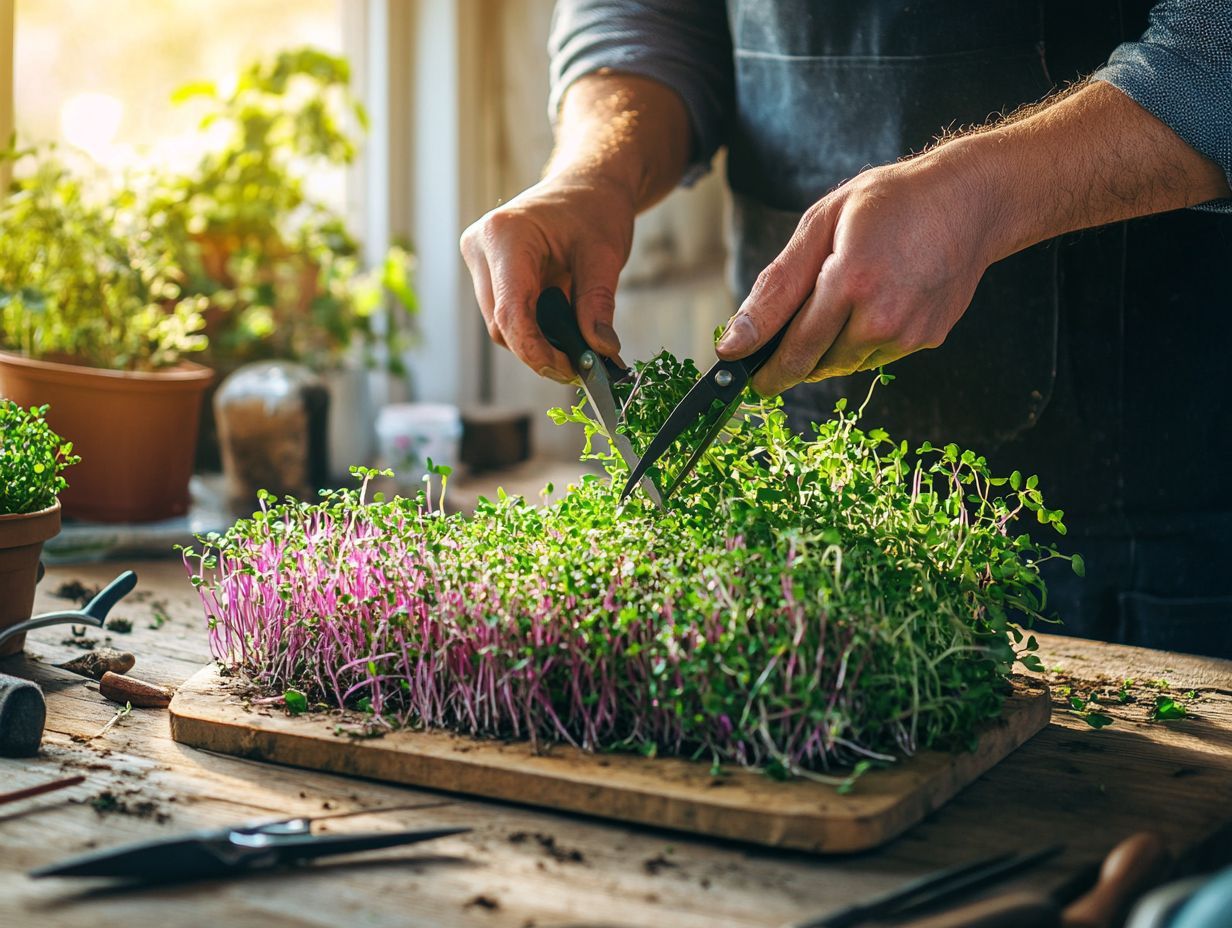
Proper storage and handling of microgreens is crucial for preserving their freshness and nutritional value, starting with effective washing techniques to minimize plant stress.
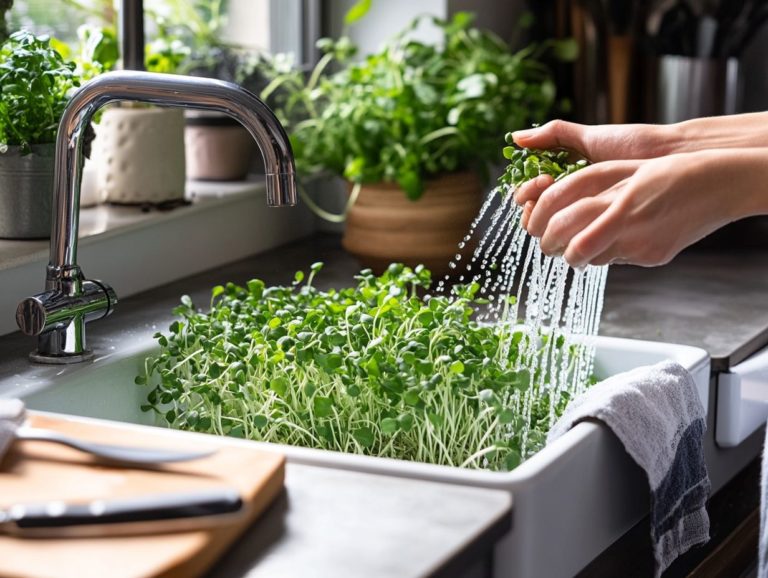
- Begin by rinsing them gently in cool water; this method removes dirt or contaminants without risking damage to those delicate leaves, ensuring optimal growth stages.
- After cleaning, it’s vital to dry the greens thoroughly—excess moisture can lead to spoilage. A salad spinner or a soft cloth works wonders for this, ensuring that those vibrant colors and flavors remain intact.
For optimal storage, place your microgreens in a breathable container lined with a paper towel. This absorbs any residual moisture, extending their shelf life while maintaining the impressive health benefits these nutrient-dense greens offer, including nutrient density and high antioxidant levels. To further enhance your microgreen growing skills, consider exploring watering techniques for thriving microgreens.
Creative Uses for Harvested Microgreens
You can elevate any dish with creative uses for harvested microgreens, adding unique flavors and visual appeal that delight both cooking lovers and health-conscious individuals, while showcasing the flavor development of different varieties.
Recipe Ideas and Garnishing Tips
Microgreens have the power to elevate your everyday recipes, infusing them with vibrant colors and unique flavors. As a cooking lover, you ll find exciting garnishing options that enhance your meal presentations, showcasing the growth stages of various greens.
Incorporating varieties like peppery arugula, delicate pea shoots, and zesty radish microgreens can transform even the simplest dishes into visual and flavorful masterpieces. Imagine reimagining a classic salad by tossing in a handful of sunflower microgreens or brightening up a creamy soup with a sprinkle of tangy mustard greens. To ensure you get the most flavor and nutrition, it’s important to know when to harvest your microgreens.
Garnishing techniques like creating a colorful microgreen salad atop grilled fish or using vibrant beet microgreens for a striking contrast in hearty grain bowls can elevate both the aesthetics and taste of your meals. This fun method will wow your guests!
Frequently Asked Questions
What are some tips for harvesting microgreens?
The best time to harvest microgreens is when they have reached about 1-3 inches tall, which often corresponds with the appearance of true leaves the first real leaves that grow after the initial sprouts. It’s also important to use clean, sharp scissors for a clean cut to avoid damaging the remaining seedlings.
What is the best way to harvest delicate microgreens?
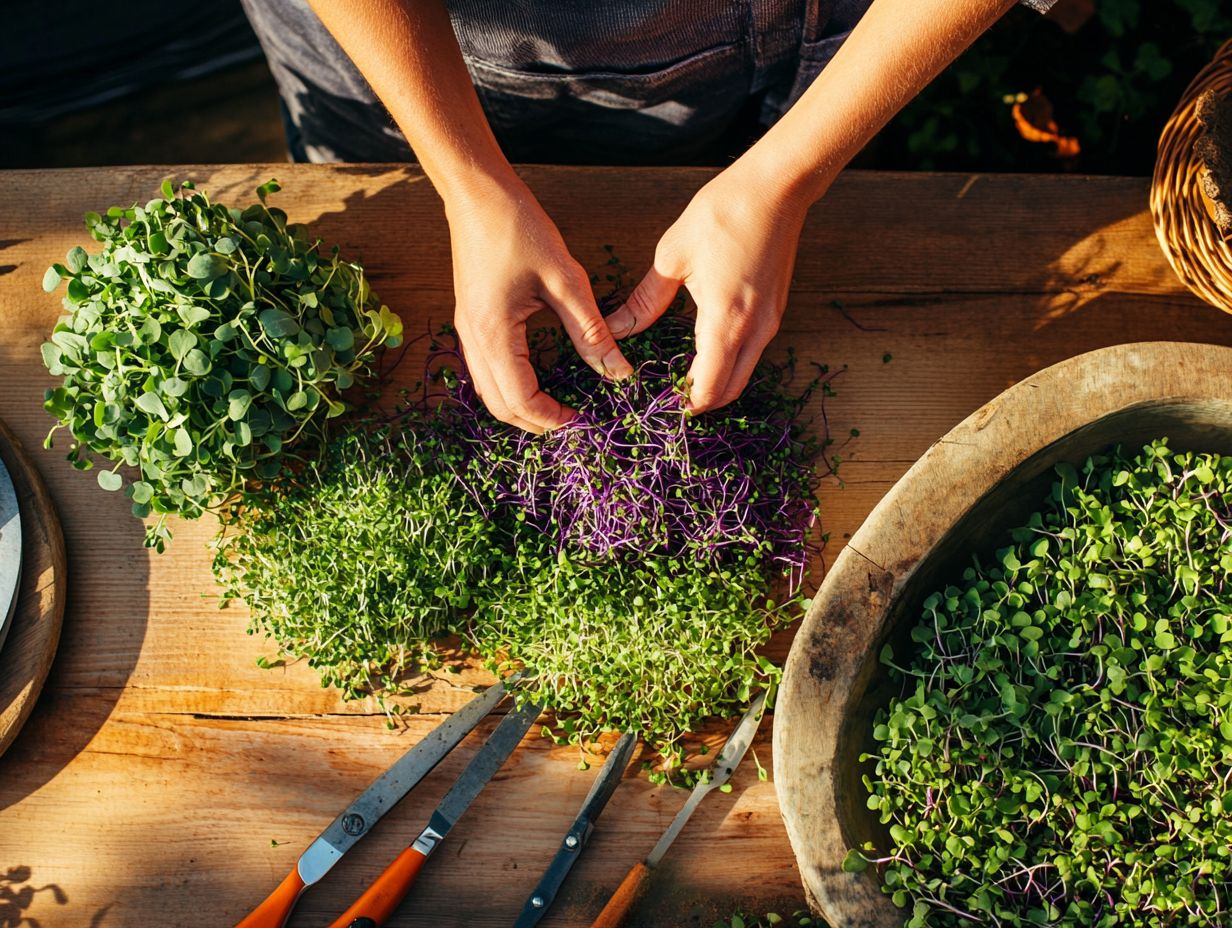
Delicate microgreens, such as cilantro, should be harvested by gently pulling the greens towards the ceiling while cutting with scissors or a sharp knife. This helps to avoid bruising or damaging the delicate leaves and is particularly crucial during the growing process.
Ready to elevate your cooking? Start experimenting with microgreens today!
Can microgreens be harvested more than once?
Yes, some microgreens can be harvested multiple times. Cut the greens at the base of the stem, leaving about 1 inch of stem for regrowth.
However, not all microgreens regrow after harvesting. Varieties like red amaranth typically do.
What is the difference between harvesting microgreens and sprouts?
Microgreens are harvested when the first real leaves have developed. In contrast, sprouts are picked much earlier, right after the seed has sprouted.
Microgreens are harvested above the soil. Sprouts are usually still attached to the seed and roots.
How do you know when microgreens are ready to be harvested?
Harvest your microgreens when you see their first real leaves pop up! This usually happens about 7-14 days after planting, depending on the type, like purple basil or red cabbage.
What is the best way to store harvested microgreens?
To enjoy the freshest flavor, wrap your microgreens in a damp paper towel and store them in an airtight container in the fridge. They ll last for about a week perfect for salads or garnishes!
Alternatively, you can keep the microgreens attached to the soil. Store them in a cool, well-lit area and dry the greens as needed.

