How to Create a Microgreen Storage Schedule
Microgreens are tiny, nutrient-dense plants that have taken the culinary world by storm with their vibrant flavors and impressive health benefits.
To truly savor all they have to offer, proper storage is essential. This article delves into the significance of establishing a storage schedule for your microgreens, highlighting key factors such as temperature, humidity, and light exposure that can greatly influence their freshness.
You’ll discover a step-by-step guide to crafting your own tailored storage plan, complete with expert tips to extend their shelf life.
Are you prepared to keep your nutritious microgreens in peak condition? Let s dive in!
Contents
Key Takeaways:
- Store microgreens properly to keep them fresh and tasty.
- Consider temperature, humidity, light, and air circulation for best results.
- Follow our guide for tips to ensure your microgreens stay fresh longer.
What are Microgreens?
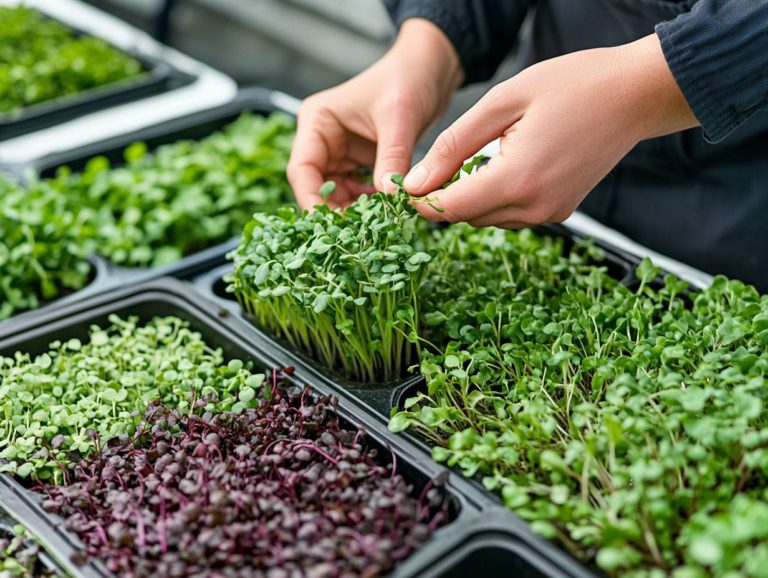
Microgreens are not just tiny greens; they re very nutritious plants often celebrated as superfoods because of their impressive concentrations of vitamins, minerals, and antioxidants.
These little wonders belong to various families, including Brassicaceae (cabbage family), Cucurbitaceae, and Asteraceae, and are harvested right after the first true leaves make their appearance.
They re perfect for elevating salads, sandwiches, smoothies, and juices.
With their vibrant colors and crisp flavors, microgreens not only enhance the visual appeal of your dishes but also contribute to a wellness-focused diet packed with nutrients that can help combat heart disease, diabetes, and even Alzheimer s.
Growing microgreens is a breeze. You ll find that it requires minimal space and just a few essentials: soil, seeds, and water.
Whether you choose to cultivate them indoors or outdoors, they re accessible for both home gardeners and chefs.
Popular varieties like arugula, sunflower, and basil each bring their own unique flavor profiles and culinary applications.
Loaded with essential nutrients such as vitamins C, E, and K, along with vital minerals, these greens can elevate your meals while promoting overall well-being.
By incorporating microgreens into your daily diet, you not only boost your nutritional intake but also add a fresh, gourmet touch to your everyday dishes.
Benefits of Creating a Storage Schedule
A storage schedule is your best friend for keeping microgreens fresh and tasty! It is crucial for maximizing their freshness and nutritional value, ensuring that healthy eating remains both convenient and enjoyable while preserving their health benefits.
With proper organization, you can effectively manage shelf life, preventing waste from spoilage and guiding you toward the best storage methods for your microgreens.
This thoughtful planning not only elevates your experience of enjoying these nutritious superfoods but also reinforces a sustainable lifestyle.
Why is a Storage Schedule Important?
A storage schedule is essential for preserving the health benefits of microgreens, ensuring that these fresh greens maintain their vital nutrients for as long as possible.
Understanding the best storage conditions helps you extend the shelf life of these superfoods, relishing their crisp flavor and rich nutritional profile.
Timing is everything when it comes to consuming microgreens, as it greatly impacts both their taste and nutritional value.
Eating them shortly after harvest guarantees maximum nutrient density, while a thoughtful storage routine helps prevent loss of nutrients.
Be mindful of factors like temperature fluctuations and light exposure, as these can significantly affect their flavor and health-boosting properties.
Sticking to a consistent regimen is key.
When you incorporate these vibrant greens into your meals during their peak freshness, you ll fully experience their delightful flavors and impressive antioxidant levels, ultimately enhancing your overall wellness and supporting a balanced diet.
Start your journey to fresher, more flavorful meals today your taste buds will thank you!
By following these tips, you’ll not only enjoy your microgreens longer but also elevate your meals to new heights!
Factors to Consider for Microgreen Storage
Want to keep your microgreens fresh and tasty? Here s how! When it comes to storing microgreens, several crucial factors significantly impact their quality and shelf life. Key elements include temperature, humidity, and air circulation. By mastering these elements, you can ensure that your nutrient-rich microgreens stay fresh and flavorful, elevating your health-conscious diet.
With careful control, you can prevent spoilage and savor the vibrant taste of fresh greens, which can be enhanced by gentle handling during storage.
Temperature and Humidity
Maintaining the optimal temperature and humidity levels is essential for storing microgreens. These factors greatly affect their moisture retention and freshness. Ideally, keep microgreens in a cool environment, away from ethylene-producing fruits, to prevent premature spoilage and preserve their nutritional value.
Aim for a temperature range of 32 to 41 degrees Fahrenheit and humidity levels of around 90%. Using a hygrometer, a tool that measures humidity levels, will help you effectively monitor conditions. This ensures that you are keeping moisture in check while avoiding condensation that could lead to rot.
Opt for breathable containers to promote airflow and reduce excess moisture. Regularly check for ethylene exposure to prevent accelerated decay and maintain flavor.
By taking these precautions, you ll significantly enhance the longevity and quality of your microgreens, ensuring they retain their crisp flavor.
Light Exposure
Light exposure is a crucial factor when storing microgreens. Too much light can diminish their nutritional value and freshness. By keeping your microgreens in a dark or shaded space, you can preserve essential nutrients and prevent wilting, ensuring they retain their crisp flavor for longer.
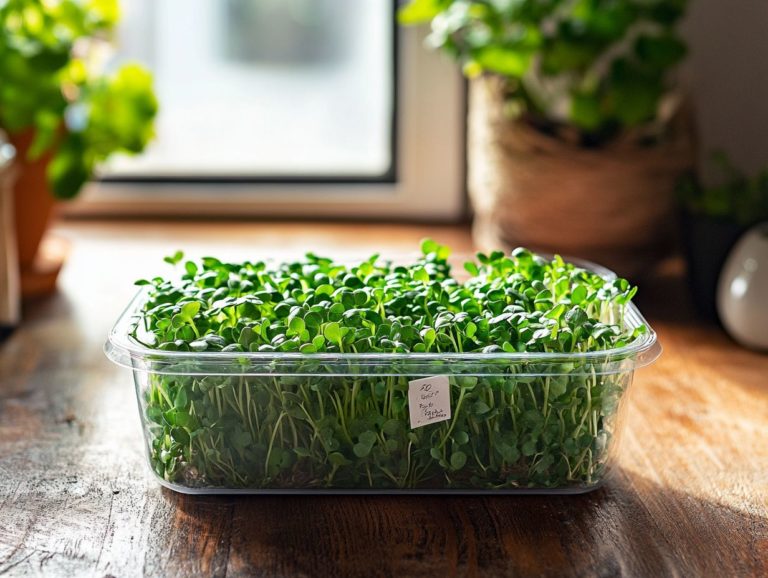
To fully enjoy their rich vitamins and minerals, place your microgreens in an airtight container or wrap them in a damp paper towel before refrigeration. This simple step prevents moisture loss and creates an optimal environment for freshness. If you’re interested in growing your own, check out this guide on how to grow microgreens in shelves.
Using a breathable produce bag can further help avoid excess moisture buildup. Pay close attention to these storage techniques to savor your microgreens at their peak nutritional value. If you’re new to gardening, check out this guide on how to start a microgreen garden for beginners, delivering a delightful burst of flavor and health benefits with every bite.
Air Circulation
Adequate air circulation is critical when storing microgreens. It regulates moisture levels and prevents mold growth that can lead to spoilage. Ensure your microgreens are housed in containers designed for airflow to promote their longevity and preserve their health benefits. Gentle handling during storage is a must.
Incorporate small fans or place the containers in well-ventilated areas to enhance airflow around your microgreens. Using breathable materials, such as mesh or perforated containers, allows moisture to escape while safeguarding those delicate greens. Keep a watchful eye on humidity levels, as excessive dampness breeds mold.
Regularly check the storage environment and rotate the microgreens for even air exposure. To learn more about the best practices, refer to this step-by-step guide to sowing microgreens. Make these simple changes today to see a big improvement in maintaining the quality and safety of your stored produce.
Creating a Microgreen Storage Schedule
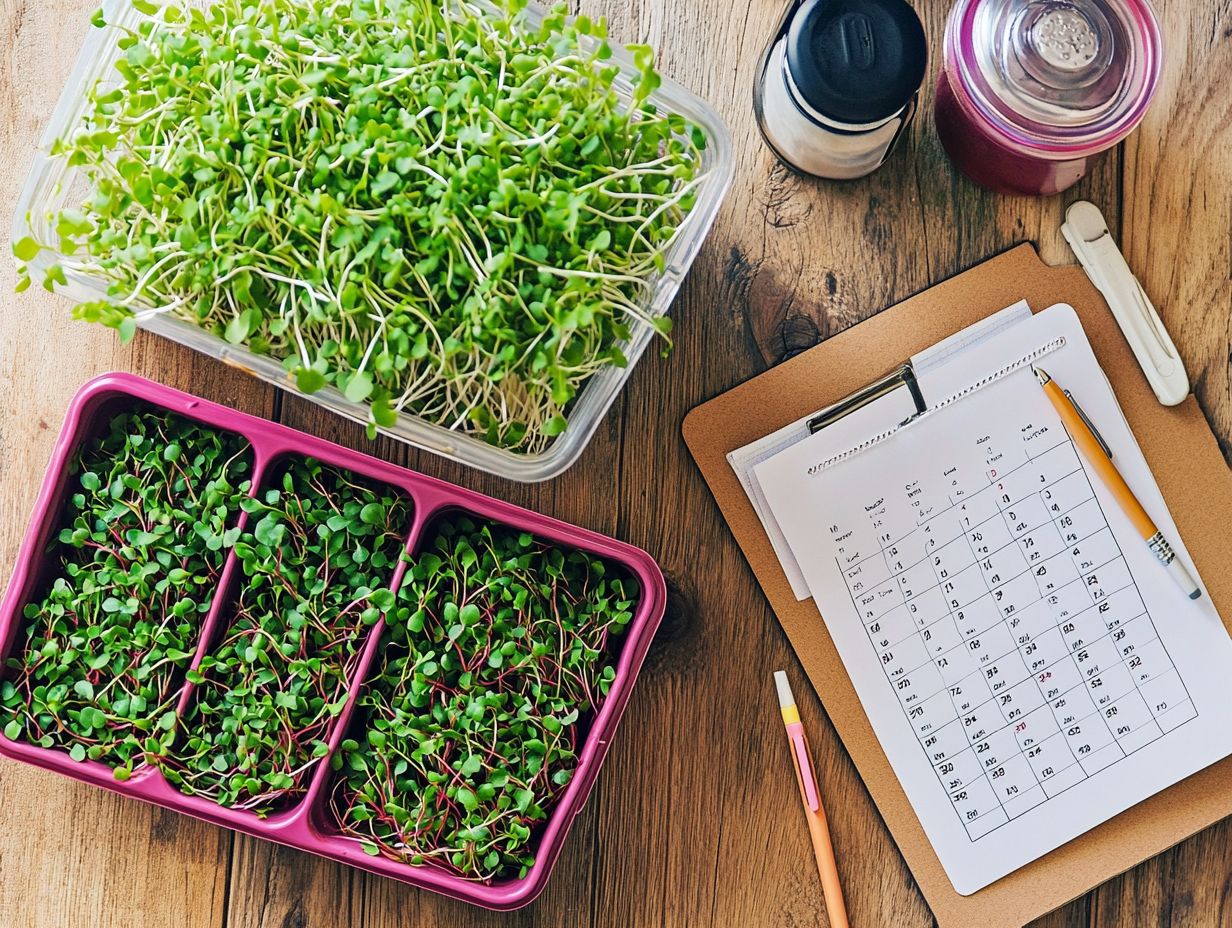
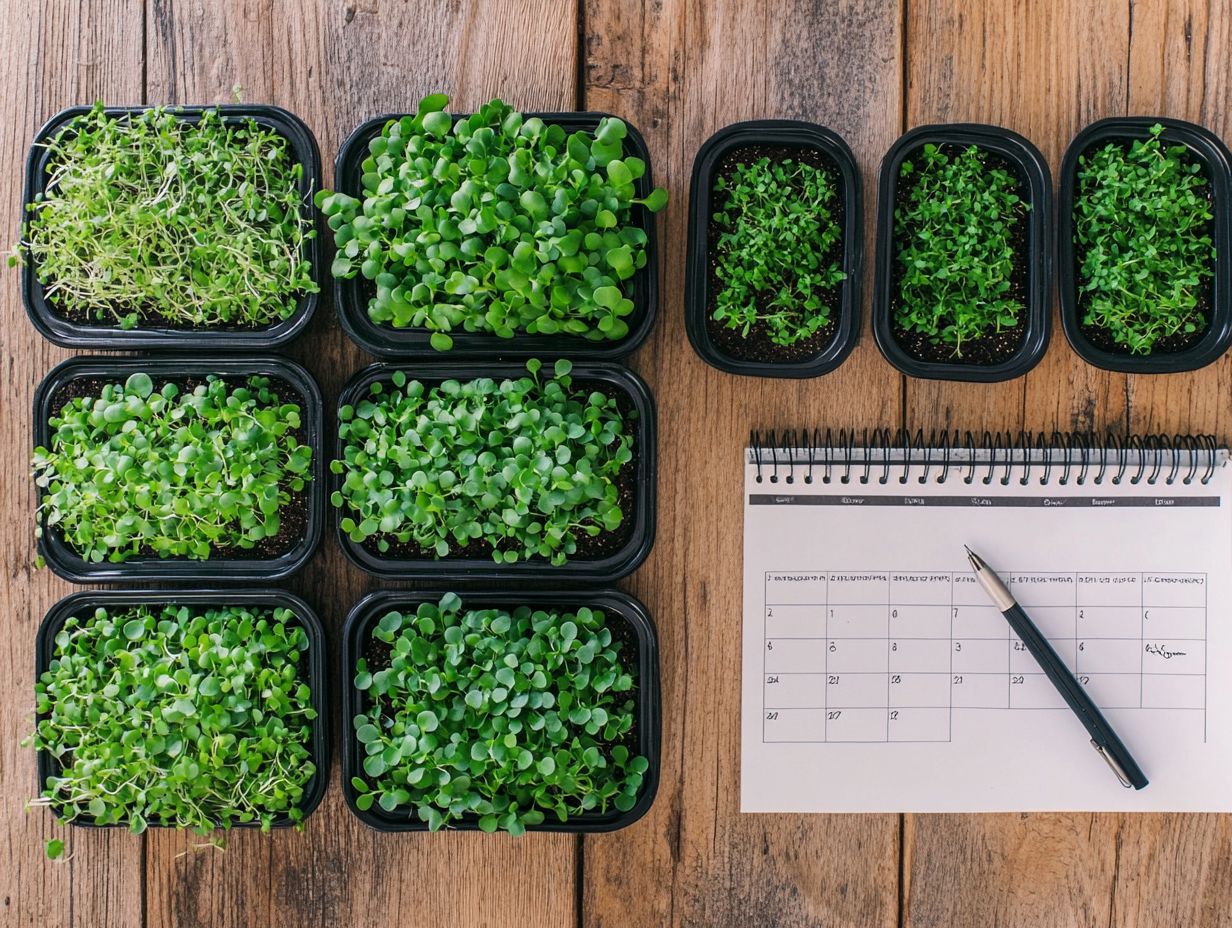
Crafting a microgreen storage schedule requires a blend of meticulous organization and strategic planning to preserve the freshness and nutritional value of these superfoods. This ensures you can enjoy their health benefits for longer.
By methodically documenting harvest dates and pinpointing ideal storage conditions, you can optimize your usage and fully reap the health benefits these vibrant greens offer. Furthermore, learning how to extend the growing season for microgreens can further enhance your gardening success.
Step-by-Step Guide
Following a step-by-step guide can streamline your process for storing microgreens. This ensures that their freshness and health benefits are beautifully preserved. By adopting a structured approach to tracking your harvests and organizing your storage methods, you can savor these nutritious greens at their peak quality.
- Start with careful tracking of harvest dates and yields. This foundational information sets the stage for a successful storage schedule.
- Once you’ve recorded your harvest, assess the freshness of the microgreens. Their viability plays a crucial role in determining the best storage solution for you.
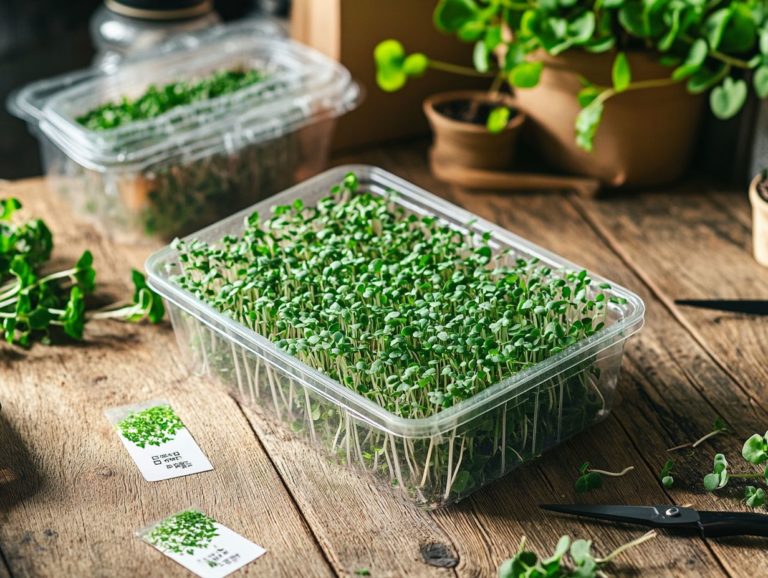
Next, categorize your microgreens based on their specific storage needs. This organizational strategy helps you optimize both space and longevity. Choose appropriate containers and label them according to each type. This ensures ease of access while prolonging the greens’ shelf life. This organization makes cooking with microgreens a joy!
Maximizing Shelf Life of Microgreens
Maximizing the shelf life of microgreens is crucial for reaping their full health benefits. Employing effective storage techniques can make all the difference.
Use simple tips to keep your microgreens fresh and flavorful. These nutrient-packed superfoods, rich in antioxidants, elevate any meal you prepare.
Tips and Tricks for Long-Term Storage
Implementing certain tips and tricks for long-term storage can significantly enhance the longevity of your microgreens. This allows you to savor their vibrant flavors in various meals. By utilizing appropriate storage containers and ensuring gentle handling, you can keep your microgreens fresh and flavorful for an extended period.
For optimal results, consider using breathable containers like perforated plastic bags or ventilated glass jars. These options provide the necessary airflow while protecting your delicate greens. When handling them, remember to be gentle; avoid crushing or compacting to preserve their structure and nutrients.
An ideal choice is to use resealable bags for storing microgreens. Placing a damp paper towel inside the container can help maintain moisture without introducing excess humidity.
Regularly check for mold or spoilage. This enables you to swiftly remove any affected greens, further extending their shelf life. By following these practical practices, you can enjoy the vibrant flavors and health benefits of microgreens over time.
Frequently Asked Questions
What are microgreens and why do I need a storage schedule?
Microgreens are young vegetable greens harvested after the first set of true leaves develop. They are packed with nutrients and have a short shelf life, making it essential to have a proper storage schedule to maintain their freshness and quality.
How should I store my microgreens?
Store microgreens in a cool, dark place with good air circulation. A refrigerator is the best option, but a cool pantry or basement can also work. Keep them away from direct sunlight and sources of heat.
How long can I store microgreens?
Microgreens can be stored for up to 7-10 days, depending on the variety. Delicate greens like cilantro and basil have a shorter shelf life, while heartier greens like kale and broccoli can last longer.
What type of containers should I use for storing microgreens?
Microgreens can be stored in plastic containers, paper bags, or even glass jars. Ensure the container has good air circulation and is clean and dry before use.
Do I need to wash microgreens before storing them?
It is recommended to wash microgreens to remove any dirt or debris. Ensure they are completely dry before storing to prevent sogginess.
How often should I check and rotate my microgreens in storage?
Check and rotate your microgreens every 2-3 days. This ensures even air circulation and prevents any mold or wilting. This will also help maintain their freshness and extend their shelf life.

