How to Dry Microgreens for Longer Storage
Microgreens are more than just a trendy garnish; they re packed with flavor and nutrients to elevate your meals. If you have a harvest full of these little powerhouses, drying them can extend their shelf life while keeping their nutritional benefits intact.
Get ready to discover how to dry microgreens like a pro! This guide will walk you through what microgreens are and the best methods for drying them while maintaining their quality. You’ll also find practical tips on selecting, preparing, and storing your dried treasures.
Dive in and unlock the secrets to maximizing the potential of these miniature greens!
Contents
Key Takeaways:
- Extend shelf life and keep nutrients by drying microgreens.
- Pick the right microgreens and prepare them properly.
- You can use air drying, dehydrating, or oven drying methods to store them longer.
Understanding Microgreens
Microgreens, those delightful tiny greens harvested just after the first true leaves emerge, have become a popular choice in diets, offering both nutrition and versatility.
Grown from seeds like peas, broccoli, and kale, these miniature plants burst with flavor and have impressive nutritional profiles. Revity Farms, a leading supplier in the field, highlights the importance of selecting the right strains think arugula and SaiSai radishes to enhance both taste and health benefits.
Knowing how to cultivate and store microgreens is essential for keeping their freshness and nutritional value, especially for those navigating urban food deserts and looking for effective food preservation.
What are Microgreens?
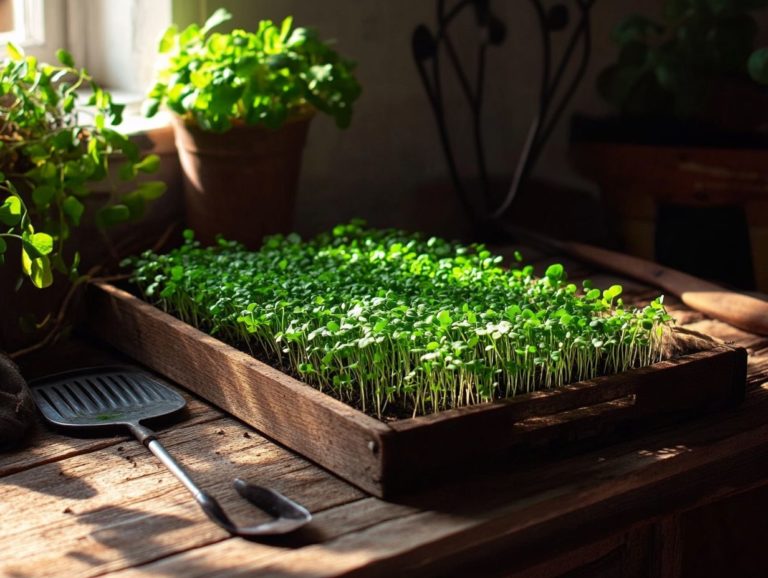
Microgreens are young, edible seedlings of vegetables and herbs that you can harvest just a few weeks after they sprout. This captures their peak flavor and nutrients.
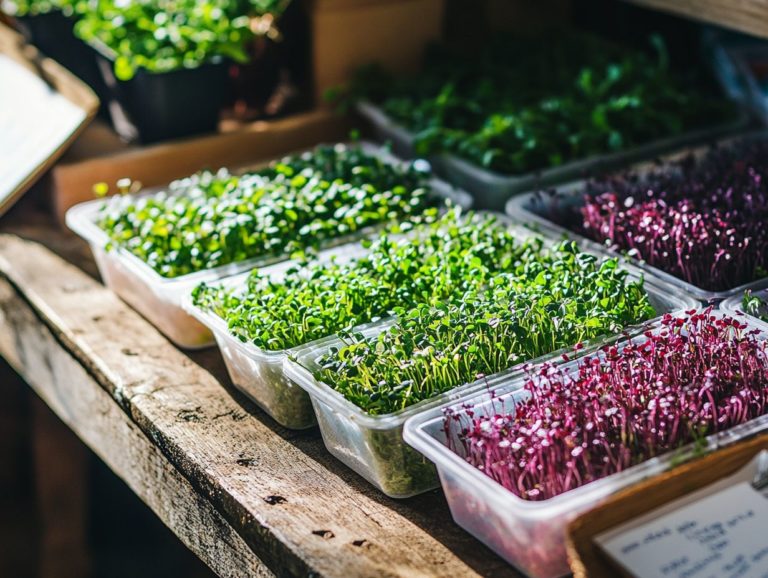
Among the popular varieties, kale, broccoli, and peas really stand out with their vibrant colors and unique tastes. Kale microgreens are celebrated for their robust flavor and great nutritional benefits, while broccoli microgreens have gained a reputation for their high antioxidant content. Pea shoots offer a sweet, delicate flavor that adds a delightful crunch to salads and sandwiches.
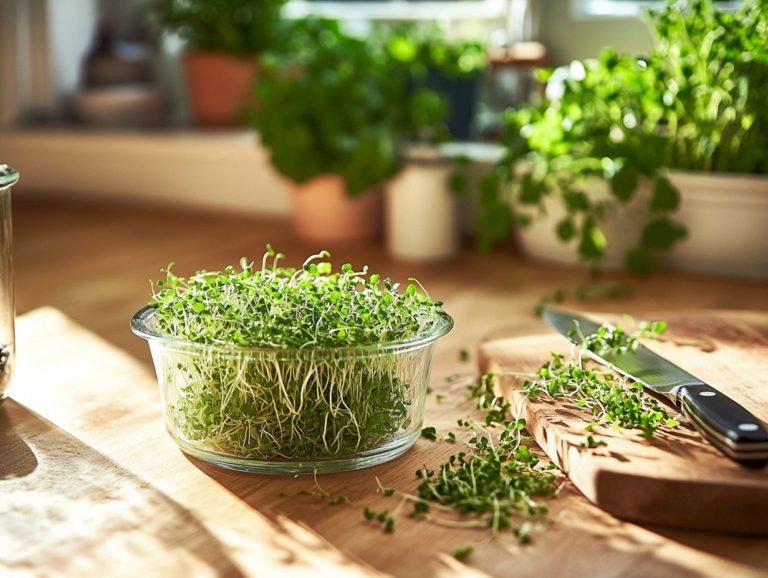
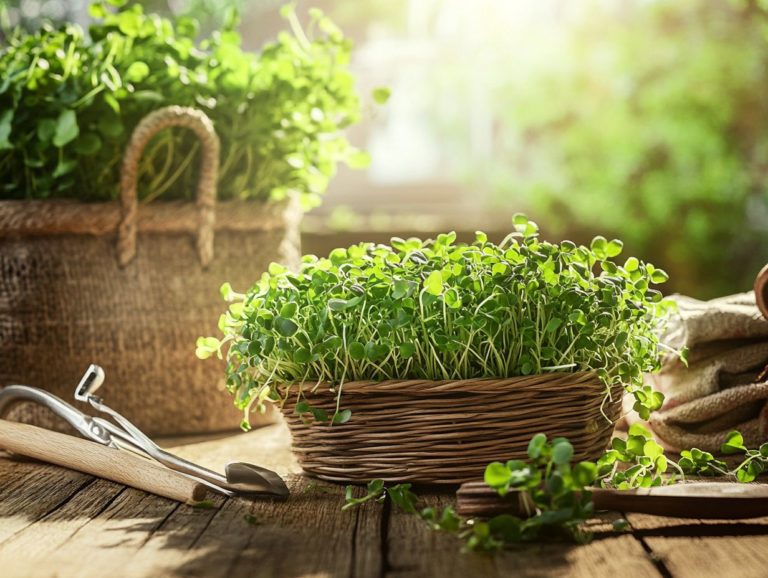
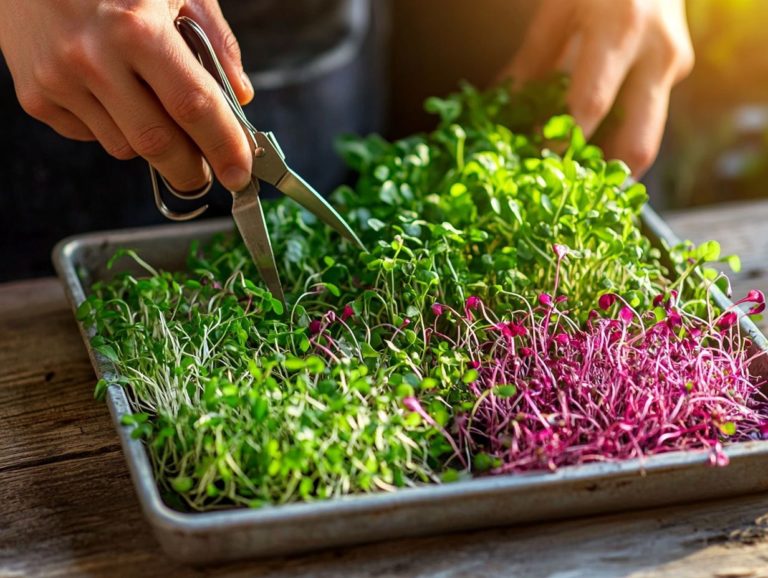
The harvesting process is simple: gently cut the greens just above the soil line to minimize damage. After harvesting, maintain freshness and preserve nutrients by storing microgreens in a cool, dry place. Ideally, wrap them in a damp paper towel and place them in a container in the refrigerator. This method helps prolong their shelf life while ensuring they retain that sought-after crispness.
Benefits of Drying Microgreens
Drying microgreens offers numerous advantages, mainly by extending their shelf life and preserving their nutritional value. This turns them into an invaluable asset for your pantry or kitchen, especially in regions where food scarcity is a concern.
Prolonging Shelf Life
One of the primary benefits of drying microgreens is the remarkable extension of their shelf life, allowing you to store them longer and reduce food waste a crucial factor for sustainability.
You can use various drying techniques, such as air drying, dehydrating, or using a food dehydrator (a machine that removes moisture from food), to preserve these nutrient-rich plants. Each method has its own set of pros and cons, but the goal remains consistent: to retain the delicate flavors and vibrant colors while enhancing usability.
The type of containers you choose is vital in this process. Opt for airtight glass jars or vacuum-sealed bags to inhibit moisture, protecting your microgreens from humidity and spoilage. It’s essential to select the right combination of drying method and container to ensure you achieve the freshest and most flavorful end product possible.
Preserving Nutritional Value
Preserving the nutritional value of microgreens during the drying process is essential. Improper techniques can lead to nutrient loss and undermine the purpose of consuming these health-packed greens.
As you explore various drying methods like air drying, freeze drying, and dehydrating you’ll discover significant differences in how nutrients are retained. Each technique is key to managing moisture levels, which is essential for maximizing health benefits.
For example, freeze drying tends to preserve vitamins and minerals more effectively than traditional dehydration methods. However, it may come with a steeper price tag and longer processing time.
After drying, store your microgreens in airtight containers to keep their nutrients safe. Use plastic containers or clamshells, and keep them away from light and heat!
By understanding these factors, you can ensure that your dried microgreens remain a powerhouse of nutrition long after the harvest.
Methods for Drying Microgreens
You have a variety of effective methods for drying microgreens, each presenting its own unique benefits and challenges. Whether you choose air drying, dehydrating, or oven drying, it’s essential to maintain careful moisture control throughout the process to guarantee the highest quality results.
Air Drying
Air drying is a straightforward and natural method for drying microgreens. It allows you to preserve their flavor and nutritional benefits while requiring minimal equipment and energy.
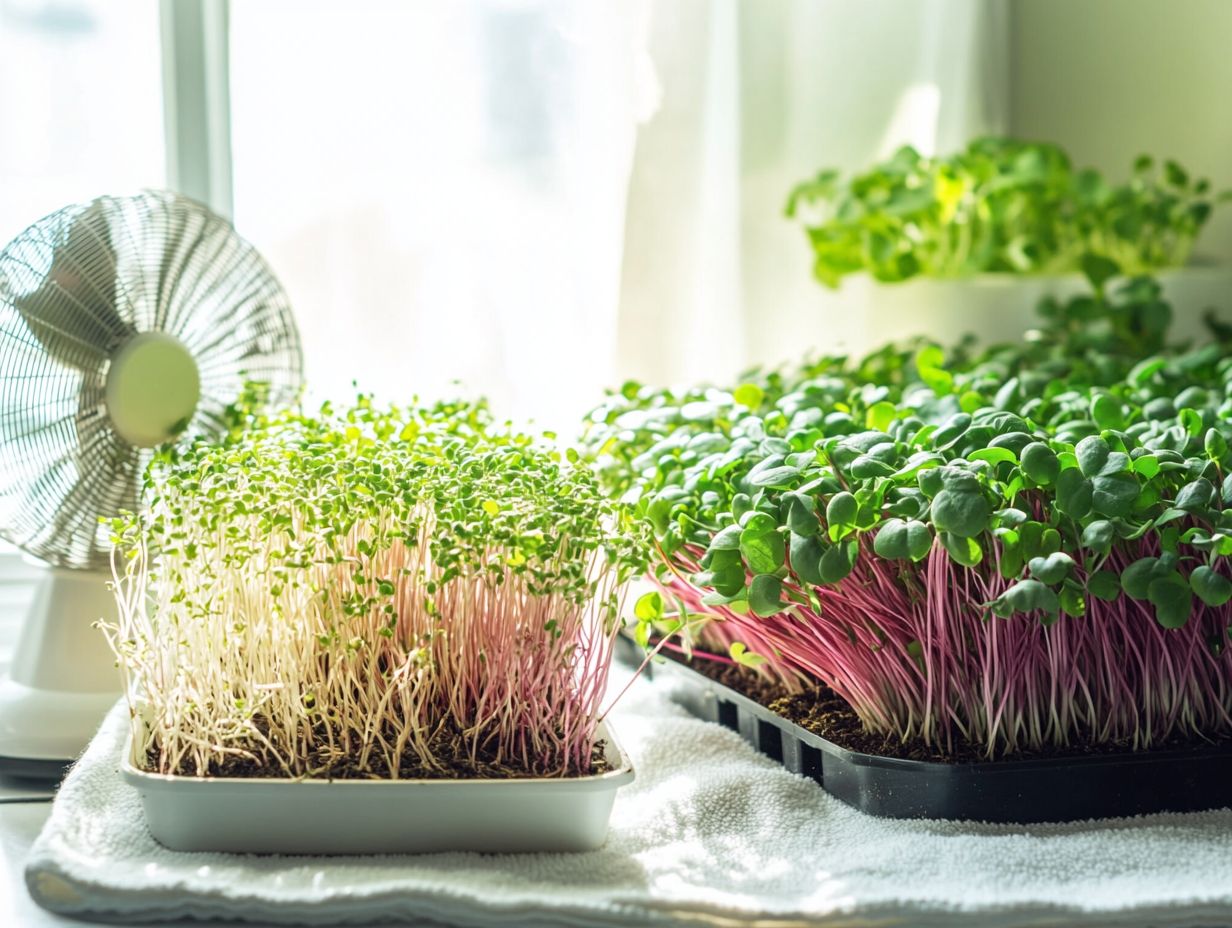
To achieve optimal results, create the perfect environment for the drying process. Ensure that the area is well-ventilated; good airflow is key to removing moisture effectively. Controlling humidity levels is equally important; aiming for a range of 40-60% humidity is ideal for effective drying.
Excessive moisture can invite mold growth. Keep in mind that factors like temperature, the size and thickness of the microgreens, and the specific variety being dried can all impact drying time and the final quality of your product.
By closely monitoring these elements, you will be well on your way to achieving perfectly dried microgreens.
Dehydrating
Dehydrating microgreens is a highly regarded technique for food preservation. It utilizes specialized equipment to efficiently remove moisture while maintaining flavor and nutrients.
This method extends the shelf life of these nutrient-packed greens and makes it easy to incorporate them into a variety of recipes.
As a home chef, you have a range of equipment options at your disposal dehydrators, ovens set to low temperatures, or even air fryers. Tailor your choice to your kitchen setup and personal preferences, including solar dehydrator and convection oven.
Maintain moisture control! Consistent airflow and even heat distribution are key for the best drying results. Wash and thoroughly dry your microgreens before starting. This enhances their texture and flavor when they are rehydrated.
Don t hesitate to experiment with temperature settings and drying times, as this can lead to optimal outcomes, preserving both the vibrant colors and essential nutrients of your microgreens.
Oven Drying
Oven drying stands out as an effective method for drying microgreens, where meticulous temperature control is essential to avoid overcooking and nutrient loss.
To embark on this process, preheat your oven to a low temperature, ideally hovering around 100-150 F (approximately 38-65 C). Once it s warmed up, spread your freshly washed microgreens evenly across a parchment-lined baking sheet, ensuring there’s ample airflow between the leaves.
As you place them in the oven, keep the door slightly ajar. This little trick allows moisture to escape, preventing your microgreens from steaming. Make it a habit to check on them every 10 to 15 minutes to monitor their progress.
Aim for a drying time of 1-3 hours, depending on the thickness and moisture content of your greens. Keeping the environment just right is crucial for preserving their vibrant colors and invaluable nutrients.
Tips for Properly Drying Microgreens
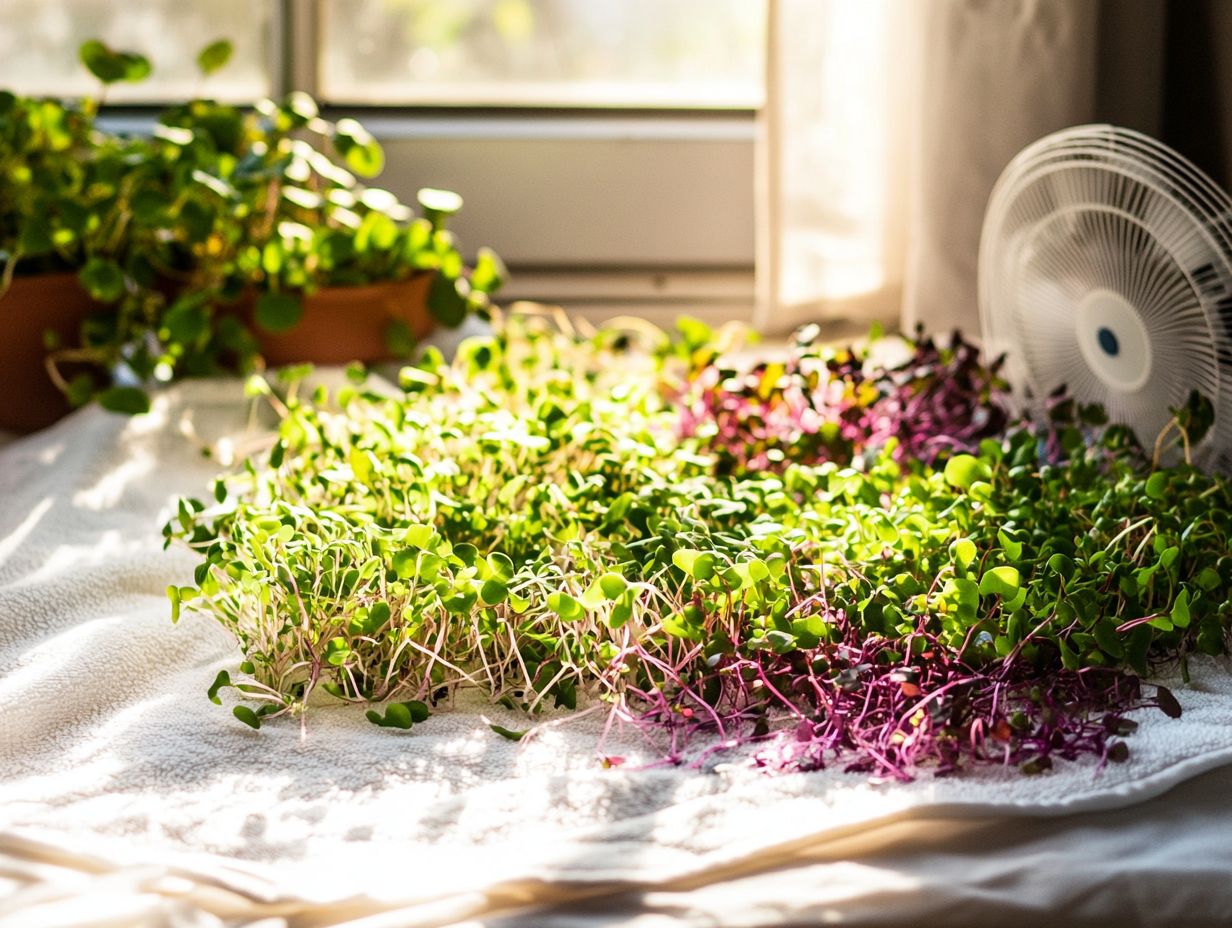
To truly maximize the quality of your dried microgreens, it’s crucial to embrace a few essential practices. This includes meticulous preparation, gentle handling, and effective storage techniques.
By doing so, you enhance their flavor and texture, ensuring they retain valuable nutritional benefits.
Selecting the Right Microgreens
Choosing the right varieties of microgreens is vital for achieving the flavor profiles you desire while maximizing nutritional benefits. This elevates your culinary creations.
Consider flavorful options like basil, dill, and cilantro for drying. They not only enhance your dishes but also retain their natural oils and nutritional quality beautifully. Focus on vibrant colors and a robust aroma these indicate freshness and potency.
Varieties such as mustard greens and arugula can add a peppery kick while delivering significant nutrients. By properly assessing quality before drying, you ensure that the preserved product will offer exceptional taste and health benefits long after the harvest.
Preparing Microgreens for Drying
Preparing microgreens for drying is a fun and important step! Start by rinsing them gently in cold water to eliminate any residual dirt and achieve the right moisture balance for optimal drying results.
Gently immerse the microgreens in a bowl of cold water, allowing them to float freely. This technique effectively dislodges any lingering soil without causing damage.
Once rinsed, use a salad spinner or clean kitchen towels to gently pat the greens dry. This ensures they remain unbruised and intact. Avoid vigorous handling, as microgreens are delicate and can easily wilt.
Mastering the drying process not only enhances flavor but also preserves vibrant colors, resulting in a visually stunning final product that elevates any dish.
Storing Dried Microgreens
Storing dried microgreens properly is essential for preserving their flavor and nutritional value. You can achieve this with the right containers and effective humidity control.
Select airtight, opaque containers that protect the microgreens from light and air exposure, both of which can diminish quality over time. Consider using glass jars, vacuum-sealed bags, or dark-colored tins all excellent choices.
Keep your microgreens in a cool, dry place, away from direct sunlight and heat sources to prevent moisture buildup. This poses one of the biggest threats to their longevity.
Avoid ethylene-producing fruits to reduce spoilage. Regularly inspect for any signs of moisture or unusual odors to ensure your microgreens stay fresh and vibrant for an extended period.
Frequently Asked Questions
How do I dry microgreens for longer storage?
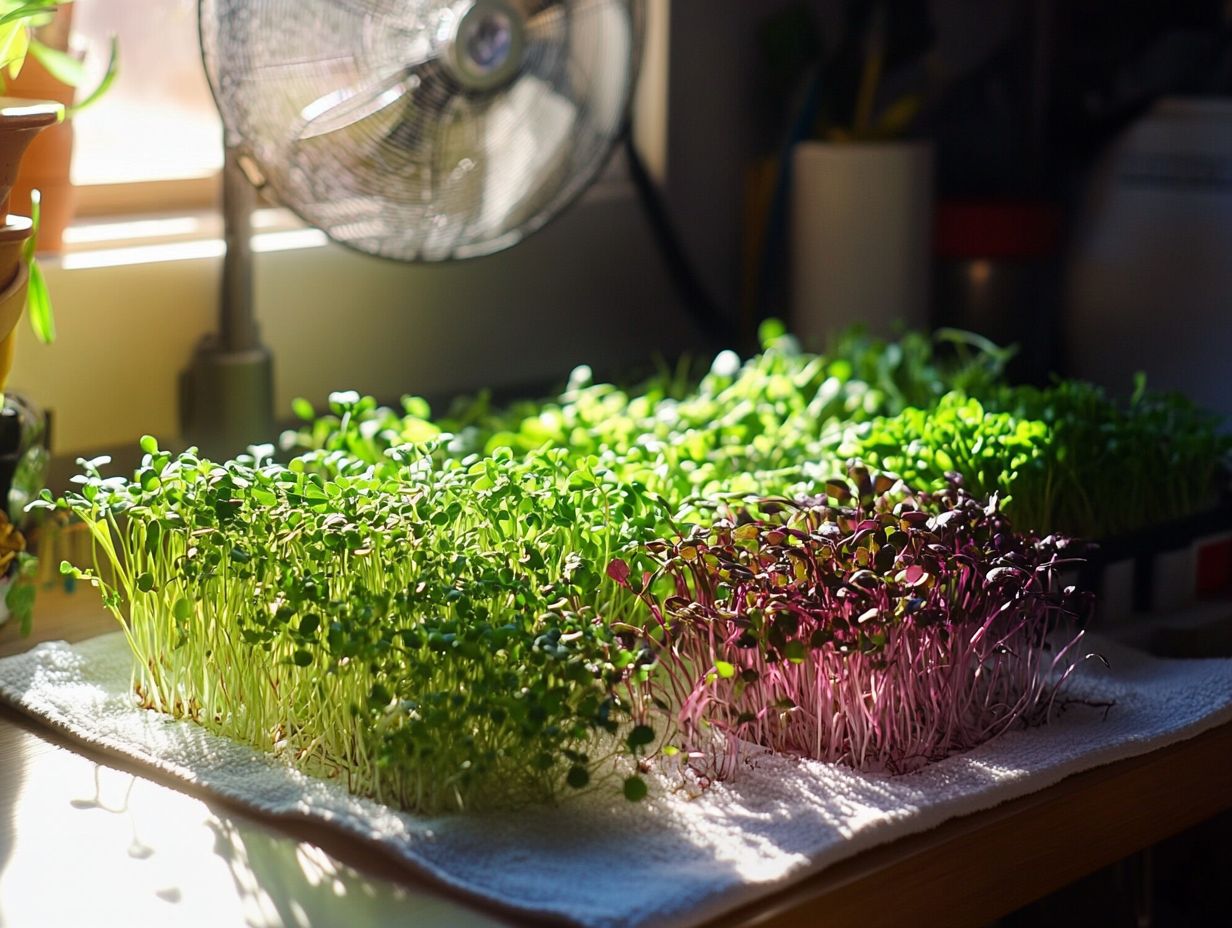
To dry microgreens for longer storage, start by gently rinsing them in cold water to remove dirt or debris. Lay them out on a clean kitchen towel and gently pat them dry.
Place the microgreens in a single layer on a clean, dry paper towel or a tray lined with parchment paper. Allow them to air dry for 24 hours, flipping them over halfway through. Once completely dry, consider using tips from how to extend the growing season for microgreens and then store them in an airtight container in the refrigerator.
Can I use a dehydrator to dry microgreens for longer storage?
Yes! Using a dehydrator is a great way to dry microgreens for longer storage. Spread the microgreens out on a dehydrator tray and set the temperature to the lowest setting.
Allow them to dehydrate for 4-6 hours or until completely dry. Once dry, store them in an airtight container in the refrigerator.
How long can I store dried microgreens?
If stored properly in an airtight container in the refrigerator, dried microgreens can last up to 2 weeks. However, it is recommended to use them within 1 week for the best flavor and freshness.
Try drying your own microgreens today and share your experiences!
Can I freeze dried microgreens for longer storage?
Yes, you can freeze dried microgreens for longer storage. Place them in an airtight container or freezer bag and store them in the freezer for up to 3 months.
Thaw them in the refrigerator before using.
What can I do with dried microgreens?
Dried microgreens can add extra taste and nutrients to soups, stews, salads, and sandwiches. You can also ground them into a powder for smoothies, dips, or dressings.
Have fun experimenting with delicious ways to add dried microgreens to your meals!
How can I tell if dried microgreens have gone bad?
Check for a musty or moldy smell. Discoloration or wilting are also signs that the microgreens have gone bad.

