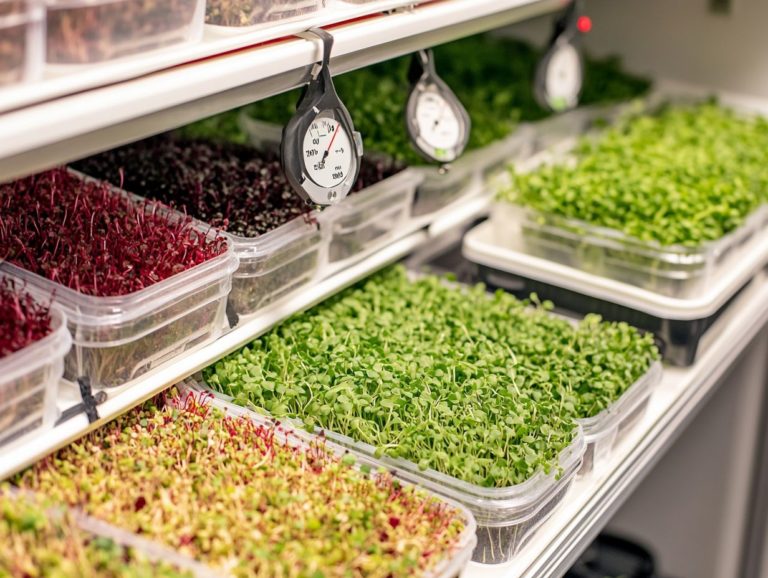
How to Harvest Microgreens for Salads
Microgreens are small yet mighty plants, brimming with nutrients that can elevate both the flavor and visual appeal of your salads. They are a healthy addition to your vegetable gardening efforts.
Not only do they enhance the aesthetic allure of your dishes, but they also come packed with a wealth of health benefits. These include essential nutrients and the ability to grow easily in various environments.
In this article, you will want to explore the nutritional content and flavor profiles of various microgreens. You will also find expert guidance on the best harvesting techniques and tips for growing microgreens from seeds.
You will find valuable tips for storage and utilizing them effectively to enhance your culinary creations.
This piece highlights common pitfalls to avoid when maintaining your microgreens. It ensures your experience is nothing short of successful.
Experience how these tiny greens can turn your meals into culinary masterpieces! They truly enhance flavors like never before.
Contents
- Key Takeaways:
- Benefits of Adding Microgreens to Salads
- How to Harvest Microgreens
- Storing and Using Harvested Microgreens
- Common Mistakes to Avoid
- Frequently Asked Questions
- What are microgreens and why are they good for salads?
- How do I know when my microgreens are ready to be harvested?
- What tools do I need to harvest microgreens for salads?
- What is the best way to harvest microgreens for salads?
- Can I harvest all of my microgreens at once for salads?
- How should I store my harvested microgreens for salads?
Key Takeaways:
What are Microgreens?
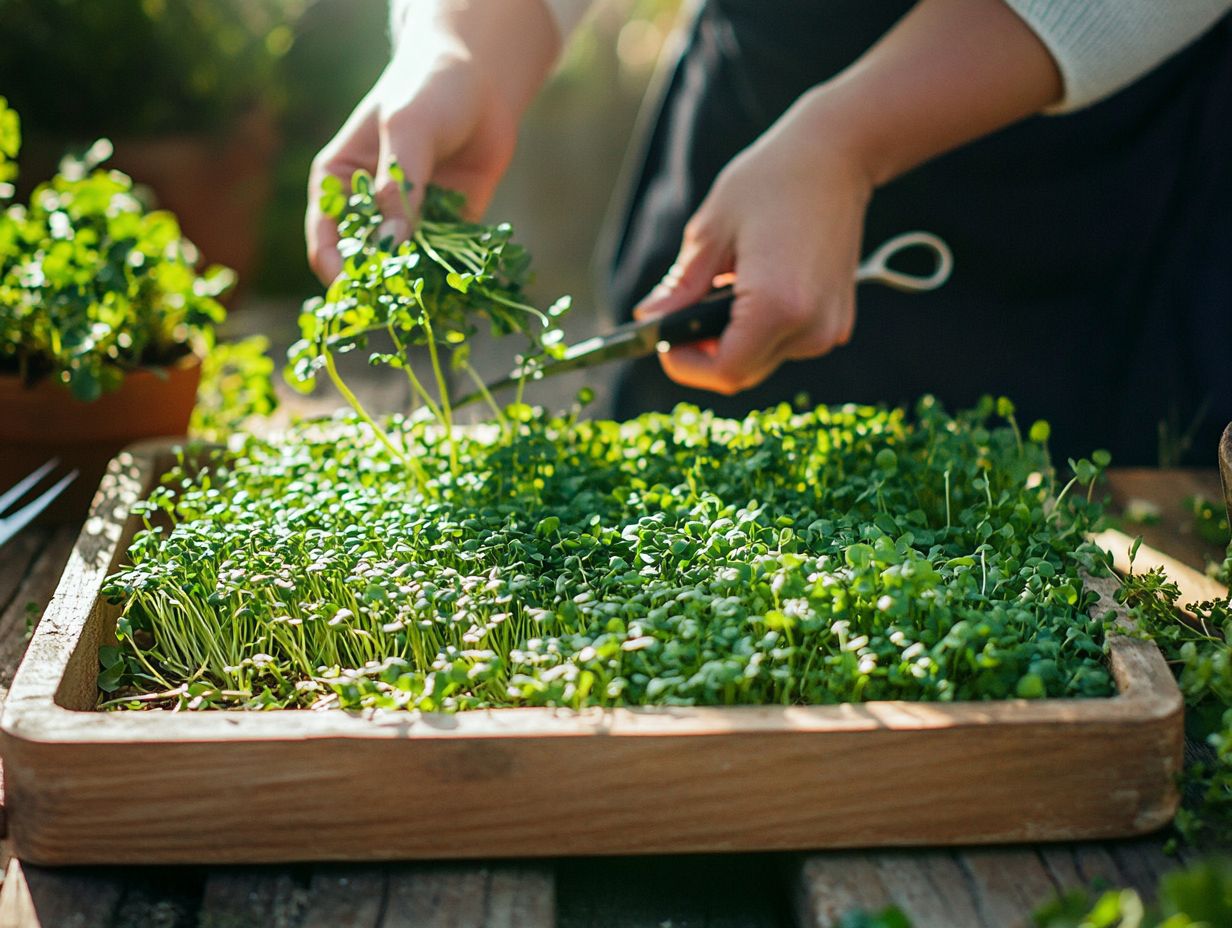
Microgreens are young, edible plants that you harvest just after the first true leaves come in, usually within 7 to 21 days after germination. They are visually stunning and bursting with flavor and nutrients.
This makes them a sought-after addition to salads, sandwiches, and various culinary creations. Varieties like arugula, kale, and mustard present unique tastes and health benefits, making microgreens a delightful choice for both home gardeners and cooking enthusiasts.
These tiny greens thrive in a range of growing conditions. They often require little more than a shallow container with good drainage and a nutrient-rich soil mix.
Among the popular options are peashoots and red cabbage, each boasting distinct flavors and health perks. By incorporating microgreens into your daily diet, you not only elevate the presentation of your meals but also pack in vital vitamins and minerals.
This supports a well-rounded nutritional profile. Their rapid growth cycle makes them perfect for indoor gardening, allowing you to enjoy fresh produce year-round with minimal effort.
Benefits of Adding Microgreens to Salads
Incorporating microgreens into your salads does more than just enhance the flavor; it substantially elevates the nutritional value of your meals. These petite powerhouses are packed with essential vitamins and minerals that traditional salad ingredients often lack.
Their nutrient density is remarkable, offering concentrated doses of antioxidants and phytochemicals natural compounds in plants that have health benefits that play a vital role in supporting your overall health. Embracing microgreens in your culinary creations ensures you’re not only treating your taste buds but also nourishing your body.
Nutritional Content and Flavor Profile
Microgreens are far more than just a decorative touch; they boast a remarkable nutritional profile filled with vitamins, minerals, and antioxidants. This makes them a superb addition to your diet.
Varieties like kale and arugula offer distinct flavors, from peppery to sweet. They enhance both the taste and health of your salads and other dishes.
These tiny greens often outshine their mature counterparts in terms of nutritional density, delivering higher concentrations of essential nutrients like vitamin C, vitamin E, and essential fatty acids.
For example, just an ounce of broccoli microgreens can pack the nutrient punch equivalent to several ounces of mature broccoli. The unique flavor profiles of microgreens think the herbaceous notes of basil or the citrusy zest of radish make them versatile culinary allies.
They can effortlessly elevate dishes, transforming simple sandwiches into gourmet creations. This makes them not only a health boon but also a delightful ingredient for both chefs and home cooks alike.
How to Harvest Microgreens
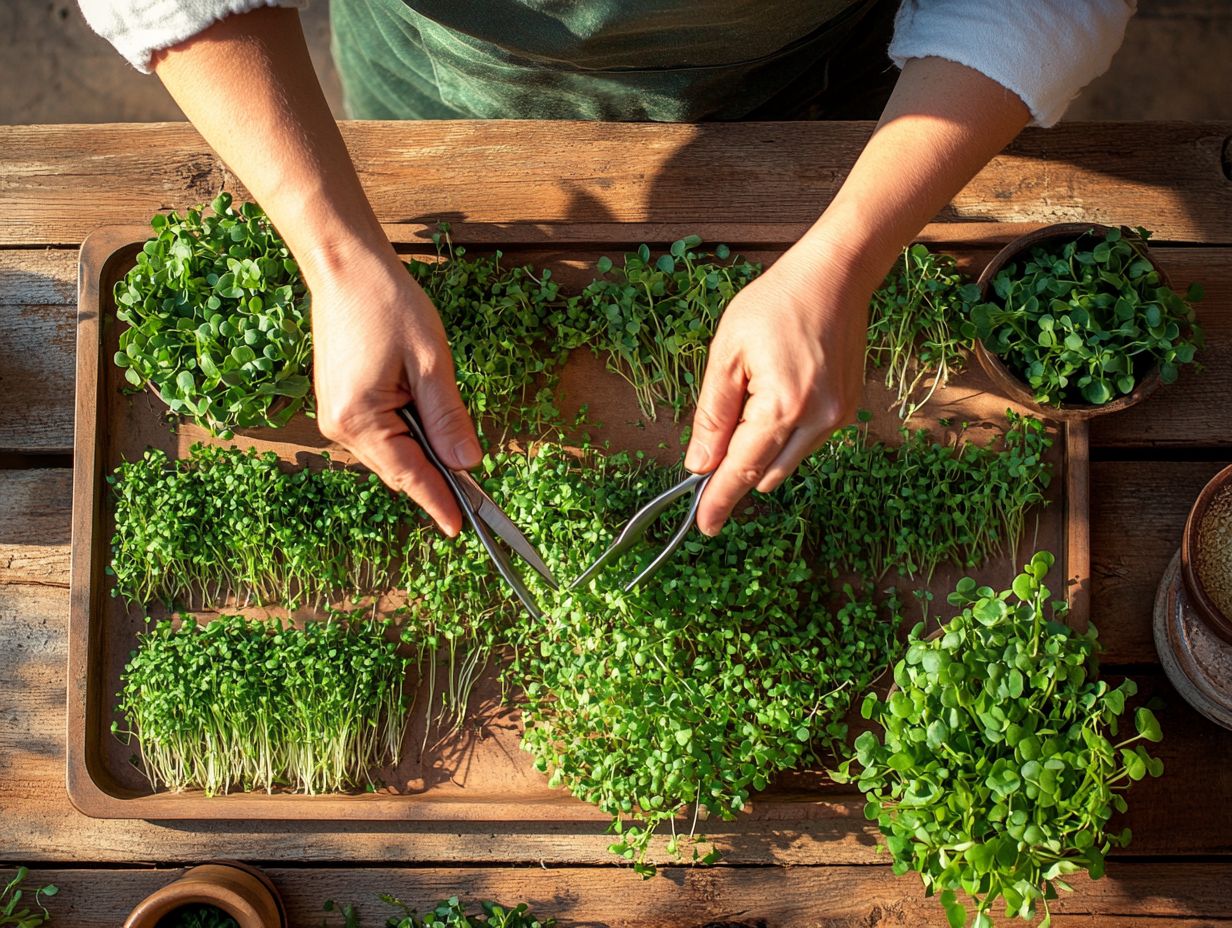
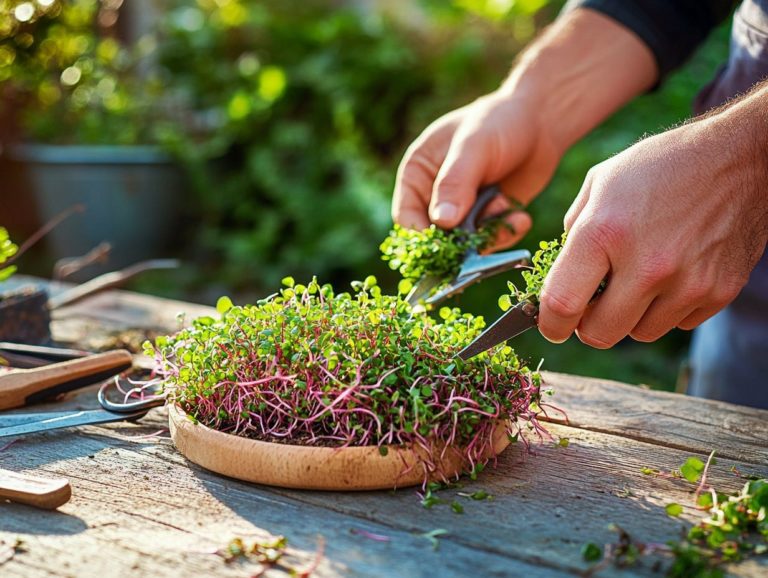
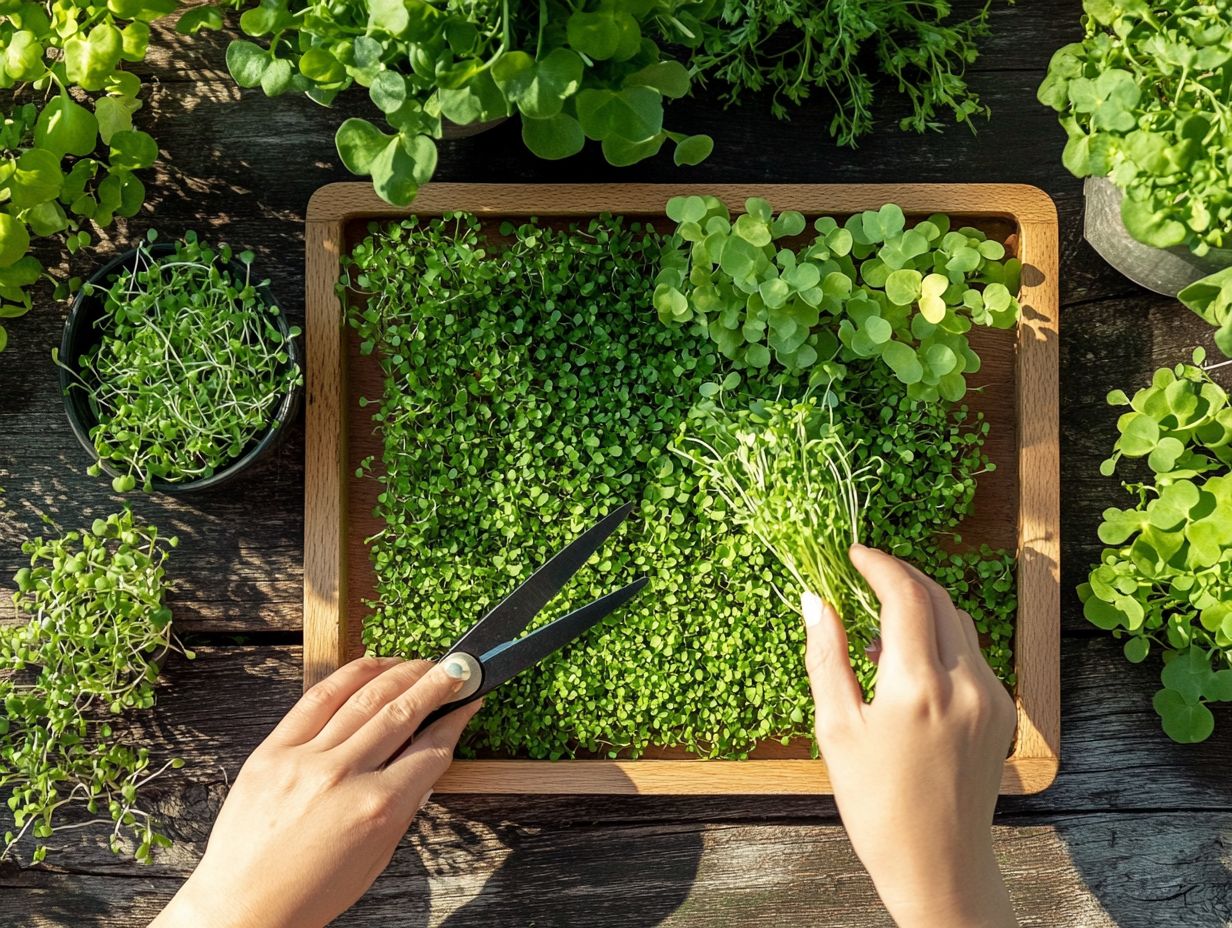
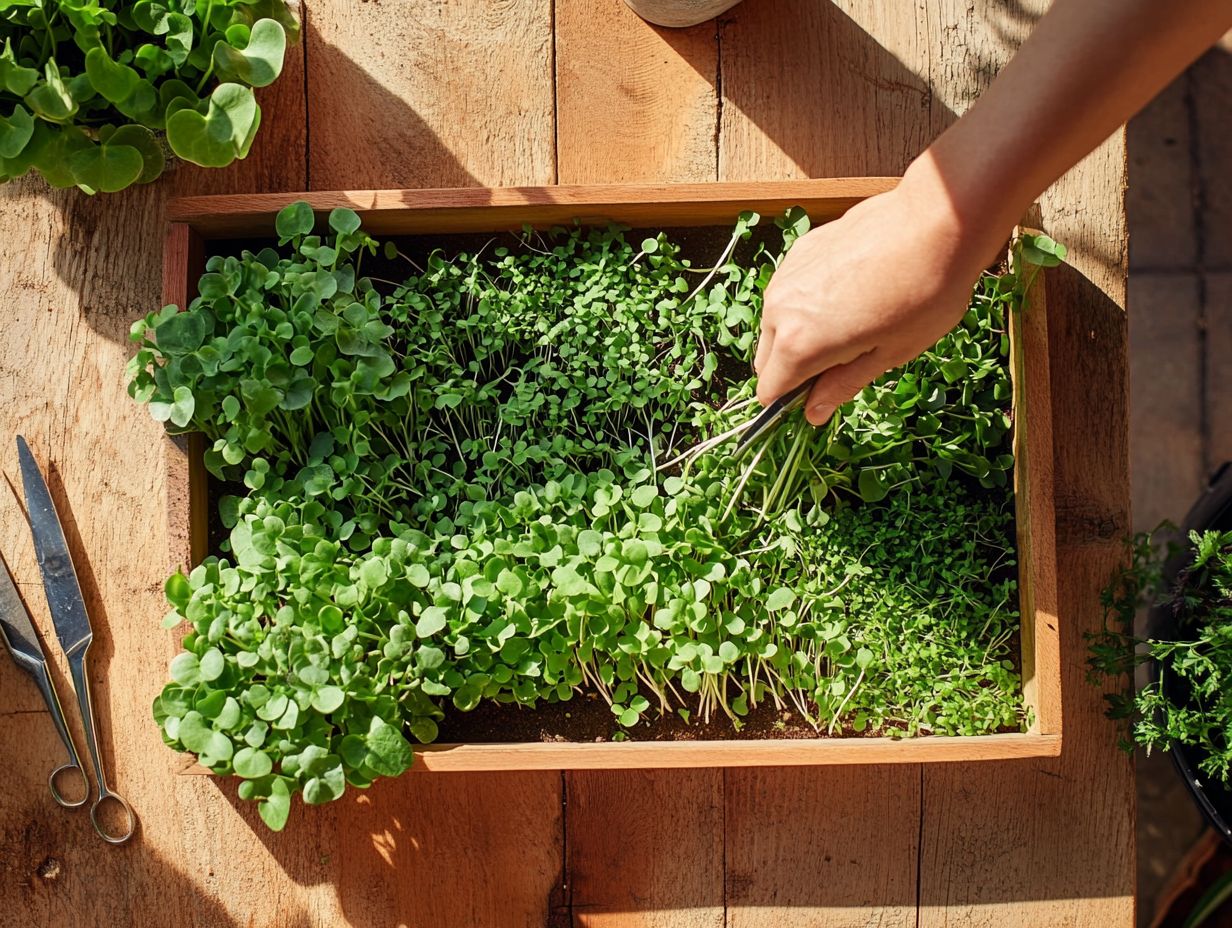
Harvesting microgreens is a simple yet rewarding process. Once your young plants have reached the ideal height of about 1 to 3 inches, cut them just above the soil line.
Use clean scissors or shears for a precise cut and to reduce damage to the delicate roots. This technique keeps your microgreens coming back for more!
When to Harvest
The timing for harvesting microgreens depends on the variety, like beets or kale, and your desired flavor. Typically, they are ready for harvest anywhere from 7 to 21 days after planting.
During this time, keep a close eye on their growth. Microgreens can quickly become leggy or overly mature, negatively affecting both flavor and texture.
Understanding the growth stages is key for optimal harvesting. When you see the seedlings displaying their first true leaves, it s a clear sign they re close to being ready for collection. At this stage, the flavor is vibrant, and the nutrient content is at its peak.
Aim to harvest while the greens are still young and tender for the best balance of taste and nutritional value.
Consider factors like light exposure, moisture, and temperature when deciding on the ideal harvesting moment. Pay attention to these elements to maximize the benefits of each variety, from chicken soup garnishes to salads.
Tools and Techniques
Using the right tools and techniques is essential for a successful microgreen harvest. Clean scissors are one of the most critical tools for cutting. Containers are also helpful for gathering and storing, while spray bottles provide gentle watering to keep your plants vibrant.
Consider adding a small hand trowel to your toolkit for transplanting seedlings without damaging their roots. A moisture meter checks how wet the soil is, helping you prevent over or under-watering.
Keep your tools in prime condition by cleaning them after each use to prevent disease among your crops. Techniques like optimal lighting and consistent air circulation enhance both yield and quality.
Using grow lights can speed up growth rates, while rotating trays ensures even exposure, leading to a more robust microgreen harvest that s ready to delight your culinary creations.
Storing and Using Harvested Microgreens
Effective storage methods are vital to preserving the freshness and nutritional value of your harvested microgreens. This allows you to enjoy their benefits long after the initial harvest.
When stored correctly, microgreens can stay vibrant and flavorful for up to a week in the refrigerator. They make a delightful addition to your salads, sandwiches, and garnishes. For those interested in growing their own, following a step-by-step guide to sowing microgreens can be very helpful.
Proper Storage Methods
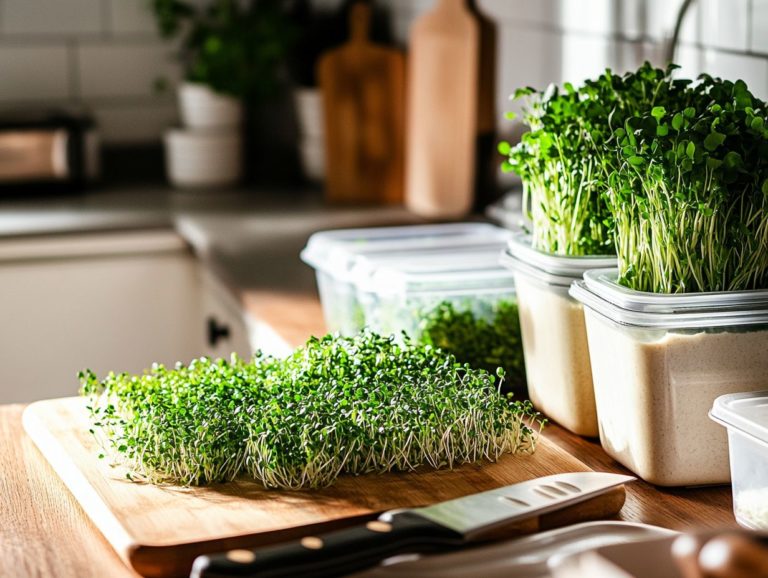
To ensure your harvested microgreens remain fresh, store them in a cool, dark place. A sealed container lined with a damp paper towel is ideal. Refrigeration slows degradation and helps retain their vibrant color and nutrients.
Maintaining the right humidity level is also crucial. Aim for a humidity range of 50-70% for most microgreens, helping them stay crisp. If you’re storing heartier varieties like sunflower or pea shoots, use a breathable storage bag instead of a sealed container to prevent moisture buildup. Additionally, understanding when to harvest your microgreens can also enhance their freshness.
Regularly check for spoilage by inspecting the leaves for signs of yellowing or mold. If you notice any off smells, it’s best to discard the batch to avoid contamination. Labeling with harvest dates helps you track freshness effectively.
Get Creative: Add Microgreens to Your Salads!
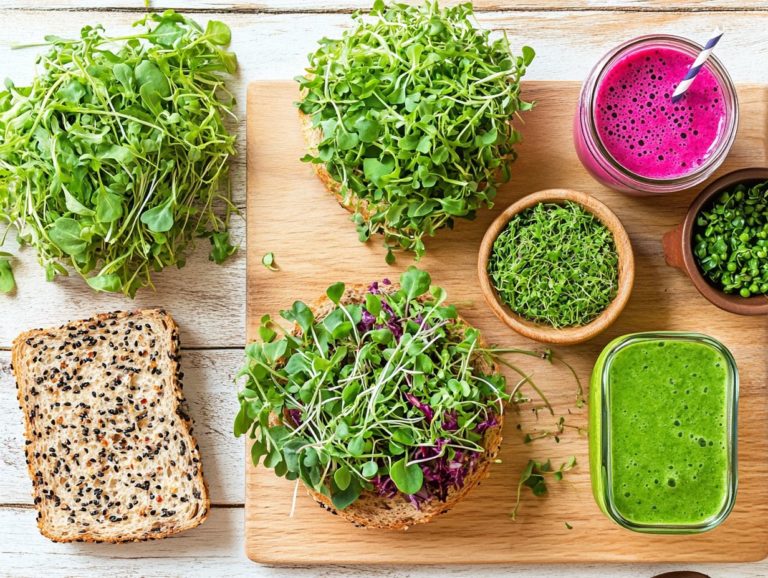
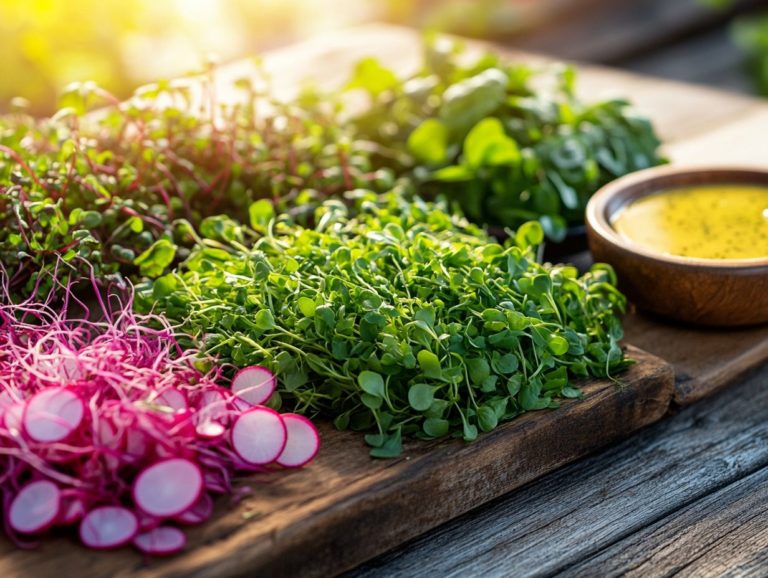
Adding microgreens to your salads can elevate a simple dish into a flavor-packed experience, with options ranging from peppery radish microgreens to delicate varieties of lettuce varieties. You can use them as a vibrant garnish or mix them throughout the salad for a nutrient boost!
These tiny greens not only add visual appeal but also deliver substantial health benefits. For instance, sunflower microgreens offer a subtle nuttiness that pairs beautifully with earthy ingredients like beets or quinoa.
Meanwhile, spicy arugula microgreens can elevate any salad featuring citrus components, as their kick balances the sweetness of oranges or grapefruits. And let’s not forget basil microgreens! They introduce a fragrant note that complements tomatoes perfectly, creating a refreshing summer salad. If you’re interested in growing these greens, check out How to Use Hydroponics for Microgreens for some great tips.
By thoughtfully selecting microgreens, you can enhance your salad’s overall profile. Transform a humble dish into a gourmet delight brimming with flavors and essential vitamins.
Common Mistakes to Avoid
Growing microgreens offers a rewarding experience. However, several common missteps can lead to contamination and spoilage, jeopardizing both the flavor and safety of your produce.
Being aware of these pitfalls is crucial for ensuring a successful harvest and elevating your cooking experience.
Preventing Contamination and Spoilage
Preventing contamination and spoilage in your microgreens starts with upholding impeccable hygiene keeping everything clean and storage practices throughout the entire growing process. This includes using clean tools and containers.
Regularly monitoring moisture levels and temperature in storage is crucial; it helps mitigate risks, ensuring that your microgreens stay safe and absolutely delicious!
When planting, make sure you don’t overcrowd the seeds, as this can create damp conditions that encourage mold growth.
For added safety, it s wise to wash your hands thoroughly before handling any plants and to don gloves to prevent introducing harmful bacteria.
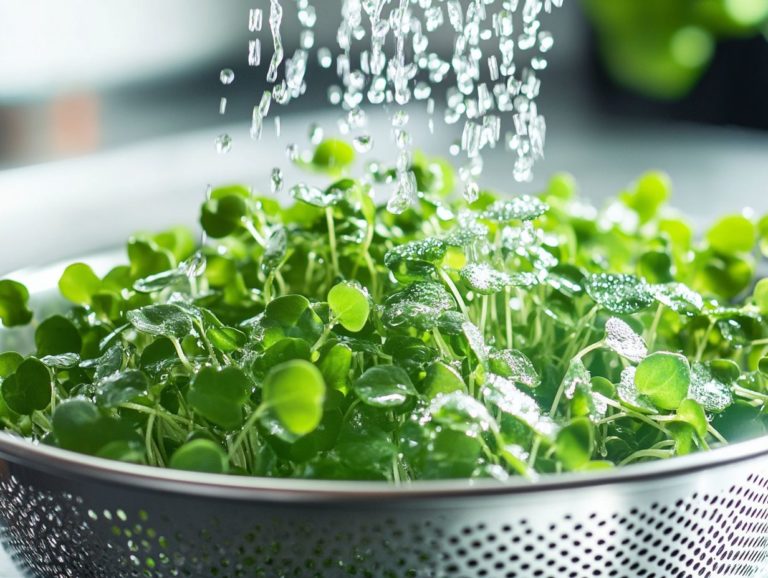
Once you ve harvested your microgreens, promptly rinse them in clean water and dry them well to eliminate excess moisture this step is vital to prevent rot.
Proper storage means keeping them in a cool, dry place, ideally in breathable containers containers that allow air to flow through that promote air circulation.
By regularly checking these conditions, you can maintain the vibrant quality and health of your microgreens. This ultimately delivers a fresher product to your consumers!
Frequently Asked Questions
What are microgreens and why are they good for salads?
Microgreens are tiny greens that add flavor and nutrition to salads. They are young, edible plants harvested after sprouting but before they reach full maturity.
How do I know when my microgreens are ready to be harvested?
Microgreens are typically ready to harvest about 2-3 weeks after planting, once they have developed their first set of true leaves. You can also harvest them when they reach a height of 1-3 inches.
What tools do I need to harvest microgreens for salads?
All you need is a clean pair of scissors or a sharp knife to harvest your microgreens. It’s important to sanitize your tools before and after each use to avoid any contamination.
What is the best way to harvest microgreens for salads?
To harvest microgreens, hold the stem near the base and cut it just above the soil line. Make sure to leave some space between the remaining plants to allow them to continue growing.
Can I harvest all of my microgreens at once for salads?
It is recommended to harvest only the amount of microgreens needed for your salad at one time. This allows the remaining plants to continue growing and ensures a fresh, continuous supply of microgreens.
How should I store my harvested microgreens for salads?
After harvesting, rinse the microgreens and gently pat them dry. Store them in an airtight container lined with a paper towel in the fridge for up to 5 days. Make sure to check for any signs of wilting or spoilage before using them in your salads.

