How to Harvest Microgreens Without Damaging Them
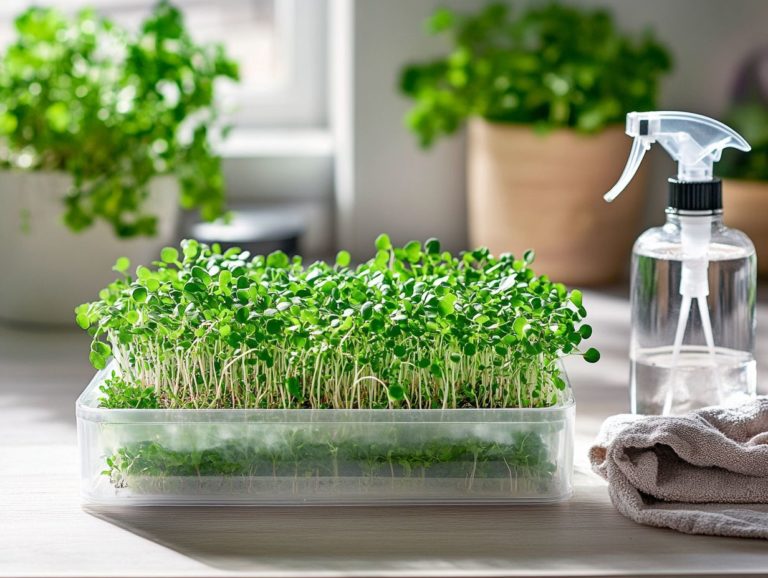
Microgreens are those delightful, tiny powerhouses of nutrition that have taken the culinary world by storm. They not only bring vibrant flavor and color to your dishes but also offer a plethora of health benefits that you won’t want to miss.
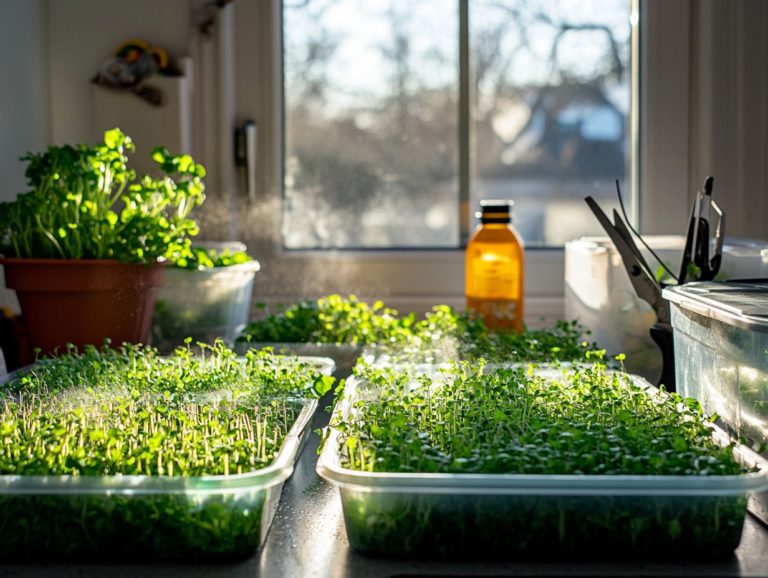
Dive into this guide and unlock the secrets of harvesting microgreens! You’ll discover the optimal harvest time, the essential tools you need, and techniques designed to enhance your microgreen experience from garden to table.
You will also find creative ways to incorporate these little greens into your meals, transforming your culinary adventures into something truly extraordinary.
Contents
Key Takeaways:
- Harvest microgreens at the right time to ensure maximum flavor and nutritional value.
- Proper tools and techniques are essential for harvesting microgreens without damaging them.
- Preserve the freshness of harvested microgreens by storing them properly and using them in creative ways.
What are Microgreens?
Microgreens are young, edible plants harvested right after the first real leaves emerge, and they pack a punch in both nutritional value and flavor. These petite greens aren t just a delightful addition to your home garden; they also play a crucial role in boosting your vegetable intake, perfectly aligning with dietary guidelines that encourage the consumption of nutrient-dense foods.
Some popular microgreens, such as peas, sunflower, and mustard, are celebrated for their vibrant colors. They have impressive nutrient profiles that make them an exceptional choice for culinary adventures and organic gardening aficionados alike.
Definition and Benefits
Microgreens are the young seedlings of edible vegetables and herbs, typically harvested between 7 to 21 days after germination. They re truly celebrated for their impressive nutrient density.
These tiny powerhouses offer a remarkable concentration of vitamins, minerals, and antioxidants, often outshining their mature counterparts in terms of nutrient content. Packed with essential nutrients like vitamins A, C, E, and K, they can play a significant role in enhancing your overall health. To maximize their flavor and nutritional benefits, learn how to properly harvest microgreens.
The high levels of antioxidants present in microgreens may help fend off oxidative stress, potentially reducing the risk of chronic diseases. By incorporating these vibrant greens into your diet, you can support heart health and enjoy anti-inflammatory benefits.
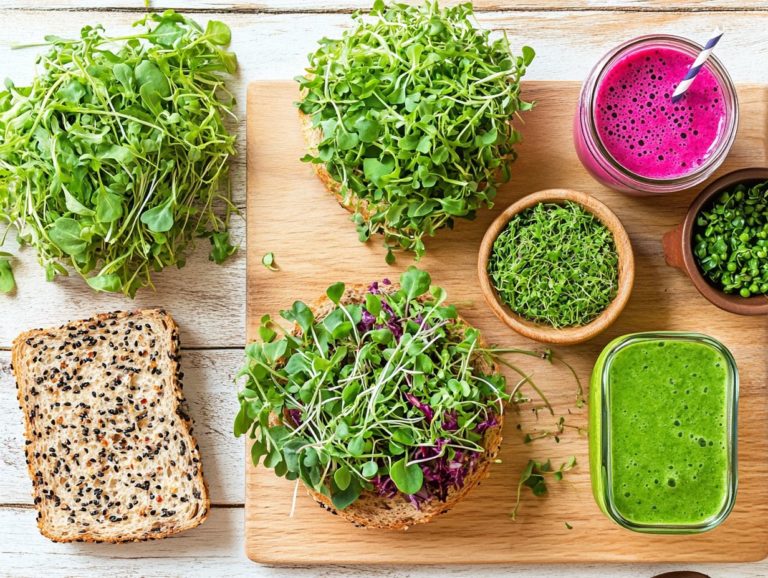
Microgreens make a valuable addition to salads, smoothies, or as delightful garnishes in various dishes.
Choosing the Right Time to Harvest
Selecting the optimal moment to harvest your microgreens is essential for enhancing their flavor and nutritional value. Aim to gather them right as the first true leaves begin to appear, typically within a window of 7 to 21 days after germination. This timeframe may vary based on the specific variety and the conditions in which they are grown.
Factors to Consider
When determining the optimal time for harvesting microgreens, several factors demand your attention. Consider growing conditions like sunlight exposure, moisture levels, and how you distribute seeds across the growing medium, which can impact the germination process. Each of these elements is pivotal to the overall health and flavor of your microgreens.
For instance, light exposure wields significant influence over growth rates and leaf coloration. Microgreens that bask in adequate sunlight typically showcase vibrant hues and robust flavors. Moisture management is equally critical; how to water microgreens effectively can prevent overwatering, which invites mold and stunted growth, while too little moisture may leave your microgreens with a bitter taste.
You can enhance this aspect further with artificial lighting when growing indoors. Additionally, the way you initially distribute seeds affects their competition for resources. Spacing them evenly ensures that each microgreen has ample access to nutrients and light, ultimately promoting a healthier and tastier final product. This practice is important for your microgreens cultivation success.
Start your microgreens journey today and transform your meals!
Tools and Materials Needed
Ready to grow delicious microgreens? Here s what you ll need! To cultivate and enjoy the benefits of microgreens, you’ll need a selection of essential tools and materials tailored for microgreens care. These include:
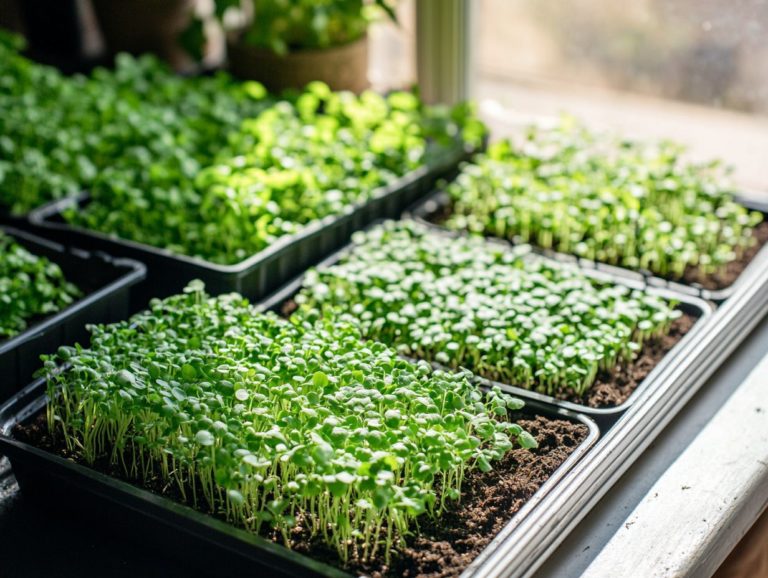
- Growing containers, including growing trays and planting trays, to house your plants.
- Watering trays to manage moisture and seed soaking processes.
- A dependable kitchen scale for precise seed measurements.
- A suitable soil or planting mix that helps your plants thrive.
Essential Equipment for Harvesting
When you re ready to harvest microgreens, having the right equipment is essential for a clean and efficient process. This ensures you can enjoy your nutrient-rich greens without damaging the plants or the compost pile.
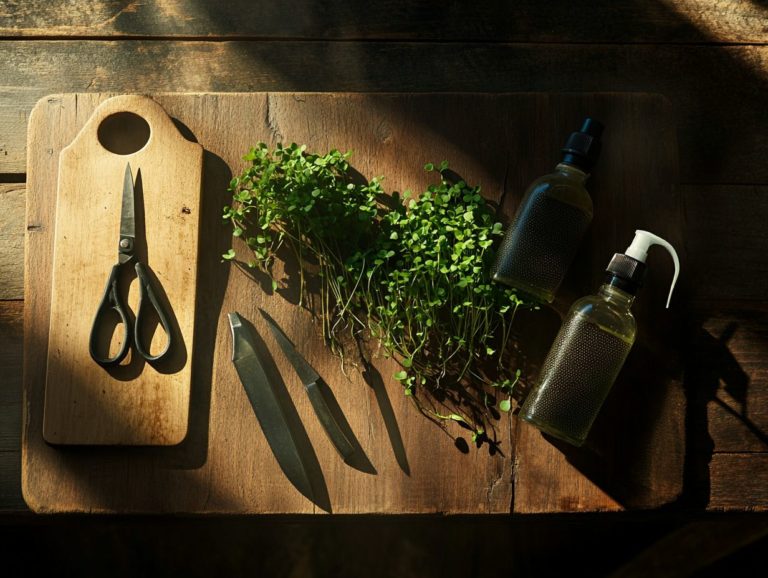
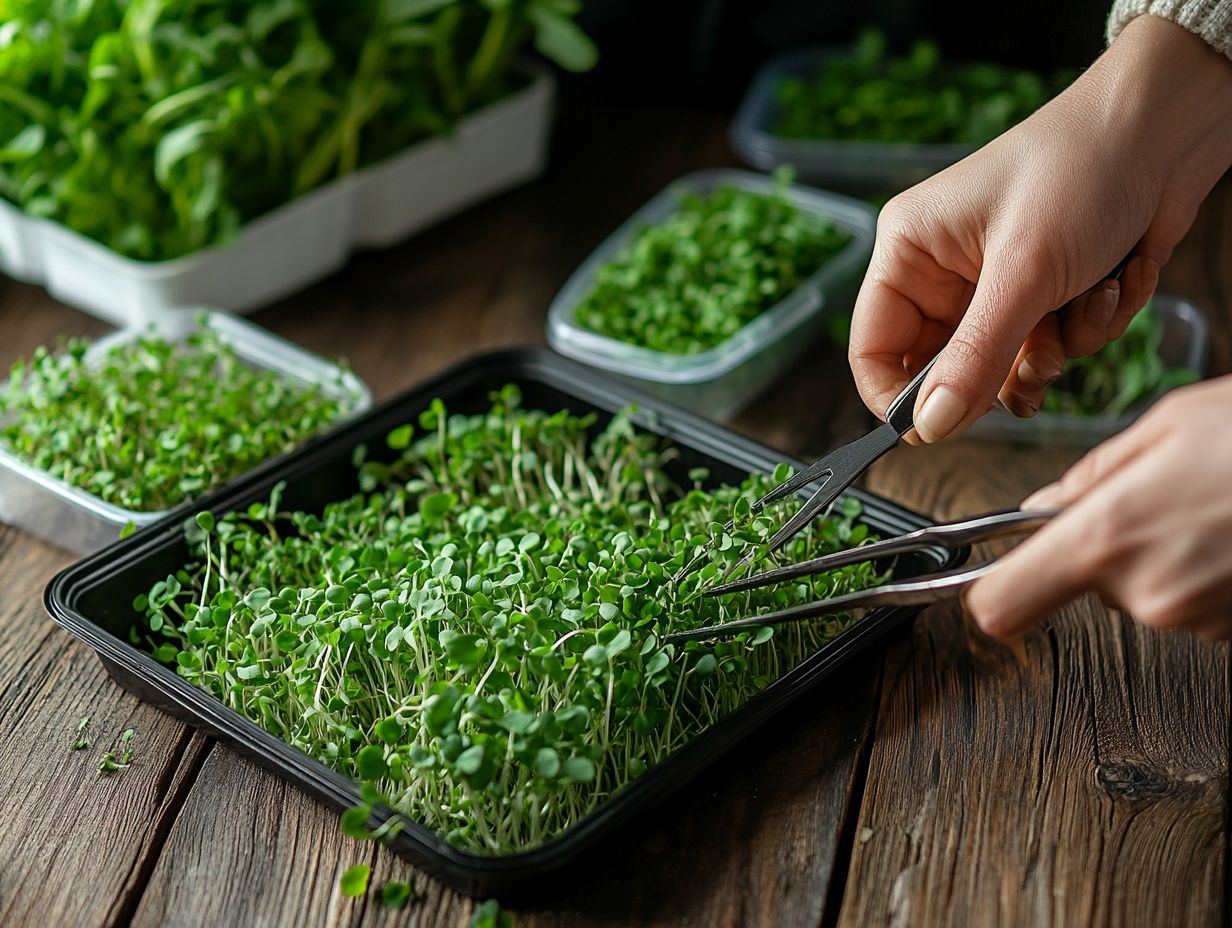
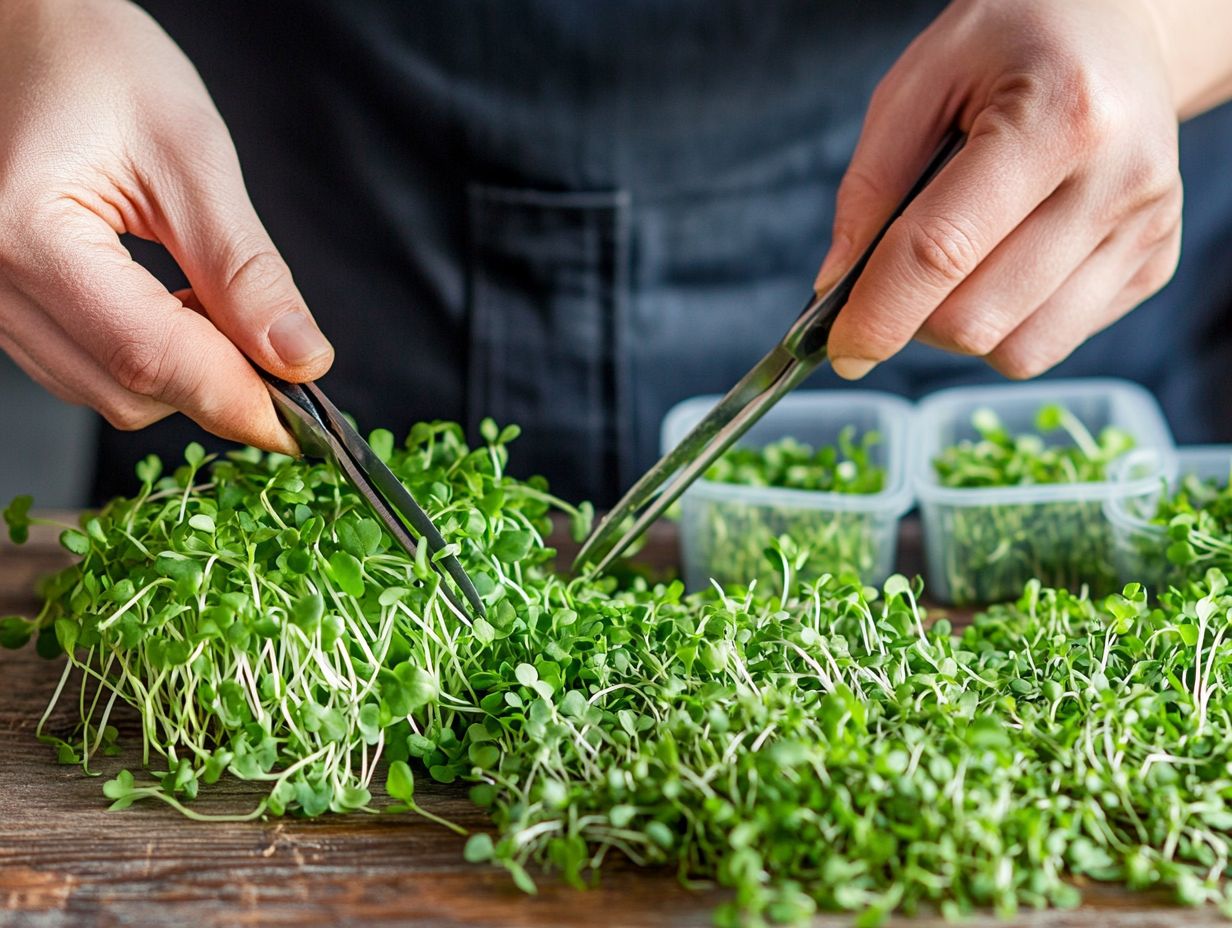
Sharp scissors or knives are crucial for making neat cuts, minimizing stress on those delicate stems for a more successful harvest. Make sure to use suitable containers for collection; this will not only prevent bruising but also make it easy to transport your greens to the kitchen. If you’re interested in enhancing your growing methods, check out how to use hydroponics for microgreens for innovative techniques.
Invest in specialized tools like compost bins or aerators to enhance sustainability. By handling your microgreens with care and using the right tools, you can maintain their freshness and flavor, turning the harvesting process into a practical and rewarding experience. For more insights, check out understanding microgreen harvest timing.
Harvesting Techniques
Effective harvesting techniques are essential for preserving the quality and flavor of microgreens. Handle your microgreens with care to keep them fresh and flavorful! This process involves meticulous handling, getting rid of excess moisture, and strategies that minimize harm to these delicate plants, ensuring that your microgreens storage is effective.
By mastering these techniques, you can ensure that your microgreens remain vibrant and full of flavor.
Step-by-Step Guide
This step-by-step guide presents the essential techniques for harvesting microgreens, starting from the moment you decide to cut them until they re ready for a thorough wash at your kitchen sink. Following these steps will simplify your microgreens care routine.
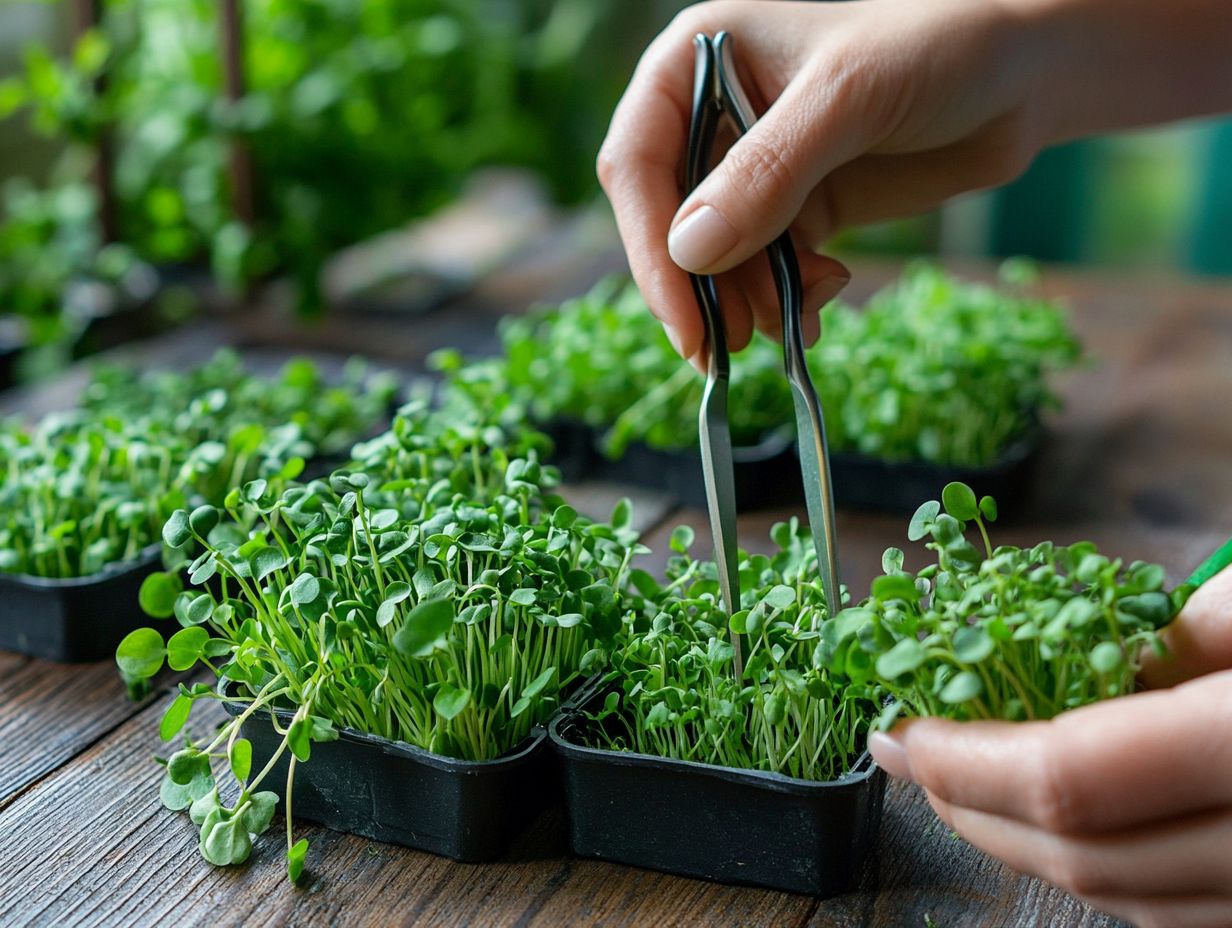
Your harvesting journey begins with proper preparation; ensure that all necessary tools are within reach sharp scissors or a knife are crucial for achieving a clean cut. Next, consider the ideal timing for harvesting; most microgreens are best picked when they reach about 1 to 3 inches in height. To ensure your microgreens thrive, it’s also helpful to learn about watering techniques for thriving microgreens. As you cut, aim to snip just above the soil line, gathering the greens gently to avoid bruising.
For washing, rinse the freshly cut microgreens under cool running water to eliminate any soil or debris. Allow them to drain thoroughly before storing. Handling your microgreens carefully boosts their quality. If you’re new to growing, check out our step-by-step guide to sowing microgreens to ensure they last longer.
Storing and Preserving Microgreens
Storing and preserving microgreens properly is crucial for maintaining their freshness, nutrients, and flavor. Follow best practices to keep your microgreens fresh and enjoy them longer! By employing these techniques, you can significantly extend their shelf life and fully enjoy the amazing benefits of these greens.
Best Practices for Maintaining Freshness
To keep your harvested microgreens fresh and flavorful, it’s essential to adopt the best practices for moisture removal and understand their light requirements during storage. This can truly extend their shelf life and preserve their delightful flavors.
Storing microgreens in a cool, dark environment is vital; light exposure can hasten degradation and diminish quality. Opt for breathable containers that promote air circulation, and use paper towels to soak up excess moisture. This simple step can greatly reduce the chances of mold and spoilage. Additionally, learning how to rotate crops for microgreens can further enhance your growing success.
Monitor the temperature to ensure your microgreens remain crisp and vibrant, enhancing their culinary appeal. For the best results, aim to enjoy them within a week of harvest, as their nutrient density and unique flavors are at their peak when fresh. To learn more, check out this guide on how to maximize yields from microgreens.
Creative Ways to Use Harvested Microgreens
Harvested microgreens can be used in countless imaginative ways in your kitchen. Whether you re garnishing your dishes, elevating salads, or blending them into smoothies, these tiny greens provide a vibrant burst of flavor and nutrition, enriching your fresh vegetables and meals, making them a favorite in cooking microgreens.
Recipe Ideas and Serving Suggestions
Incorporating microgreens into your meals can elevate both flavor and nutrition. This transformation turns vegetable consumption into a delightful experience. You ll find that these tiny greens are full of vitamins and also bring a burst of flavor to a range of dishes, from simple salads to gourmet creations. They are a wonderful addition to your gardening experience.
Imagine enhancing your omelets with these vibrant greens, boosting both taste and nutritional value. A straightforward avocado toast topped with radish or pea shoots not only looks stunning but also explodes with fresh flavors, making it a perfect addition to any meal. To learn more about incorporating these greens into your cooking, check out this guide on how to harvest popular microgreen varieties.
You can also toss them into a stir-fry for a pop of color and crunch or use them as a lively garnish for soups. Their crispness beautifully contrasts with the warm broth, showcasing the versatility of microgreens. If you’re interested in growing your own, check out this guide on how to start microgreens from seed.
Try adding microgreens to your sandwiches for a refreshing twist to your usual lunch. By creatively integrating these little powerhouses into your daily meals, you can truly transform ordinary dishes into delicious meals, making the most of their microgreen benefits.
Frequently Asked Questions
What are microgreens?
Microgreens are young, edible plants harvested at the first set of leaves. They are full of nutrients and often used as a garnish or in salads.
How do I know when my microgreens are ready to be harvested?
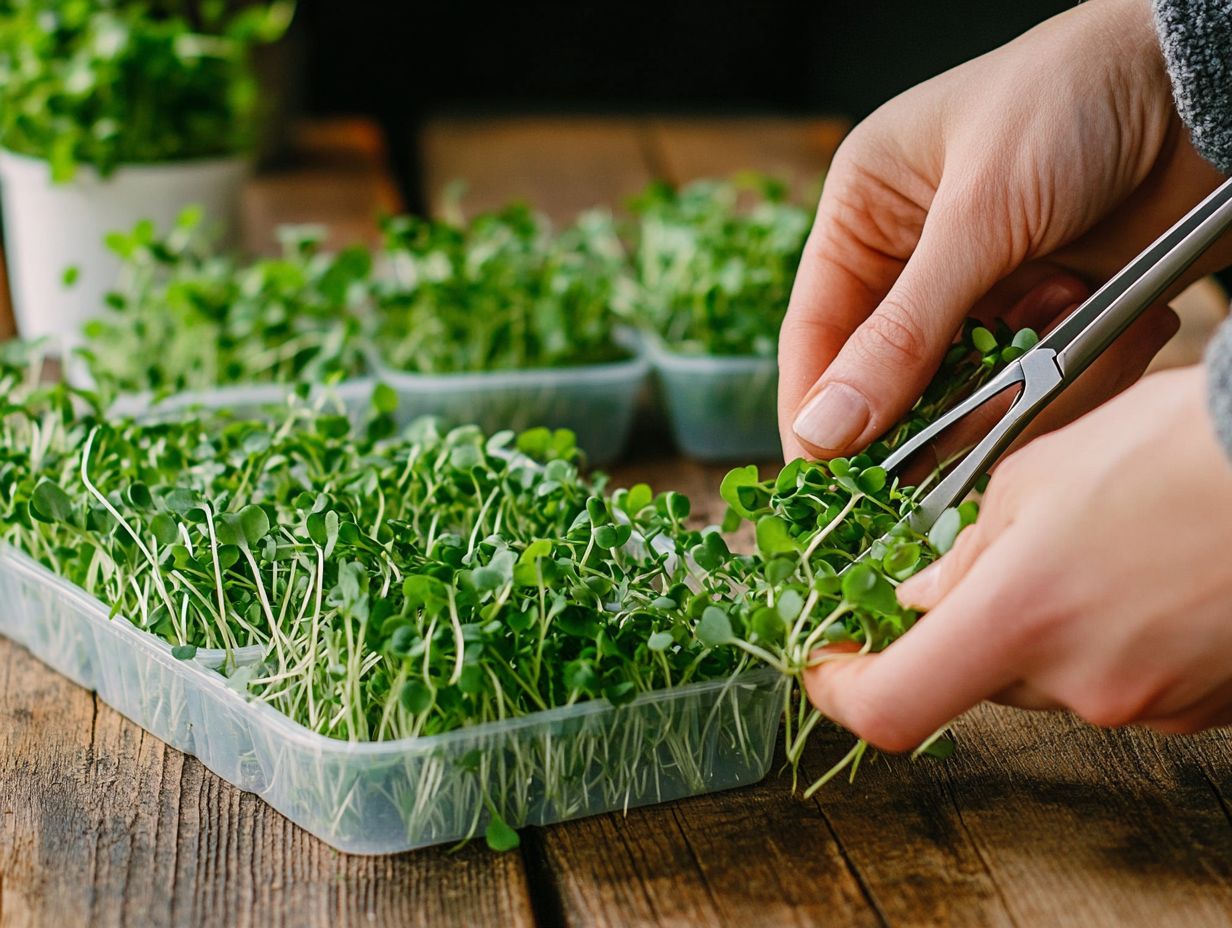
You can harvest microgreens when they have developed their first set of leaves and are about 1-3 inches tall. This usually occurs 7-14 days after planting, depending on the variety.
What tools do I need to harvest microgreens?
You will need a sharp pair of scissors or a small, clean knife to harvest your microgreens. It is important to use a clean and sanitized tool to prevent contamination.
How do I harvest microgreens without damaging them?
To avoid damaging your microgreens, use a gentle cutting motion with your scissors or knife. Cut the stems just above the soil line, being careful not to pull or tug on the delicate leaves.
Can I harvest microgreens more than once?
Yes, you can harvest microgreens more than once. After the first harvest, the plants will continue to grow and produce a second crop. However, the taste and texture may not be as optimal as the first harvest.
What is the best way to store harvested microgreens?
Harvested microgreens should be stored in an airtight container or plastic bag in the refrigerator. They can last up to a week, but it is best to consume them within 2-3 days for the freshest taste and maximum nutrient content.
Get creative with microgreens today and elevate your meals!

