How to Recognize Healthy Microgreens at Harvest
Microgreens are small yet powerful plants that have captured the attention of cooking fans everywhere. They bring vibrant flavors and eye-catching colors to your dishes while packing a punch in health benefits.
This article delves into what microgreens are and guides you through how to grow and harvest them with finesse. You ll learn essential harvesting techniques for optimal yield and how to spot freshness and health in your greens.
This article also covers common mistakes to avoid and provides tips for safe food handling and nutrient preservation.
Dive into the exciting world of microgreens and transform your meals today!
Contents
- Key Takeaways:
- What are Microgreens?
- Growing and Harvesting Microgreens
- Signs of Healthy Microgreens
- Common Mistakes to Avoid
- Ensuring Food Safety
- Frequently Asked Questions
- How do I know when my microgreens are ready to harvest?
- What types of microgreens are easiest to grow?
- How can I use microgreens in my meals?
- What do healthy microgreens look like at harvest?
- Do I need special equipment to recognize healthy microgreens at harvest?
- What signs indicate unhealthy microgreens?
- Can I harvest my microgreens in batches?
- How should I store my harvested microgreens?
Key Takeaways:
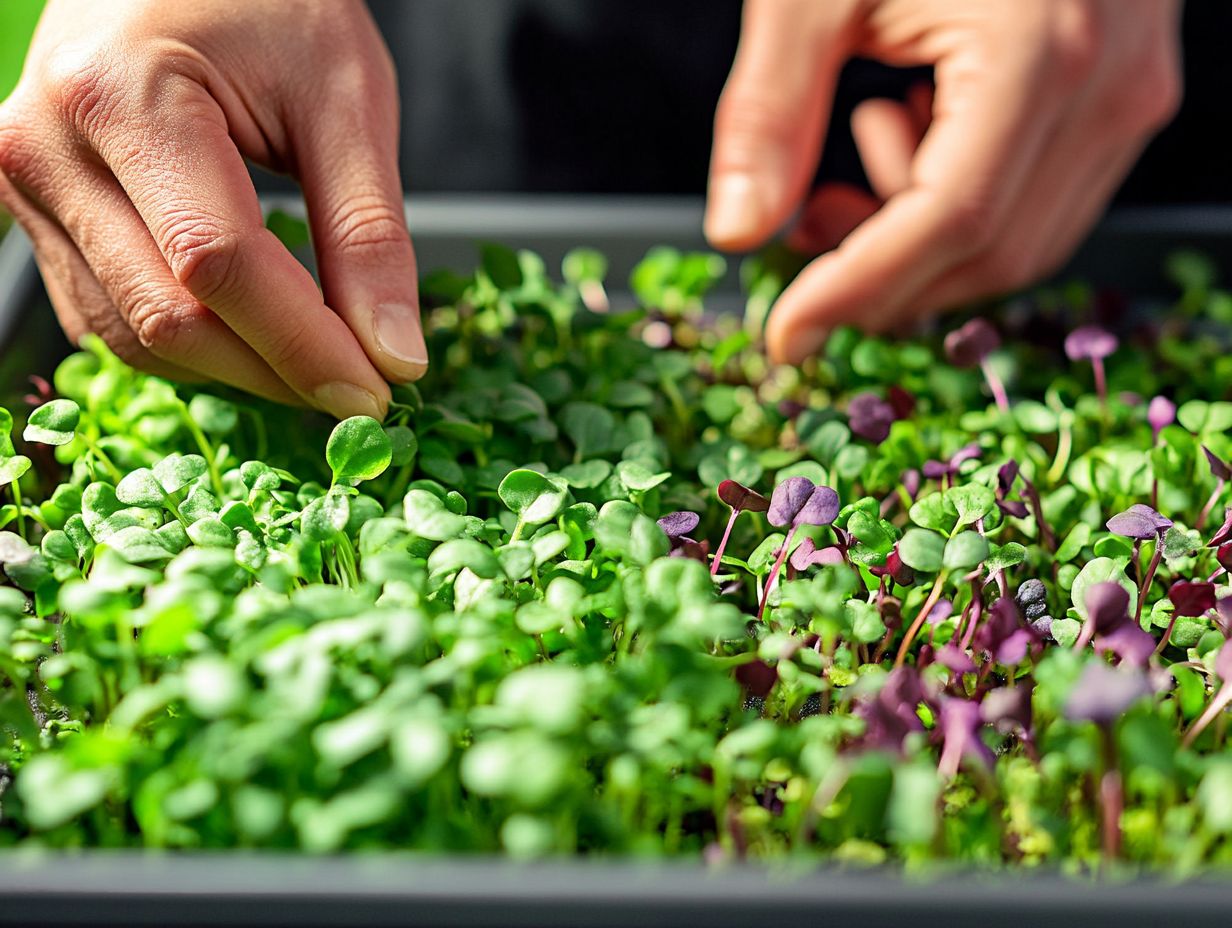
- Look for microgreens that have vibrant colors and a crisp texture, as these are signs of optimal health and nutrition.
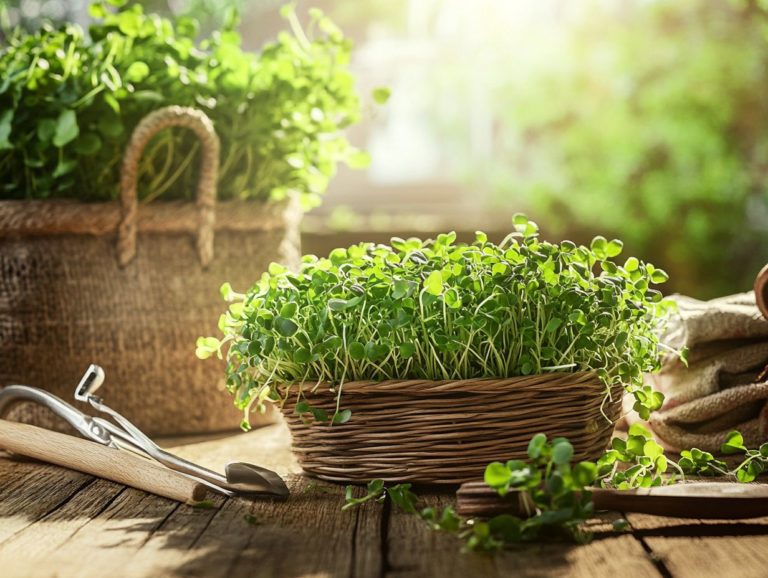
- When harvesting microgreens, use a clean and sharp tool to avoid damaging the delicate leaves and stems.
- Wash your hands and clean surfaces before handling microgreens to keep them safe to eat, and store them in a sealed container in the refrigerator.
What are Microgreens?
Microgreens are young, edible plants harvested right after the first true leaves, or cotyledons, appear. They offer a delightful explosion of flavor, vibrant colors, and an impressive array of nutrients.
Varieties like radish are cultivated specifically for their exceptional taste and health benefits. These tiny greens deliver a nutrient-dense punch, often brimming with vitamins and antioxidants, making them a favored choice for both chefs and health enthusiasts.
Their biodiversity guarantees a range of flavors and culinary uses, establishing microgreens as a superfood that can elevate salads and numerous dishes.
Definition and Nutritional Benefits
Microgreens are your ticket to a nutrient-packed health boost, harvested just after their cotyledons develop. They offer a rich source of vitamins A and C, along with essential minerals like potassium and calcium.
These vibrant greens are not just pretty; they re bursting with a remarkable array of phytonutrients, antioxidants, and dietary fiber, making them a powerful addition to your diet. When you compare their nutrient density to that of mature greens, you ll find that microgreens often pack a concentrated punch, sometimes outdoing their older relatives.
For example, microgreens can deliver up to six times more vitamin C than mature spinach and are also rich in vitamins E and K. They re chock-full of vital trace minerals like iron and magnesium, which play critical roles in energy production and bone health. This impressive nutritional profile not only elevates the flavor of your meals but also contributes to your overall wellness.
Growing and Harvesting Microgreens
Growing and harvesting microgreens requires a set of specialized techniques tailored to their distinct germination and growth needs. Focus on achieving optimal soil quality, creating the right environmental conditions, and employing effective harvesting methods.
This careful attention ensures you enjoy a bountiful yield of nutrient-dense greens.
Step-by-Step Guide
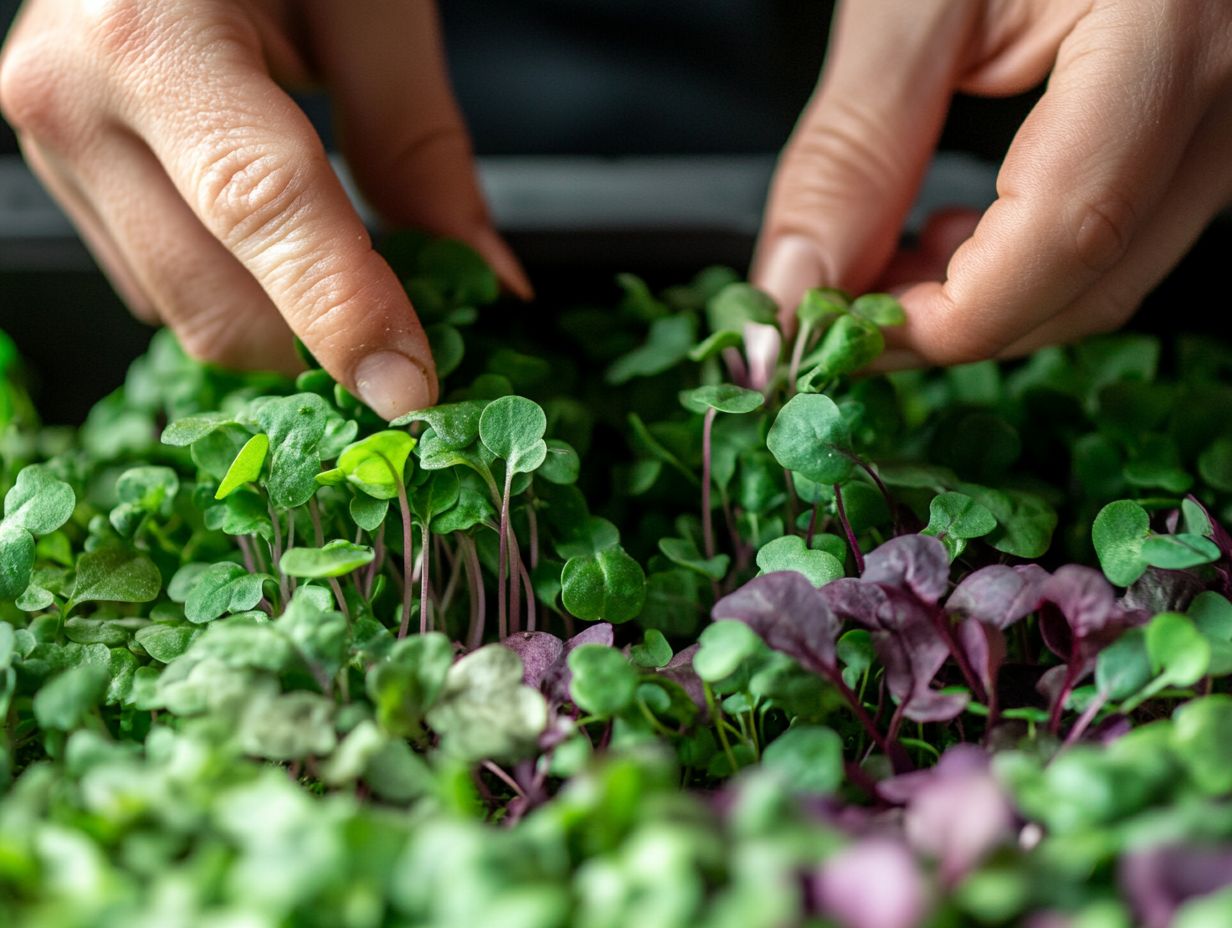
To successfully grow microgreens, begin by selecting high-quality seeds and preparing your soil to ensure optimal germination and growth.
Choosing the right seeds is essential, as there are countless varieties of microgreens, each boasting unique flavors and textures. Seek out reputable suppliers who offer organic and untreated options for the best results.
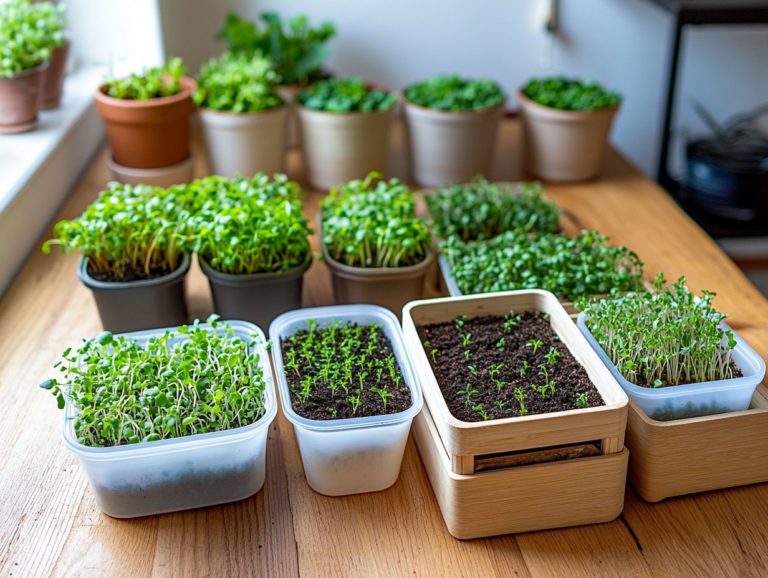
Next, focus on your soil mix, ensuring it drains well while allowing the tiny roots to breathe and retain moisture. A blend of potting soil, compost, and vermiculite can work wonders for your microgreens.
Once your soil is ready, sow the seeds evenly and cover them lightly as needed. Keep the soil consistently moist without overwatering, and provide adequate light ideally 12 to 16 hours daily to cultivate the perfect growing environment for your microgreens.
Start your microgreens journey today and enjoy fresh, nutrient-packed greens right from your kitchen!
Signs of Healthy Microgreens
Healthy microgreens exhibit clear signs of readiness. Look for the emergence of true leaves along with various visual and tactile cues that reveal their growth status and overall vitality.
Visual and Tactile Indicators
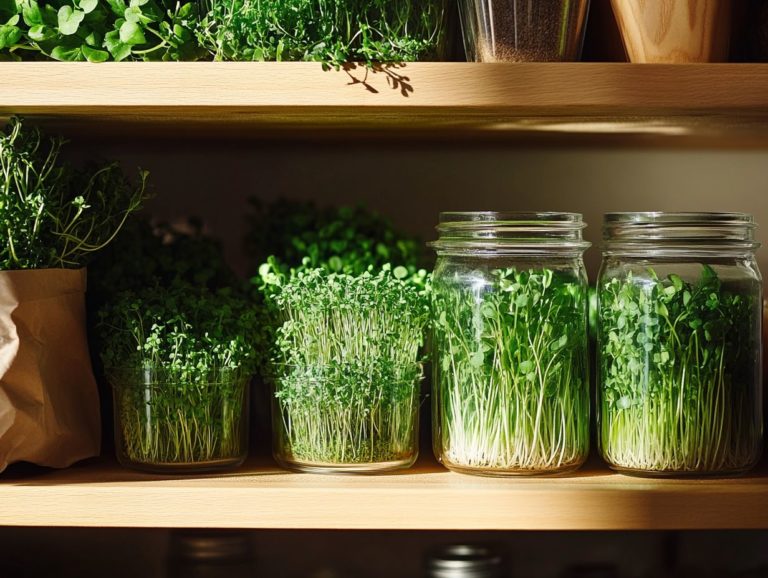
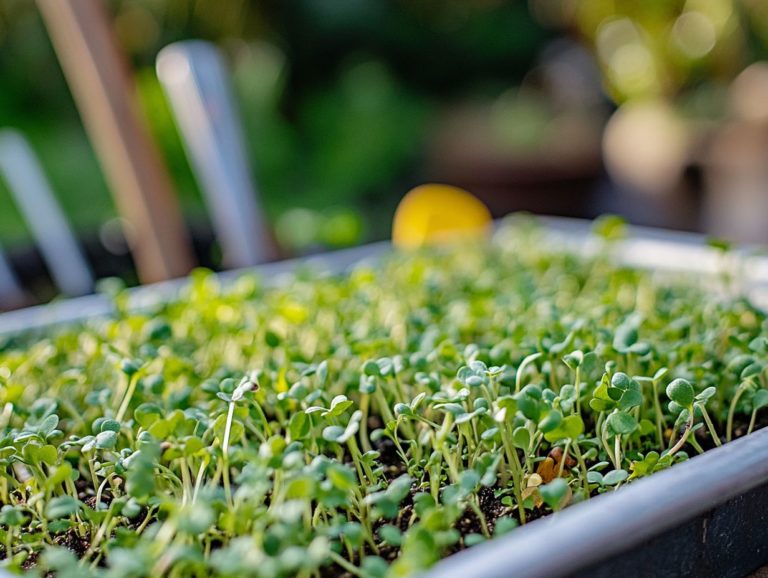
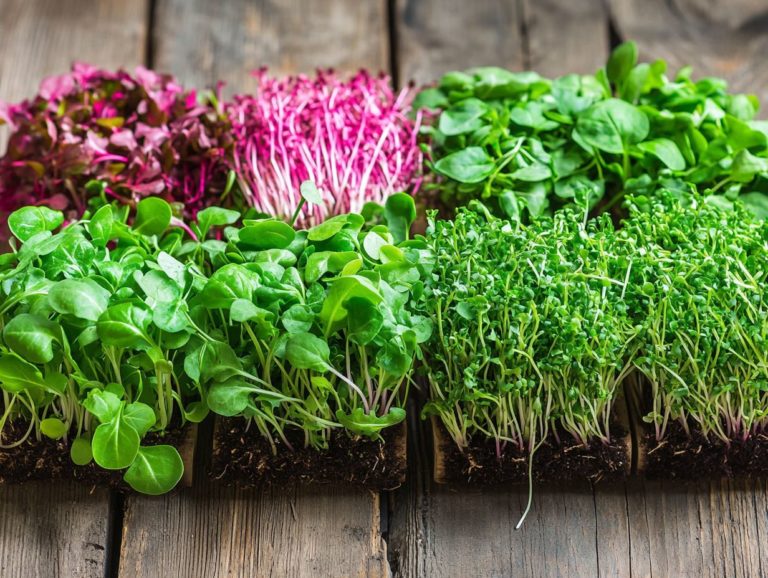
When you’re evaluating microgreens, look for visual indicators that scream health: think vibrant colors and well-formed leaves. Feel for tactile signs as well those crisp textures and firm stems are key players in the freshness game.
As you assess these petite greens, take note of the saturation. Deeper hues often hint at a richer concentration of vitamins and minerals, which is a win for your nutritional intake. Uniformly shaped leaves, free from discoloration or wilting, signal robust growth conditions that support optimal nutrient distribution. For the best results, ensure you understand the perfect light conditions for microgreens.
Don t overlook the firmness of the stems; they not only indicate freshness but also reflect the microgreens ability to absorb nutrients effectively. A crisp texture rounds out these qualities, making microgreens not just a feast for the eyes but also a flavorful, nutrient-dense enhancement to any dish you prepare.
Common Mistakes to Avoid
When you re growing microgreens, steering clear of common mistakes is essential for ensuring a robust harvest. Utilizing improper techniques can stifle growth and diminish their nutritional value, so it s vital to approach the process with care and knowledge.
Troubleshooting Tips
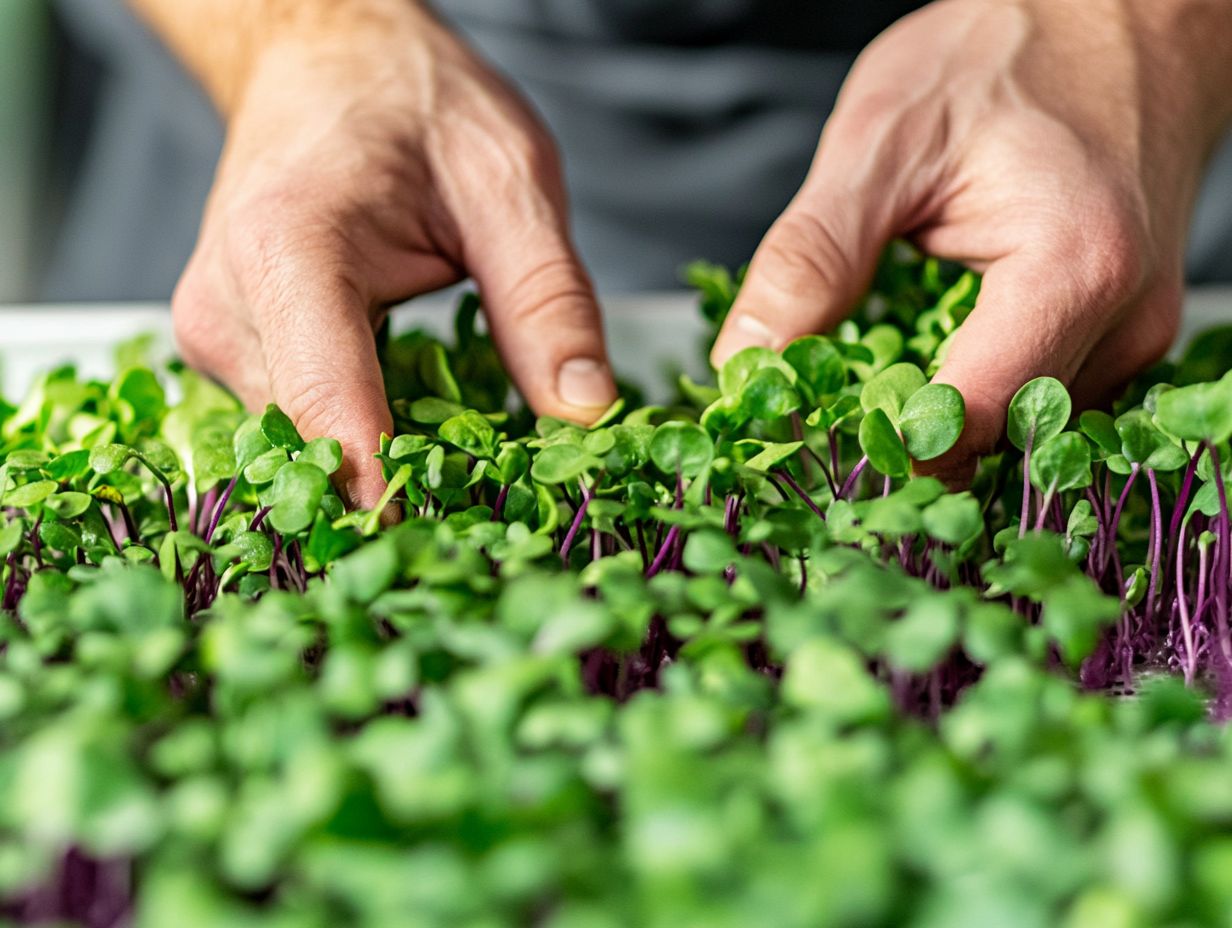
When troubleshooting your microgreens, the first step is to identify signs of plant stress. These can reveal underlying issues like nutrient deficiencies or less-than-ideal environmental conditions.
For example, yellowing leaves usually mean your plants are missing nitrogen. Weak, leggy growth might suggest insufficient light. To address these problems, evaluate the nutrient composition of your growing medium. Incorporating a balanced liquid fertilizer could be a game-changer if needed.
Microgreens flourish under ample but indirect sunlight. Finding the right location or utilizing grow lights can significantly enhance their growth. Keep an eye on the soil s moisture level; it s essential. Overwatering can lead to root rot, while underwatering might cause dehydration.
By paying attention to these factors, you can create the perfect environment for thriving microgreens.
Ensuring Food Safety
Ensuring food safety with microgreens is paramount. This involves meticulous washing, drying, and storing techniques that not only preserve their freshness and nutritional value but also minimize potential health risks.
Proper Handling and Storage
Proper handling and storage of microgreens are essential for maintaining their freshness and extending the shelf life of these delightful, nutrient-packed greens.
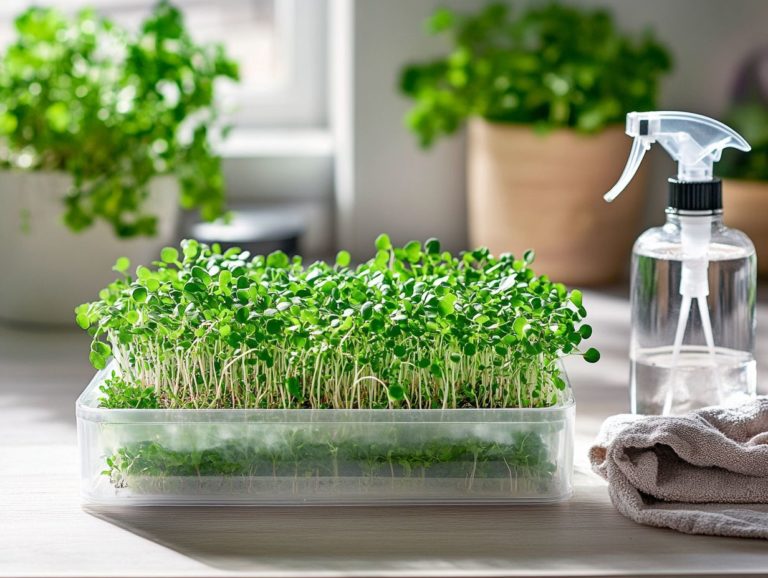
To ensure that your tiny greens retain their vibrant colors, crisp textures, and essential vitamins, it s crucial to store them under optimal conditions. After harvesting, give them a gentle rinse to remove any debris, then pat them dry with a soft cloth or paper towel. This step is vital to avoid excess moisture, which can lead to spoilage.
Opt for a breathable container; perforated plastic bags or clamshells are ideal as they allow for air circulation while keeping your microgreens protected. Storing them in the refrigerator at temperatures between 35-40 F will help preserve their flavor and nutritional integrity for up to two weeks. Additionally, knowing when to harvest your microgreens can further enhance their quality during storage.
Keep a close eye on moisture levels to prevent wilting or rot. Remember, consuming them fresh will yield the maximum taste and health benefits.
Frequently Asked Questions
How do I know when my microgreens are ready to harvest?
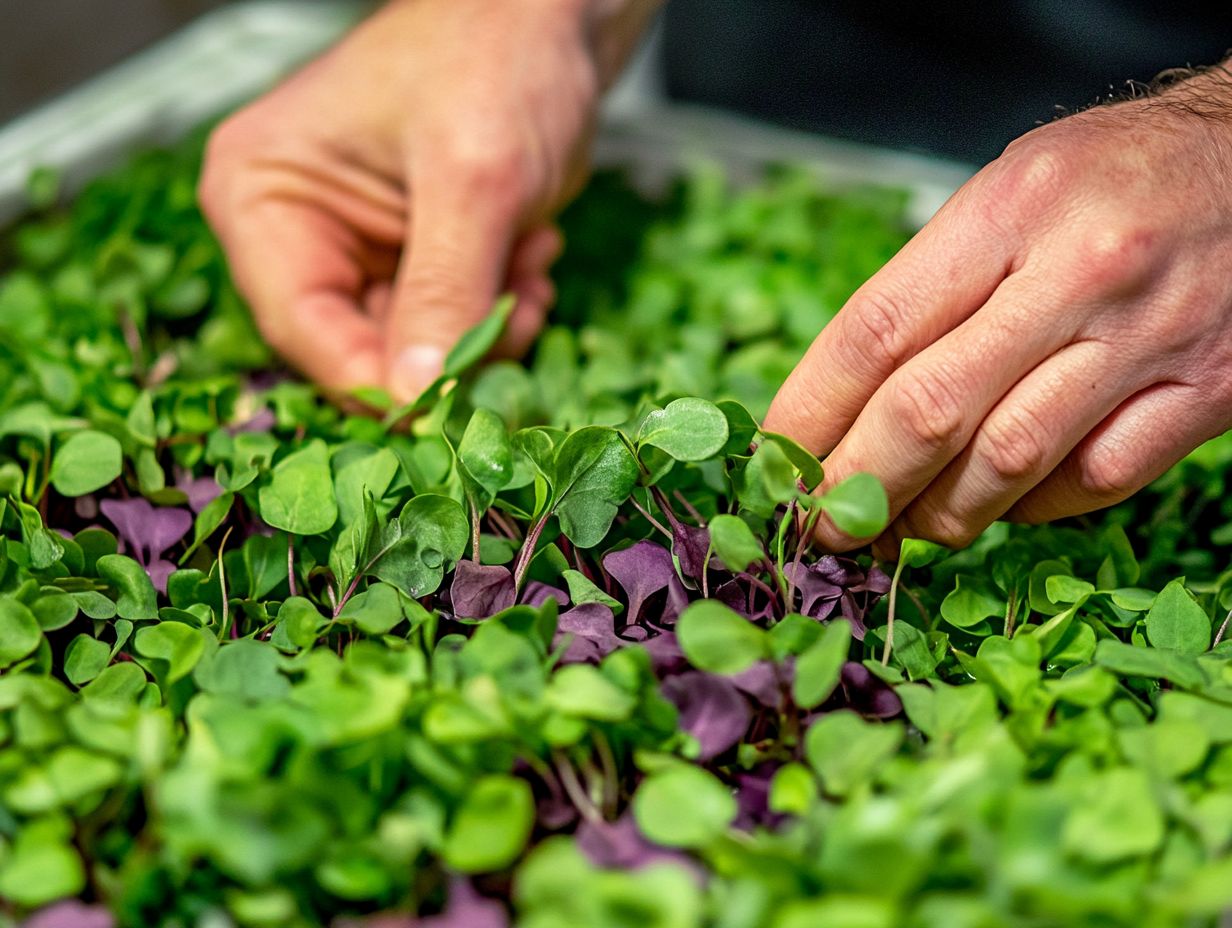
The best way to determine if your microgreens are ready to harvest is by checking their height. Most microgreens should be around 1-2 inches tall when they are ready to be harvested.
What types of microgreens are easiest to grow?
Some of the easiest microgreens to grow include radish, mustard, and pea shoots. They germinate quickly and can be ready for harvest in just a couple of weeks.
How can I use microgreens in my meals?
You can sprinkle microgreens on salads, sandwiches, or soups, or even use them as a garnish for main dishes to add flavor and nutrition.
Try growing microgreens at home, and share your experiences and tips in the comments section below!
What do healthy microgreens look like at harvest?
Healthy microgreens have bright, green leaves and sturdy stems. They should be free of wilting and discoloration, showcasing their vibrant colors and crisp textures.
Do I need special equipment to recognize healthy microgreens at harvest?
No special equipment is needed. Just use your eyes and touch to inspect the microgreens for color and firmness.
What signs indicate unhealthy microgreens?
Unhealthy microgreens may look withered and discolored. You might notice slimy textures or an unpleasant odor, which means they shouldn t be eaten.
Can I harvest my microgreens in batches?
Yes! It s perfectly fine to harvest in batches. This way, the remaining microgreens can continue to grow fresh.
How should I store my harvested microgreens?
Want to keep your microgreens fresh and tasty? Store them in an airtight container or plastic bag in the refrigerator. They can stay fresh for up to a week if stored properly.

