Microgreen Harvesting: A Step-by-Step Guide
Microgreens are petite, nutrient-dense greens that have taken the culinary world by storm. Their vibrant colors and delicate flavors enhance the aesthetic appeal of dishes and offer a wealth of health benefits that can elevate your culinary creations.
Varieties like mustard, kale, radish, and beets are popular choices in container gardening.
This guide provides you with everything essential to know about microgreens, including how to grow them and the best practices for harvesting. You ll also find valuable tips on storing them properly and seamlessly incorporating them into your meals while avoiding common pitfalls.
Get ready to transform your kitchen with these vibrant greens!
Contents
Key Takeaways:
- Include a variety of microgreens in your harvest for a well-rounded nutritional profile.
- Prepare properly and use the right equipment for a successful microgreen harvest.
- Be creative and incorporate microgreens into your meals for added flavor and nutrition.
- Try growing your own microgreens and discover the joy of fresh flavors!
What are Microgreens?
Microgreens are young edible plants harvested just after the first leaves, known as cotyledons, have developed. This usually occurs a few days to weeks after seed germination.
These nutrient-rich sprouts, including delightful varieties like mustard, kale, radish, and beets, offer impressive health benefits, making them a sought-after choice for home and container gardening.
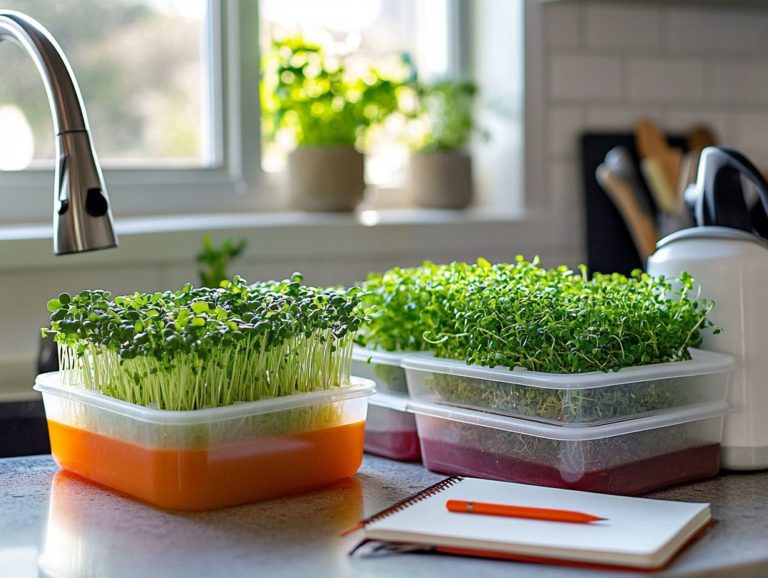
You can easily cultivate microgreens indoors or on a sunny windowsill, adding a vibrant touch to your vegetable gardening endeavors and enhancing your home gardening experience.
Prestigious institutions, such as Penn State, have explored their nutritional value, revealing their potential to enhance dietary guidelines touted by health experts like Adrian A. Franke and Hannah Reid.
Definition and Nutritional Benefits
Microgreens are celebrated not just for their bold flavors and striking colors but also for their impressive nutritional profile. Bursting with Vitamin C and other essential nutrients, these tiny powerhouses are often harvested right after germination.
They deliver a remarkable concentration of vitamins, minerals, and antioxidants that can surpass what you d find in fully grown plants. For instance, a petite serving of microgreens can pack up to six times more Vitamin C than a serving of mature broccoli.
These abundant compounds, including carotenoids and flavonoids, play a vital role in supporting overall health, enhancing immune function, and reducing inflammation.
Incorporating these greens into your meals significantly aligns with dietary guidelines aimed at boosting nutrient intake, ultimately paving the way for better health outcomes.
Choosing the Right Microgreens to Harvest
In the realm of growing and harvesting microgreens, selecting the right varieties is essential. Different species like mustard, kale, radish, and beets can significantly impact your container gardening success and elevate the flavor profile of your home-cooked recipes.
Making informed selections will enhance your gardening experience and enrich your culinary creations.
Factors to Consider
When selecting microgreens to grow, consider factors like the growing medium, soil moisture levels, and effective watering techniques to ensure a successful harvest.
Understanding your local climate greatly influences the selection and care of these delicate plants. Proper lighting is essential; whether you rely on natural sunlight or full-spectrum grow lights, both can encourage vigorous growth.
Space is another important consideration; crowded conditions can hinder air circulation and compromise your microgreens’ overall health. For the ideal growing medium, choose a lightweight and well-aerated option, such as coconut coir or a specialized seed mix. To learn more about optimal choices, check out microgreen varieties and their growth.
Monitoring soil moisture is crucial to maintain even moisture without letting it become soggy to promote healthy root development. As seasons change, it may also be wise to adjust your growing setup, ensuring your plants receive the warmth or cooler conditions they need to truly thrive. Additionally, learning about microgreens: how to keep them crisp and fresh can enhance your growing experience.
Step-by-Step Guide to Harvesting Microgreens
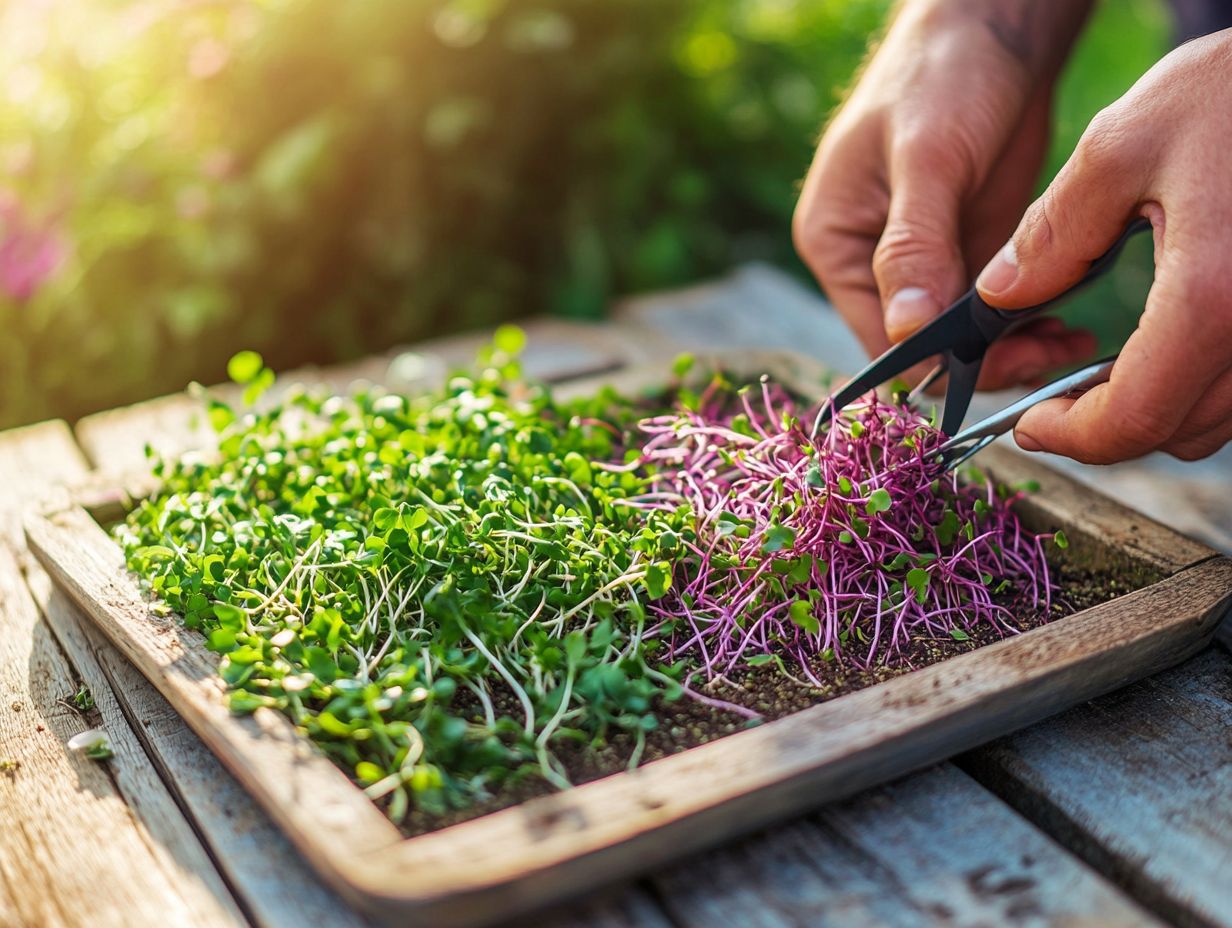
Harvesting microgreens is a fun and rewarding task that requires good preparation, the right tools, and precise cutting techniques. By mastering these elements, you can ensure that these small edible plants are preserved beautifully for delicious meals in your home garden.
Preparation and Equipment
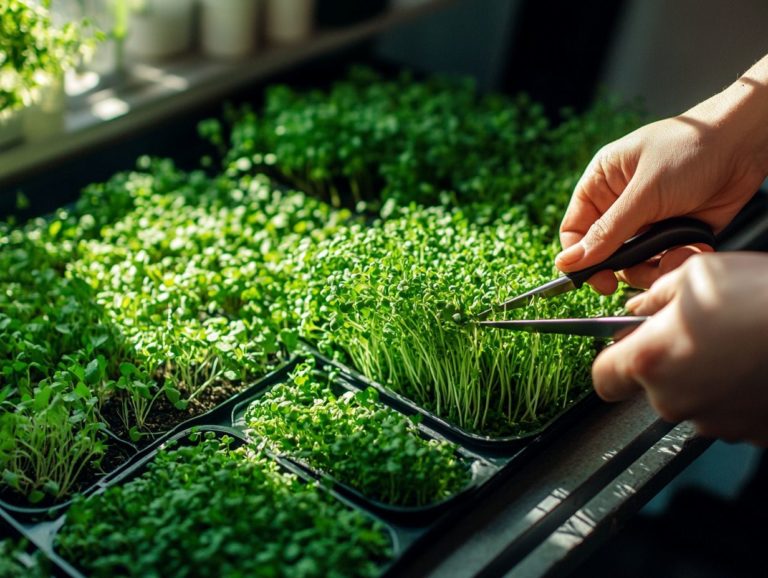
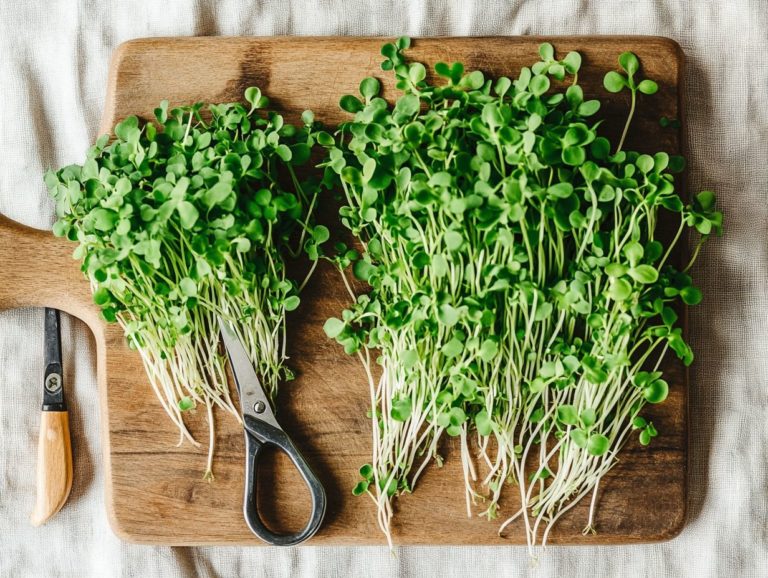
Get ready to harvest by prepping your equipment! Clean scissors are a must for cutting those delicate greens, setting you up for a smooth and successful gardening experience.
The right tools boost your efficiency and quality in harvesting. Alongside scissors, a sharp knife will provide the precision you need. A pair of gloves helps maintain hygiene, protecting both your precious plants and yourself.
Don’t forget to sanitize your tools with a mix of water and mild bleach or a food-safe cleaner before you start. This crucial step eliminates harmful bacteria and pests, ensuring a healthy yield. By taking these precautions, you can relish the fruits of your labor while knowing your microgreens are safe to enjoy. For more information on the best practices, check out understanding microgreen growth cycles.
Harvesting Techniques
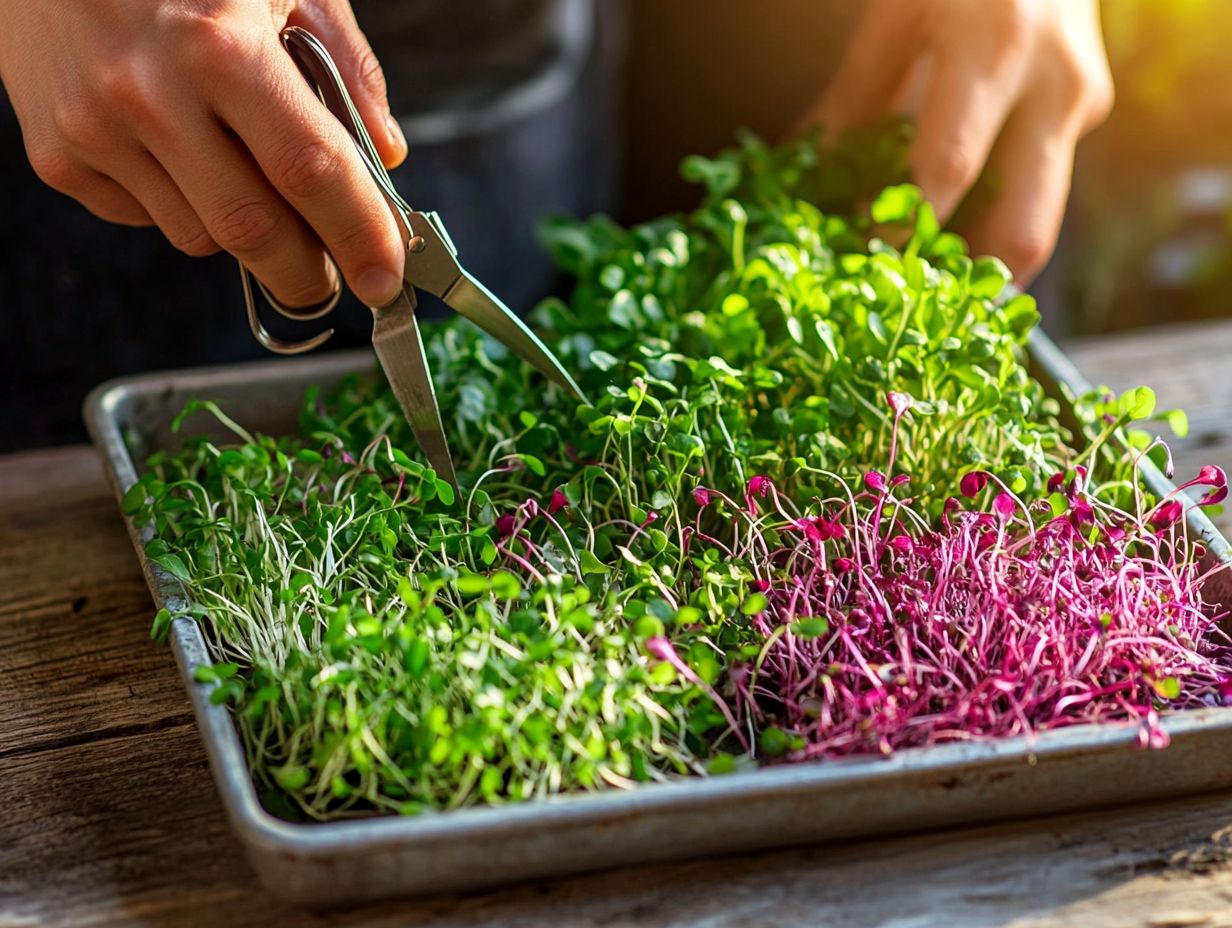
The techniques you use for cutting microgreens are crucial for a successful harvest. It’s all about gentleness and precision to preserve both the plants and their flavors, especially in home gardening.
When determining the ideal cutting height, remember to leave a portion of the stem intact. This allows for potential regrowth, paving the way for future harvesting cycles. For those interested in maximizing their yields, exploring different microgreen varieties can be beneficial. Timing is just as important; harvest too early for underdeveloped flavors, or wait too long and face some unwelcome bitterness.
Different cutting methods can greatly impact the health of your plants, whether you choose sharp scissors or a knife. Understanding these nuances enhances the quality of your microgreens and for more detailed techniques, refer to this step-by-step guide to sowing microgreens, bringing greater satisfaction as a gardener.
Storing and Using Microgreens
Once you ve harvested your microgreens, it’s essential to use proper storage techniques to preserve their freshness and flavor. This attention to detail makes them the perfect ingredient for a range of microgreens recipes that can truly elevate your culinary creations.
Proper Storage Methods
To keep your harvested microgreens fresh, use airtight containers and store them in the refrigerator.
Monitor the humidity levels in your storage space; microgreens thrive at a humidity level of 40-60%. Keeping the temperature consistently between 34 F and 39 F is key to preventing wilting and spoilage.
If you want to portion your microgreens efficiently, using a kitchen scale can transform your experience. Weighing out your servings allows for precise portions for salads or garnishes while minimizing waste. This enhances the taste and visual appeal of your dishes and helps maintain optimal freshness.
Ready to enjoy your home-grown microgreens? Let s get started!
Ideas for Incorporating Microgreens into Meals
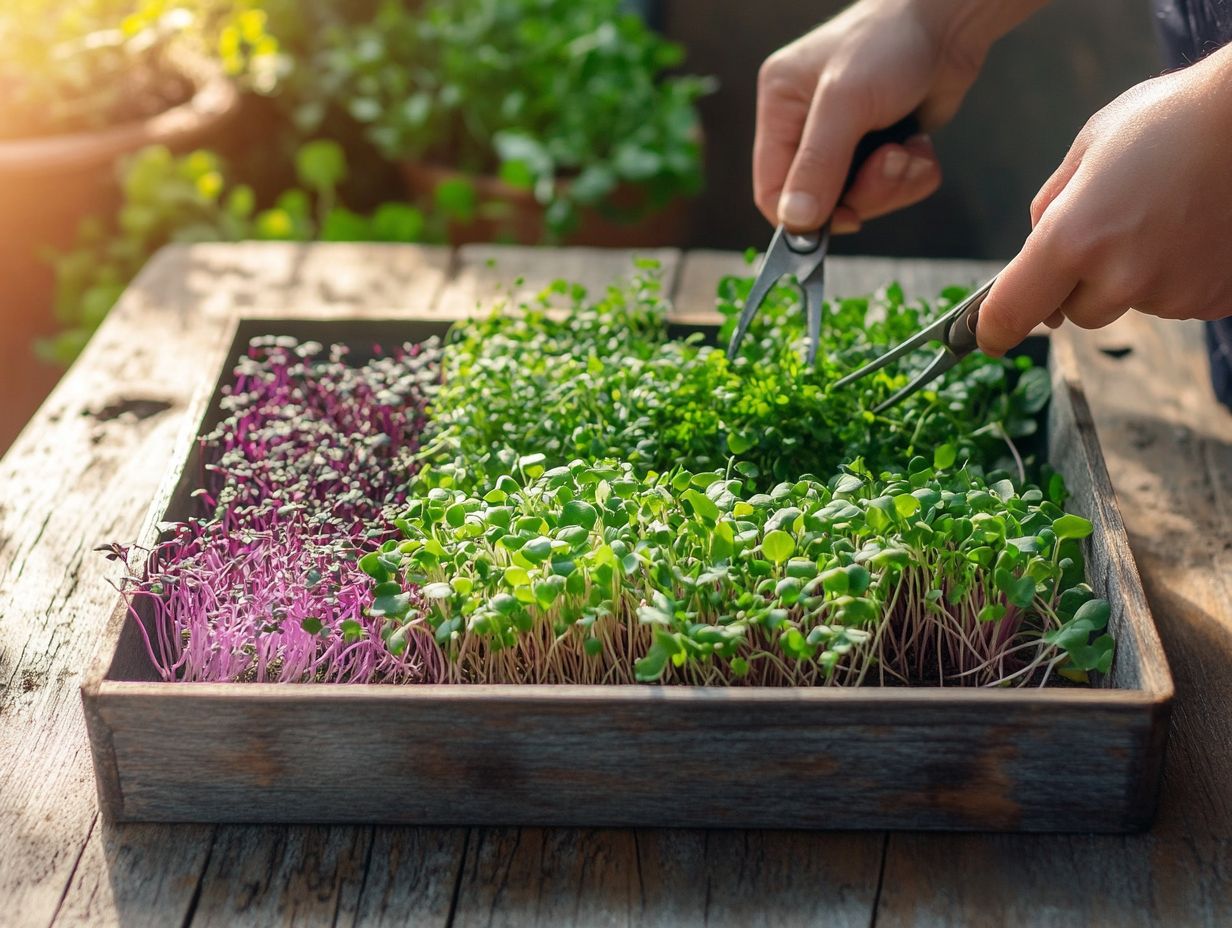
Incorporating microgreens into your meals can significantly enhance both flavor and nutritional value, offering a delightful array of recipes that cater to your cooking styles.
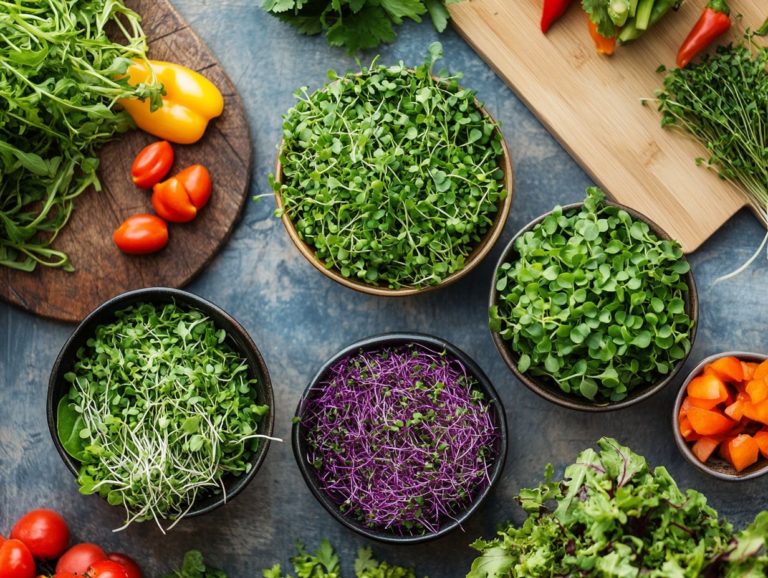
These vibrant little greens also pack a punch, adding bursts of peppery, sweet, or earthy notes to your dishes, particularly when mixed with varieties like Lettuces, Celery, or Broccoli. Imagine mixing them into fresh salads for that perfect crisp texture, or layering them on sandwiches to elevate your classic lunchtime favorites. After harvesting, you might wonder what to do with microgreens to make the most of their flavor and nutrition.
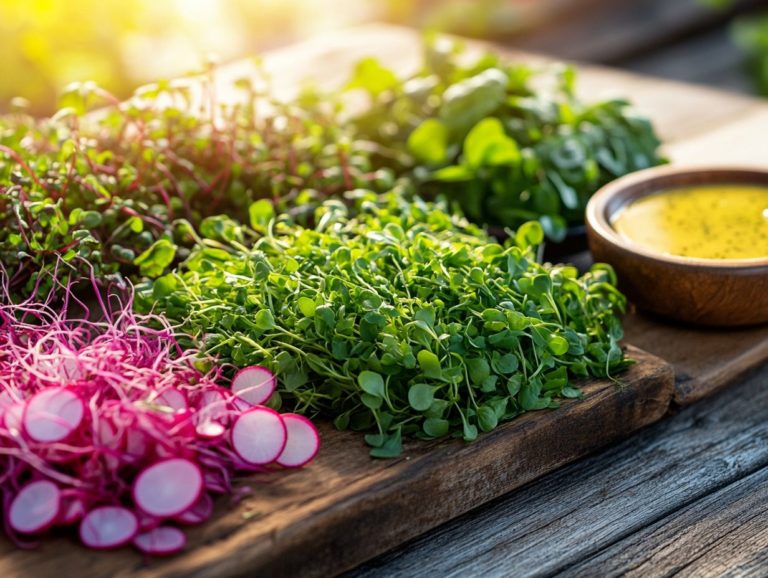
They can also invigorate your smoothies, providing an unexpected twist while boosting the drink’s vitamins and minerals. Dive into experimenting with different flavor combinations; pair arugula microgreens with citrus for a refreshing salad or blend beet microgreens with berries in a smoothie for a colorful, nutrient-rich treat. To ensure the best storage practices for your microgreens, check out our complete guide to microgreens storage containers.
With their concentrated health benefits, microgreens not only tantalize your taste buds but also support a healthier lifestyle.
Common Mistakes to Avoid
When growing and harvesting microgreens, avoiding common mistakes is key to a successful yield. Errors in watering, soil moisture levels, and harvesting techniques can profoundly affect the quality of your crop.
By paying attention to these details, you can ensure that your microgreens thrive and deliver the best possible results.
Tips for Successful Harvesting
Successfully harvesting microgreens demands your attention to essential tips centered around proper watering techniques, timing, and a keen understanding of the common mistakes that could thwart your growing endeavors.
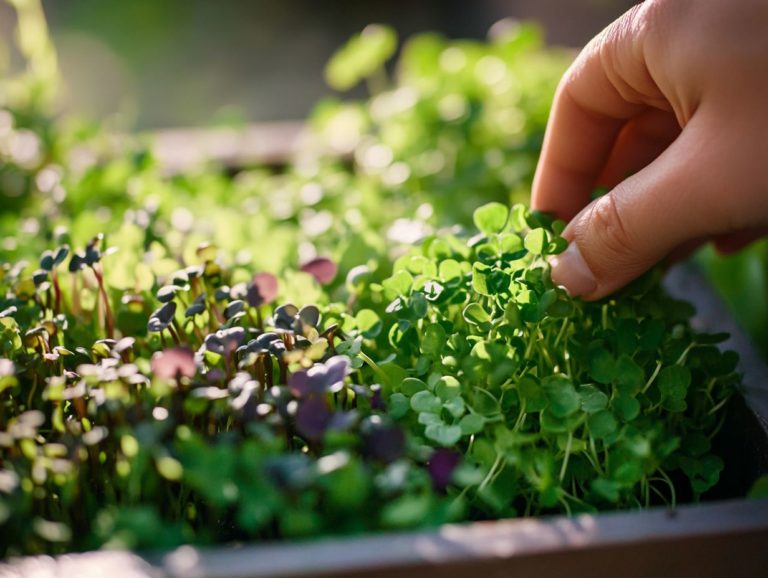
To truly maximize the quality and yield of your crop, it’s vital to pinpoint the optimal harvest time, typically when the first true leaves emerge. Don’t underestimate the impact of environmental factors like light exposure, temperature, and humidity; these elements significantly influence both growth rates and flavor profiles. For more details, refer to our guide on understanding microgreen harvest timing.
By regularly monitoring these conditions, you can avoid the pitfalls of over or under-hydration, which many growers encounter. Learning from past missteps allows you to refine your harvesting technique and understand the timing of microgreen harvest, ensuring not only a more abundant yield but also a richer taste and vibrant nutrition in your final product.
Frequently Asked Questions
Harvester Adrian A. Franke and expert Hannah Reid from Penn State suggest incorporating various microgreens into your diet for a boost in Vitamin C and overall health.
What are microgreens?
Microgreens are young, edible plants that are harvested just after the first leaves have developed. They are considered a superfood due to their high nutrient content and are often used as a garnish or in salads and sandwiches. Superfoods are nutrient-rich foods considered to be especially beneficial for health. Among popular varieties are Beets, Lettuces, Broccoli, Cabbage, and Celery.
Don’t miss out on the health benefits of microgreens! To get the most from your crop, learn about timing your microgreens: when to harvest? Start incorporating them into your meals today!
What is the best way to harvest microgreens?
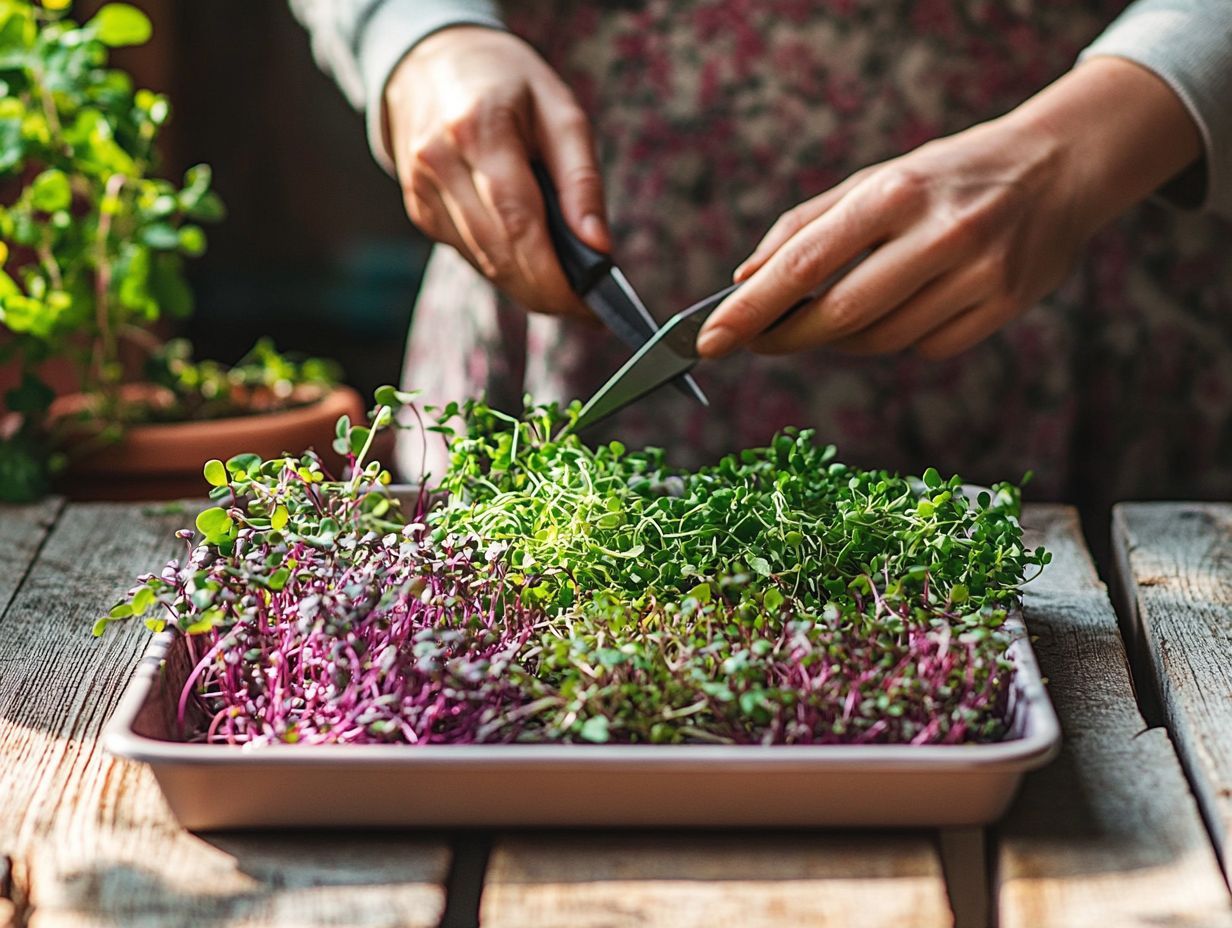
The best way to harvest microgreens is to use clean scissors or kitchen shears. Cut the stems just above the soil level. Be careful not to disturb the roots.
When is the right time to harvest microgreens?
The best time to harvest those delicious microgreens is when you see the first leaves sprouting! This usually happens 7-14 days after planting, when they are about 1-3 inches tall.
How should I store harvested microgreens?
To store your fresh microgreens, gently wrap them in a paper towel. Place them in a sealed plastic bag or container, and keep them in the refrigerator for up to a week to maintain freshness.
Can I regrow microgreens after harvesting?
Yes, you can regrow microgreens! Just cut the stems above the soil level and water them as usual. You might get a second, smaller harvest from the same batch of seeds.
Do I need any special equipment to harvest microgreens?
No special equipment is needed! Clean scissors or kitchen shears will make the job easier. A kitchen scale is useful for measuring your harvest accurately.

