Growing Microgreen Varieties from Seed to Harvest
Microgreens are delightful, nutrient-dense plants that elevate your culinary creations and provide a rewarding gardening experience.
Get ready! This guide is your ultimate resource for all you need to know about growing microgreens, from selecting the ideal seeds to gathering essential supplies for planting.
You ll find detailed insights into the planting process, care techniques, and harvesting tips to ensure a bountiful crop.
We ll also explore creative ways to incorporate these vibrant greens into your meals and decor, adding flair and freshness.
Whether you re a seasoned gardener or just dipping your toes into gardening, this guide will inspire you to cultivate your very own microgreen garden.
Contents
Key Takeaways:
- Choose the right seeds for your microgreens, considering factors such as taste, color, and nutritional value.
- Proper preparation and care, including watering and providing enough light exposure, are essential for successfully growing microgreens.
- Harvesting at the right time and using creativity to incorporate microgreens can elevate your culinary and decorative experiences.
What are Microgreens?
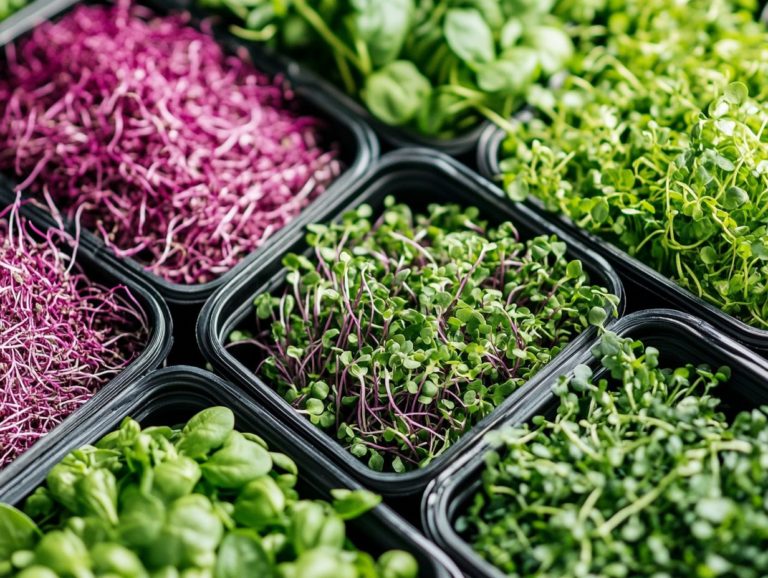
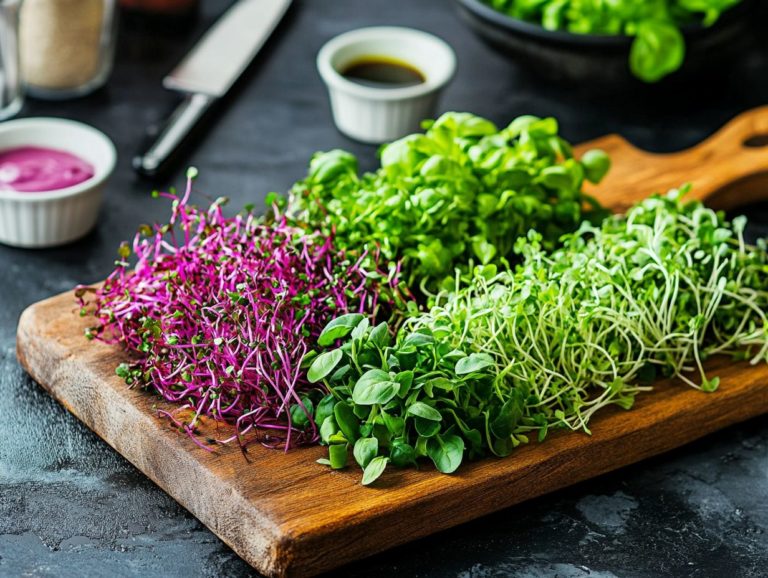
Microgreens are young, edible plants harvested just after the first true leaves appear. Typically ranging from 1 to 3 inches in height, these nutrient-dense greens capture attention for their vibrant colors, flavors, and impressive health benefits.
You can cultivate them indoors or outdoors under various growing conditions, making them a fantastic option for any home gardening enthusiast.
With their remarkably quick growth cycle, microgreens can be grown in planting trays with minimal fuss. They provide an environmentally sustainable choice for urban farming and add a fresh twist to your everyday meals.
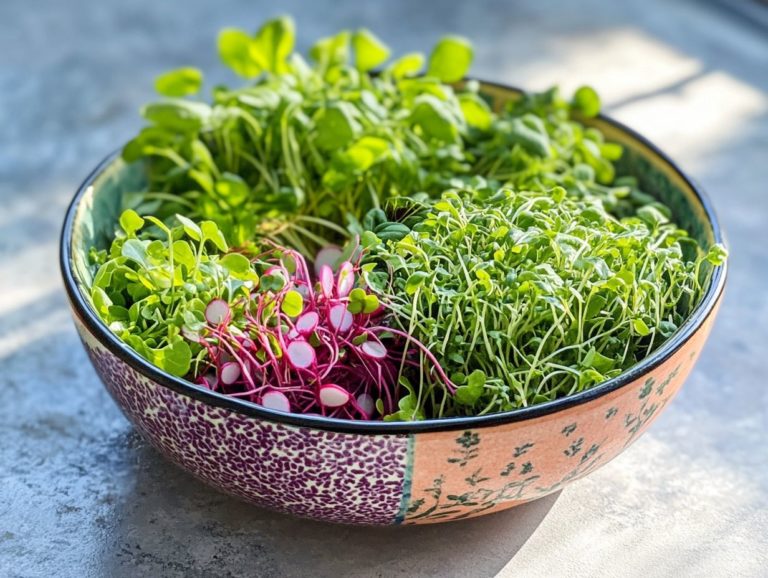
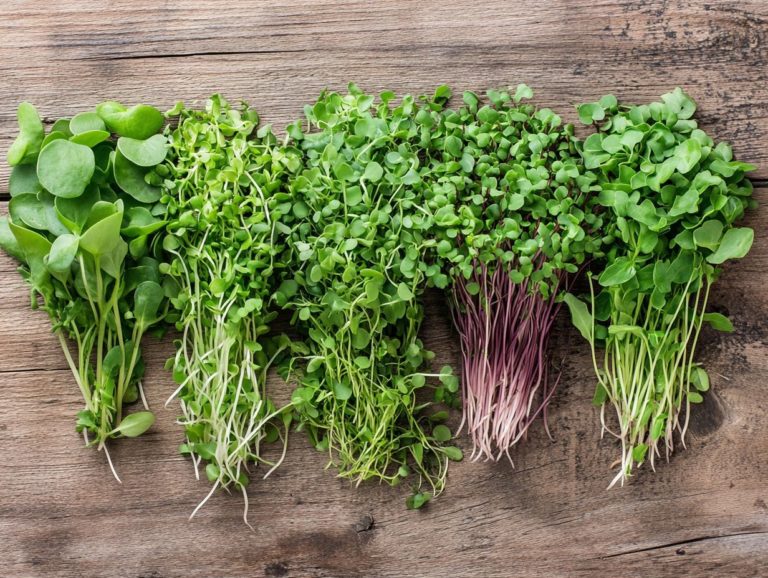
Consider the diverse array of microgreens, such as arugula, radish, and basil, each bringing unique flavors and nutritional perks to the table. Packed with vitamins, antioxidants, and essential minerals, these greens offer a natural way to elevate your diet and ensure a rich intake of nutrients.
These young greens align perfectly with the principles of organic gardening, promoting biodiversity and supporting soil health while catering to those who appreciate fresh produce right at home.
By weaving microgreens into your daily recipes from salads to sandwiches you can savor the culinary uses and health benefits of these superfoods while embracing a more sustainable lifestyle.
Choosing the Right Seeds
Choosing the right seeds is essential for your success in growing microgreens. The variety of microgreen seeds available can dramatically influence the flavor, appearance, and nutritional value of your home garden.
When selecting seeds for your indoor gardening project or vegetable garden, consider factors like seed germination rates, growth rates, and flavor profiles.
Popular microgreen varieties such as radish, basil, and arugula each offer distinct benefits and culinary applications. By ensuring proper seed soaking and even distribution in your planting trays, you set the foundation for robust seedling growth and a thriving harvest.
Types of Seeds Suitable for Microgreens
Many seeds are great for growing microgreens. You can experiment with flavors and textures in your home garden.
Some popular microgreen varieties include beet, kale, and mustard. Each brings unique tastes and impressive nutrient density to your table.
Soaking these seeds before planting can enhance germination, which is the process of seeds beginning to grow. This simple step promotes healthy seedling growth.
By incorporating a diverse array of microgreens, you elevate your meals while supporting a healthy diet. They are packed with remarkable nutrients and have culinary versatility.
Each microgreen has its own distinct flavor. For instance, beet microgreens offer a slightly sweet taste, while mustard varieties add a peppery kick that livens up your salads and sandwiches.
Nutritionally, these greens are powerhouses packed with vitamins A, C, and K, along with antioxidants and fiber. The culinary applications are endless. Whether you re garnishing dishes or blending them into smoothies, microgreens make an exciting addition to any kitchen.
Proper seed soaking kickstarts germination and ensures robust growth. This helps you integrate microgreens into your daily meals, promoting healthy eating habits and contributing to a nutrient-dense diet.
Preparing for Planting
Preparing to plant microgreens involves gathering the right supplies and equipment. This guarantees a rewarding growing experience.
Invest in high-quality planting trays and choose suitable growing mediums, such as coconut coir or soil.
Watering trays are essential for maintaining optimal soil moisture levels. Having measuring cups and a kitchen scale will help you accurately distribute seeds and monitor their growth.
By thoughtfully selecting these tools, you’ll create a vibrant indoor garden that promotes rapid growth and bountiful yields.
Supplies and Equipment Needed
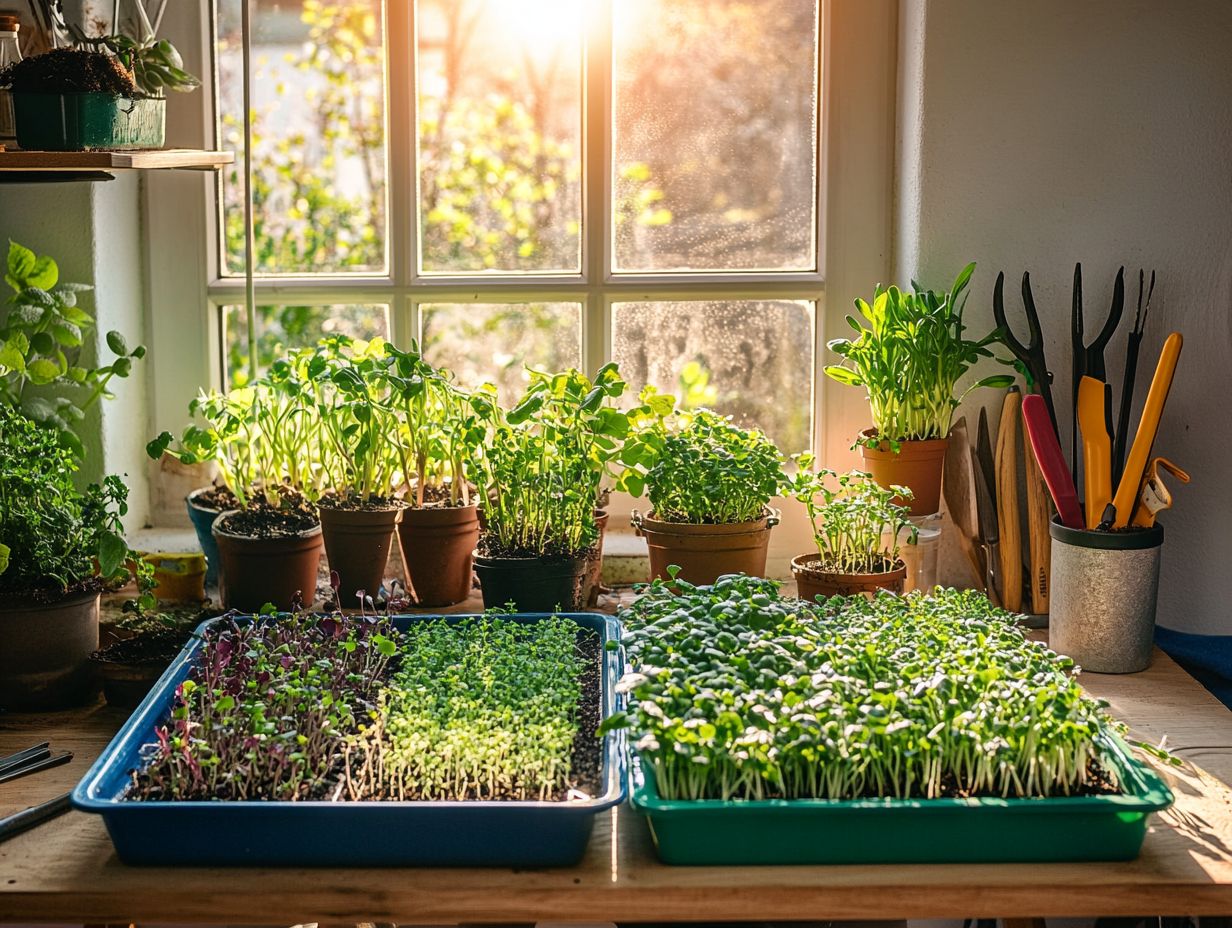
To successfully grow microgreens, certain supplies and equipment create the ideal growing environment and ensure healthy seedlings.
Essential gardening tools include high-quality planting trays, suitable growing mediums like potting soil or hydroponic options, and watering trays to maintain consistent soil moisture.
Measuring cups and a kitchen scale are invaluable for accurately distributing seeds and tracking growth rates. By assembling the right tools, you position yourself to cultivate thriving microgreens that enhance your culinary creations.
Choosing the right growing medium is crucial. It greatly influences root development and nutrient uptake. Options like coconut coir, peat moss, or biodegradable mats offer varied benefits depending on your preferred method.
Maintaining a consistent watering schedule is key. This helps prevent damping-off disease, which can harm your seedlings.
Using seed spreaders ensures uniform seed distribution, maximizing your yields while minimizing waste. In home gardening, paying keen attention to detail and utilizing organizational tools can lead to a bountiful harvest of vibrant microgreens. To learn more about enhancing your harvest, check out this guide on how to maximize yields from microgreens. These greens add flavor and a nutritional boost to your meals.
Planting Microgreens
Planting microgreens is an art that unfolds through a series of meticulous steps. Each step ensures optimal seed germination and the flourishing growth of healthy seedlings.
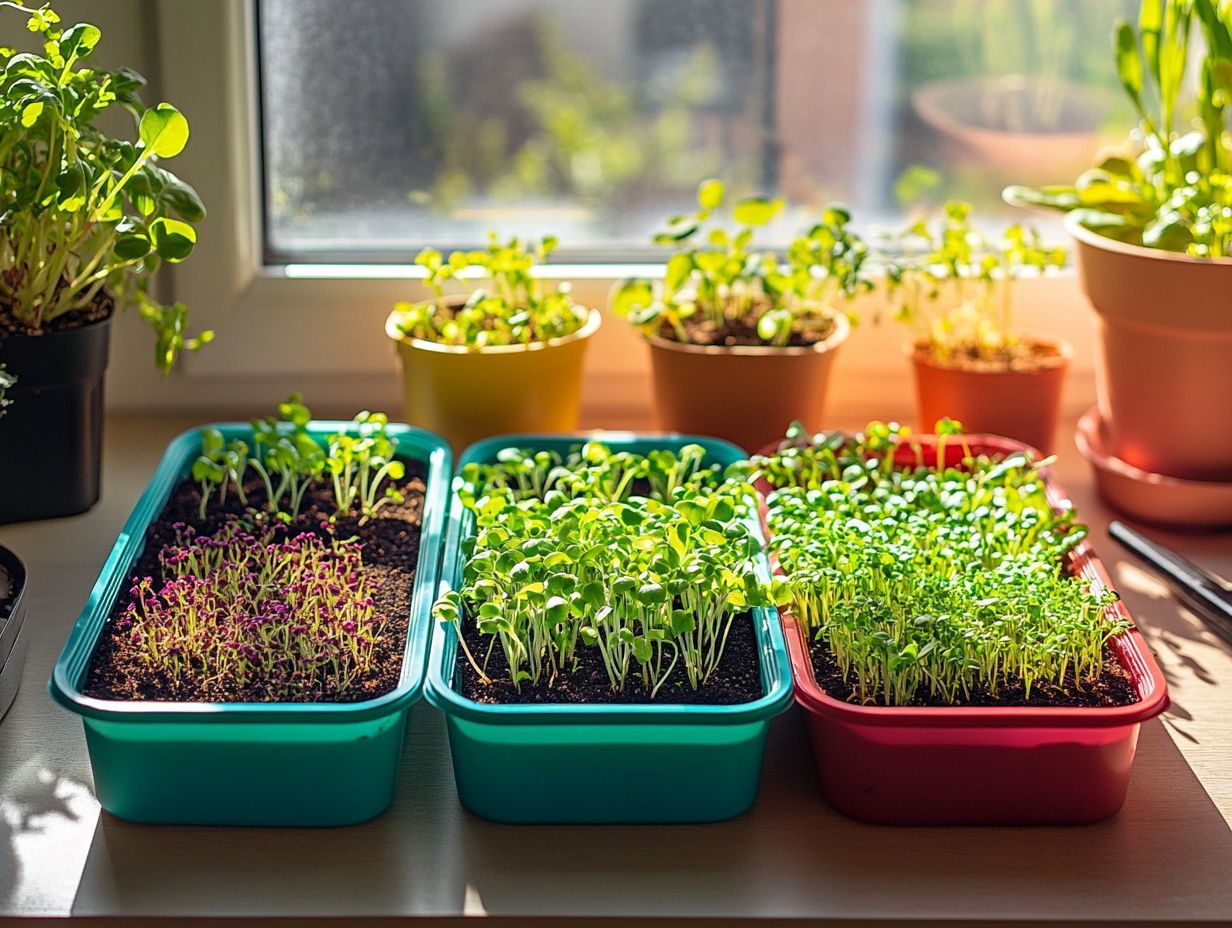
Begin by preparing your planting trays. Fill them with a nutrient-rich growing medium. Next, evenly distribute the microgreen seeds across the surface, ensuring each one has the best chance to thrive.
Maintaining the right level of soil moisture is paramount for successful germination. Lightly mist the soil and cover the trays to create a humid environment.
As the seeds sprout and the seedlings begin their journey, provide them with adequate light exposure. Closely monitor their conditions to support their continued development and lead to a bountiful harvest.
Step-by-Step Guide to Planting
A step-by-step guide to planting microgreens begins with selecting the right seeds and preparing your planting trays with suitable soil. Start by soaking the seeds to enhance germination potential. Then, distribute them evenly across the trays.
Once the seeds are nestled in their new homes, cover the trays to lock in moisture. Place them in optimal growing conditions, ensuring they bask in adequate light exposure. Regularly monitor the soil moisture and adjust watering using trays to support the healthy growth of your seedlings.
The importance of seed soaking cannot be overstated; it kickstarts germination and promotes robust root development. After placing the seeds in trays filled with nutrient-rich soil, create a warm environment, ideally between 65 F and 75 F, to stimulate growth.
As your microgreens emerge, provide around 12-16 hours of light daily using artificial lighting; fluorescent or LED lights will do wonders for this purpose.
Managing humidity is equally crucial. A light misting of the soil can prevent it from drying out while also steering clear of root rot. These small adjustments can lead to bountiful, thriving microgreens bursting with flavor and nutrients, transforming your culinary experience.
Caring for Microgreens
Caring for microgreens requires careful attention to several essential factors that support their growth and lead to a successful harvest of nutrient-dense greens.
Proper watering is crucial; maintaining the right soil moisture levels fosters healthy seedling development. You must also meet their light requirements, whether through the warmth of natural sunlight or the precision of artificial lighting to create optimal growing conditions.
Ensure good air circulation to prevent mold and promote strong plant health. Monitor environmental factors throughout their growth journey, especially sunlight exposure and water levels for seedlings growth.
Watering and Light Requirements
Understanding the watering and light requirements of microgreens is crucial for ensuring optimal growth and a successful harvest. Monitor soil moisture consistently, as overwatering can lead to root rot while underwatering can stunt growth, affecting the health of your leafy greens.
Give your microgreens the light they crave for vibrant growth! You can achieve adequate light exposure through natural sunlight or artificial lighting tailored to their specific needs, optimizing indoor farming. For more tips on extending the growing season for microgreens, act now to create the best growing conditions and watch your tiny greens thrive with flavor!
Inadequate watering can create an environment that inhibits nutrient uptake, impacting the overall health and vibrancy of these tiny greens. To maintain ideal soil moisture levels, regularly check the top inch of the soil; if it feels dry, it’s time to water. A spray bottle can be your best friend here, gently moistening the soil without over-saturating it, which is crucial in home cultivation.
Selecting fixtures that offer full-spectrum light especially in indoor setups is essential. This approach mimics natural sunlight and encourages robust growth. By addressing these vital aspects, you can cultivate invigorating microgreens that leverage their superfood benefits and elevate your culinary experiences.
Harvesting Microgreens
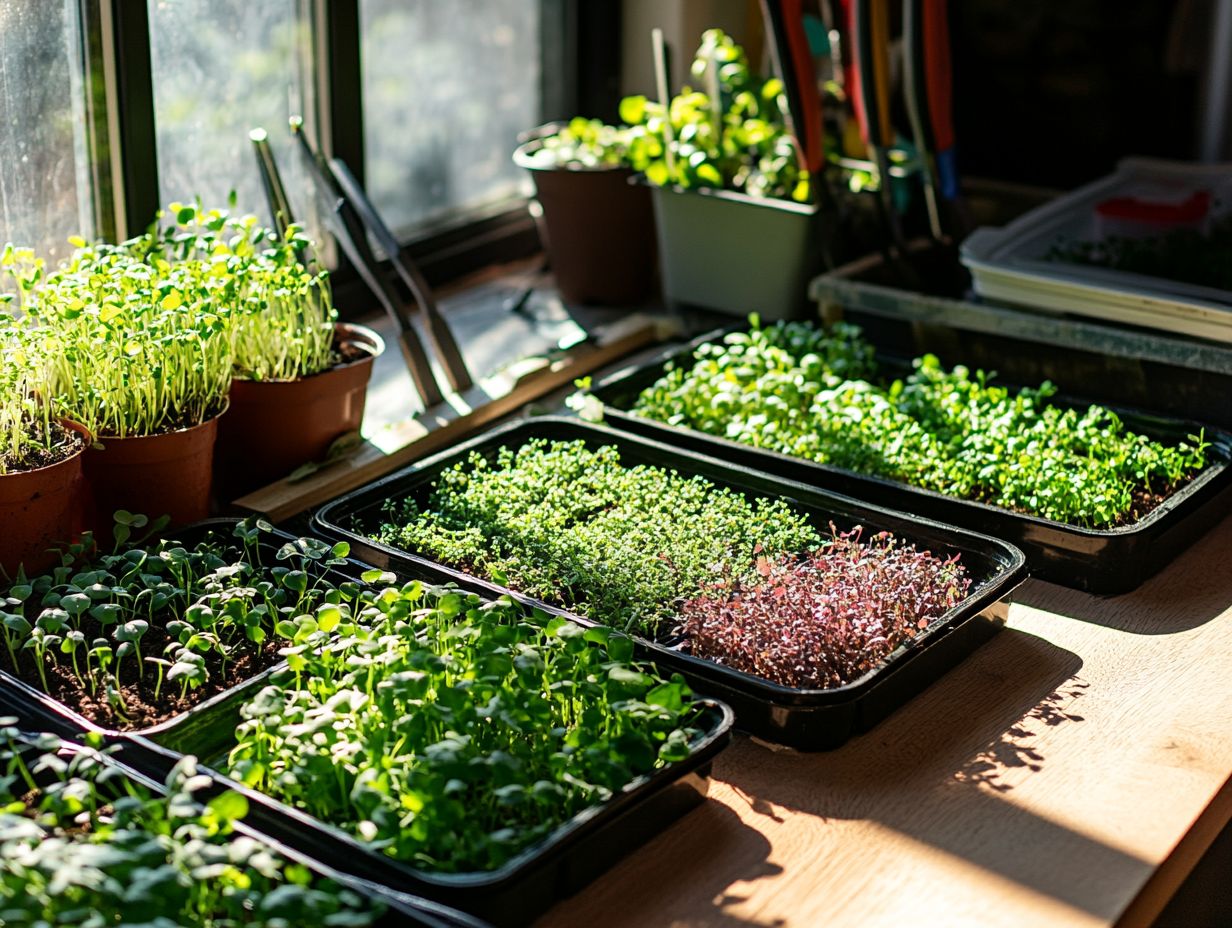
Harvesting microgreens at the optimal time is crucial for maximizing their flavor, nutritional benefits, and adhering to dietary guidelines. Generally, you’ll find that microgreens are ready for harvest when they reach a height of 1-3 inches, which typically happens within 7-21 days post-planting, depending on the variety.
To ensure a clean harvest, use sharp scissors or shears for cutting microgreens just above the soil line. It’s also wise to utilize a kitchen scale to accurately measure your yields, as these perishable greens are best enjoyed shortly after harvesting. For those interested in growing microgreens, following a step-by-step guide to sowing microgreens can help you fully appreciate their flavor and nutrients, ensuring proper storage in containers.
By growing and enjoying your own microgreens, you can elevate your culinary experiences and reap the nutritional benefits they offer.
When and How to Harvest
Knowing when and how to harvest microgreens is essential for fully savoring their flavor, understanding their food production value, and reaping their health benefits.
Most microgreens are ready for harvest once they’ve developed their first true leaves and reached the ideal height, typically between 7 to 21 days after planting. Timing is everything; wait too long, and you might end up with a bitter taste. Cutting too early can leave you wanting in flavor.
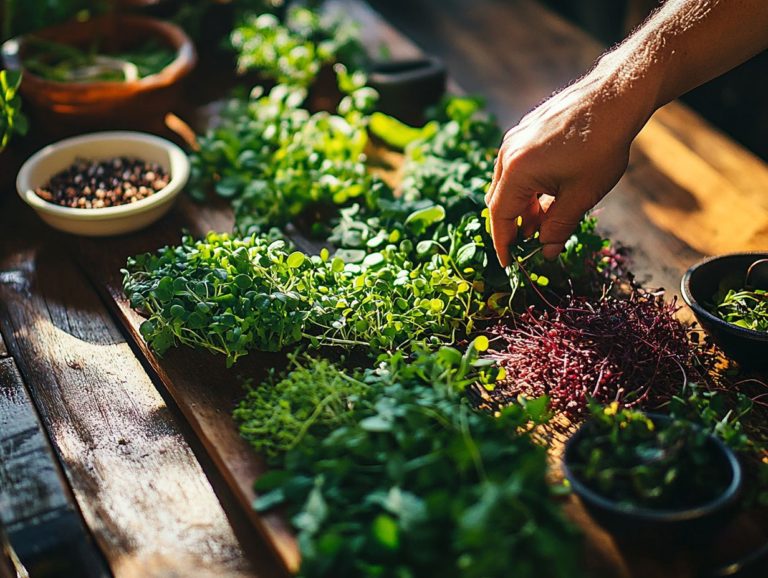
For a clean cut, grab some sharp scissors and snip the microgreens just above the soil line. This ensures a neat harvesting process and a fresh addition to your dishes.
After harvesting, proper storage is crucial, as microgreens are perishable and should be consumed within days to make the most of their cooking uses. To enhance your microgreen experience, consider using techniques for growing microgreens year-round. Keeping them in a sealed container in a cool, dark place or refrigerating them can significantly extend their freshness.
These delicate greens deliver a burst of flavor and a wealth of nutrients, reinforcing their role in vegetable consumption. They are ideal for salads, sandwiches, and garnishing soups, enhancing visual appeal while promoting healthy eating and contributing to a balanced diet.
Creative Ways to Use Microgreens
Microgreens present an abundance of culinary possibilities, making them a versatile ingredient for various dishes and a superb addition to any healthy diet. Their vibrant colors and bold flavors can elevate salads, sandwiches, soups, and even gourmet entrees.
Incorporating microgreens into your meals not only boosts visual appeal but also provides a concentrated source of essential nutrients. To maximize their benefits, it’s important to know when to harvest them. Exploring different varieties can uncover exciting flavor combinations, enriching your cooking experience with both taste and health benefits.
Culinary and Decorative Uses
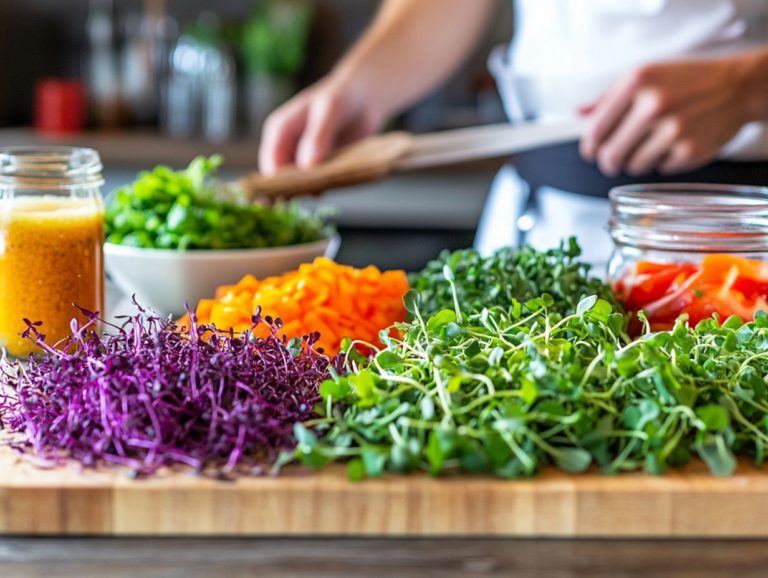
Microgreens serve both culinary and decorative purposes. Whether you’re a chef or a home cook, these tiny greens can elevate the presentation of your dishes, adding vibrant color and delightful texture. They enhance the flavors in salads, sandwiches, and soups, providing a nutrient-rich boost to every meal.
For instance, adding micro basil to a traditional Caprese salad enhances its flavor while creating an appealing contrast against red tomatoes and creamy mozzarella. In Asian cuisine, a sprinkle of radish microgreens elevates sushi rolls with a peppery crunch that beautifully complements delicate fish.
You can strategically place these greens atop gourmet burgers or use them to wow guests when placed on canap s. Whether used as a lively topping or infused into dressings, microgreens truly shine in both taste and artful presentation.
Frequently Asked Questions
What are microgreens?
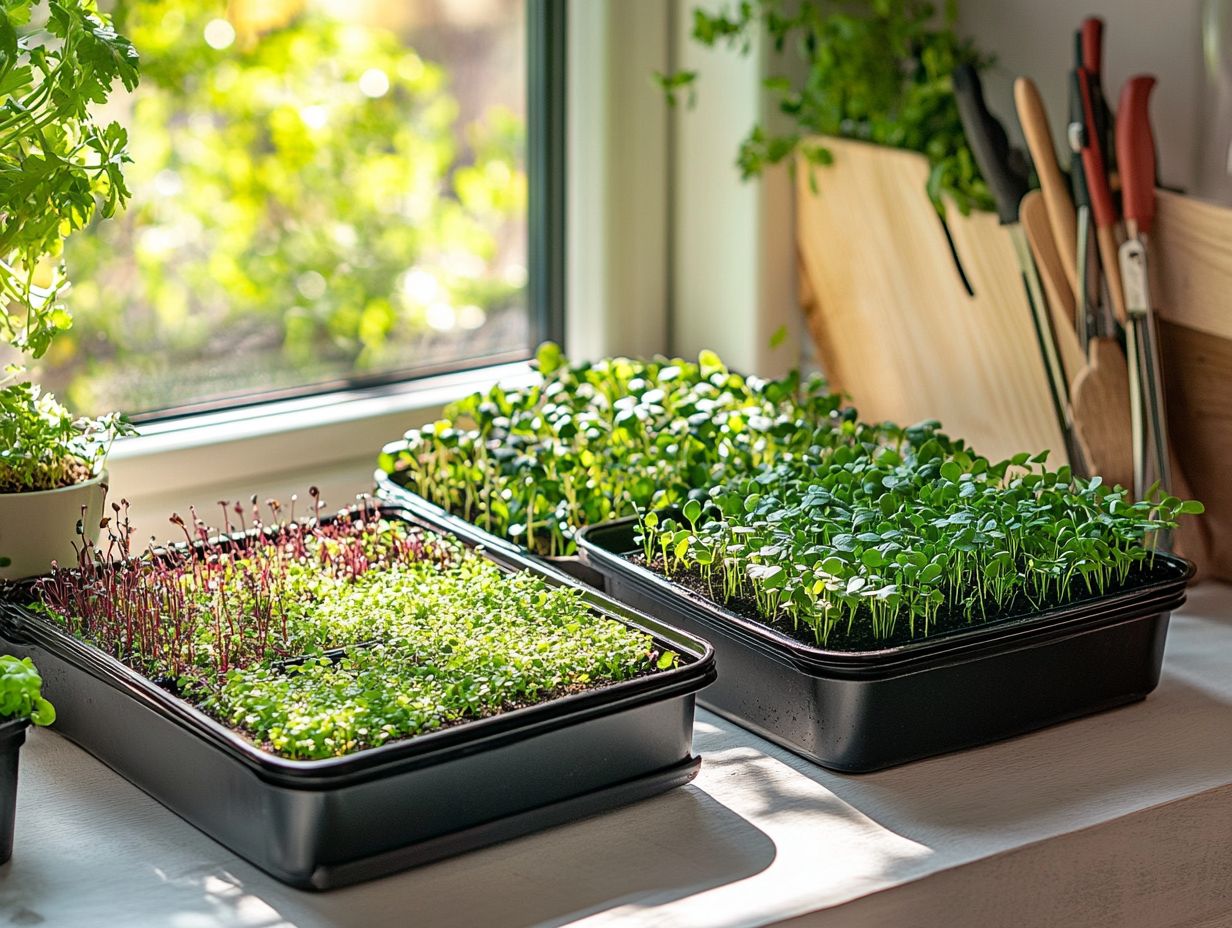
Microgreens are small, edible leafy greens harvested at an early growth stage, typically within 10-14 days after germination. They are packed with nutrients and known for their intense flavor and vibrant colors.
Why should I grow my own microgreens?
Growing microgreens from seed to harvest gives you access to fresh and nutritious greens all year round. It also allows you to control the growing process, ensuring your microgreens are free from pesticides and harmful chemicals, enhancing your overall food production experience.
Try growing your own microgreens at home or experiment with them in your next meal for a delightful culinary adventure!
What types of seeds can be used to grow microgreens?
You can use various seeds to grow microgreens. Choices include broccoli, kale, spinach, arugula, and radish. Experiment with seed mixes for unique flavors.
How do I grow microgreens from seed to harvest?
To grow microgreens, you’ll need a shallow tray, potting soil, and your chosen seeds. Spread the seeds evenly on the soil, mist with water, and cover with a thin layer of soil.
Keep the soil moist. Place the tray in a warm, well-lit area to get enough sunlight. Harvest the microgreens when they reach about 2-3 inches tall for the best taste!
How do I store harvested microgreens?
Gently wash and dry your harvested microgreens. Place them in an airtight container lined with paper towels.
Store the container in the refrigerator and use the microgreens within 3-5 days for the best freshness.
Can I regrow microgreens after harvesting?
No, microgreens are usually harvested only once from the same seeds. However, you can grow new batches from fresh seeds to keep enjoying these nutritious greens!

