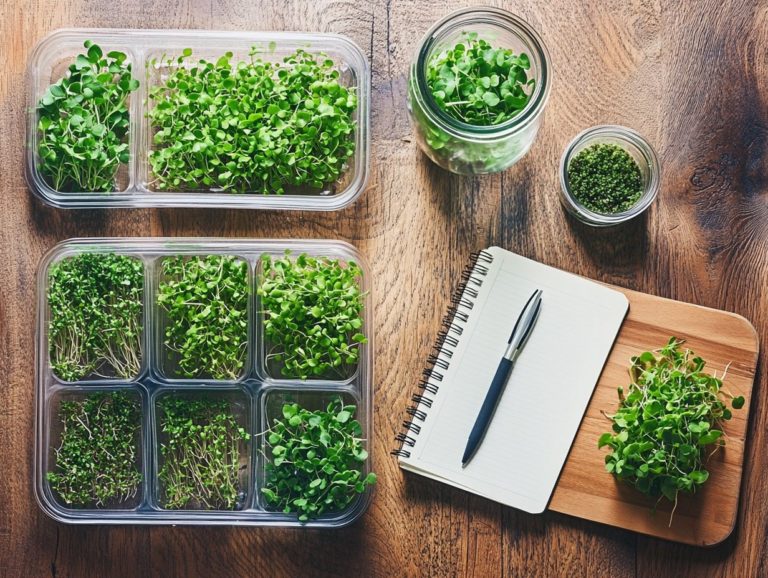
How to Grow Microgreen Varieties in Your Kitchen
Microgreens are small yet powerful plants that can elevate your culinary creations while providing a significant health boost.
This article delves into the myriad benefits of growing microgreens, showcasing their remarkable nutritional value and the convenience they offer for home cooks like you.
Discover how to select the right varieties that suit your taste and available space, gather the essential supplies and tools, and follow straightforward steps for planting and maintaining these vibrant greens.
You’ll also find valuable tips on harvesting and incorporating microgreens into your favorite recipes.
Turn your kitchen into a flavor-packed paradise with these exciting homegrown greens!
Contents
Key Takeaways:
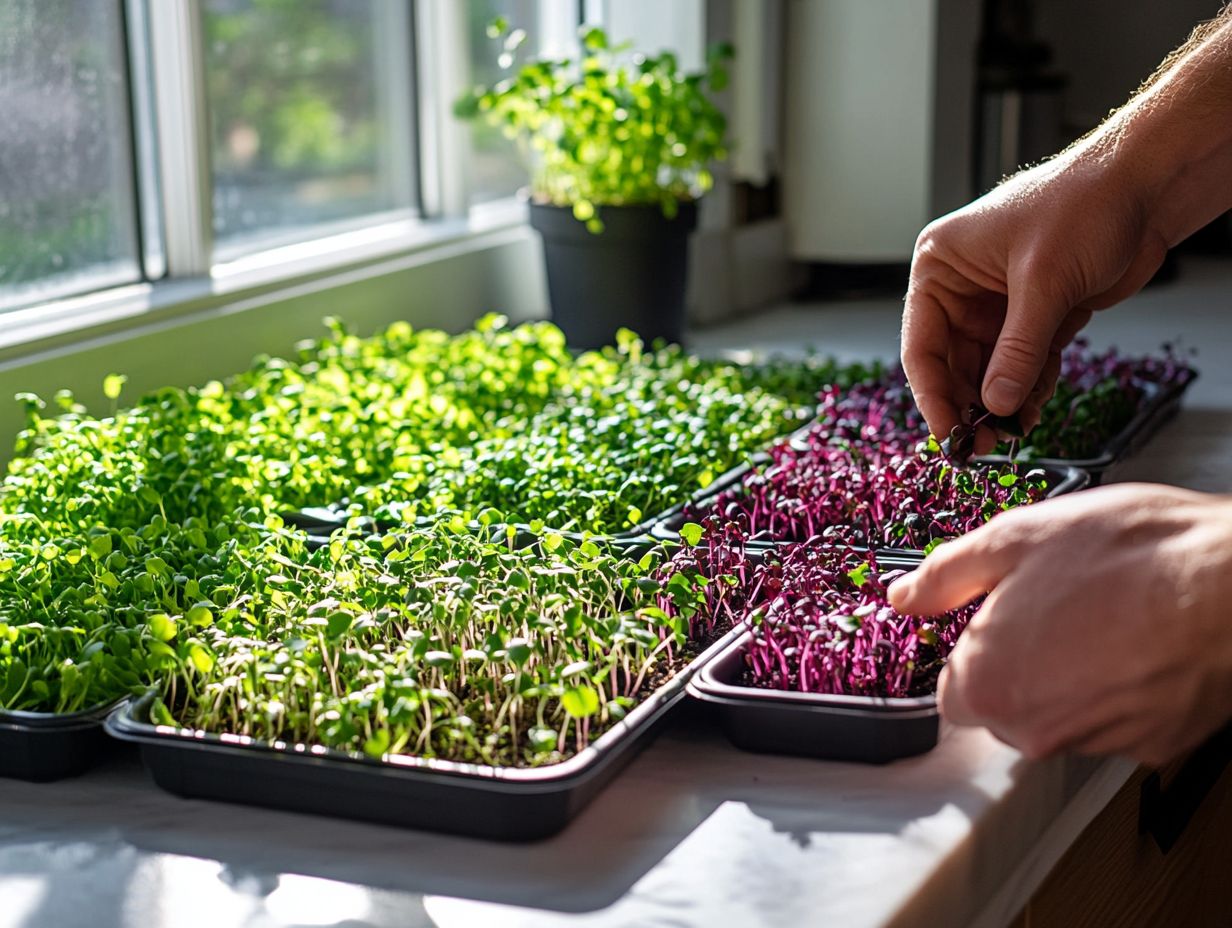
- Add microgreens to your meals for a tasty and nutrient-rich boost.
- Select microgreen varieties based on your taste and the time they take to grow.
- Start growing microgreens at home with easy-to-find supplies and simple steps!
What are Microgreens?
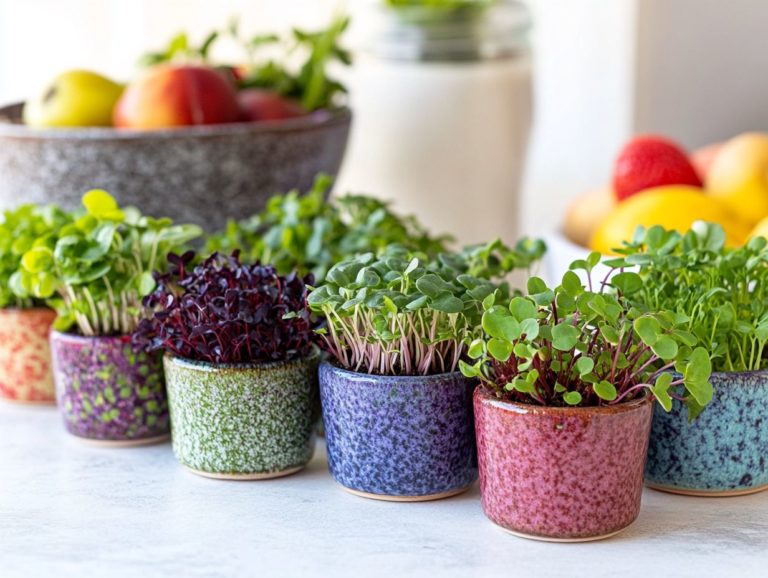
Microgreens are young, edible plants harvested just after the first leaves have emerged, delivering a delightful burst of flavor, vibrant colors, and impressive nutritional benefits all packed into petite servings.
These tender greens include varieties like basil, beet, and mustard, celebrated for their taste and remarkable concentration of vitamins and minerals. Unlike their mature relatives, microgreens are ready to pick in just a couple of weeks, making them a nimble addition to your kitchen garden.
They require minimal space and can thrive indoors or outdoors, often needing just a sunny windowsill or countertop perfect for urban gardeners with limited outdoor areas.
The health benefits go beyond basic nutrition; they are rich in antioxidants and may contribute to better heart health and digestion. By adding a variety of microgreens to your everyday meals, you can enjoy unique flavors while significantly elevating the nutritional profile of your dishes.
Benefits of Growing Microgreens
Growing microgreens presents a wealth of benefits, enhancing your dietary intake of antioxidants and nutrients while offering a convenient way to cultivate fresh greens right at home. These petite greens burst with flavor and are loaded with vitamins and minerals that support your overall health, making them a remarkable addition to any diet.
Growing them in different environments is simple whether in compact indoor gardens or commercial sprout trays ensuring that anyone can reap their health benefits, regardless of space limitations.
Nutritional Value and Convenience
Microgreens are truly a gem in the culinary world, celebrated for their remarkable nutritional value. They boast higher concentrations of vitamins and minerals compared to their mature counterparts, making them not just a delightful addition to your dishes but also a powerhouse of health benefits.
Their convenience is unmatched; you can easily grow them in small spaces, making them the perfect choice for urban dwellers or anyone with limited gardening experience.
You might be surprised to learn that microgreens pack a significant punch, often containing five to forty times more vital nutrients like vitamin C, vitamin K, and antioxidants than fully grown vegetables. This impressive nutrient density not only supports a robust immune system but also promotes your overall well-being.
Cultivating these tiny greens is so simple that even novice gardeners can yield fresh produce with minimal effort and time investment. Often ready to harvest in just a week or two, microgreens provide instant gratification, making them a favorite in modern kitchens.
Their vibrant colors and distinct flavors elevate your meals, encouraging you to incorporate them into your daily diet and embrace a healthier lifestyle.
Ready to start your microgreen adventure? Let’s explore how to grow microgreens in a small space today!
Choosing the Right Microgreen Varieties
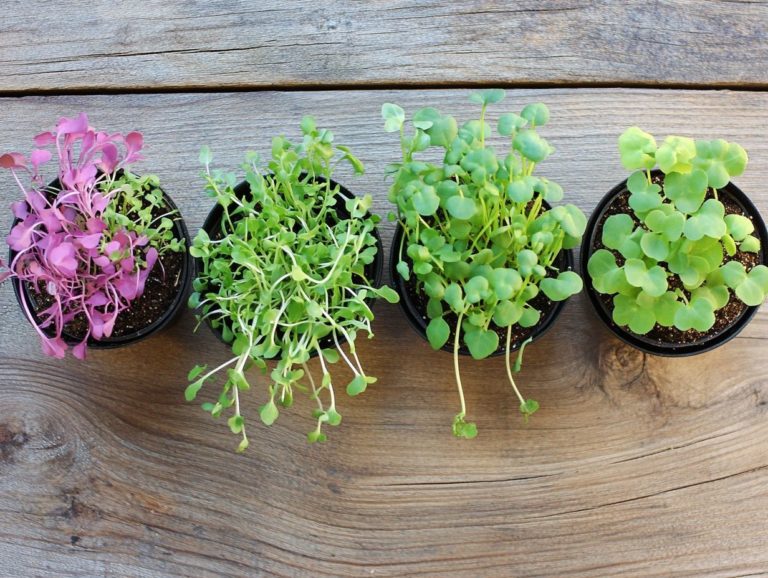
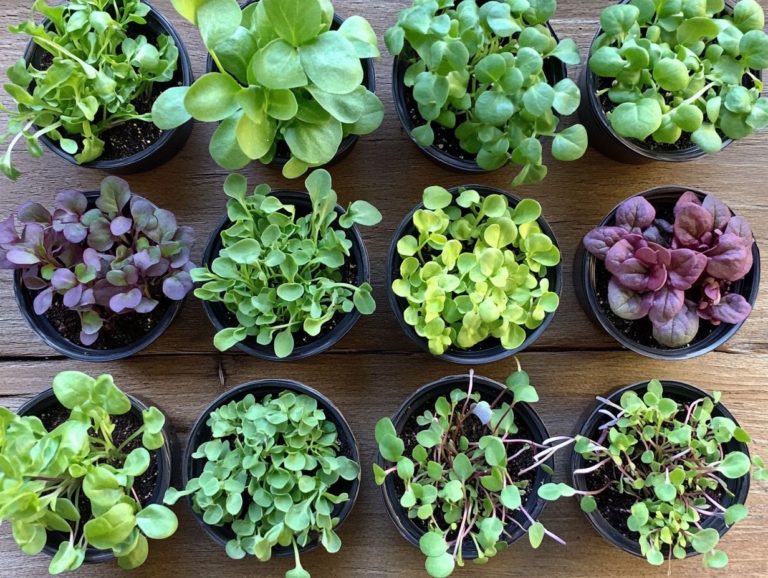
Selecting the perfect microgreen varieties is essential for elevating the flavor, nutritional value, and visual charm of your indoor garden or kitchen space. With an abundant selection of seeds at your disposal favorites such as broccoli, kale, arugula, and radish gaining insight into each variety s growth habits, flavor profiles, and health benefits can enrich your growing experience.
Consider your taste preferences, the growing conditions you have available, and the potential health advantages. This knowledge enables you to make well-informed choices that lead to a rich harvest.
Factors to Consider
When selecting the right microgreen seeds, it’s essential to consider several key factors to ensure optimal growth and yield. Pay attention to light requirements, water availability, and the quality of your growing medium.
Microgreens thrive under lights that mimic natural sunlight, promoting robust growth. Choosing organic potting soil or compost can significantly enhance the nutrient density of your greens, boosting their health benefits.
Maintaining the right temperatures is crucial for creating an ideal environment. Warmer conditions typically speed up germination, while cooler temperatures may slow things down. Keeping a close eye on water levels is equally important; overwatering can lead to root rot, while underwatering might stunt development.
By balancing these elements light, water, soil quality, and temperature you can maximize your yields and ensure those tiny greens are bursting with flavor and nutrients, ready to enhance any dish.
Supplies and Materials Needed
Gathering the right supplies is crucial for your success in growing microgreens. These little greens require specific tools and equipment to thrive in your indoor gardening setup.
Key items you ll want to have on hand include:
- High-quality microgreen seeds
- Efficient commercial sprout trays that offer optimal planting and drainage
- Organic potting soil that nurtures healthy growth
By understanding these essentials, you can streamline your process and ensure a bountiful harvest of vibrant, nutrient-dense greens.
Essential Tools and Equipment
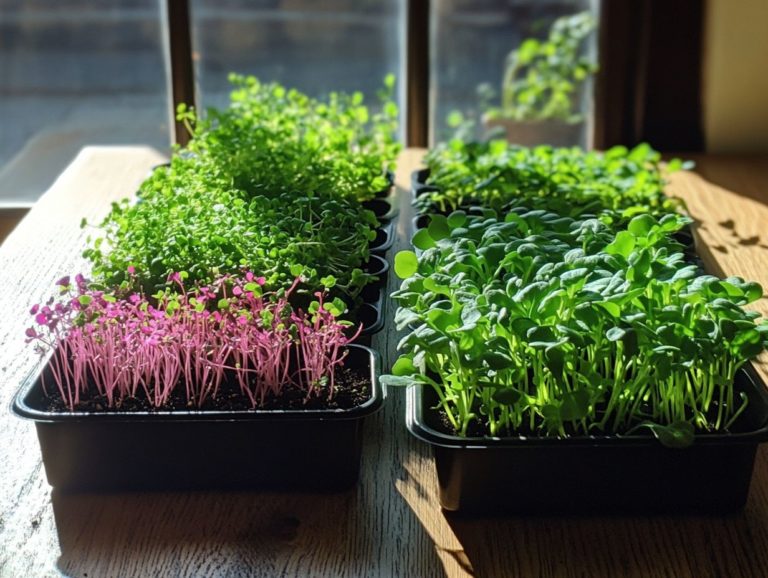
To cultivate the perfect environment for growing microgreens, it s essential to gather the right tools and equipment. This includes commercial sprout trays designed for optimal drainage and effortless harvesting, alongside lights that mimic natural sunlight, providing the necessary illumination for your microgreens to flourish.
A reliable water source is crucial, ensuring your plants receive the moisture they need without the risk of over-saturation.
Equipping yourself with high-quality trays will help maintain proper air circulation around the roots, promoting healthy growth and preventing any pesky mold from taking hold. Utilizing LED grow lights allows you to adjust the light according to the specific needs of various microgreen varieties, enhancing their nutritional value.
Mastering effective watering techniques, whether through misting or bottom watering, enables you to exercise greater control over moisture levels. This keeps your roots nourished and reduces the risk of rot. Together, these tools create an ideal ecosystem for your thriving microgreens.
Steps for Growing Microgreens
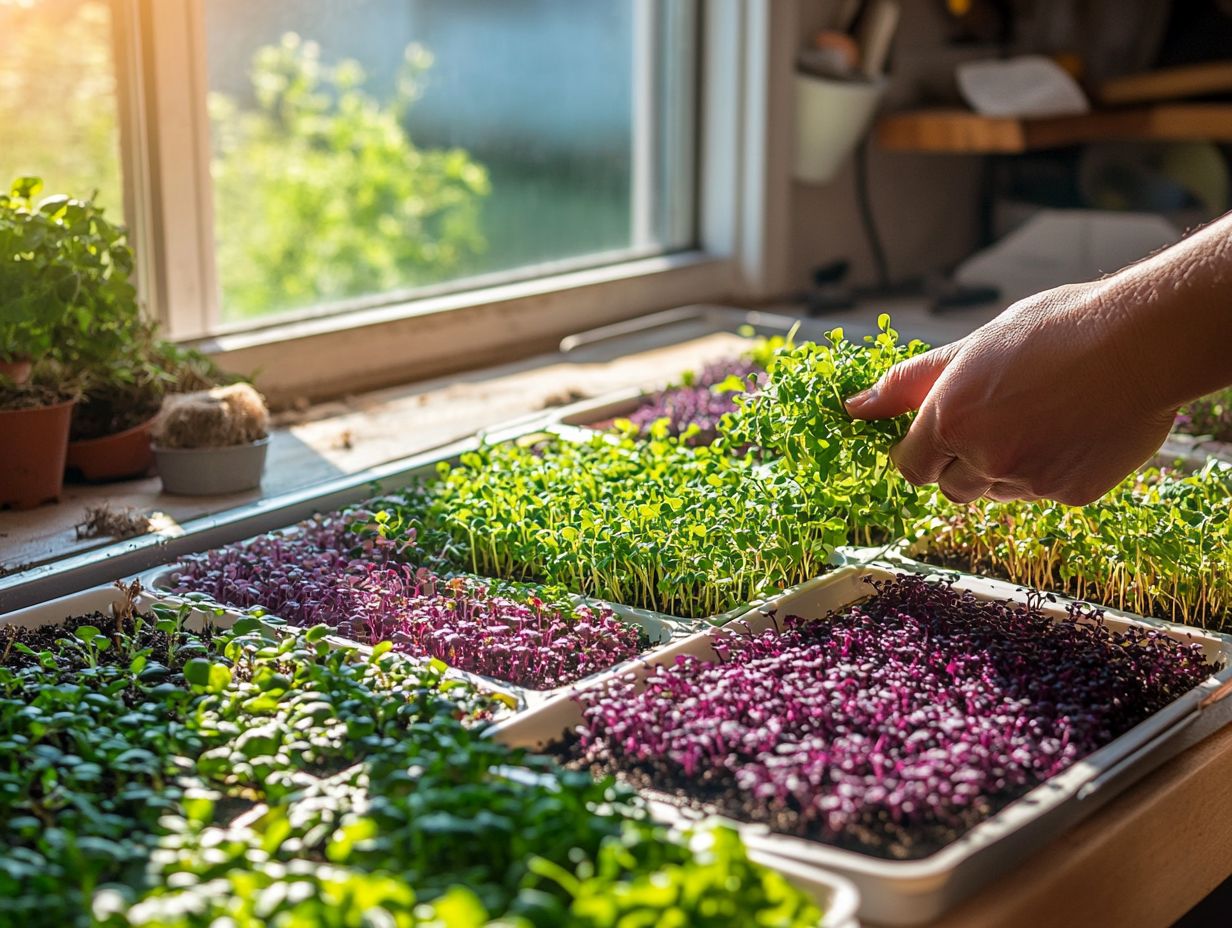
Growing microgreens unfolds in three essential phases: preparation, planting, and maintenance each pivotal to securing a rich harvest.
During the preparation phase, choose premium microgreen seeds and organic potting soil. Ensure you have sufficient lighting and water sources to foster optimal growth.
In the planting phase, evenly distribute the seeds in commercial sprout trays, covering them with soil to create the ideal environment.
Then comes a diligent maintenance routine, where you ll monitor light exposure and moisture levels, ensuring your nutrient-packed greens thrive beautifully.
Start your microgreens journey today and transform your meals!
Preparation, Planting, and Maintenance
Preparation, planting, and maintenance are the three essential stages in your journey to successfully grow microgreens. Each stage demands careful attention to detail and optimal conditions. Start by preparing high-quality organic potting soil and selecting seeds that match your culinary tastes. After planting, maintain adequate light levels with full-spectrum grow lights and ensure proper watering to cultivate vibrant, nutrient-packed greens.
To kick off the preparation phase, ensure your growing trays have proper drainage and are clean to prevent disease. When choosing seeds, consider flavorful options like basil, radish, or sunflower for their taste and nutritional benefits. If you’re interested in optimizing your growth methods, check out How to Use Hydroponics for Microgreens. During planting, evenly sow the seeds about 1/4 inch apart, then lightly cover them with soil.
As your microgreens grow, monitor them closely. They thrive best with around 12-16 hours of light daily and need gentle watering. For a comprehensive approach, refer to our step-by-step guide to sowing microgreens. Regularly check for adequate soil moisture to avoid waterlogging. Mindfully adjusting these elements will enhance growth rates and boost overall health and yield.
Harvesting and Using Microgreens
Harvesting microgreens at the right moment unlocks their fullest flavor and health benefits. By following best practices, you can elevate your experience.
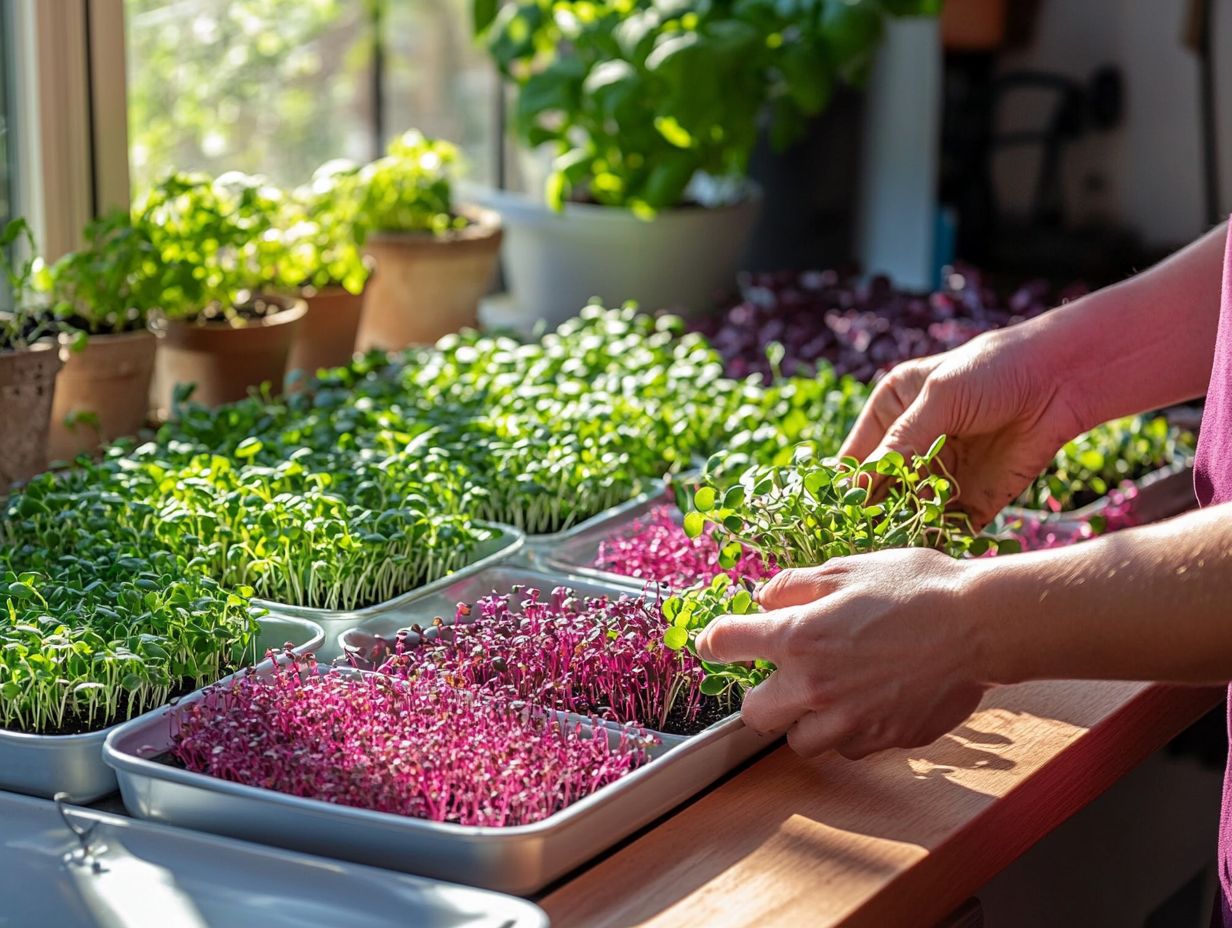
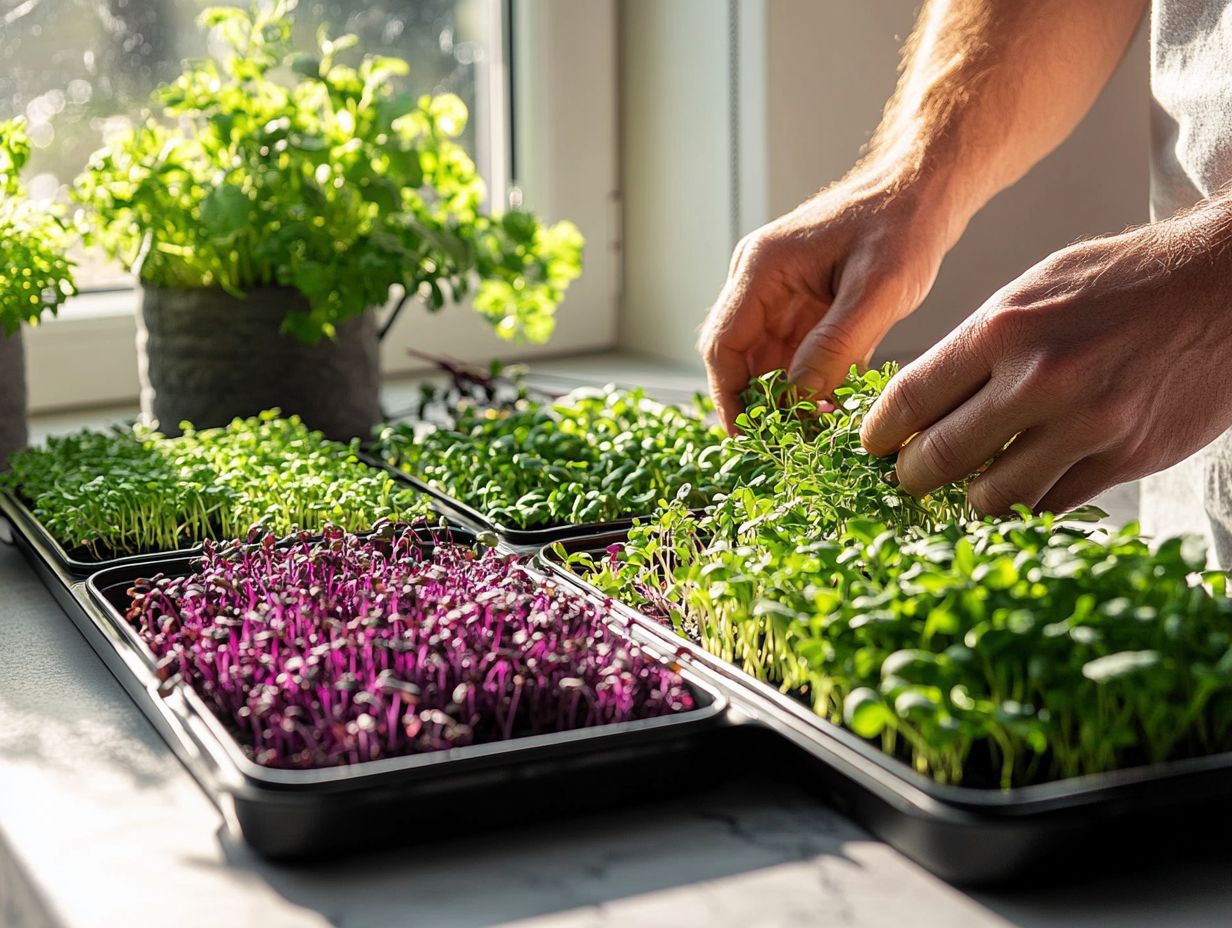
Microgreens are generally ready for harvest when they reach approximately 1-2 inches in height. At this stage, gently cut them just above the soil line.
Once you’ve harvested these vibrant greens, they become versatile ingredients in many creative recipes, infusing your meals with delightful flavor and nutrition.
Best Practices and Creative Recipes
Implementing best practices for harvesting and using microgreens unlocks optimal flavor and ensures impressive nutritional benefits stay intact. Don t hesitate to get creative with recipes these fresh greens can elevate your meals in delightful ways!
Top a salad, enhance a sandwich, or blend them into smoothies for an added health boost. The possibilities are endless.
Remember to wash your microgreens gently and dry them thoroughly to prevent moisture that could lead to spoilage. When incorporating them into dishes, balance their peppery or slightly sweet notes with complementary ingredients.
Citrus-based dressings work wonders in salads, while fresh pestos benefit greatly from their vibrant flavor.
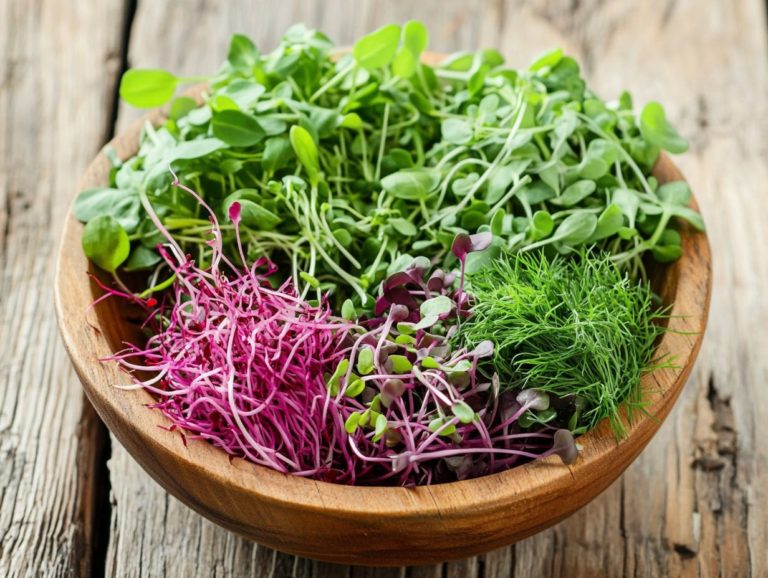
Microgreens can also transform a simple omelet or frittata into a culinary masterpiece, adding both visual appeal and a nutrient-packed punch. Experiment with varieties like radish, sunflower, or basil to introduce unique tastes and textures, inviting endless culinary creativity!
Frequently Asked Questions
What are microgreens?
Microgreens are young vegetable greens harvested after sprouting, but before they grow into full plants. They’re packed with nutrients and are loved for use in garnishes, salads, and sandwiches.
Why should I grow microgreens in my kitchen?
Growing microgreens in your kitchen gives you a fresh supply of nutritious greens at your fingertips. Plus, it s a fun and easy way to add greenery to your home!
What types of containers can I use to grow microgreens?
You can use various containers, such as shallow trays, seedling trays, or even an old yogurt cup or takeout container. Just ensure there are drainage holes, and the container is at least 2-3 inches deep.
How do I choose the right soil for growing microgreens?
The best soil is a fine-textured, well-draining potting mix. Avoid garden soil, as it may contain pests or diseases that can harm your microgreens.
What are some popular microgreen varieties to grow?
Popular microgreen varieties include broccoli, kale, radish, sunflower, and pea shoots. These varieties are easy to grow and have delicious flavor and texture.
Start your microgreen journey today!
How long does it take for microgreens to grow in the kitchen?
The time it takes for microgreens to grow in the kitchen varies by variety. On average, they take 7 to 14 days to reach maturity.
You can start harvesting them once they have developed their first set of true leaves, which are the leaves that appear after the initial sprout. Growing your own microgreens is quick and fun!

